Module 10: Centralized and Decentralized System Recovery
Objective
Labs in this module demonstrate centralized backup and restoration techniques for virtual machines. In virtual environment, it is essential to have a centralized architecture in order backup the all the virtual machines at once. Regular backups must be taken in a production environment where substantial time and money is saved by using the centralized backup and restoration technique.
Scenario
What if all the virtual servers in a virtualization platform get corrupted? It can result in the loss of all the production data bringing the production to a grinding halt. In this scenario, we can recover all the virtual servers by employing the centralized backup and restoration technique. In centralized backup and restore, all the backup files of the VMs running in a particular virtualization platform, are stored in a central location. In the event of a disaster, the lost VMs are restored by the backup available at the central location. Instead of performing restoration task of lost VMs one by one, we can restore all the VMs at once using various centralized backup tools.
Centralized Backup of Virtual Machines using ArCycle Tool
Scenario
ArCycle is a specific software designed to take the backups of the virtual machines using various virtualization platforms like Hyper-V and V-Sphere. It is a very useful tool to take centralized backups of virtual machine over to a storage network like NAS.
Lab Scenario
This lab focuses on performing a centralized backup of VM’s instances. A centralized backup is a process in which data is replicated to remote sites and sending it over a network to a centralized location for storage. Centralized backup automates the backup at remote sites and reduces the backup administration cost and time. As a network administrator, you should be able to conduct centralized data backup and restoration of the virtual machines.
Lab Objectives
This lab demonstrates how to conduct centralized backup of a virtual machines in a controlled environment using ArCycle tool.
Click Ctrl+Alt+Delete button under Windows Server 2016 from Machines pane.
Alternatively you can also click Ctrl+Alt+Delete from the Commands menu.

Type Pa$$w0rd in the password field and press Enter.
Alternatively click Clipboard icon under Windows Server 2012 Primary Server in the Machines pane to paste the Password or click Paste Password option from Commands --> Paste menu.
Launch Hyper-V Manager by clicking the Hyper-V Manager shortcut icon on the desktop as shown in the screenshot.
Alternatively, you can launch the Hyper-V Manager by navigating to Administrative Tools --> Hyper-V Manager.
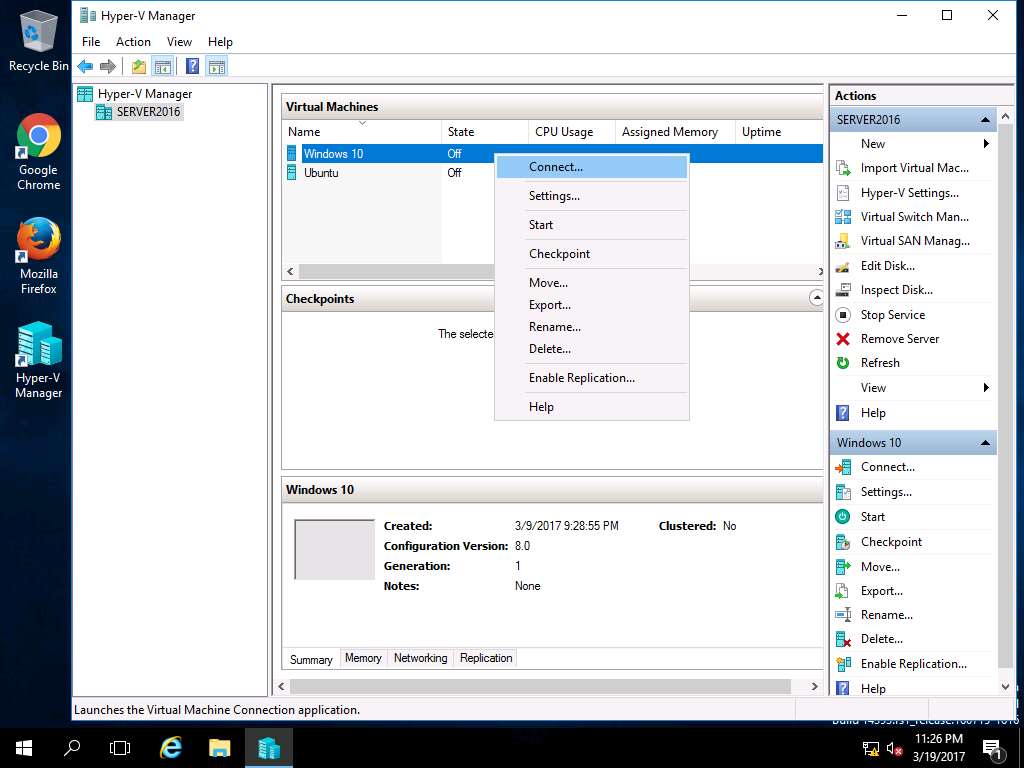
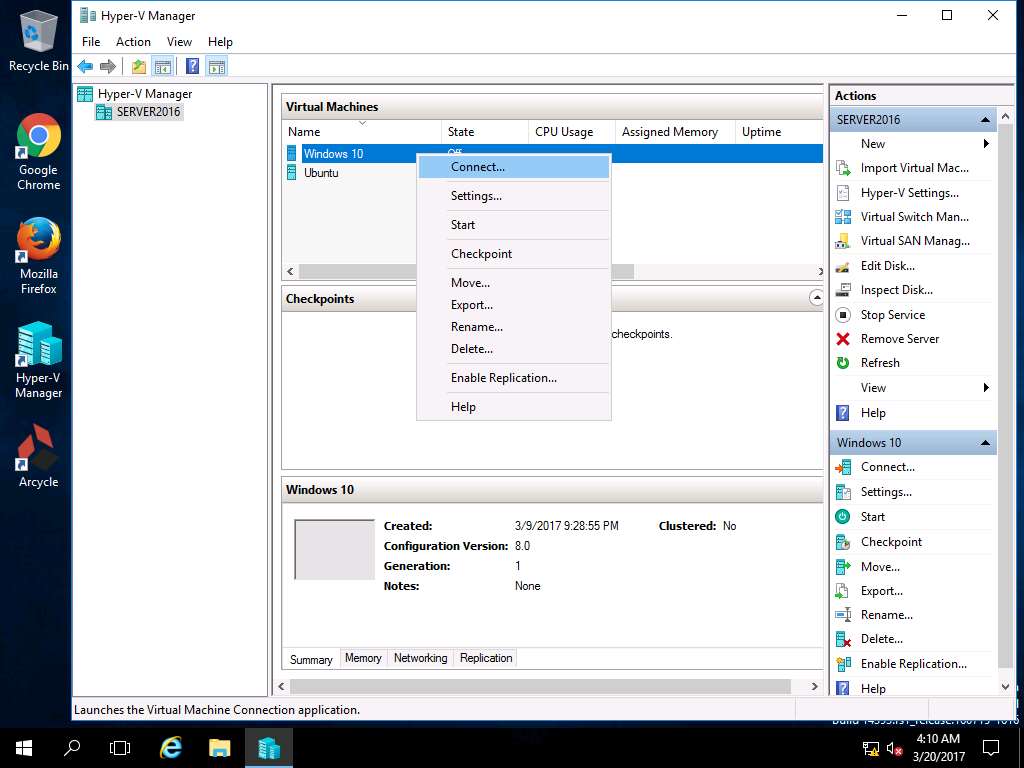
Hyper-V Manager window appears, right-click Windows 10 in the Virtual Machines pane and select Connect… from the context menu.
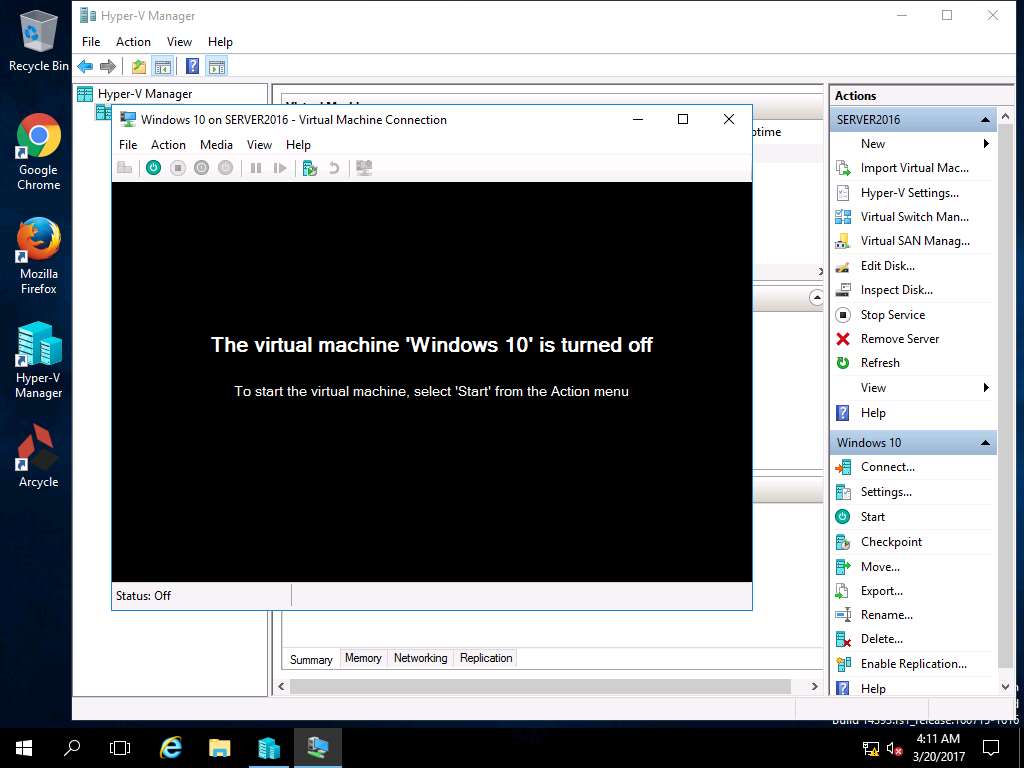
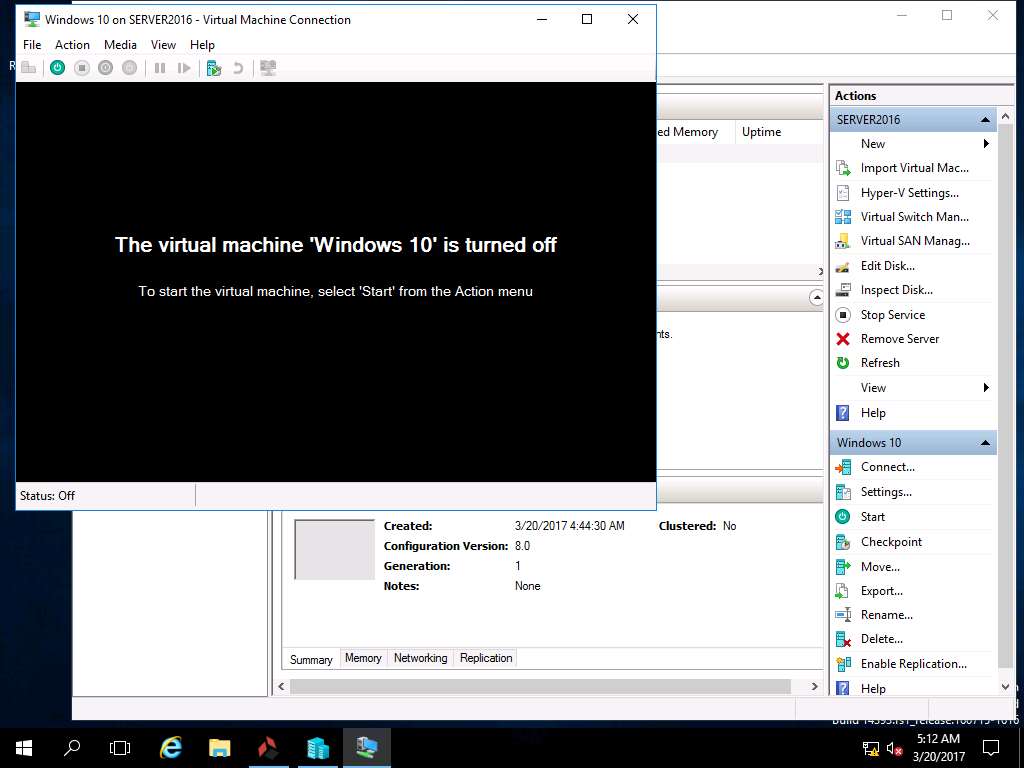
Windows 10 on SERVER2016 window appears, click Start button to Start Windows 10 VM.
Alternatively, click Action on the menu-bar and select Start from the drop-down menu.

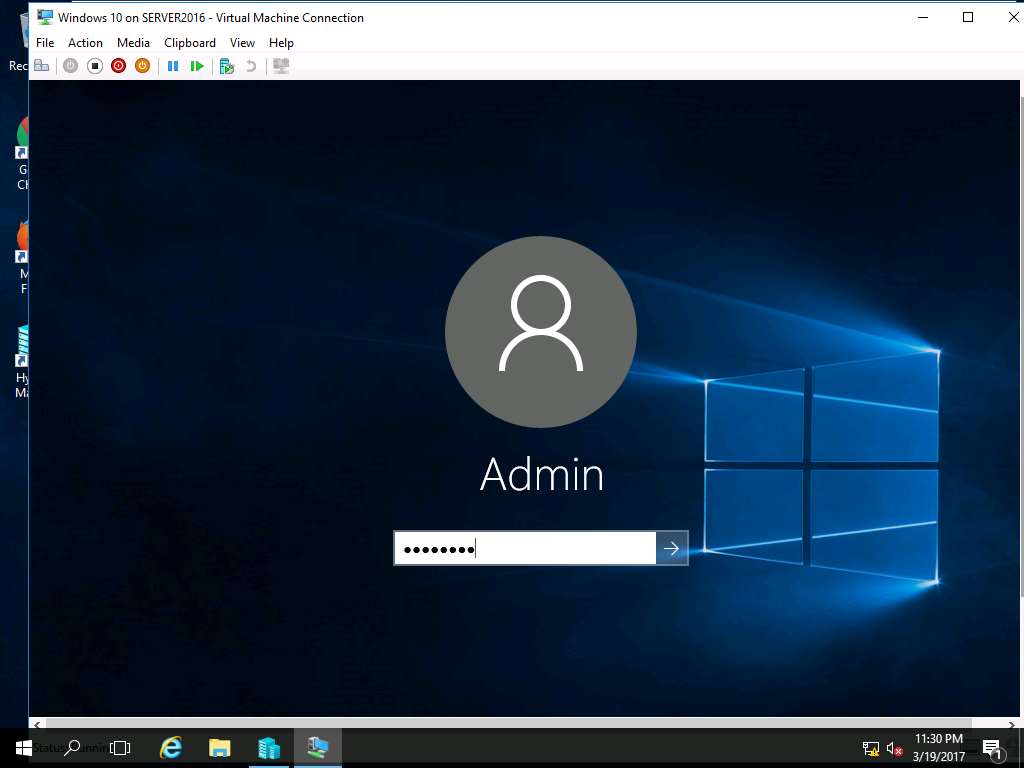
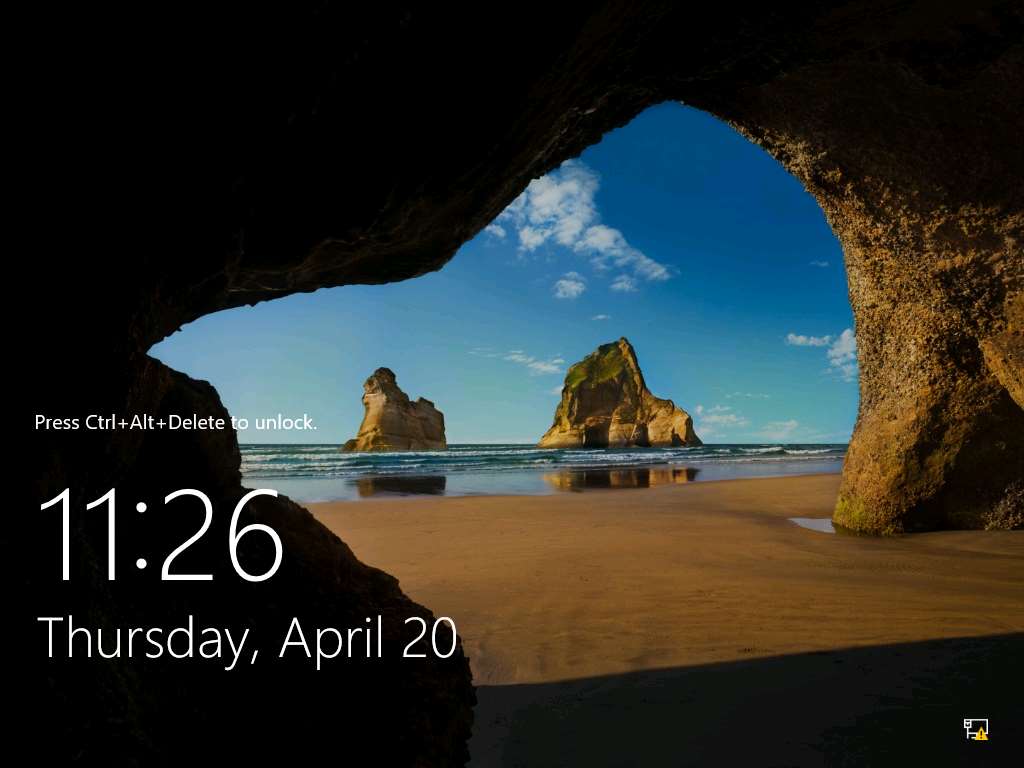
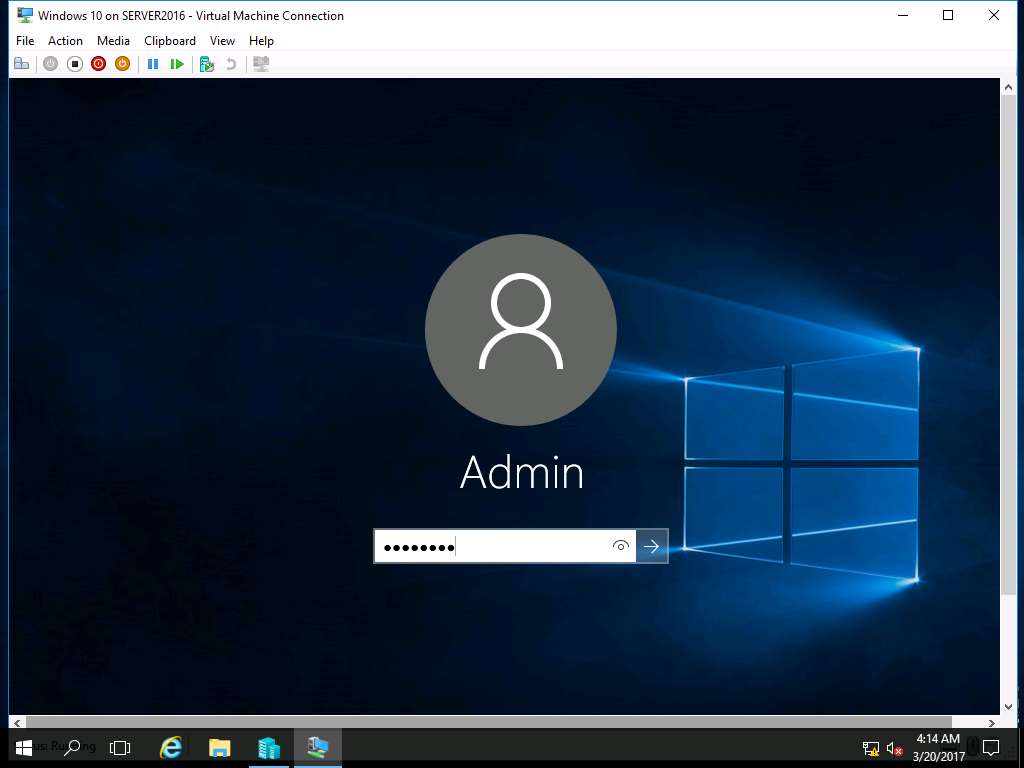
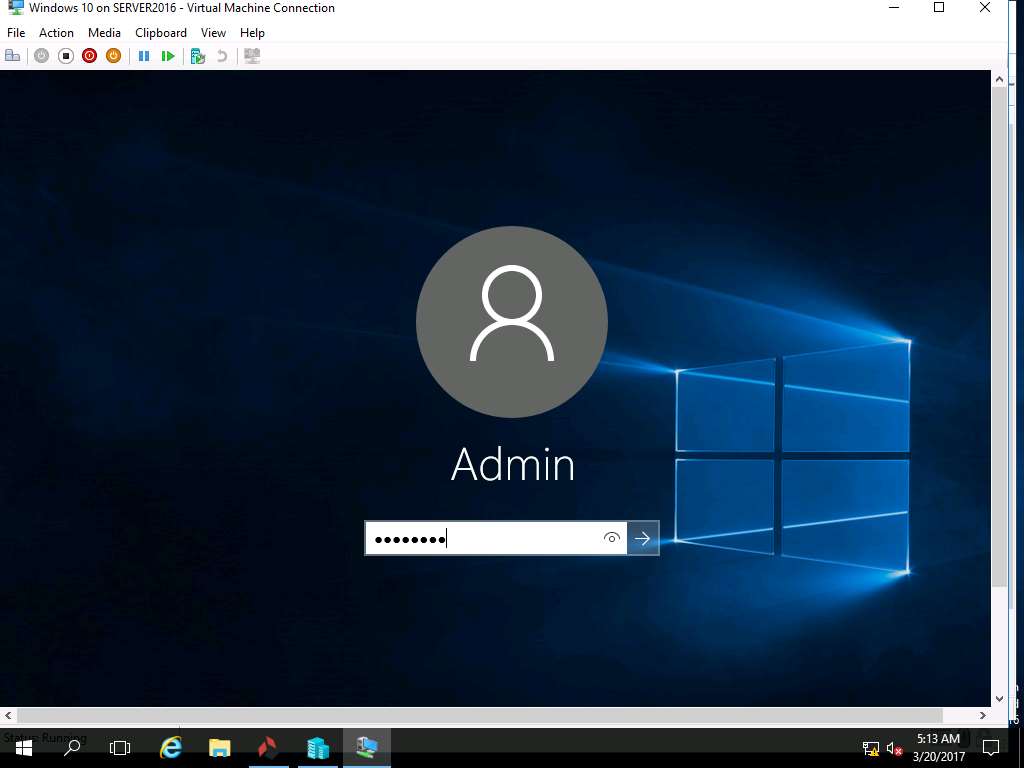
Windows 10 lock-screen page appears, double-click on the lock-screen and enter Pa$$w0rd in the password field and press Enter.
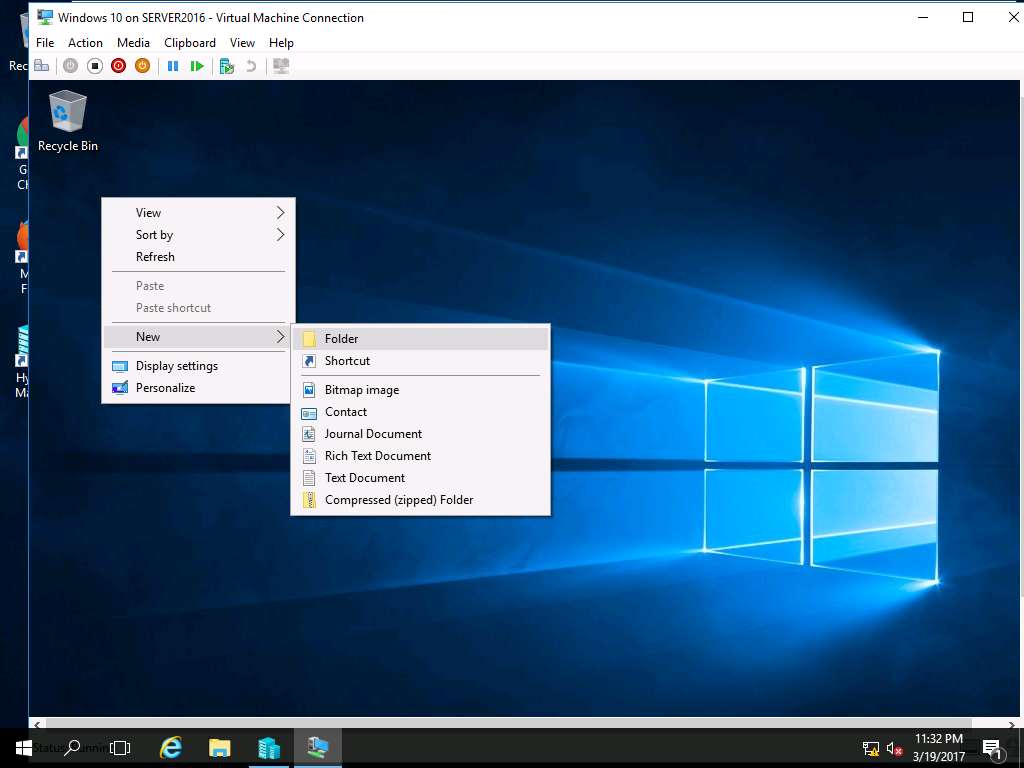
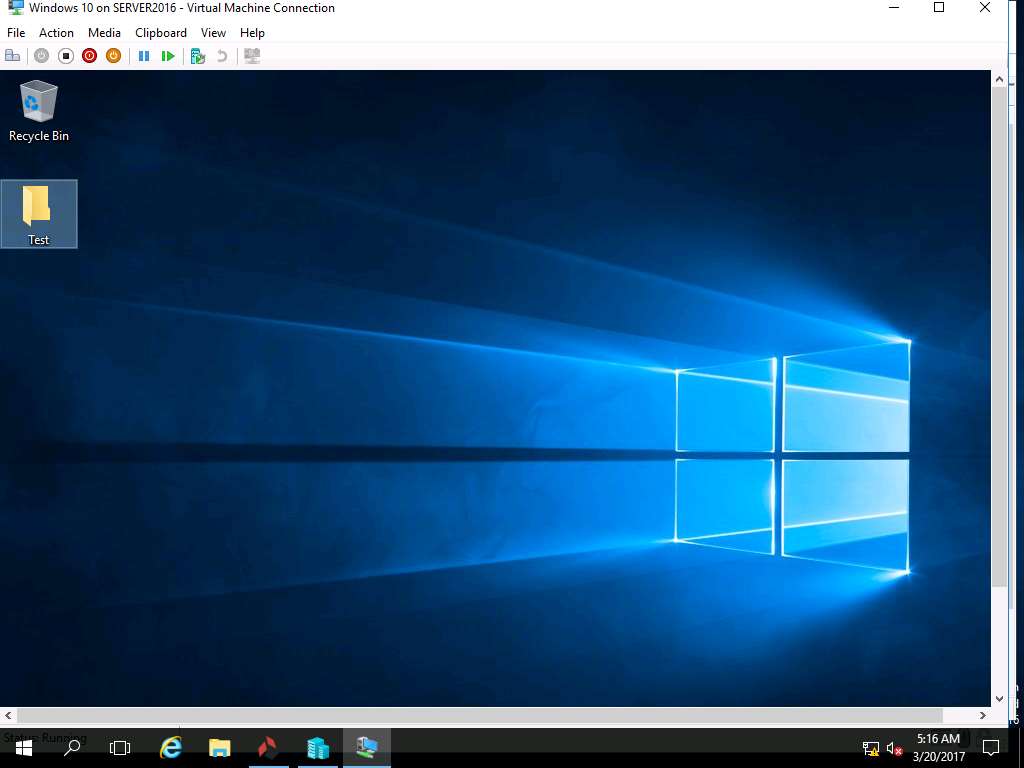
Right-click on the Desktop of Windows 10 VM and select New and select Folder from the context menu.
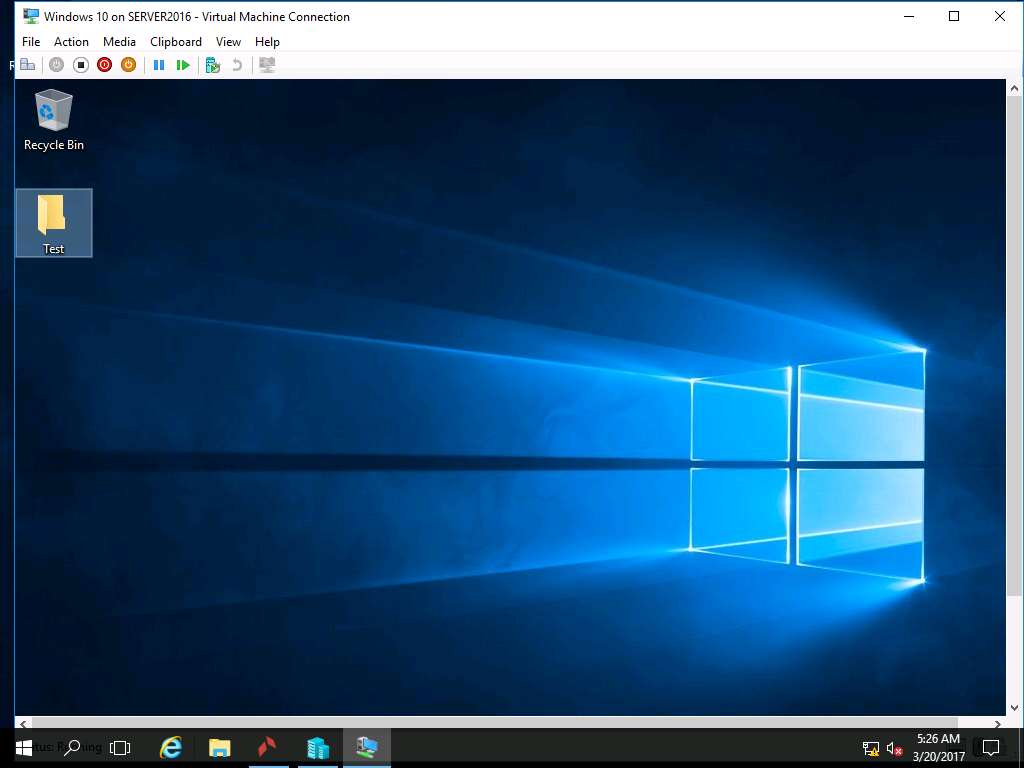
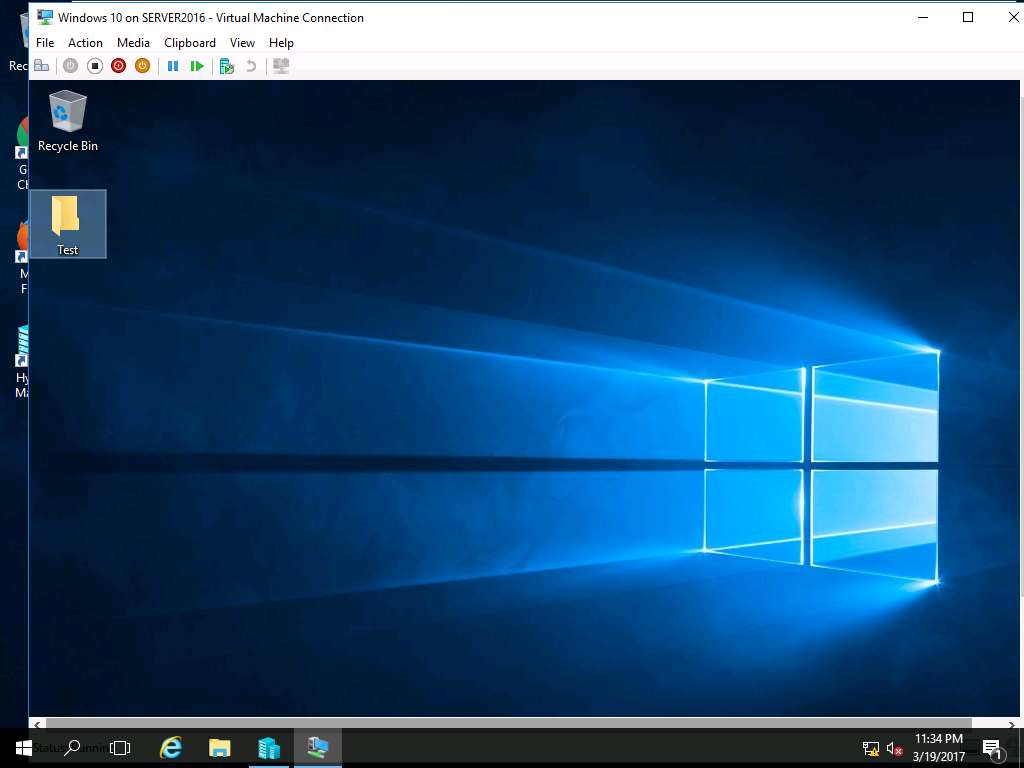
Rename the New Folder as Test.
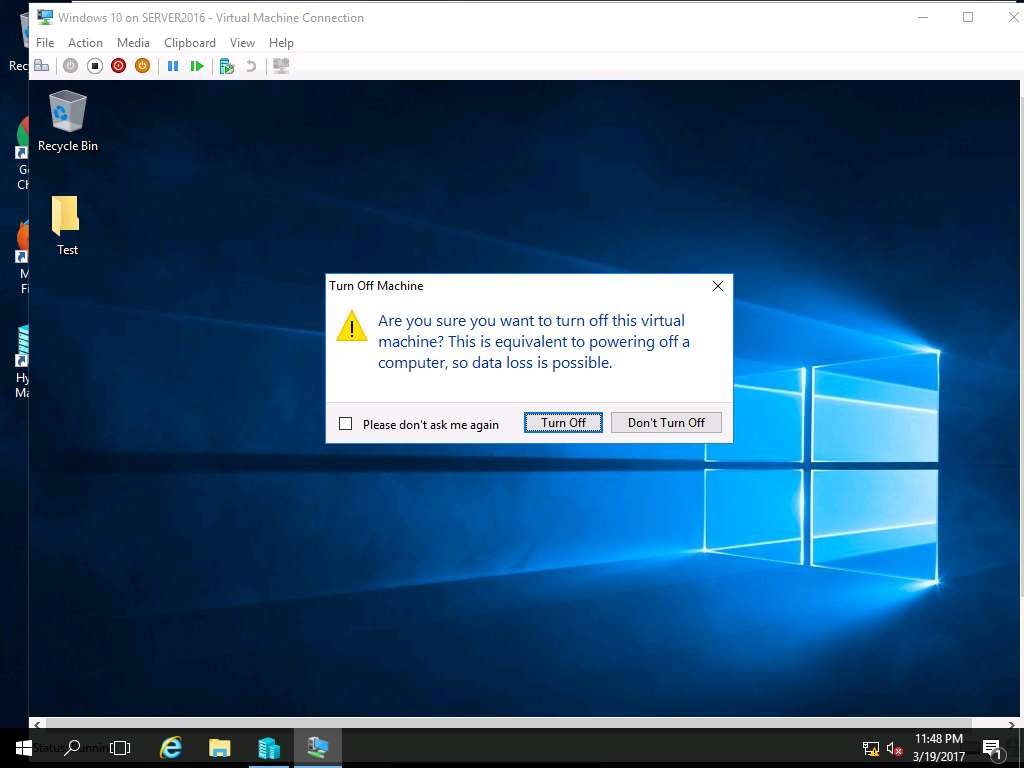
Click Turn off button in the menu-bar to turn off Windows 10 VM.
Alternatively, you can select Turn-Off from the Action drop-down menu.
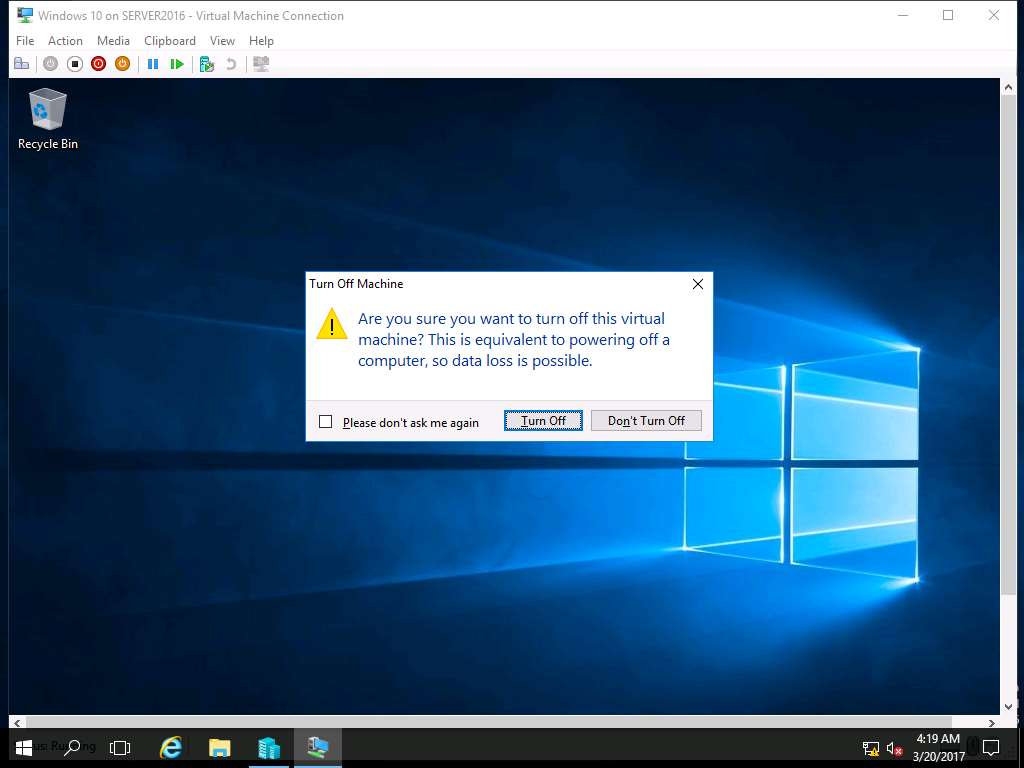
Turn Off Machine Window appears, click Turn Off button as shown in the screenshot.
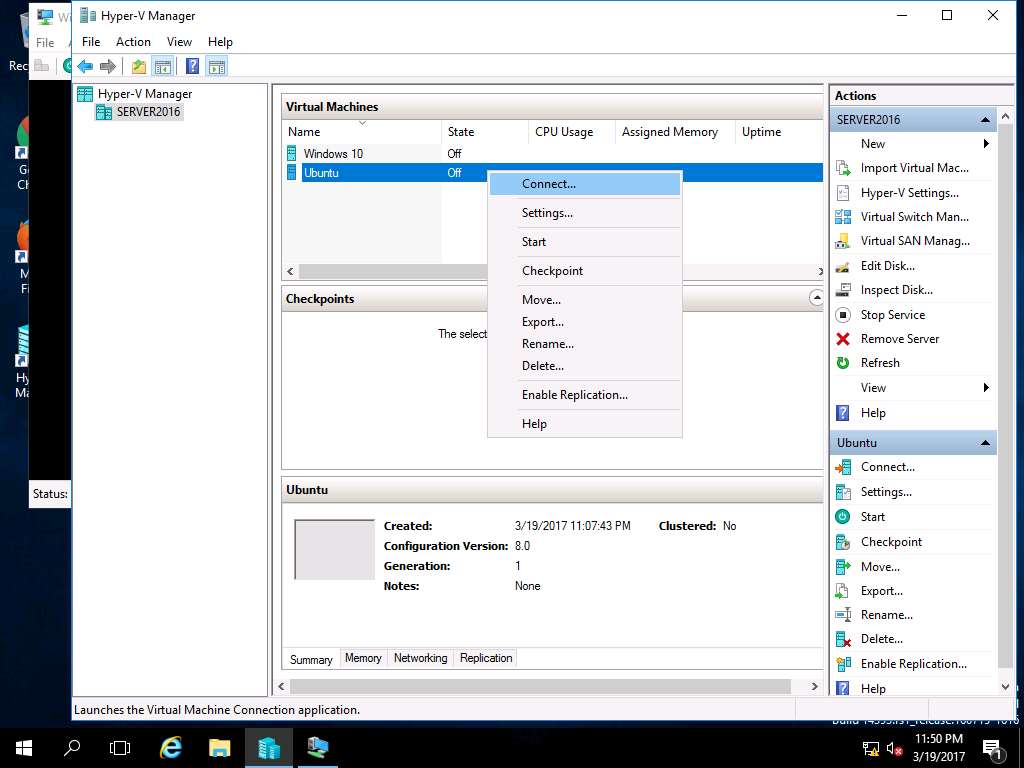
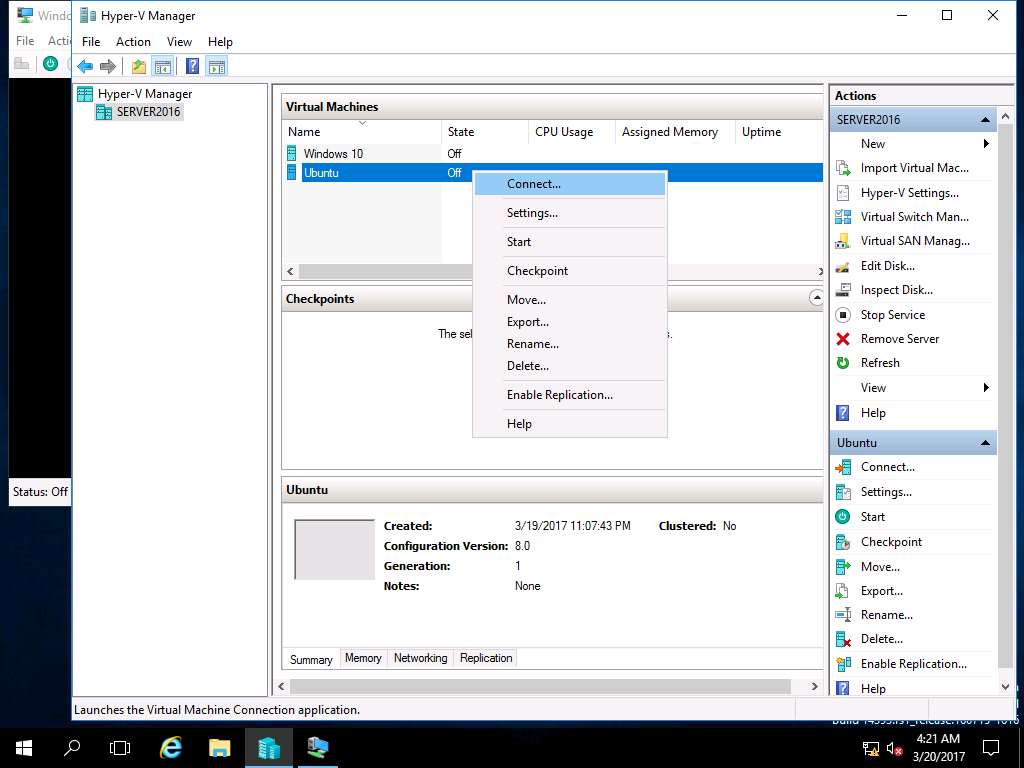
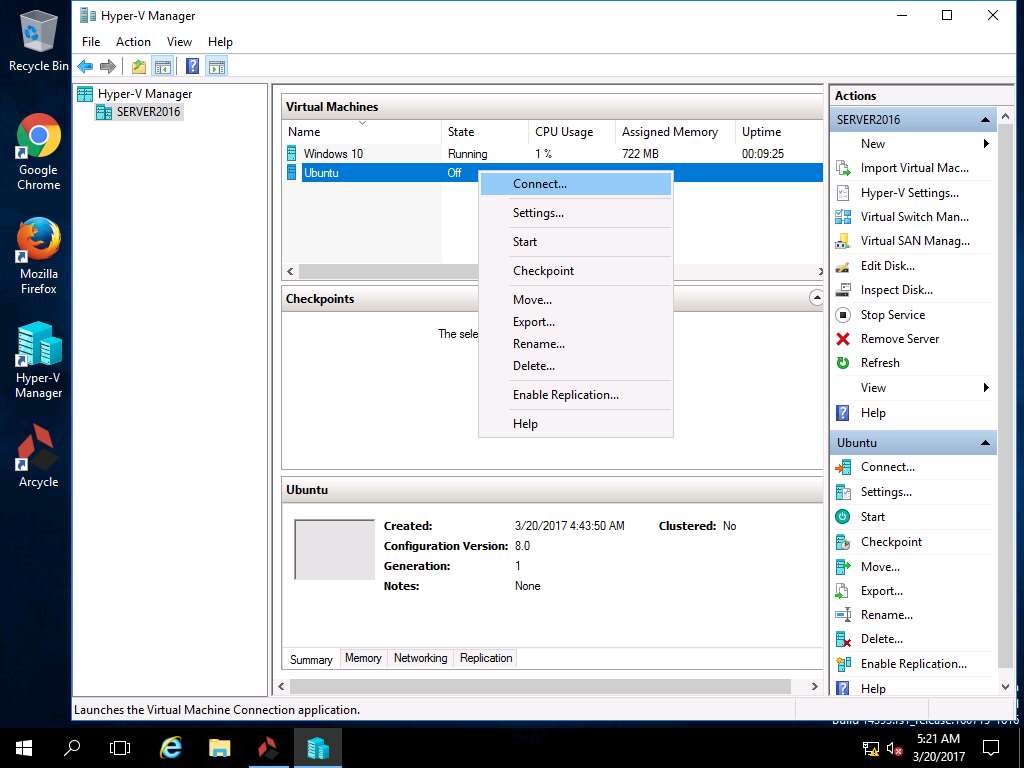
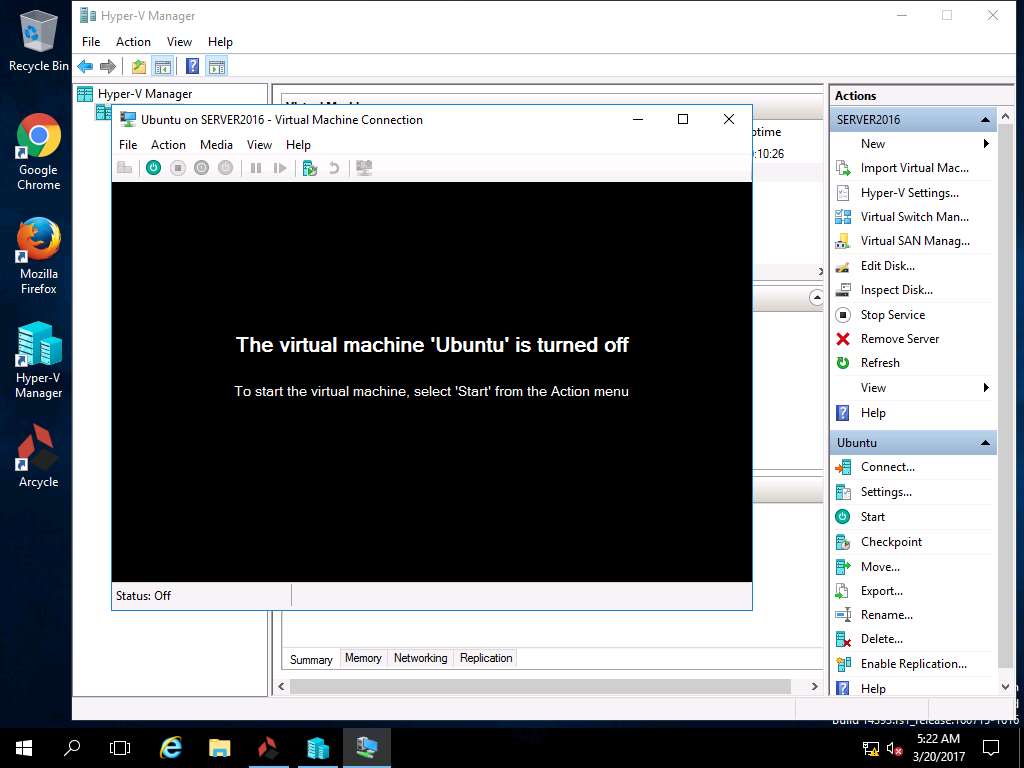
Right-click Ubuntu in the Virtual Machines pane and select Connect… from the context menu.
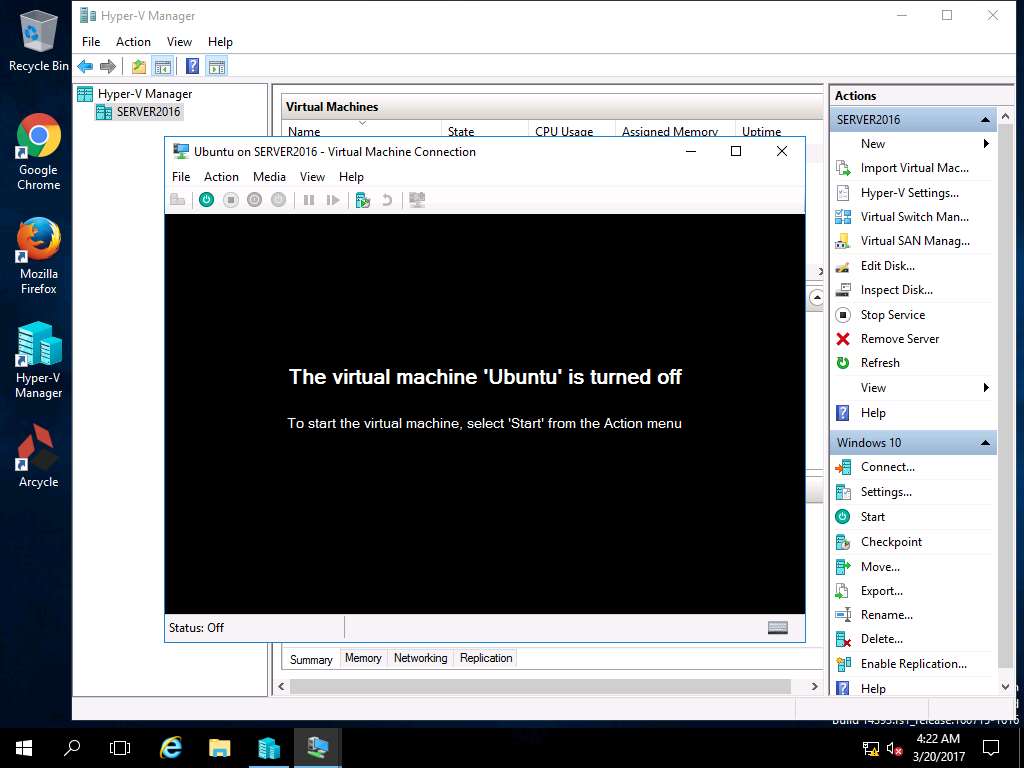
Ubuntu on SERVER2016 window appears, click Start button to Start Ubuntu VM.
Alternatively, click Action on the menu-bar and select Start from the drop-down menu.

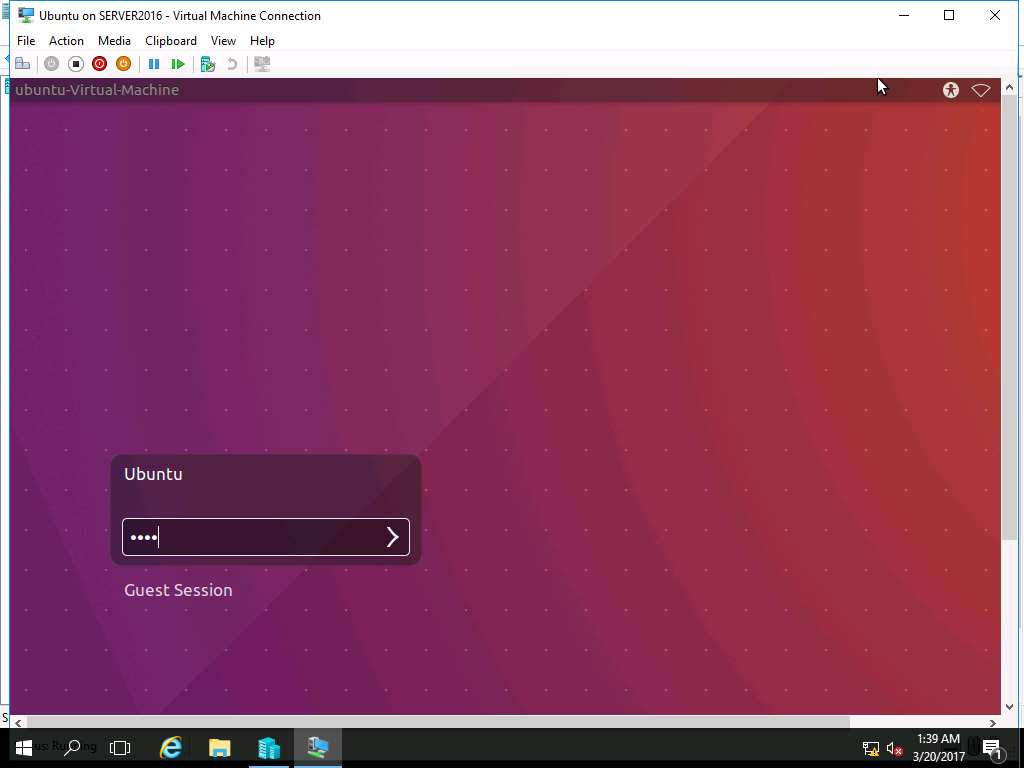
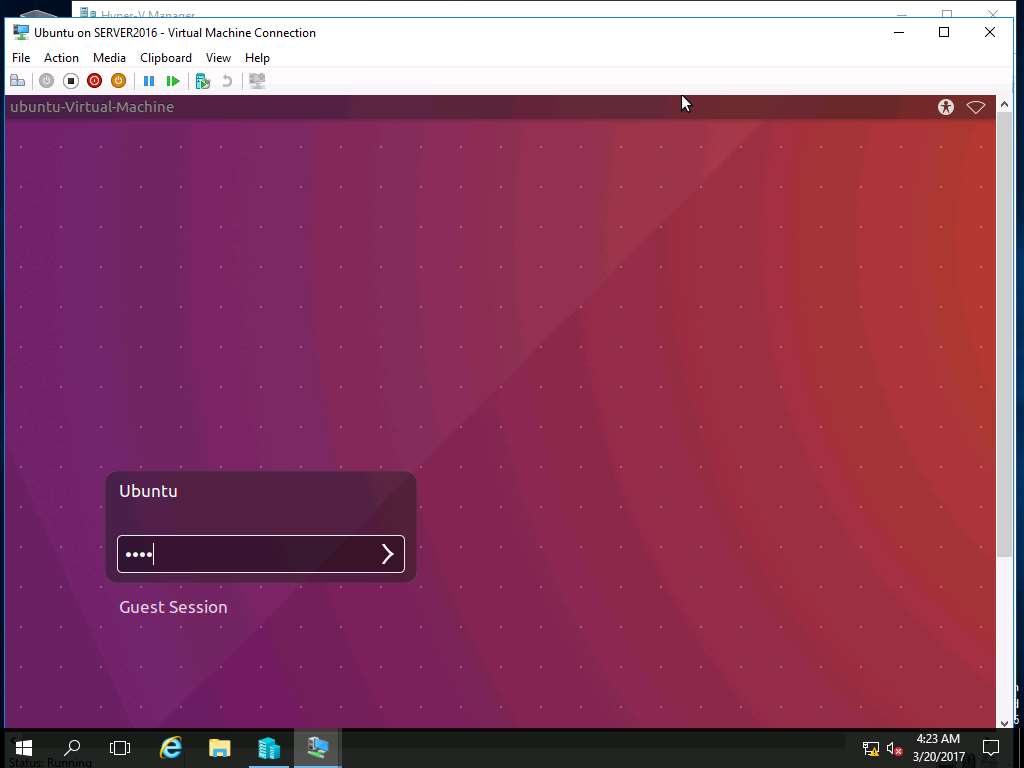
Login screen of Ubuntu VM appears, enter toor in the password field and hit enter.
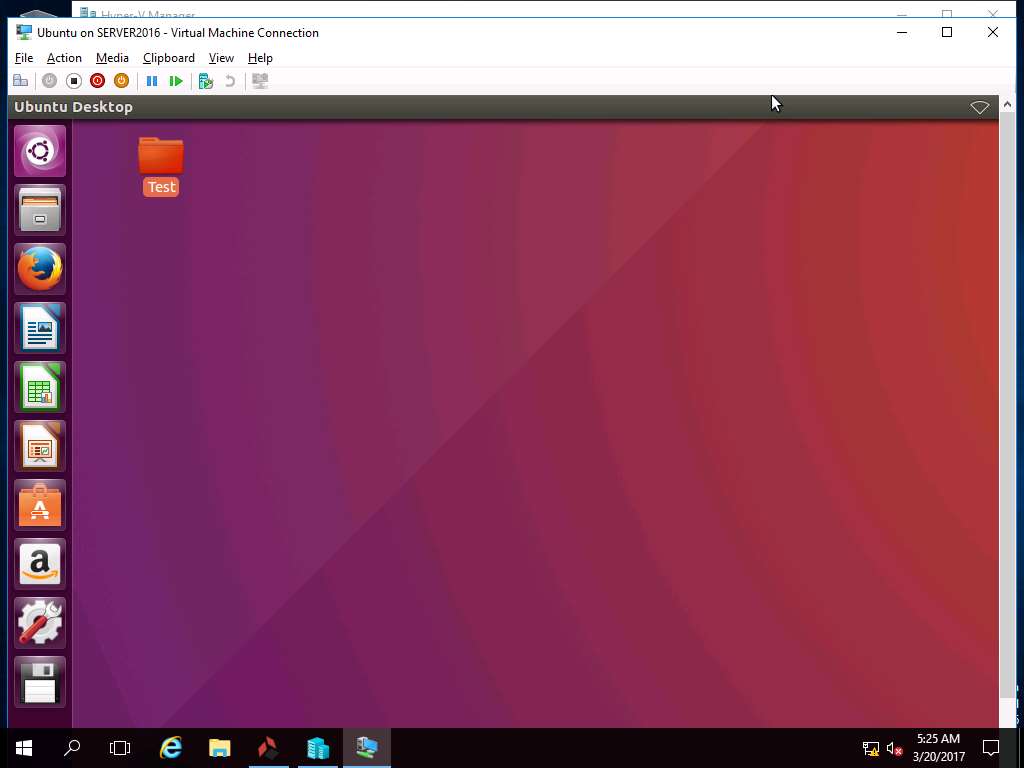
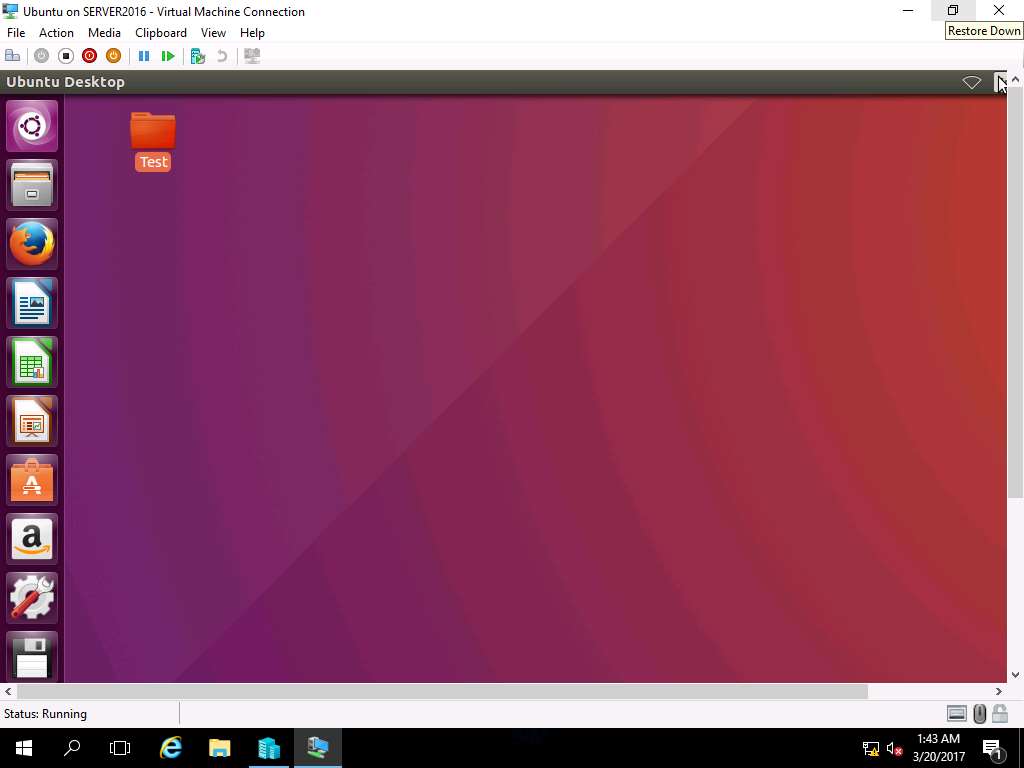
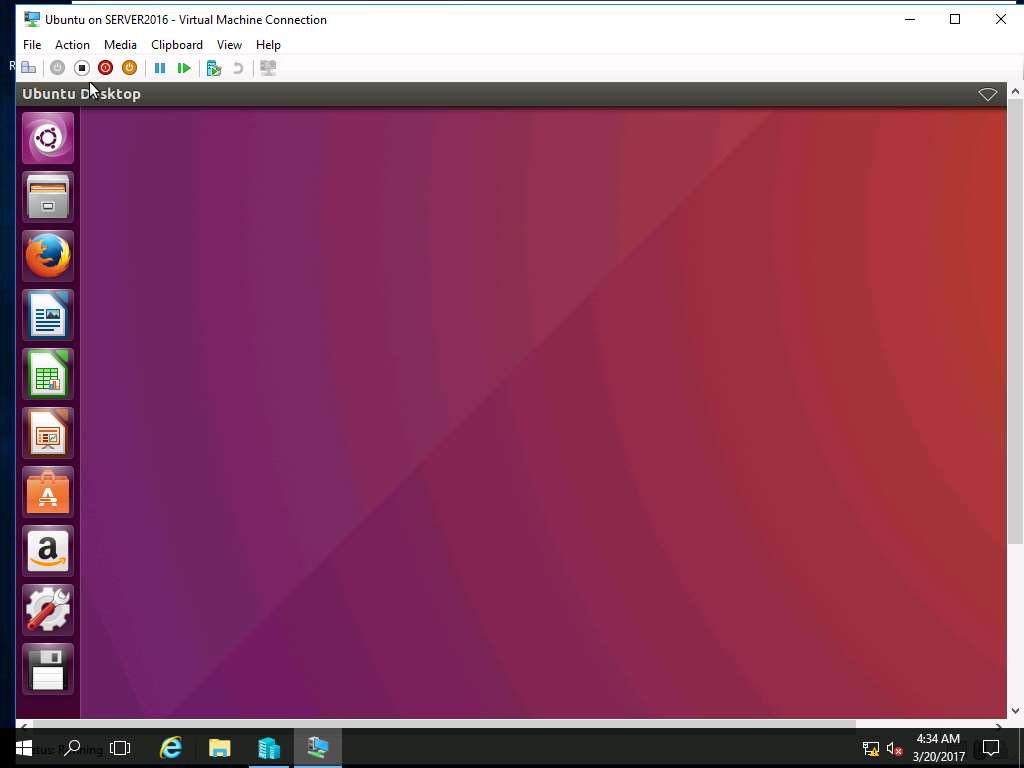
Right-click on the Desktop of Ubuntu VM and select Folder from the context menu.
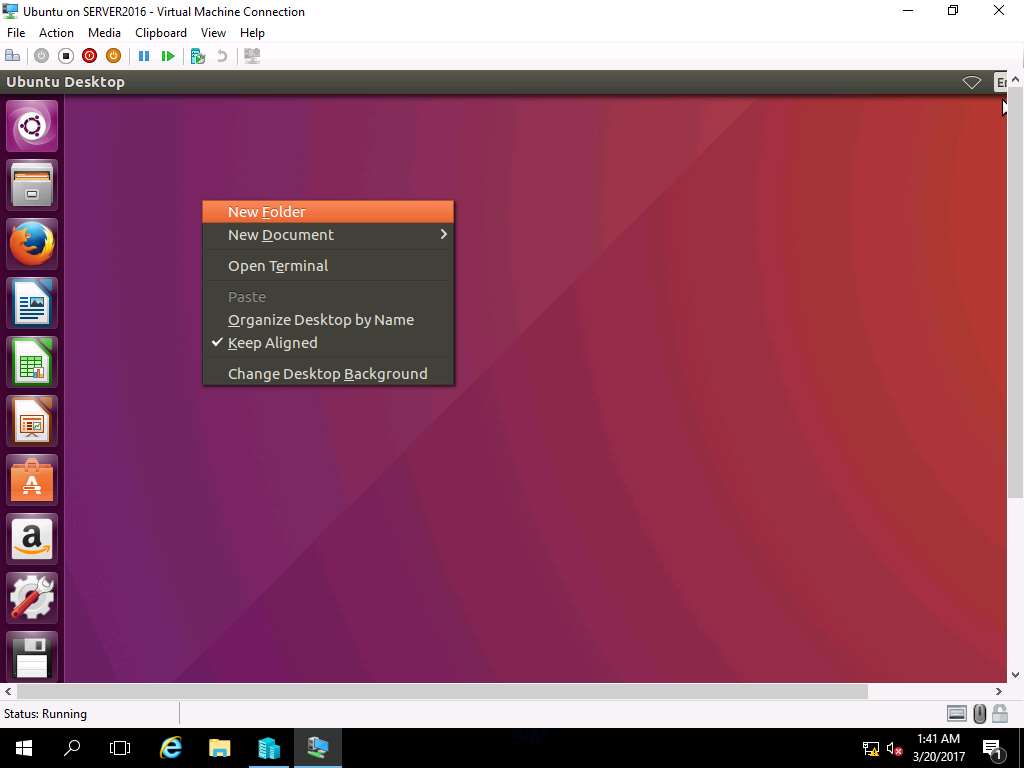
Rename the New Folder as Test.
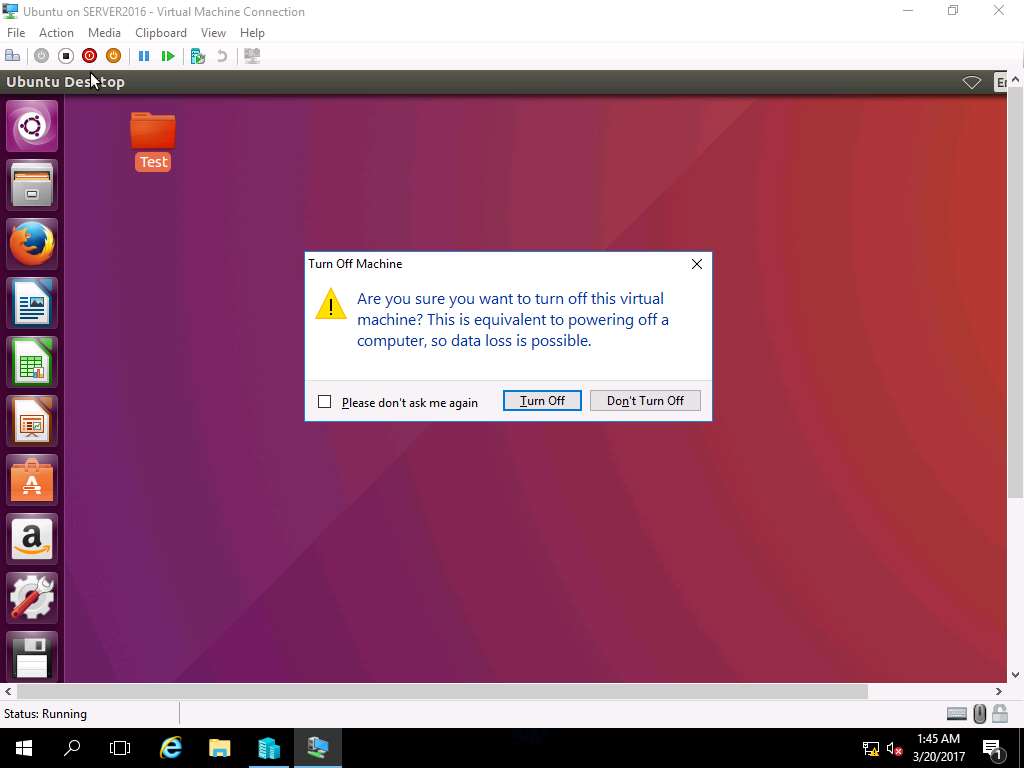
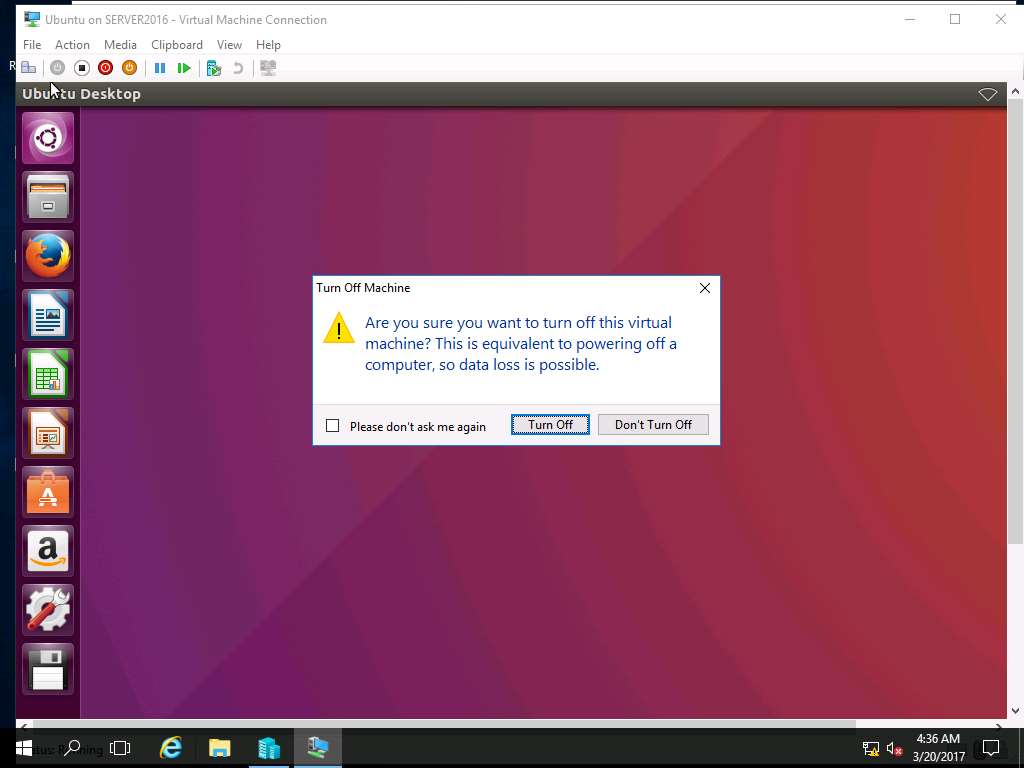
Click Turn off button in the menu-bar to turn off Windows 10 VM.
Alternatively, you can select Turn-Off from the Action drop-down menu.

Turn Off Machine Window appears, click Turn Off button as shown in the screenshot.
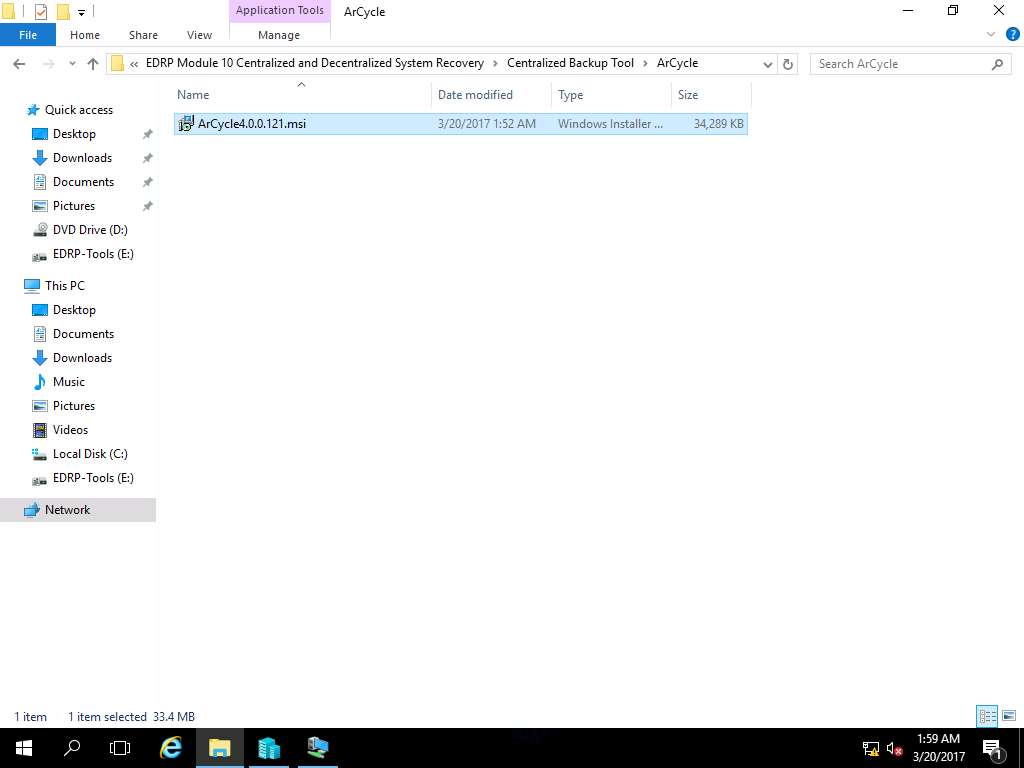
To install ArCycle tool in Server 2016, navigate to E:\EDRP-Tools\EDRP Module 10 Centralized and Decentralized System Recovery\Centralized Backup Tool\ArCycle in Server 2016 and double click ArCycle4.0.0.121.msi installer file as shown in the screenshot
Open File -Security Window appears, click Run to continue.

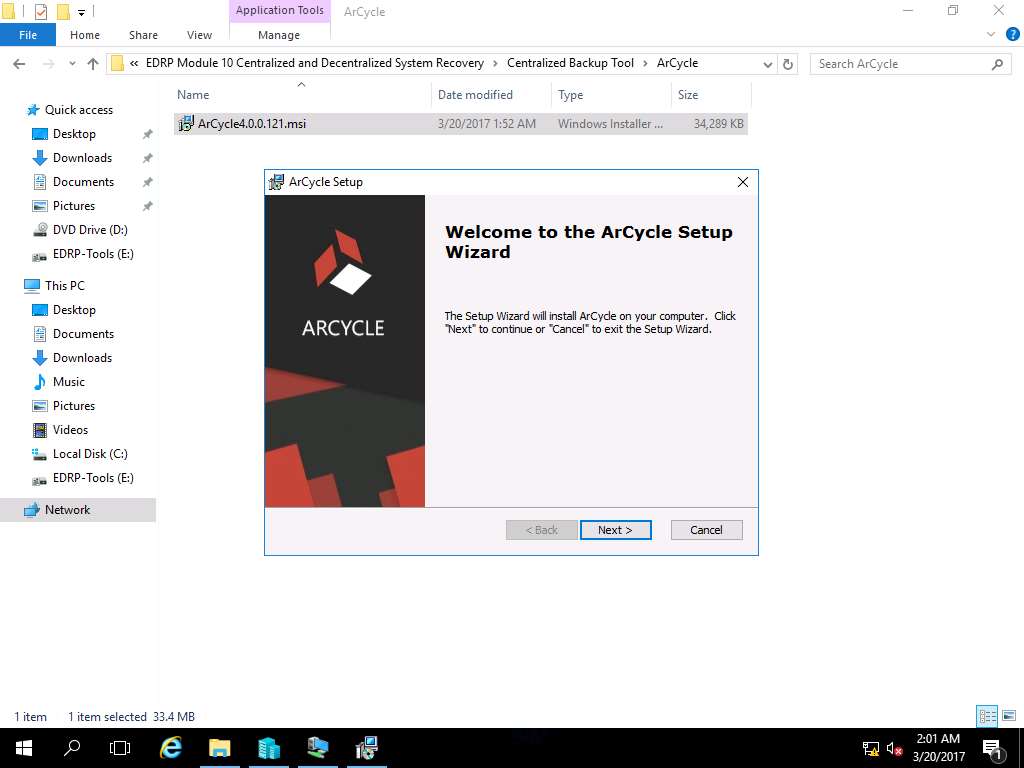
ArCycle Setup Wizard appears, click Next.
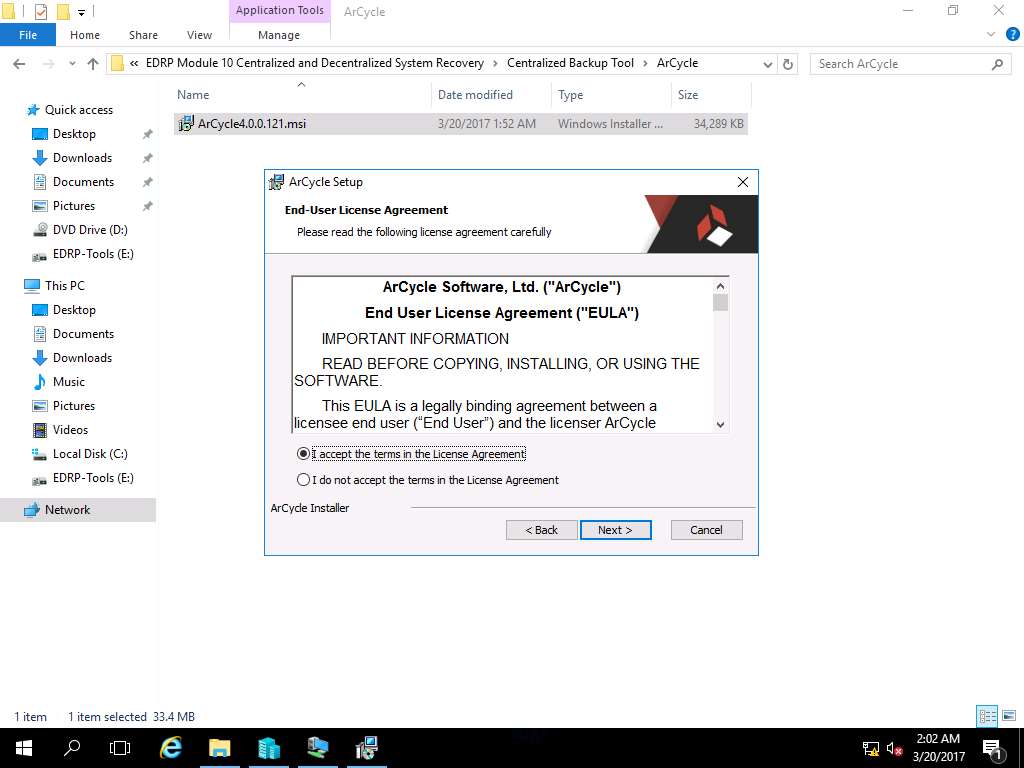
End-User License Agreement wizard appears; select I accept the terms in the License Agreement radio button and click Next.
Select Installation Folder wizard appears, click Next to select the default location for installation.

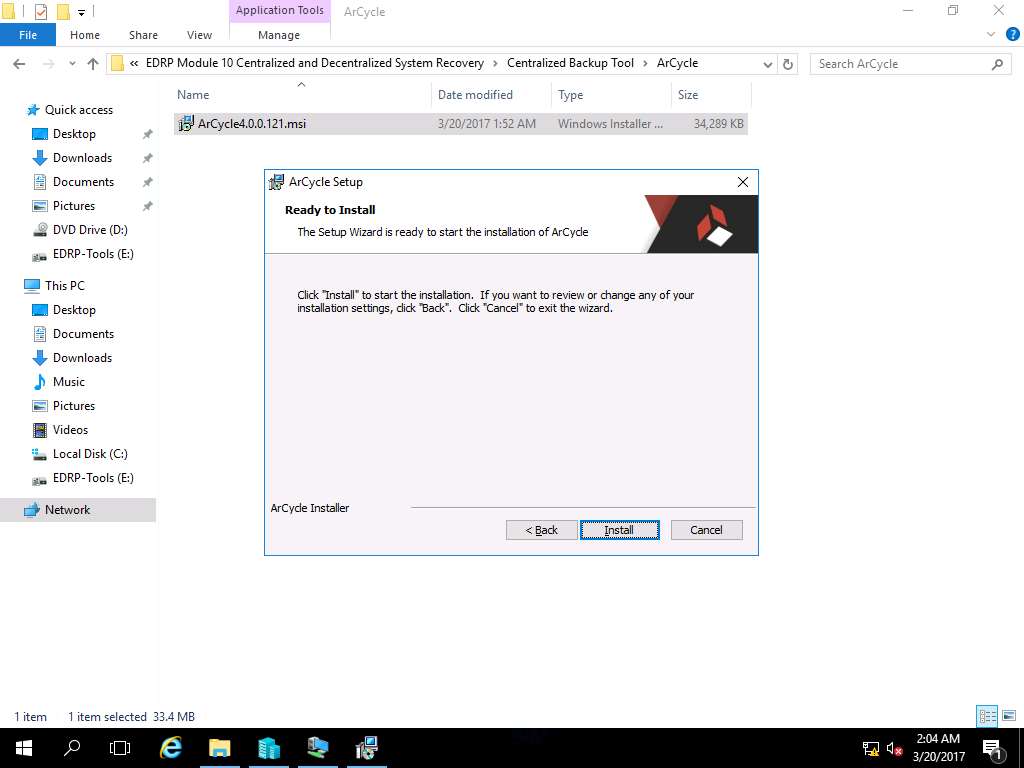
Ready to Install wizard appears, click Install to start the installation process.
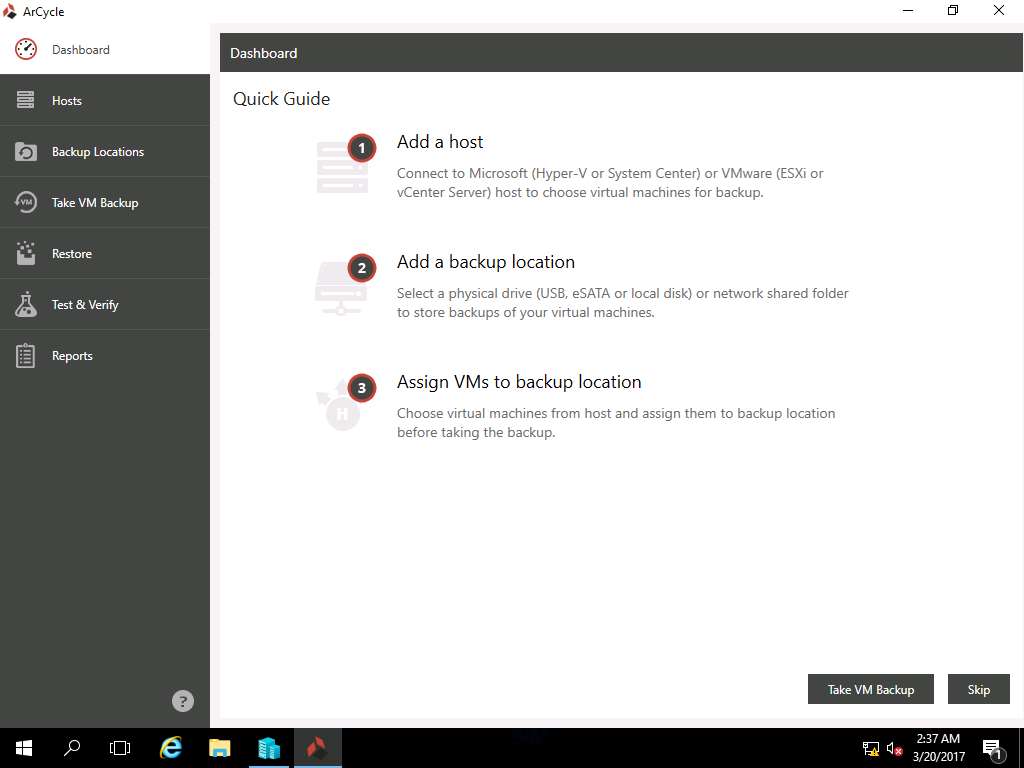
Completing the ArCycle Setup Wizard appears after successful installation. Launch ArCycle is selected by default, click Finish. This action will launch the ArCycle tool.

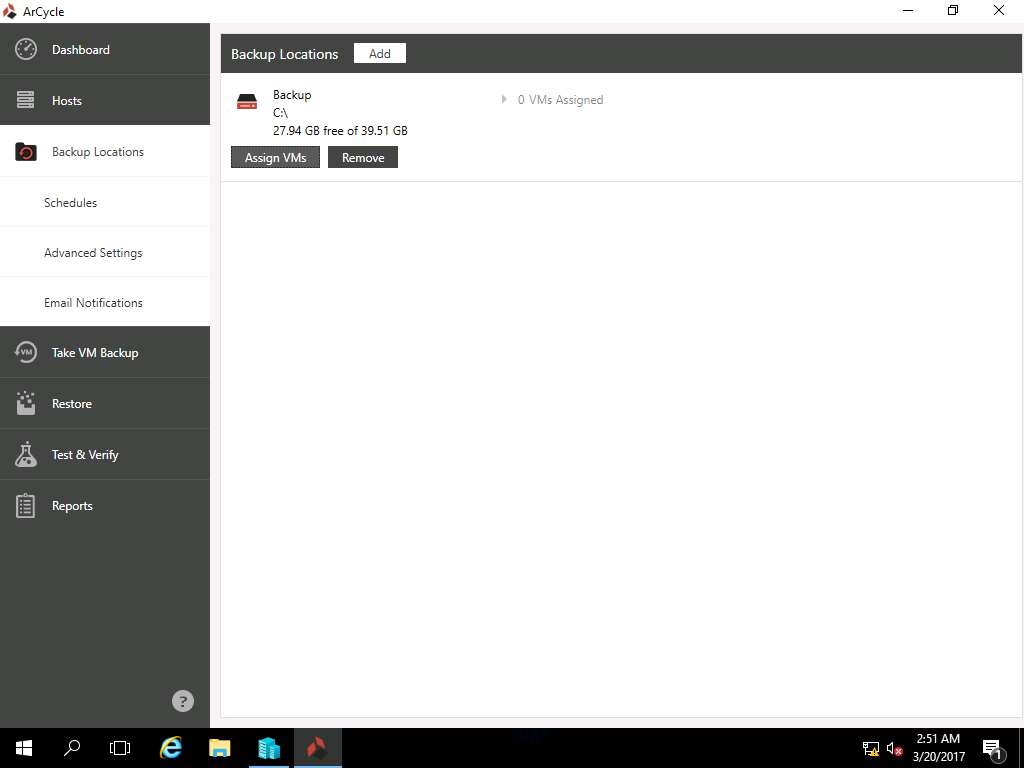
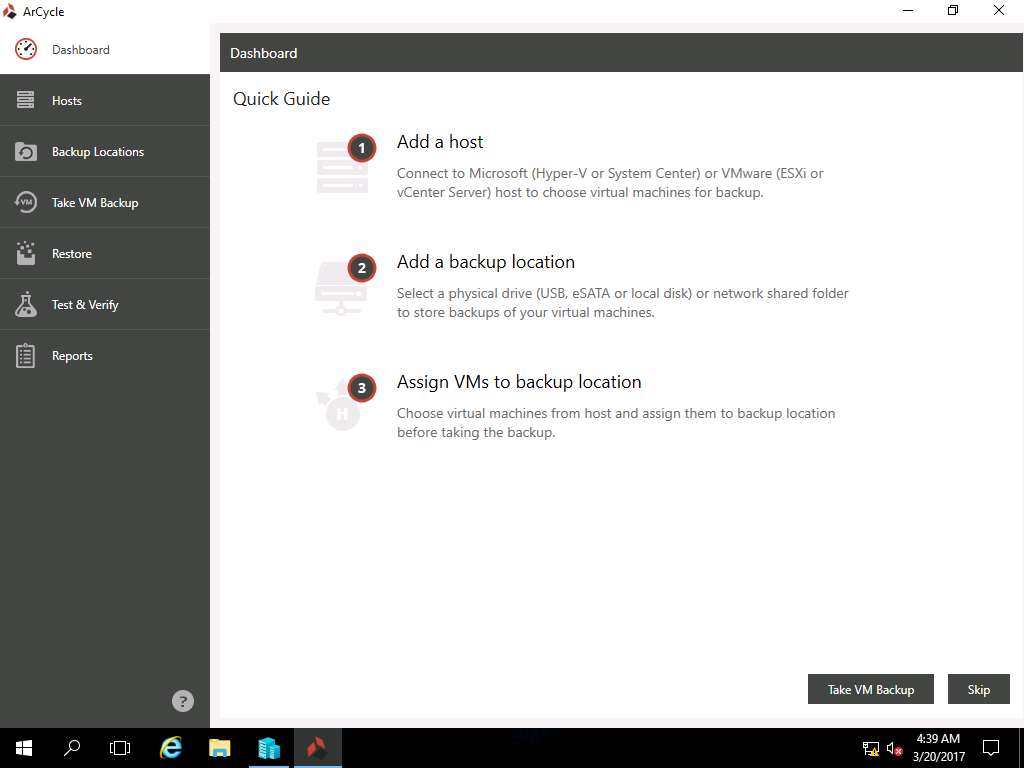
ArCycle Window appears, in left pane click Backup Locations.
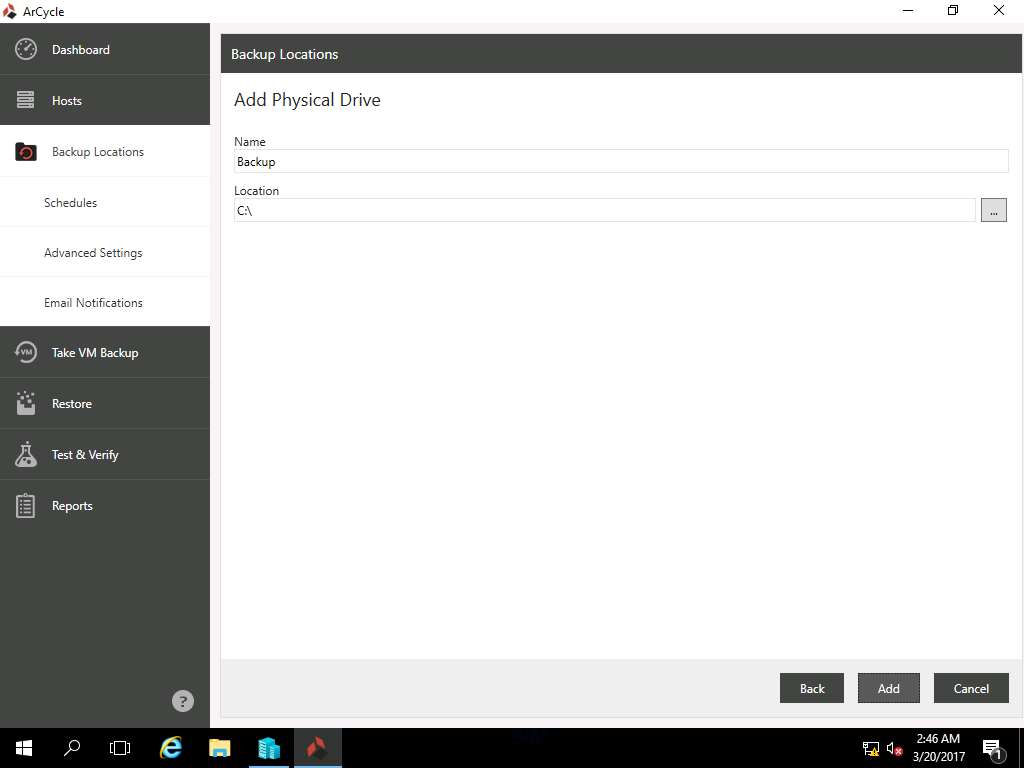
Backup Locations window appears, in Select backup location type pane select Physical drive option as shown in the screenshot.

Add Physical Drive window appears, In Name field enter Backup and in Location feild enter **C:** and click **Add.**
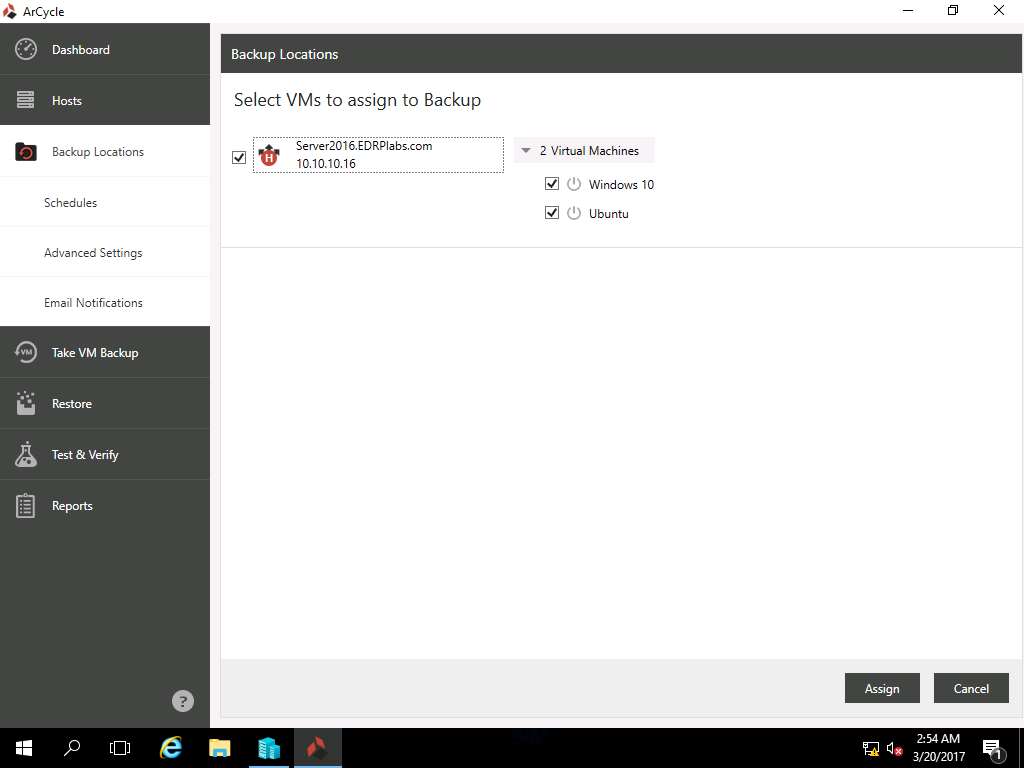
Backup Locations window appears, in right pane click Assign VMs button as shown in the screenshot.
Select VMs to assign to Backup window appears, select Server2016.EDRPlabs.com 10.10.10.16 radio button. This will select all the VMs available i.e. Windows 10 and Ubuntu. Click Assign to continue.
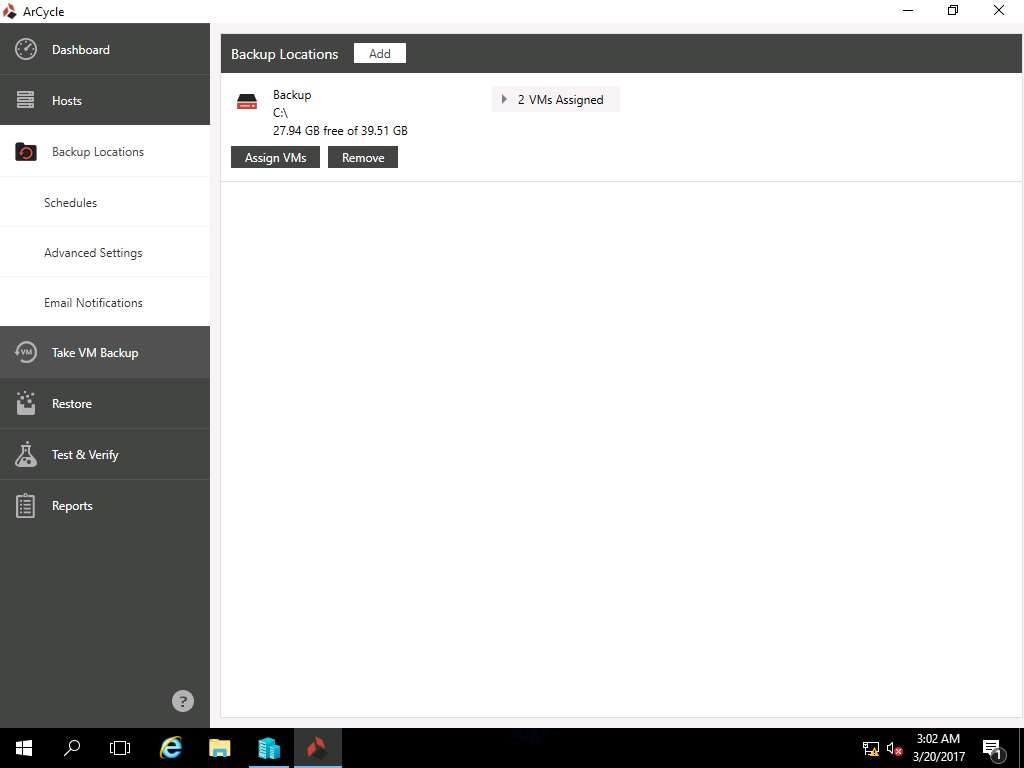
Backup Locations window appears again, click Take VM Backup in left pane.
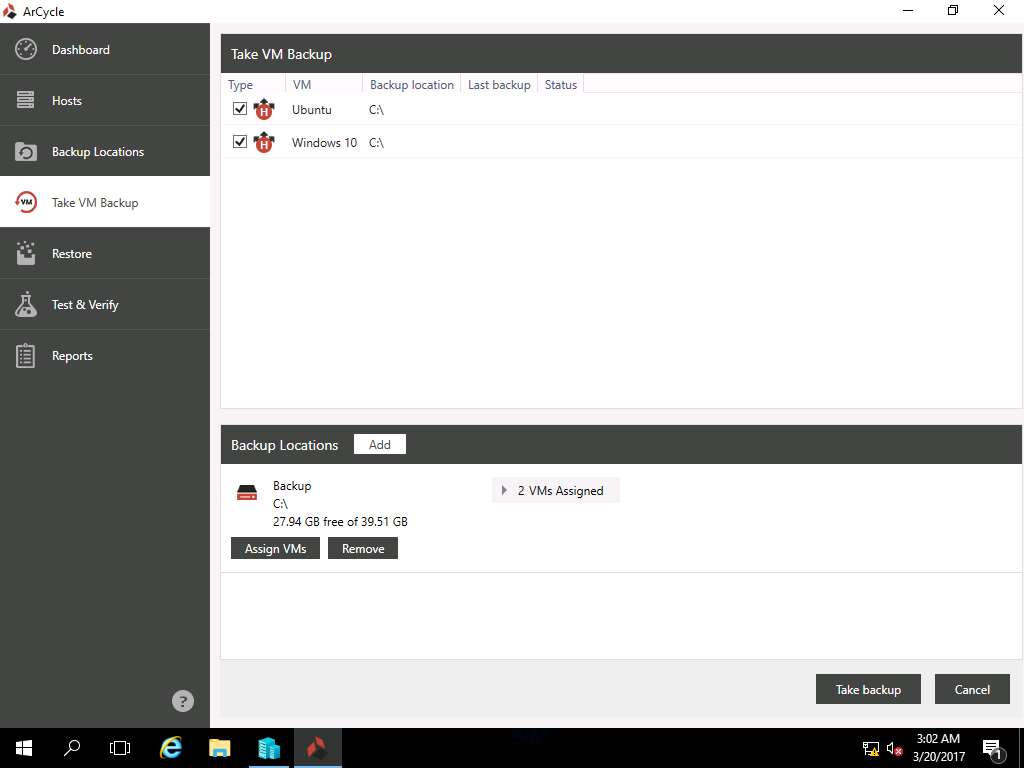
Take VM Backup window appears, select Ubuntu and Windows 10 VM by ticking the checkbox. Click Take Backup to start the backup progress.
Dashboard window appears showing the backup progress of Ubuntu and Windows 10 VM.
This process may take 5 to 10 minutes to complete.

In this lab you have learn how to conduct centralized backup of a virtual machines in a controlled environment using ArCycle Tool.
Recovering VM Instances from an ArCycle Centralized Backup
Scenario
ArCycle is a specific software designed to take the backups of the virtual machines using various virtualization platforms like Hyper-V and V-Sphere. It is a handy tool to make centralized backups of the virtual machine over to a storage network like NAS.
Lab Scenario
This lab focuses on performing a restoration or recovery of VM instances an ArCycle centralized backup. As a network administrator, you should be able to conduct centralized data backup and restoration of the virtual machines.
Lab Objectives
This lab demonstrates how to conduct centralized recovery of a virtual machine in a controlled environment using ArCycle tool.
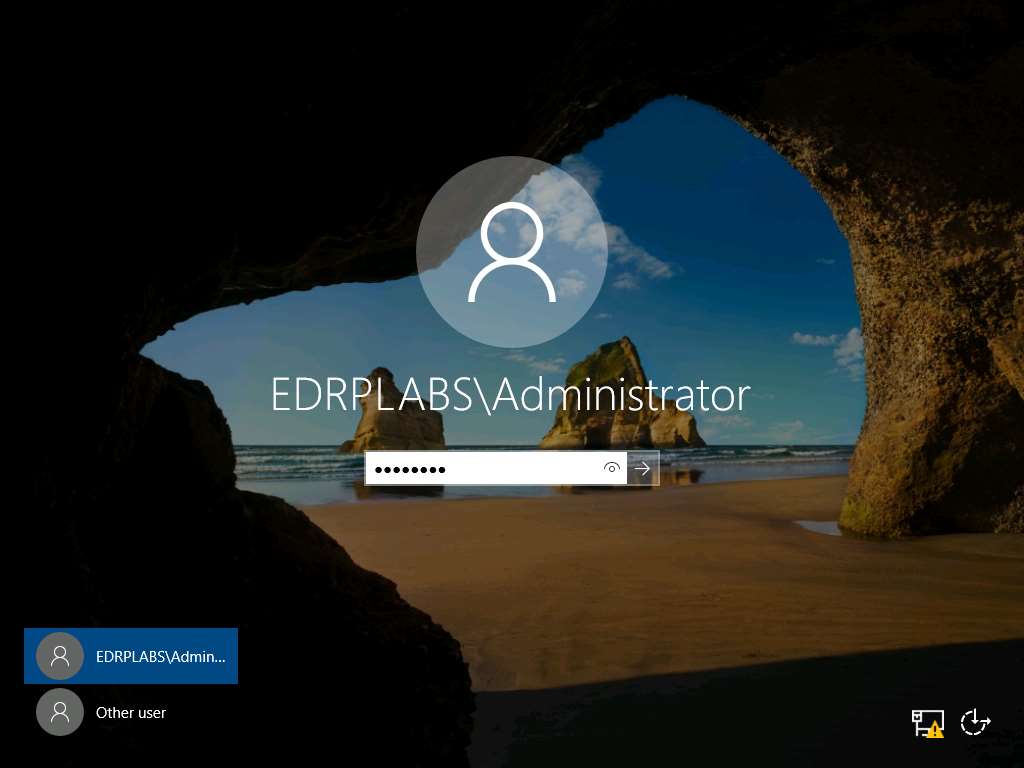
Click Ctrl+Alt+Delete button under Windows Server 2016 from Machines pane.
Alternatively you can also click Ctrl+Alt+Delete from the Commands menu.
Type Pa$$w0rd in the password field and press Enter.
Alternatively click Clipboard icon under Windows Server 2012 Primary Server in the Machines pane to paste the Password or click Paste Password option from Commands --> Paste menu.

Launch Hyper-V Manager by clicking the Hyper-V Manager shortcut icon on the desktop as shown in the screenshot.
Alternatively, you can launch the Hyper-V Manager by navigating to Administrative Tools --> Hyper-V Manager.
Hyper-V Manager window appears, right-click Windows 10 in the Virtual Machines pane and select Connect… from the context menu.
Windows 10 on SERVER2016 window appears, click Start button to Start Windows 10 VM.
Alternatively, click Action on the menu-bar and select Start from the drop-down menu.
Windows 10 lock-screen page appears, double-click on the lock-screen and enter Pa$$w0rd in the password field and press Enter.
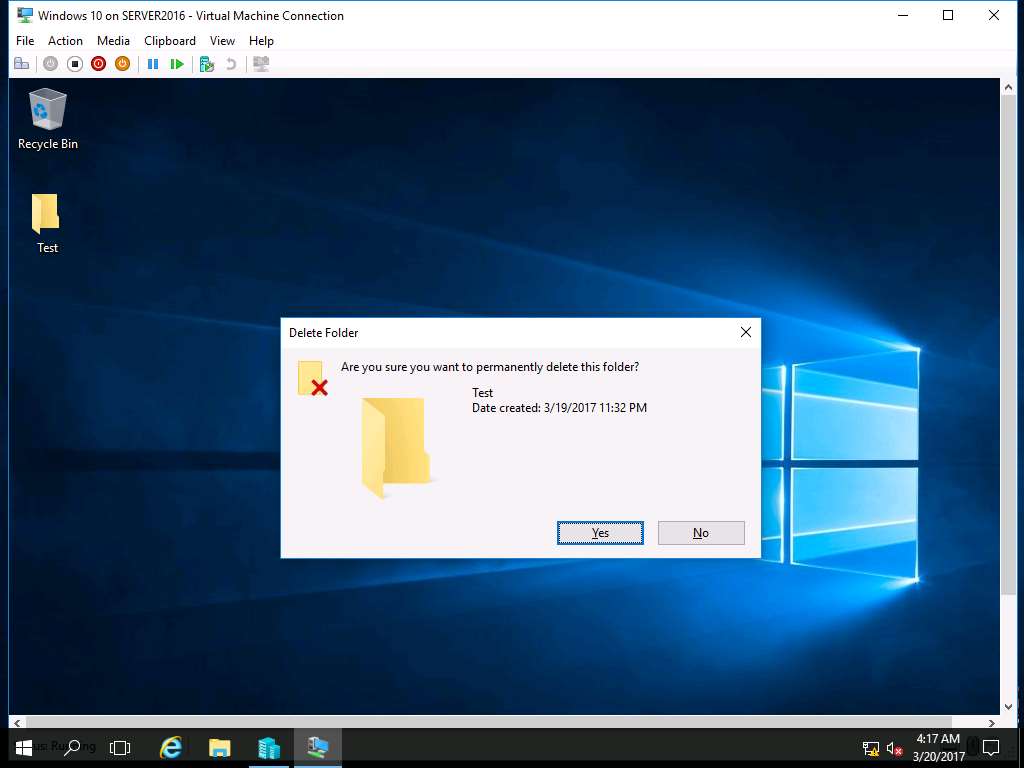
Navigate to desktop of Windows10 and permanently delete Test folder by clicking Shift+Delete button. Delete Folder window appears, click Yes.
Click Turn off button in the menu-bar to turn off Windows 10 VM.
Alternatively, you can select Turn-Off from the Action drop-down menu.
Turn Off Machine Window appears, click Turn Off button as shown in the screenshot.
Again navigate to Hyper-V Manager and right-click Ubuntu in the Virtual Machines pane and select Connect… from the context menu.
Ubuntu on SERVER2016 window appears, click Start button to Start Ubuntu VM.
Alternatively, click Action on the menu-bar and select Start from the drop-down menu.
Login screen of Ubuntu VM appears, enter toor in the password field and hit enter.
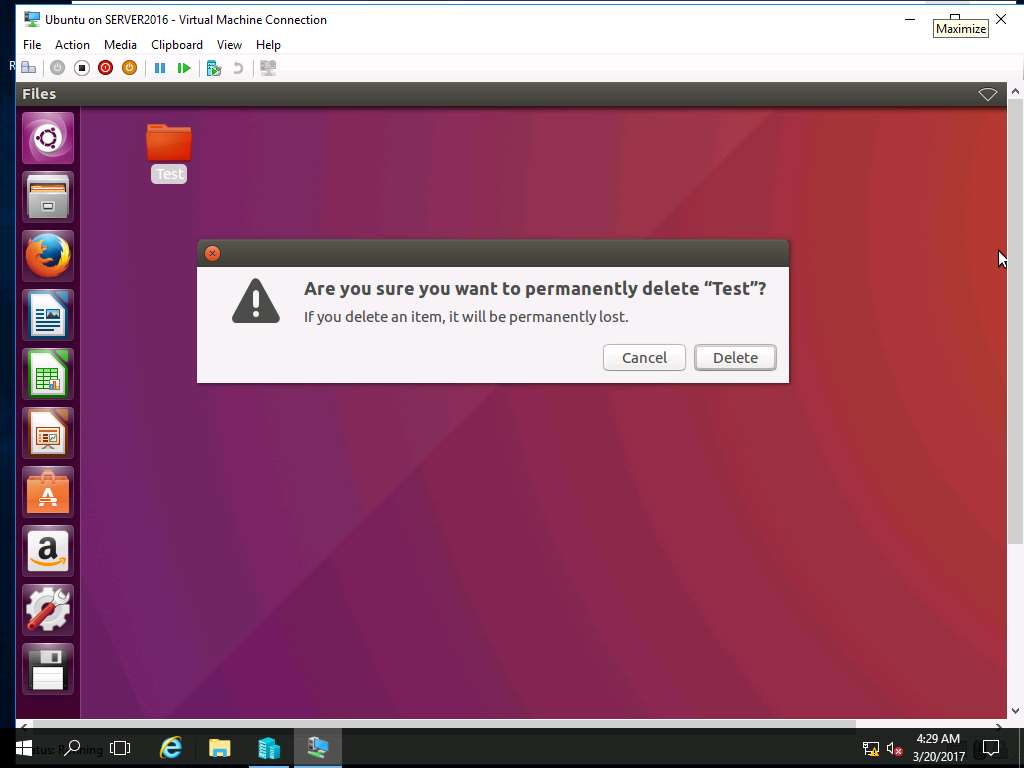
Navigate to desktop of Ubuntu and permanently delete Test folder by clicking Shift+Delete button. Warning window appears, click Delete as shown in the screenshot.
Click Turn off button in the menu-bar to turn off Windows 10 VM.
Alternatively, you can select Turn-Off from the Action drop-down menu.
Turn Off Machine Window appears, click Turn Off button as shown in the screenshot.
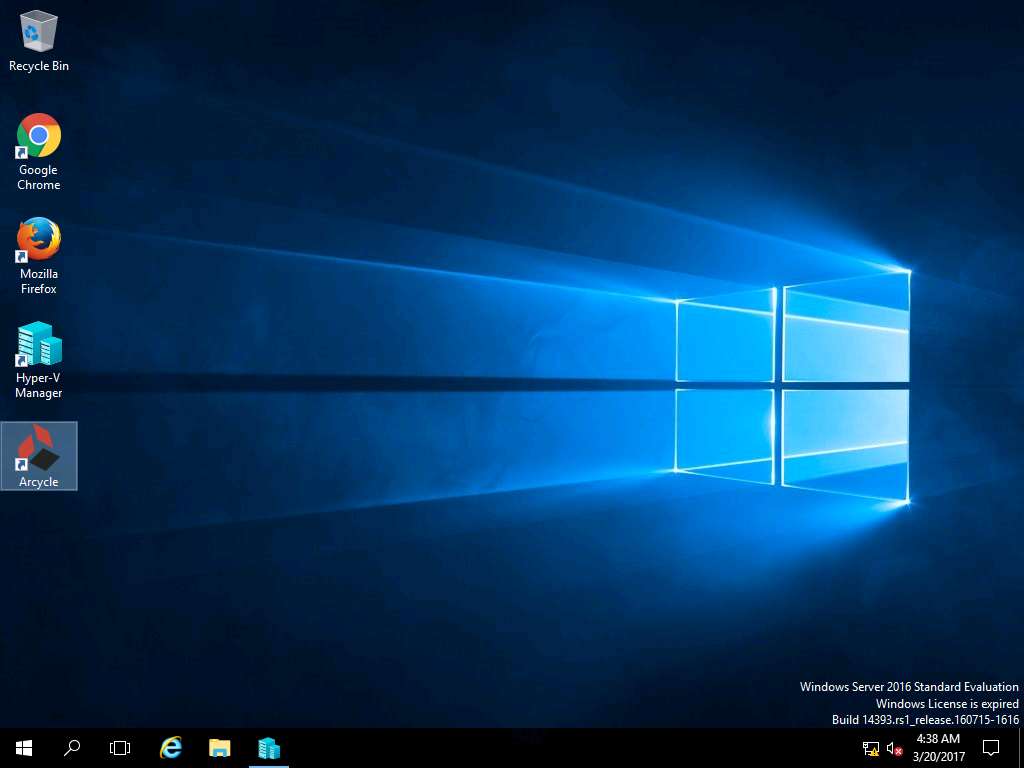
Navigate to Desktop of Windows 2016 Machine and double-click ArCycle shortcut icon.
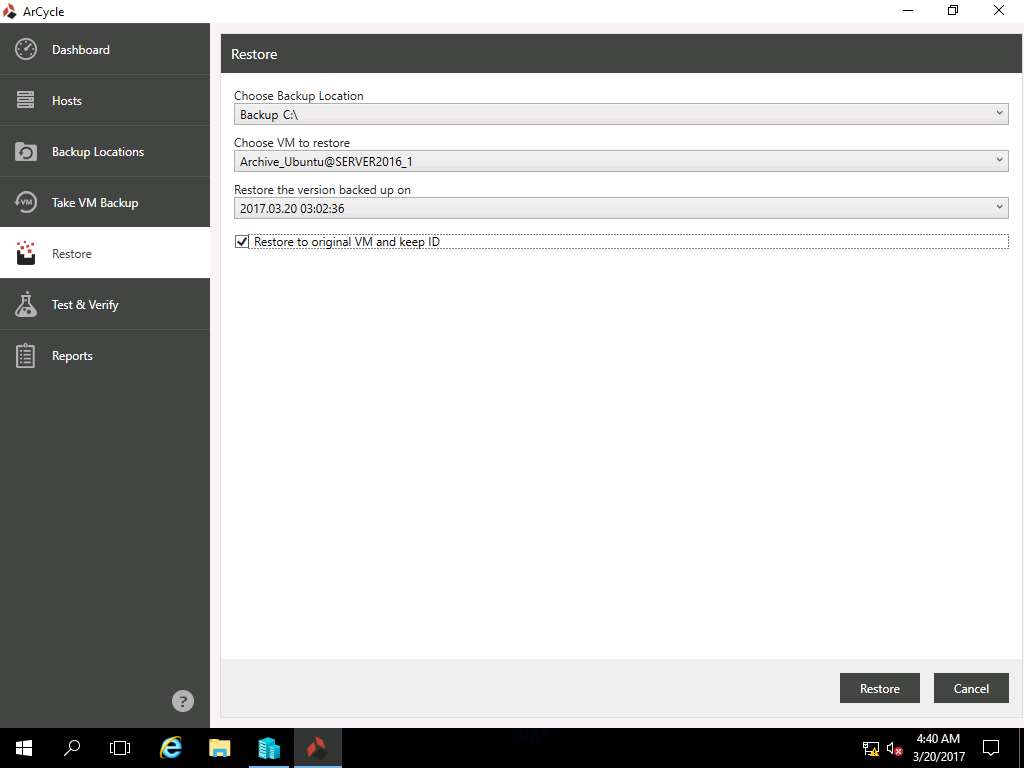
ArCycle window appears, click Restore option present in the left pane.
Restore window appears, keep the default selection (in this case, Ubuntu VM is selected), Restore to original VM and Keep ID checkbox is ticked. Click Restore to start the restoration of Ubuntu VM.
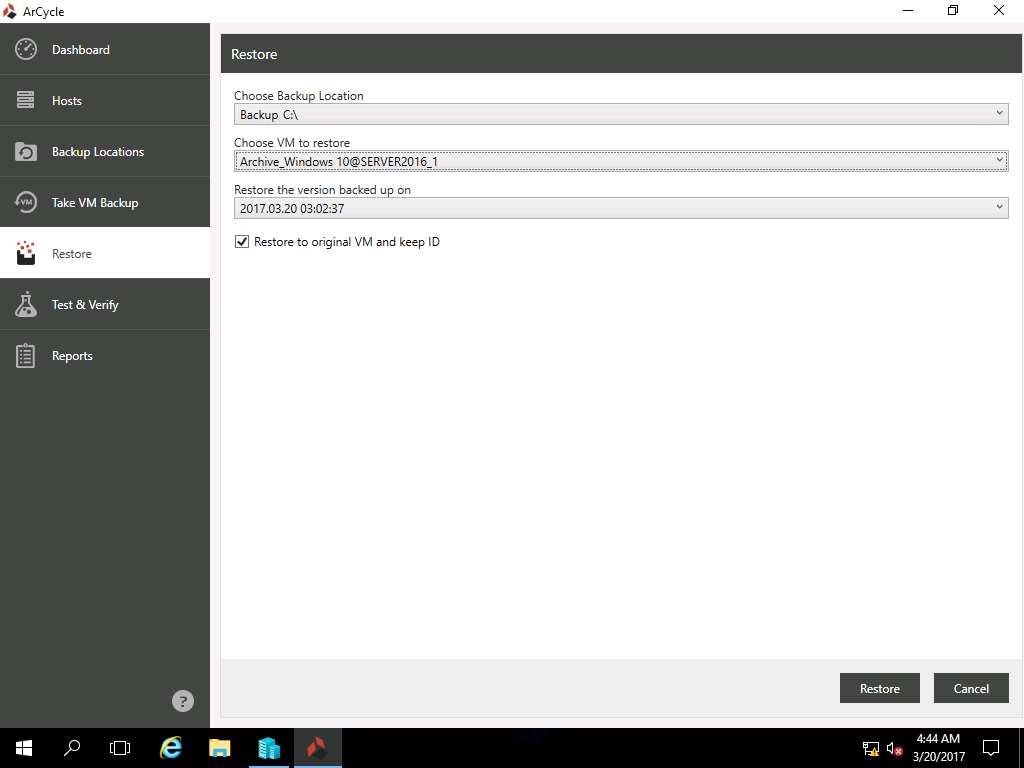
Dashboard window appears, again click Restore option present on left pane.

Restore window appears again, in Choose VM to restore drop-down menu select Archive_Windows 10@SERVER2016_1 and click Restore.
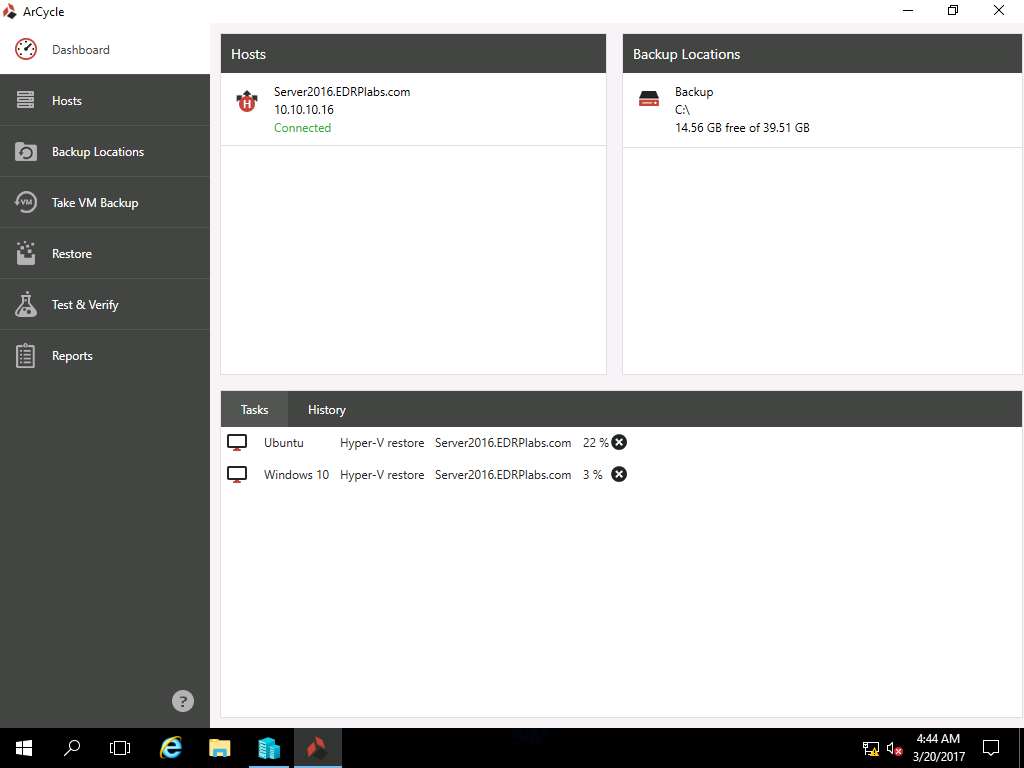
Dashboard window appears again, showing the restoration process of Ubuntu and Windows 10 VM.
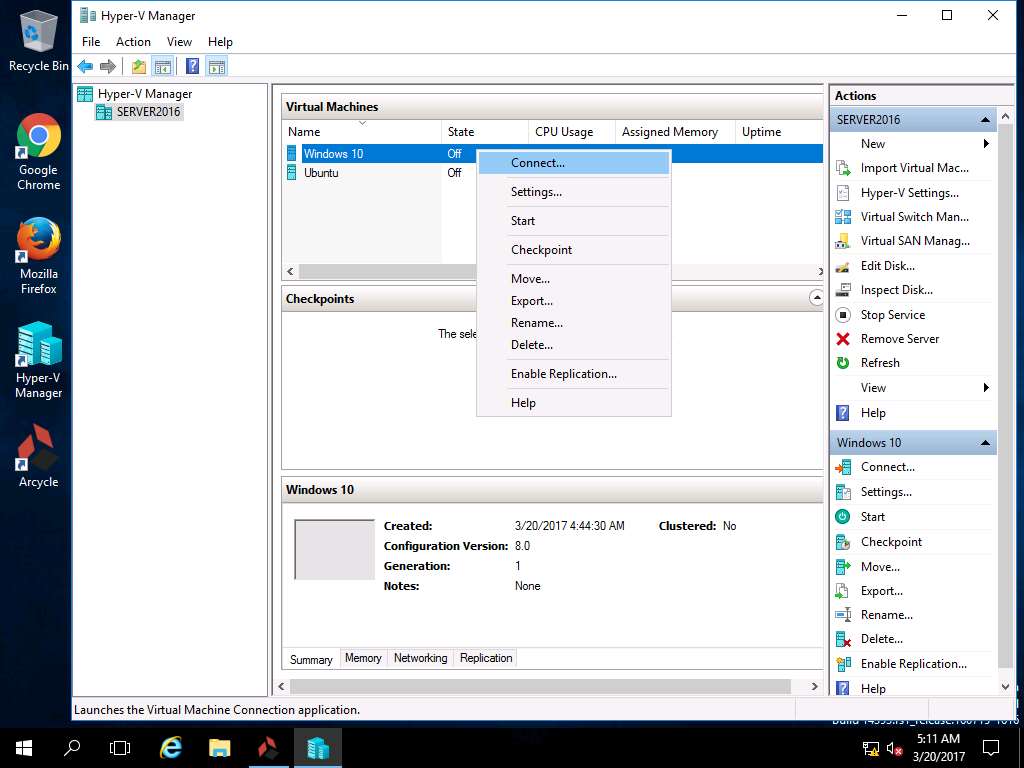
Again navigate to Hyper-V Manager, and right-click Windows 10 in the Virtual Machines pane and select Connect… from the context menu.
Windows 10 on SERVER2016 window appears, click Start button to Start Windows 10 VM.
Alternatively, click Action on the menu-bar and select Start from the drop-down menu.
Windows 10 lock-screen page appears, double-click on the lock-screen and enter Pa$$w0rd in the password field and press Enter.
Permanently deleted folder Test appears on the desktop.
Right-click Ubuntu in the Virtual Machines pane and select Connect… from the context menu.
Ubuntu on SERVER2016 window appears, click Start button to Start Ubuntu VM.
Alternatively, click Action on the menu-bar and select Start from the drop-down menu.
Login screen of Ubuntu VM appears, enter toor in the password field and hit enter.

Permanently deleted folder Test appears on the desktop, which demonstrates successful centralized restoration of Windows 10 and Ubuntu VM.