Module 06: Data Backup Strategies
Objective
Labs in this module demonstrate various strategies related to data backup. Data backup strategies mostly emphasize on the ways through which systems can be backed up and restored within a given RPO and RTO to minimize the impact of any disaster. As a disaster recover professional you should know various data backup strategies like Disk-to-Disk (D2D) backup and Data Deduplication in order to achieve quick and effective data backup and restoration.
Scenario
For organizations which relies on data, it is a must for them to implement data backup strategies to protect their data. Data backup strategies must include various methods and plans to quickly perform data backups and recovery. If an organization is using Virtual Tape Library (VTL) architecture to back up data, then its RTO and RPO will increase by 2-3 times as compared to Disk-to-Disk backup. Also, more the volume of data, the more time it takes to back it up. By deduplication of data, we can free space on a volume by looking for duplicated portions. Data Deduplication optimizes redundancies without compromising data fidelity or integrity which results in faster backups due to smaller sizes.
Backup and Restoration of Disk using Disk-to-Disk (D2D) Backup Strategy
Scenario
Data backup and recovery from disks is much faster than tape. Storage and transportation of backed up data is more convenient and easier. In disk-to-disk backup strategy, the backup of a disk is created on a disk which speeds up the recovery process.
Lab Objectives
This lab demonstrates how to backup and restore a disk using disk-to-disk (D2D) backup strategy.
Lab Scenario
This lab focuses on performing a disk-to-disk backup. Disk-to-disk refers to backing up data from one hard drive to another. The source disk is known as the primary disk and the backup disk is known as the secondary disk. Both the disks in this scenario are portable. Data is usually backed up to a disk-based application or SATA/SAS array. D2D provides faster backup and recovery when compared to Virtual Tape Library.
Click Resources pane, and click Ctrl+Alt+Delete under Windows Server 2012 Primary Server thumbnail.
Alternatively you can navigate to Commands menu and click Ctrl+Alt+Delete to login.
Type Pa$$w0rd in the Password field and press Enter.
Alternatively you can click Paste Password from Commands --> Paste options or click clipboard icon under Windows Server 2012 Primary Server from Machines pane.

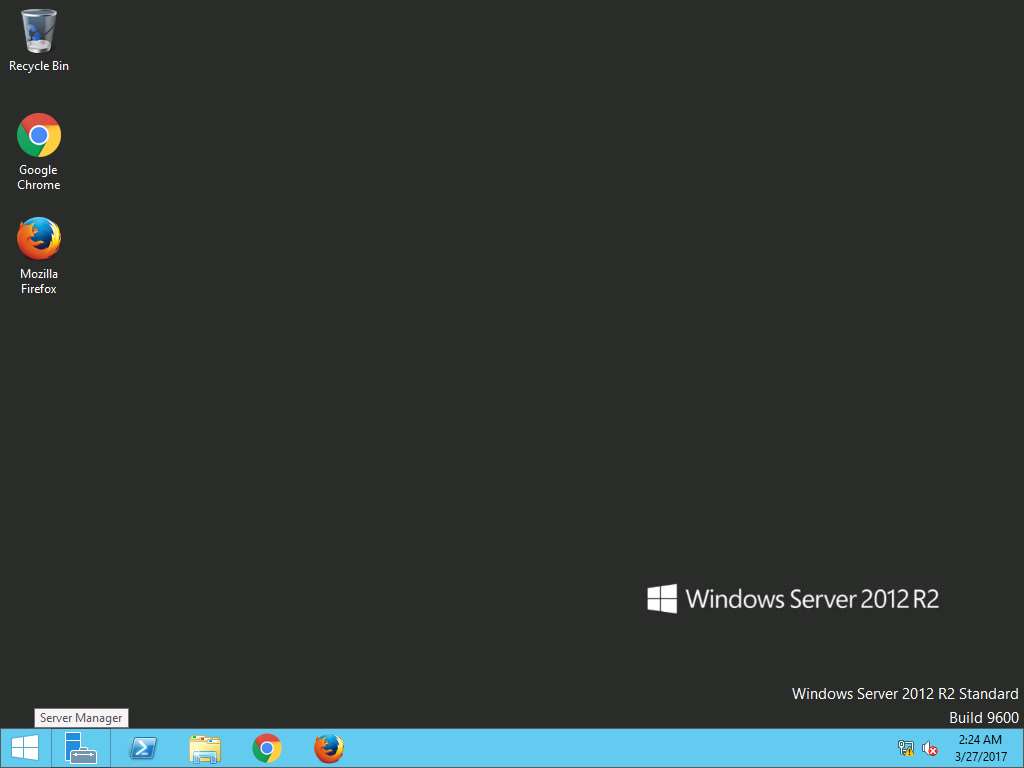
Click Server Manager icon on the task-bar to launch Server Manager for Windows Server 2012 Primary Server.
Alternatively, you can launch the Server Manager by navigating to Administrative Tools --> Server Manager.
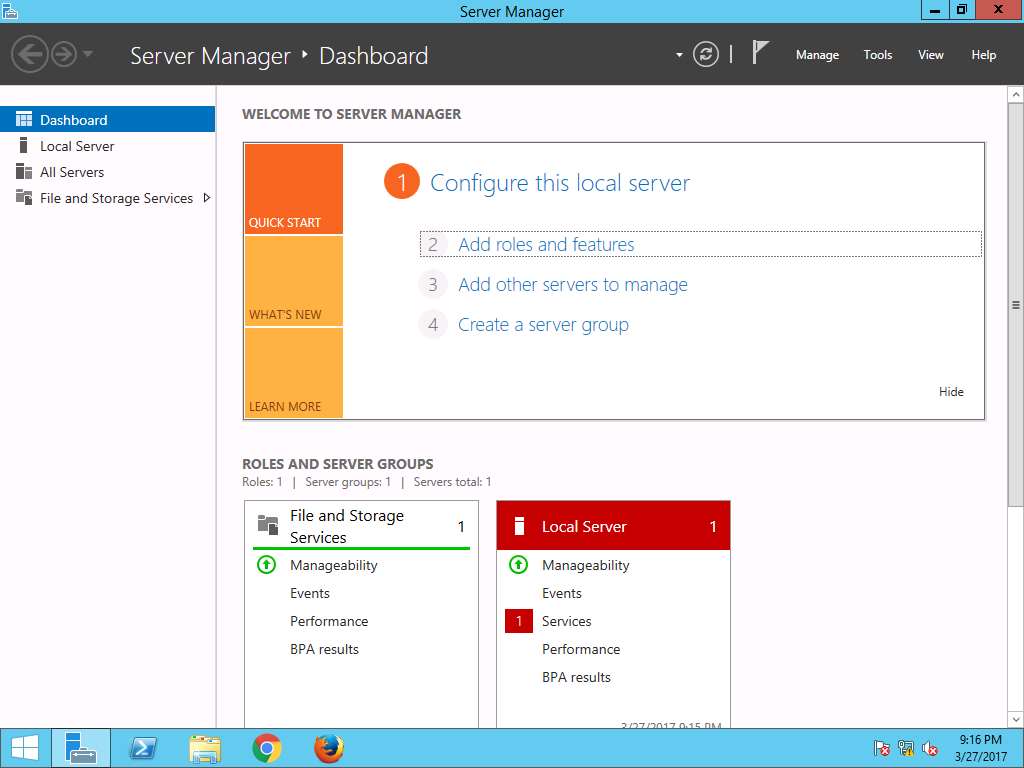
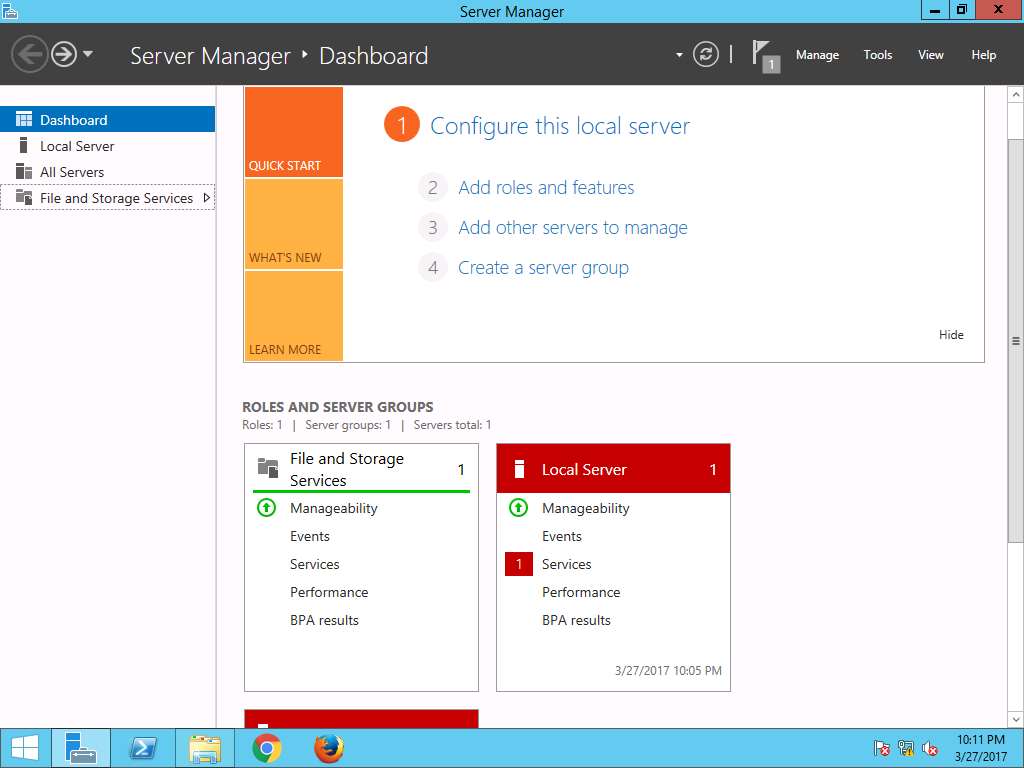
Server Manager window appears, click Add roles and features option present on Configure this local server section.
Alternatively, you can navigate to Add roles and features option by clicking Manage option present on menu bar and then selecting Add roles and feature option from the drop-down menu.

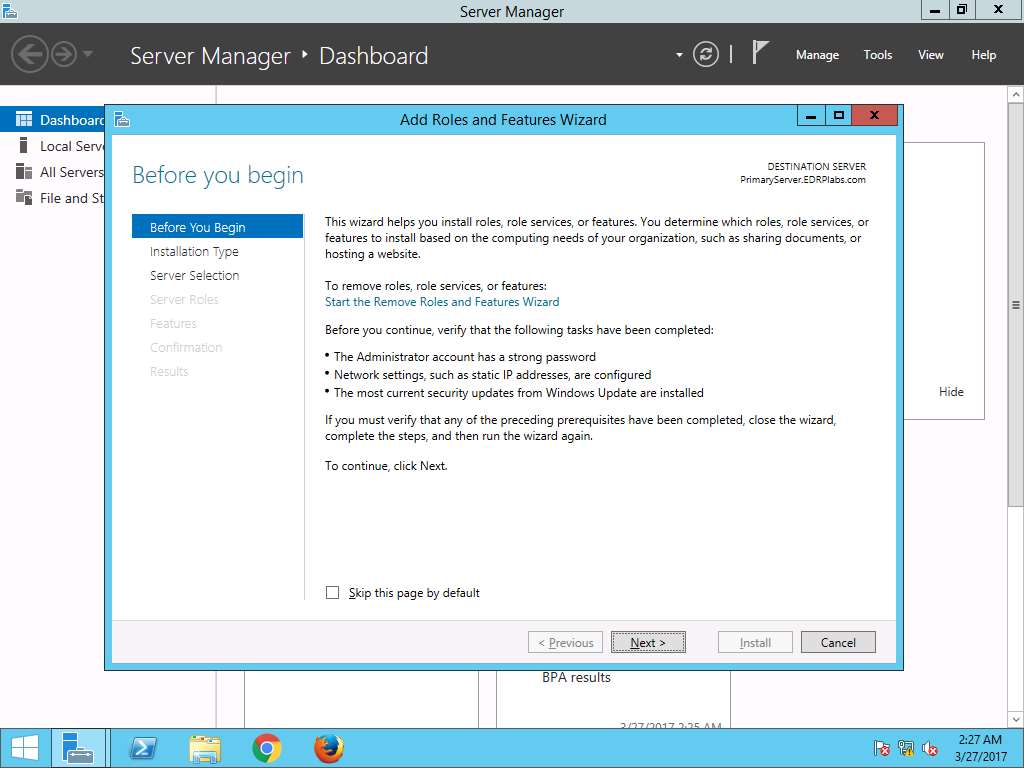
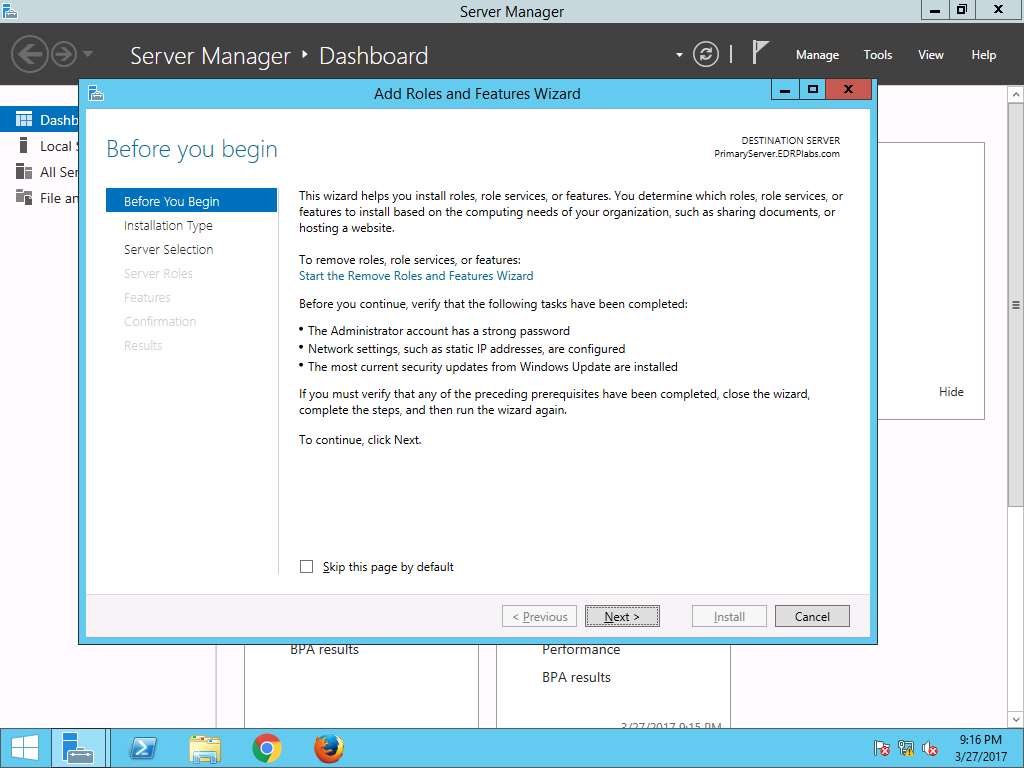
Add Roles and Features Wizard appears with Before you begin page, click Next.
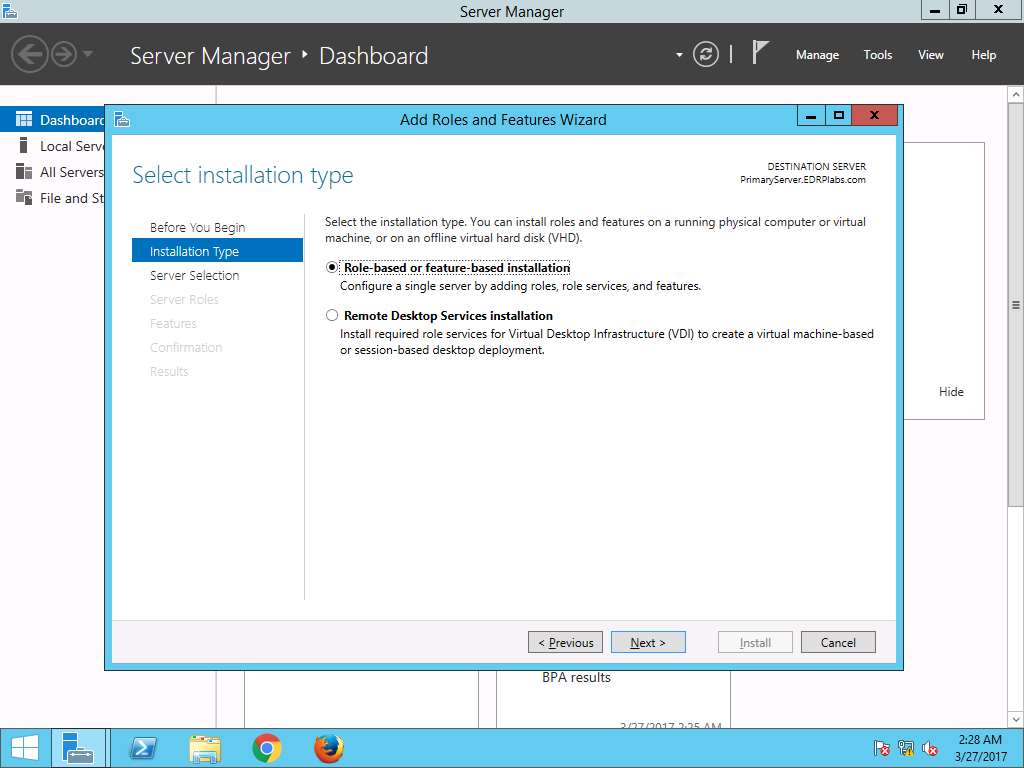
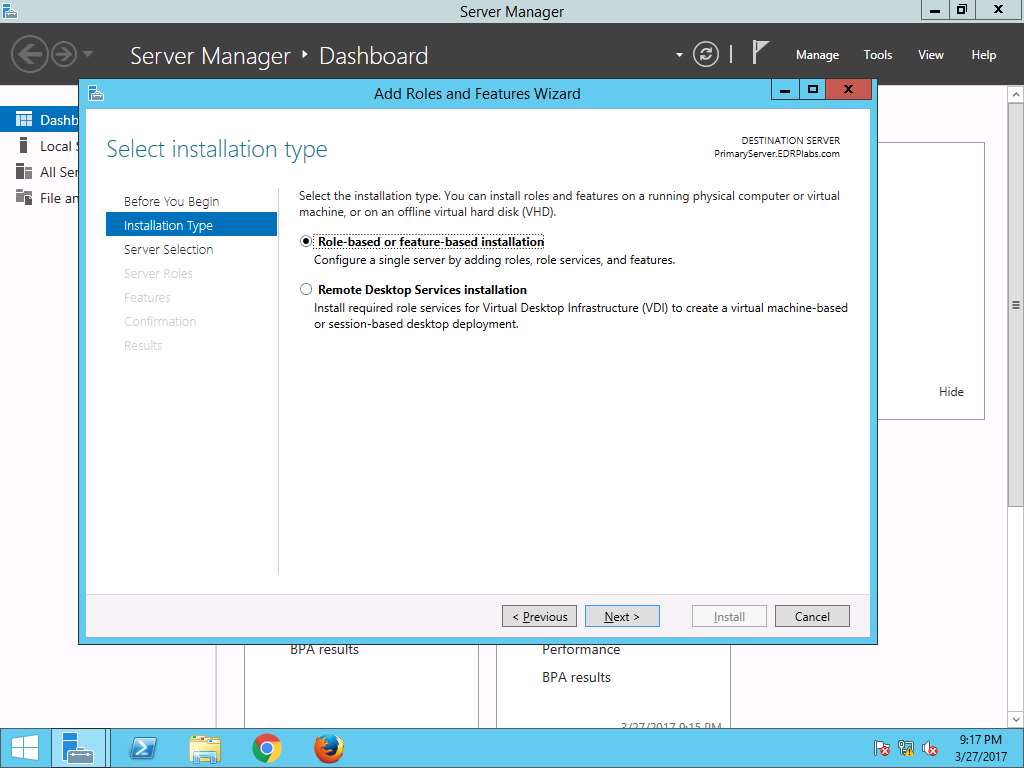
Select installation type wizard appears, Role-based or feature-based installation radio button is selected by default. Click Next button to continue.
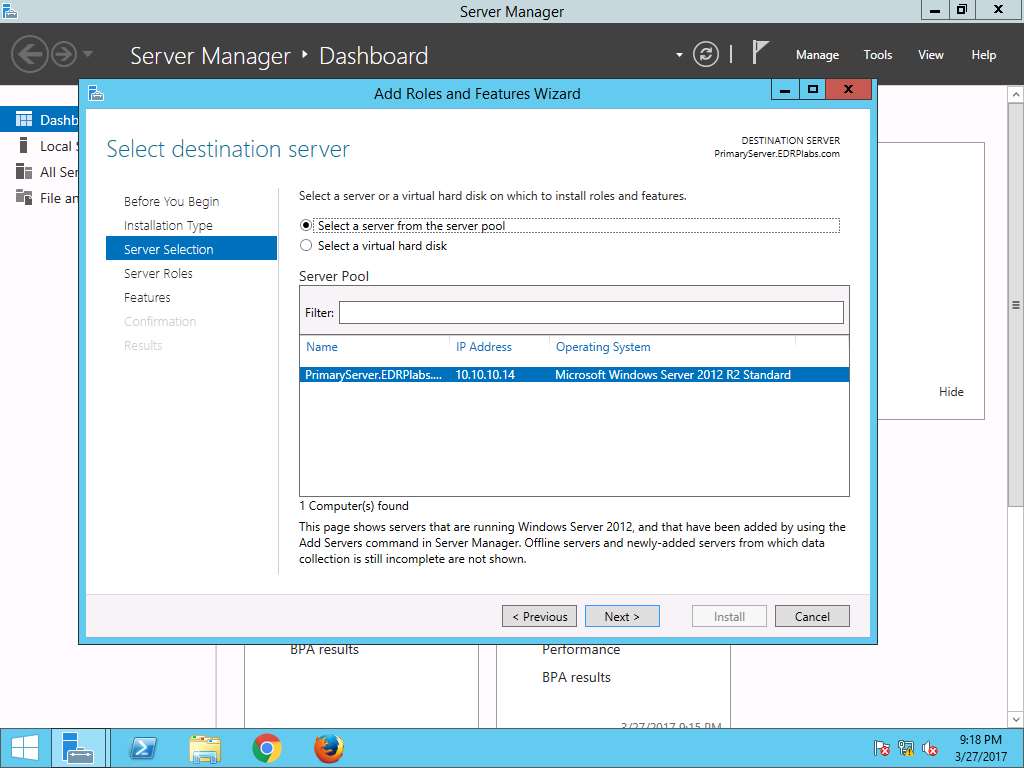
Select destination server wizard appears, select Select a server from the server pool radio button. In Server Pool section, select PrimaryServer.EDRPlabs.com and click Next.

Select server roles wizard appears, click Next.

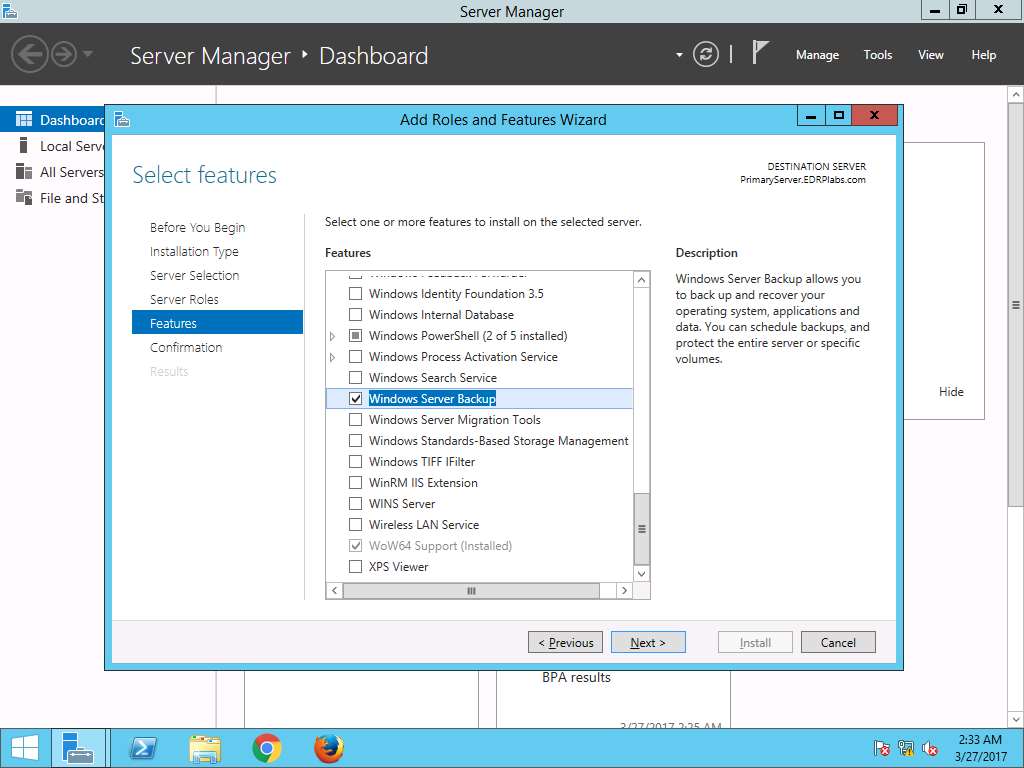
Select features wizard appears, from the Features scroll-down menu select Windows Server Backup radio button. Click Next.
Confirm installation selections wizard appears, click Install to start the installation of the Windows Server Backup feature.

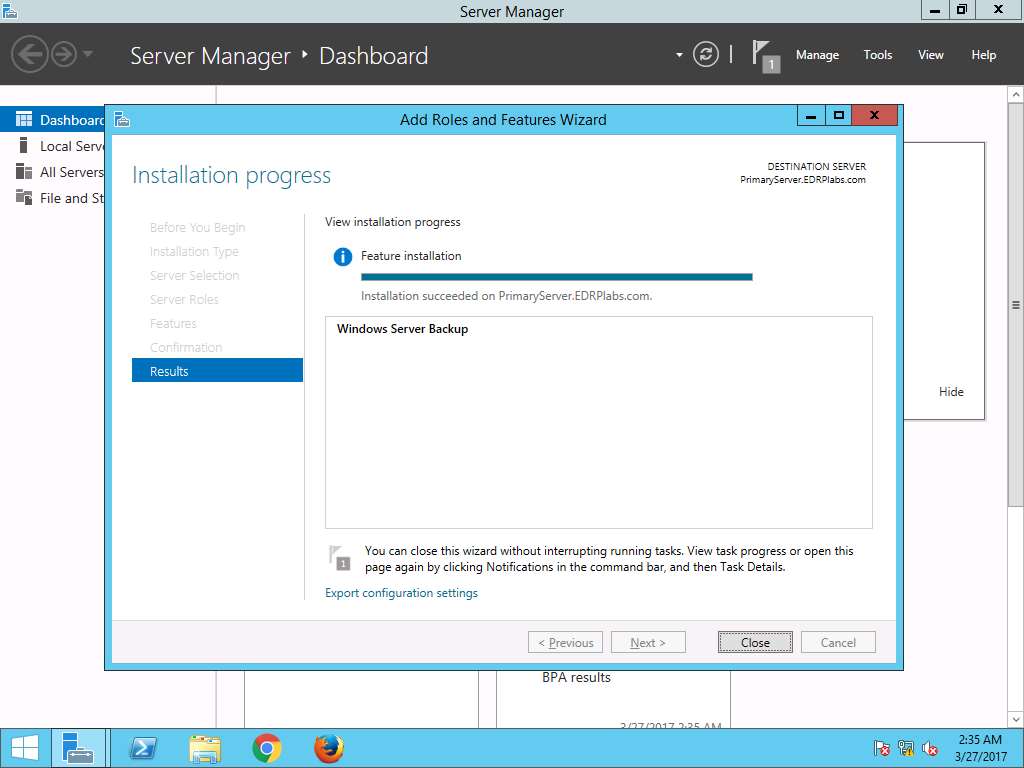
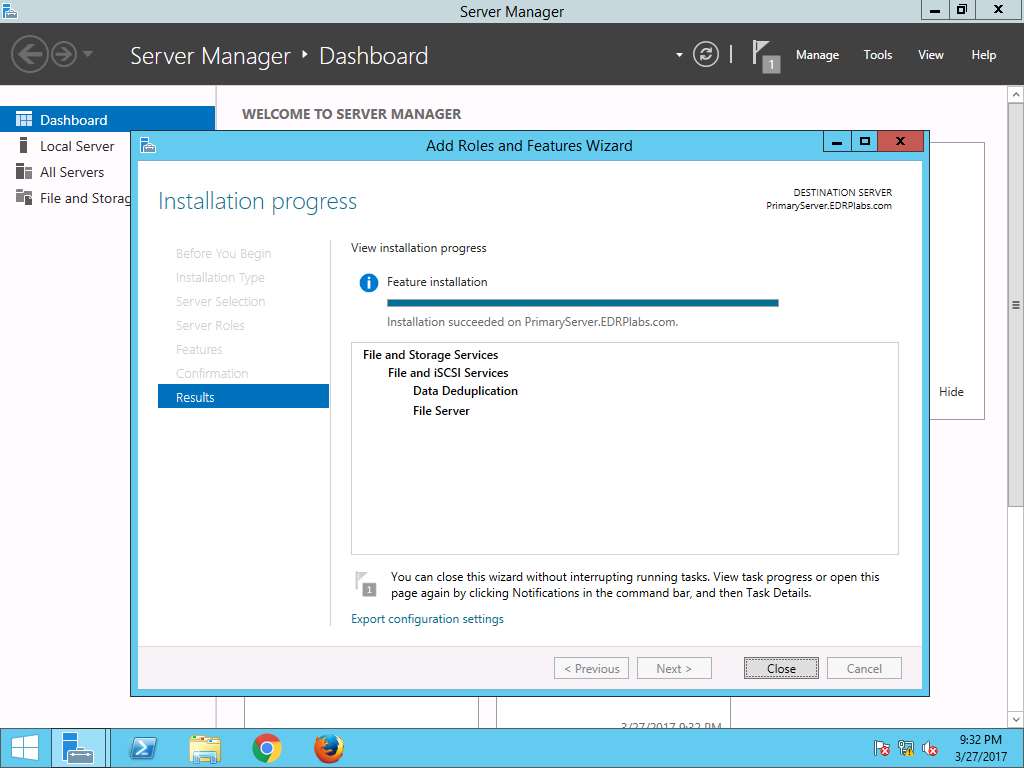
Installation progress wizard appears. After the completion of installation of the Windows Server Backup feature, click Close to close the Add Roles and Features Wizard.
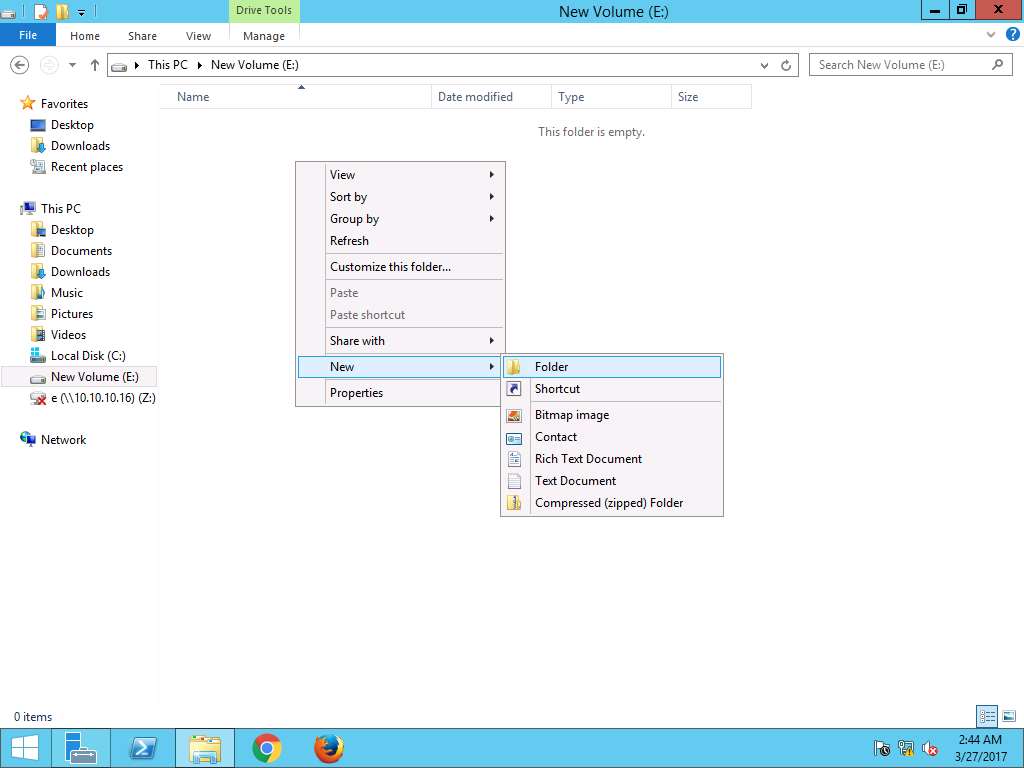
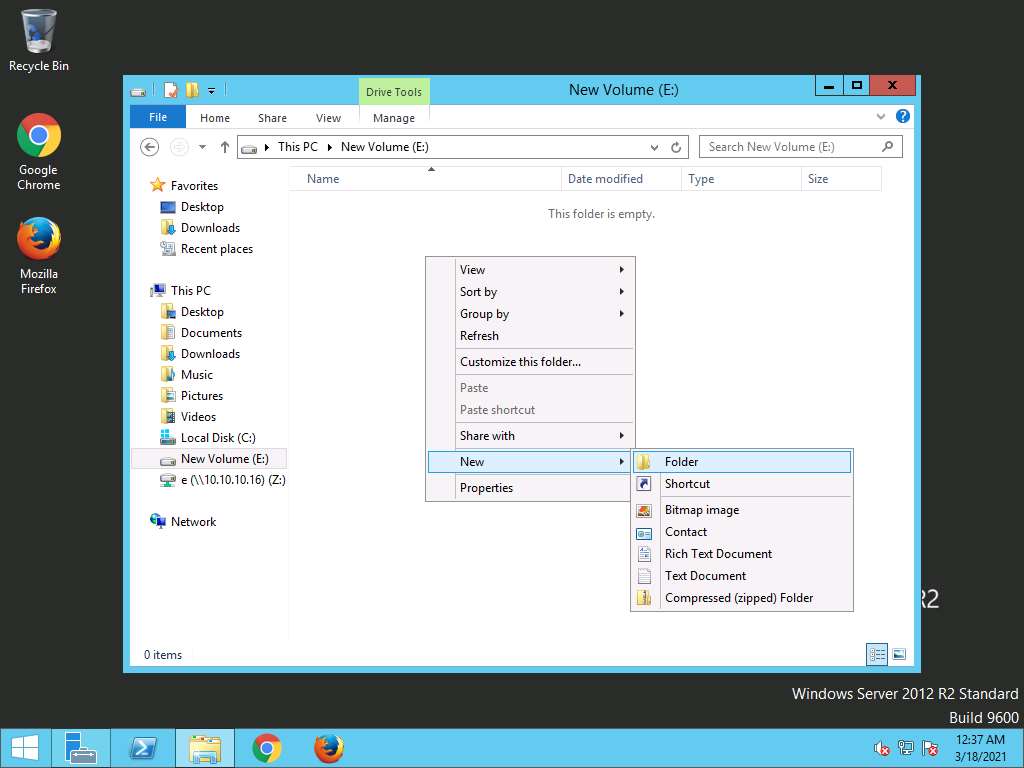
Navigate to This PC --> New Volume (E:) and right-click on the right pane as shown in screenshot. Select New --> Folder from the context menu.
Rename the new folder as Test.

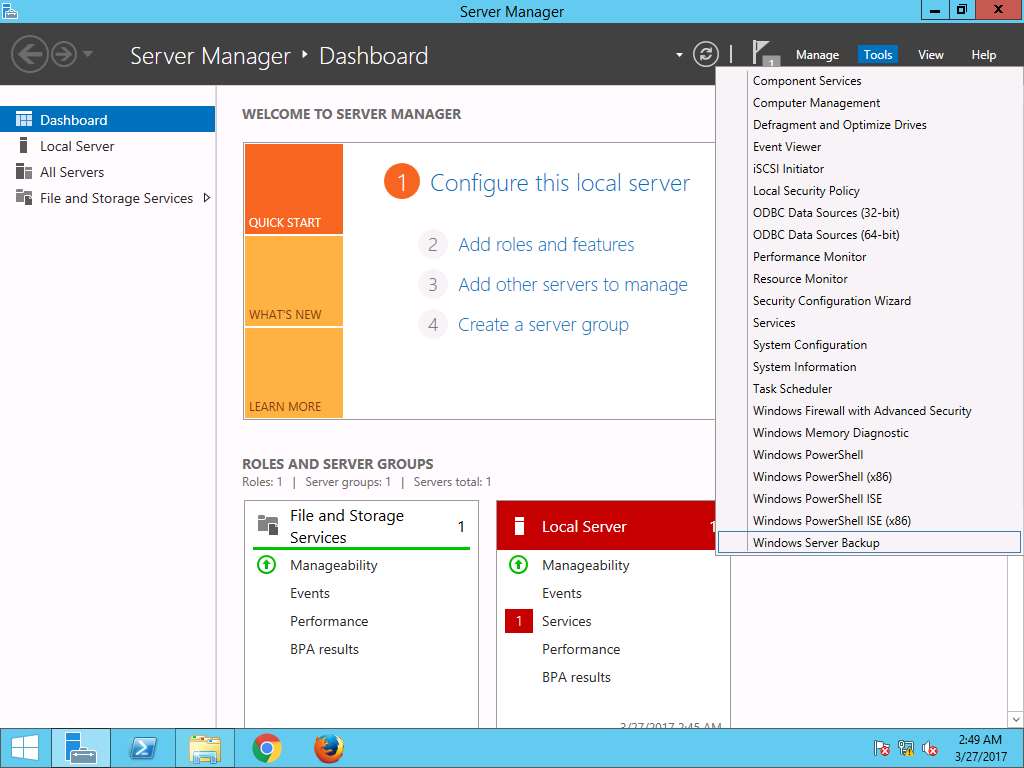
Again navigate to Server Manager, click Tools present on menu-bar and select Windows Server Backup from the drop-down menu as shown in the screenshot.
Alternatively, you can navigate to Control Panel --> System and Security --> Administrative Tool --> Windows Server Backup
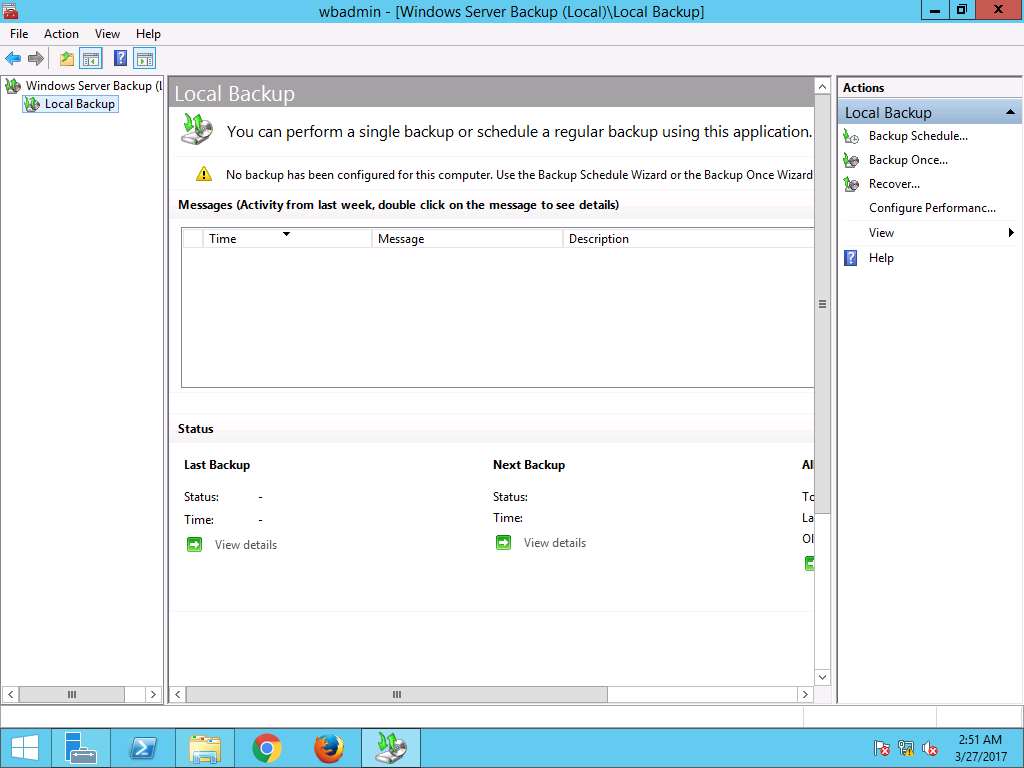
wbadmin - [Windows Server Backup (Local)\Local Backup] window appears, in left pane click Local Backup and select Backup Once… option present on Actions pane on the right side of the window as shown in the screenshot.
Alternatively, you can click Action on menu bar and select Backup Once… option from the drop-down menu.
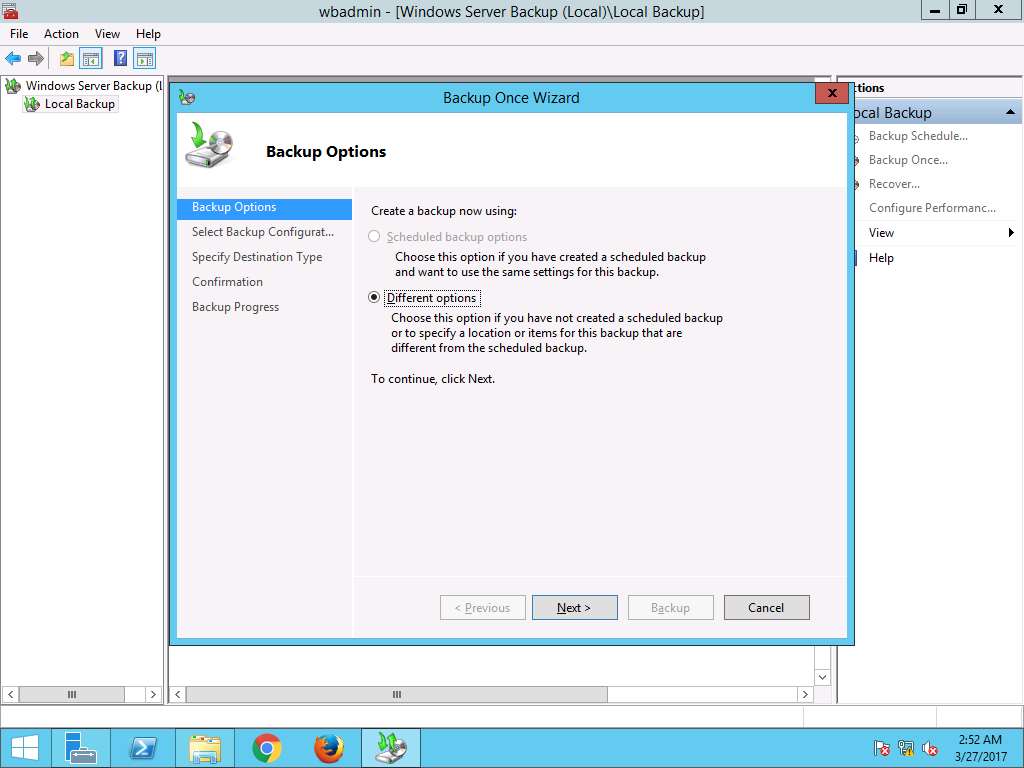
Backup Once Wizard appears, Different options radio button is selected by default, click Next button.
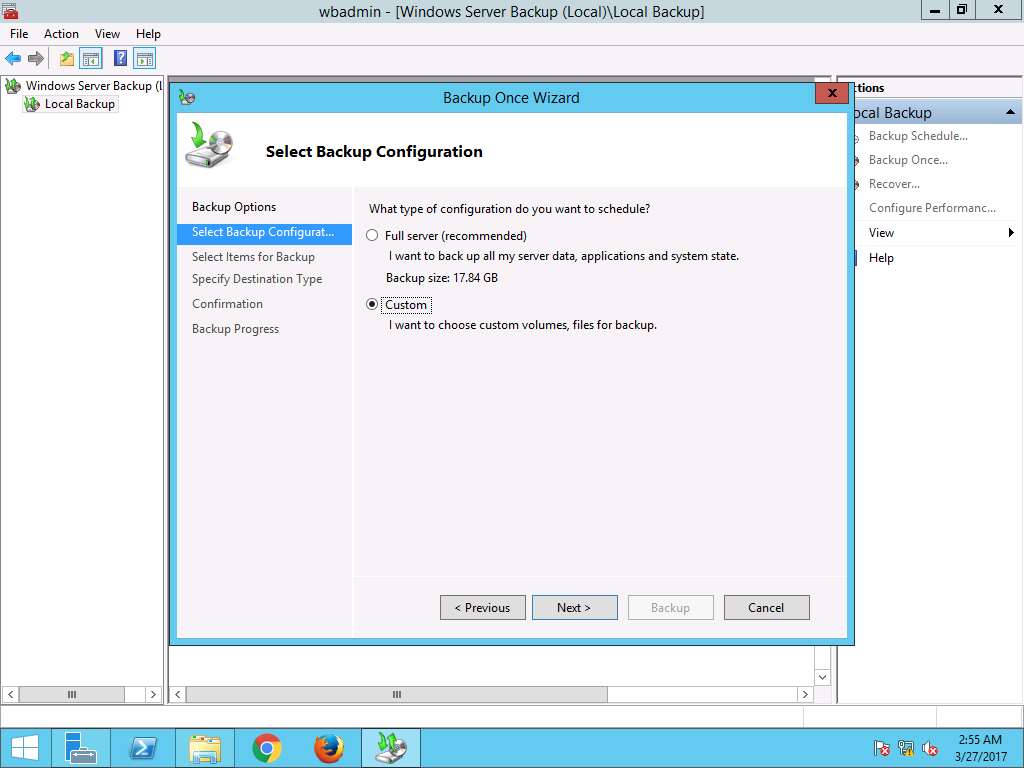
Select Backup Configuration wizard appears, select Custom radio button and click Next to continue
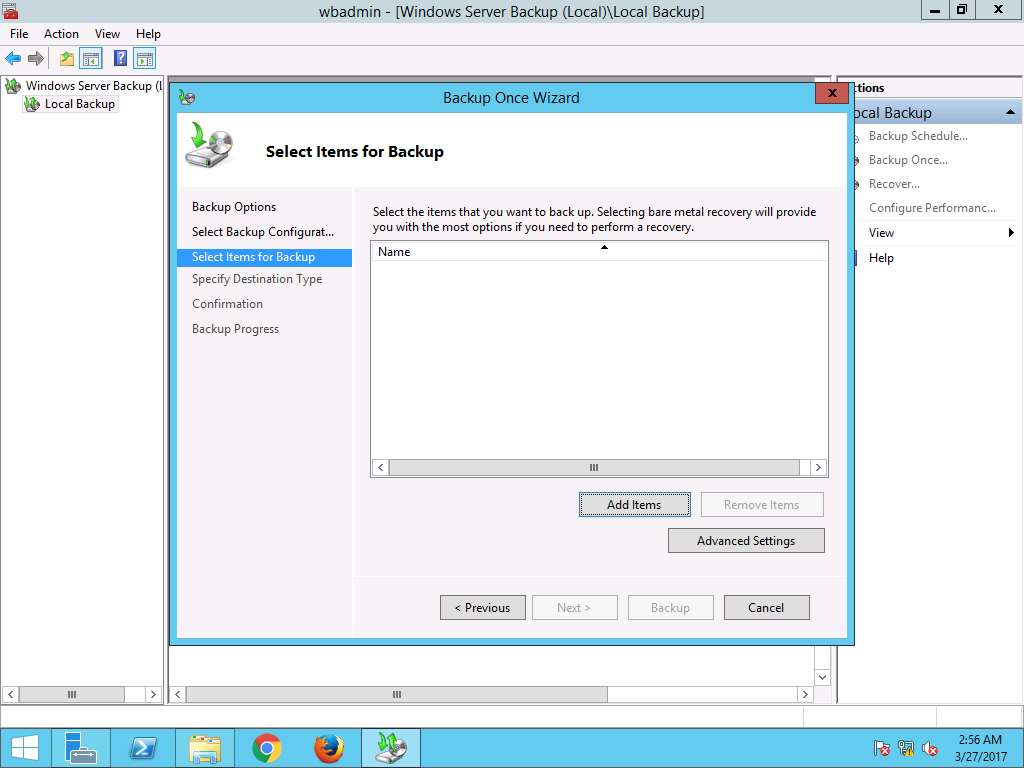
Select Items for Backup wizard appears, click Add Items button.
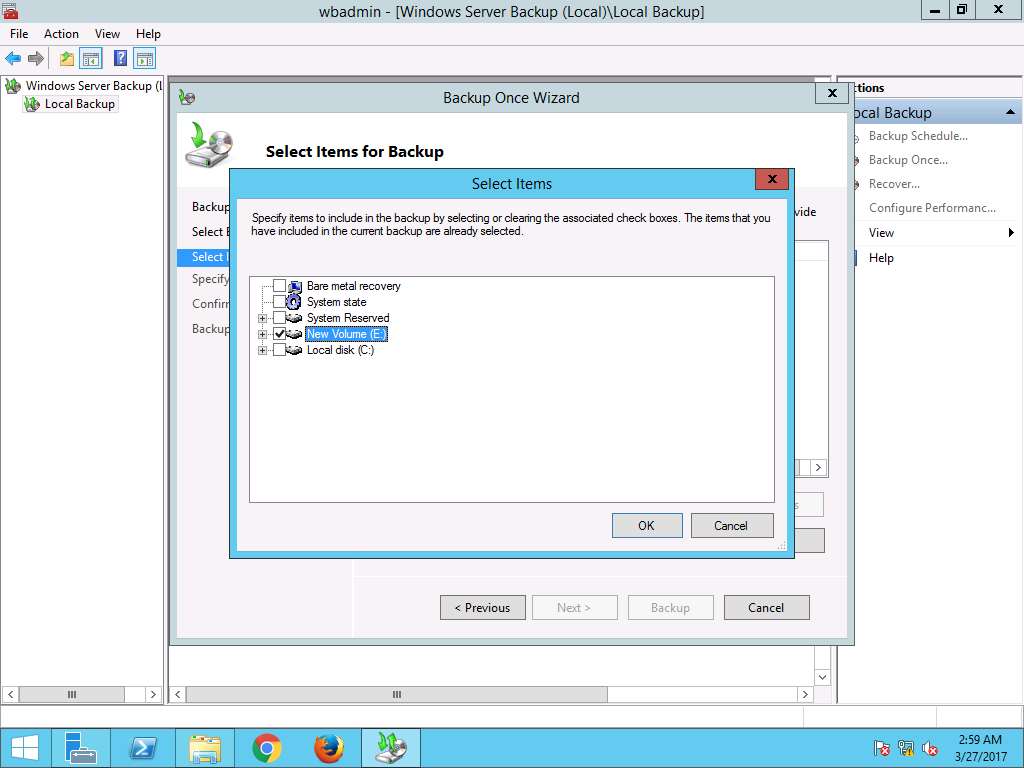
Select Items window pops up, select New Volume (E:) check-box and click OK as shown in the screenshot.
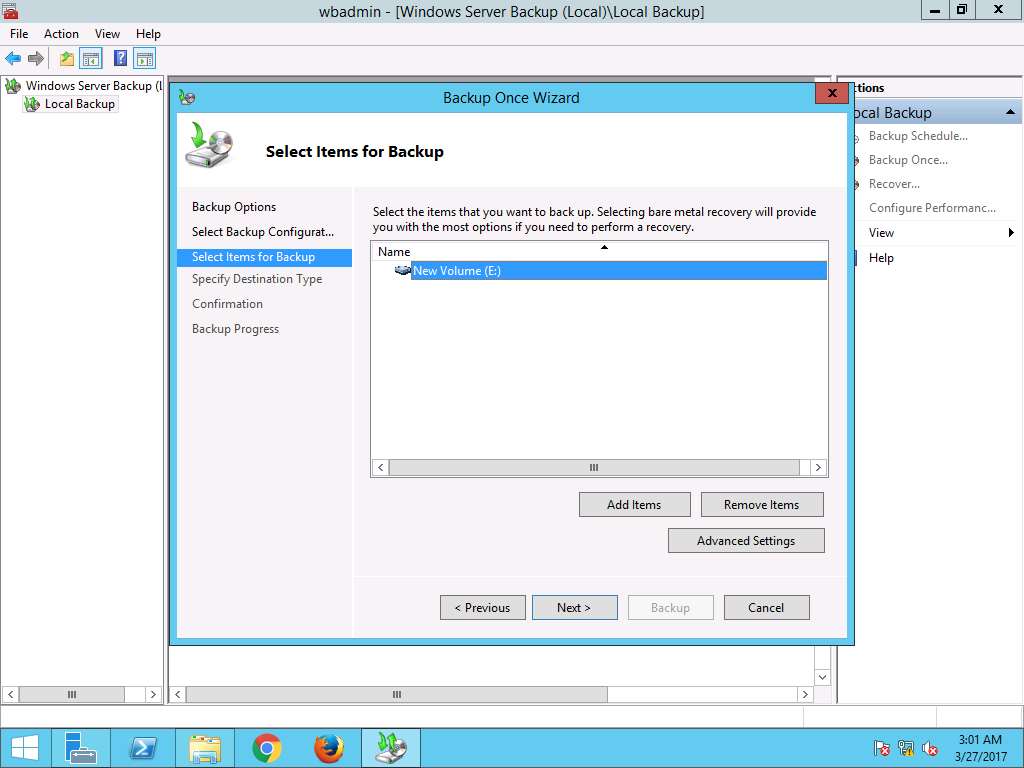
Select Items for Backup window appears again, New Volume (E:) is added. Click Next to continue.
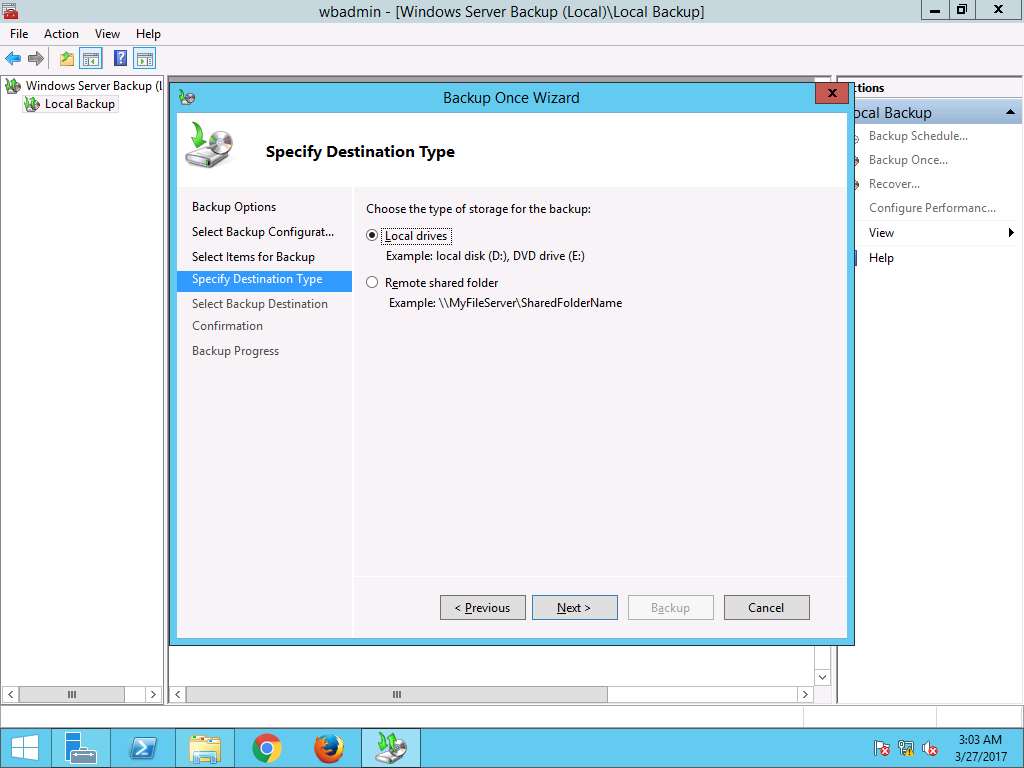
Specify Destination Type window appears, select Local drives radio button to save the backup image on the local drives. Click Next button as shown in the screenshot.
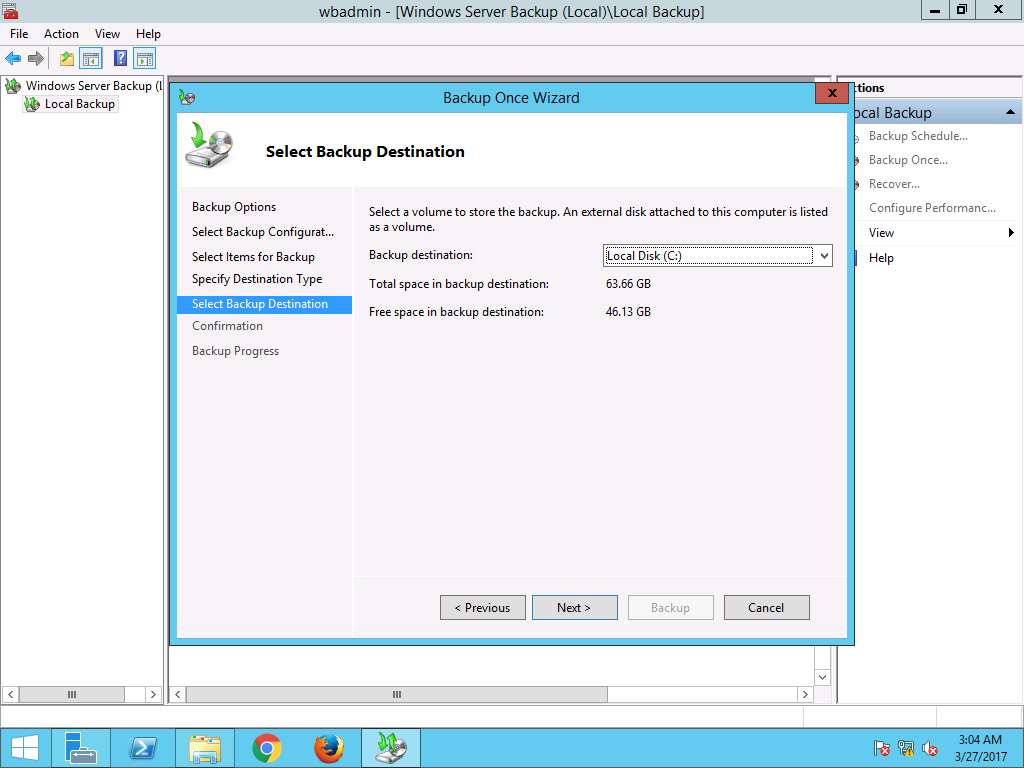
Select Backup Destination wizard appears, select Local Disk (C:) from the Backup Destination drop-down menu. Click Next to continue.
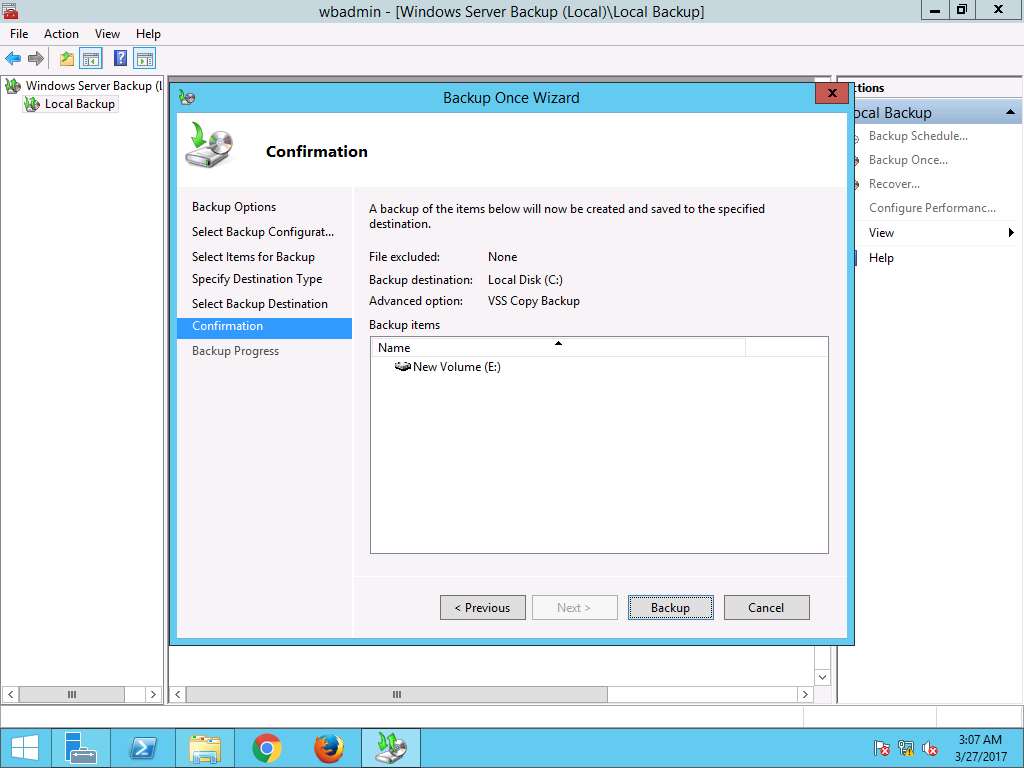
Confirmation wizard appears, click Backup to start the backup process.
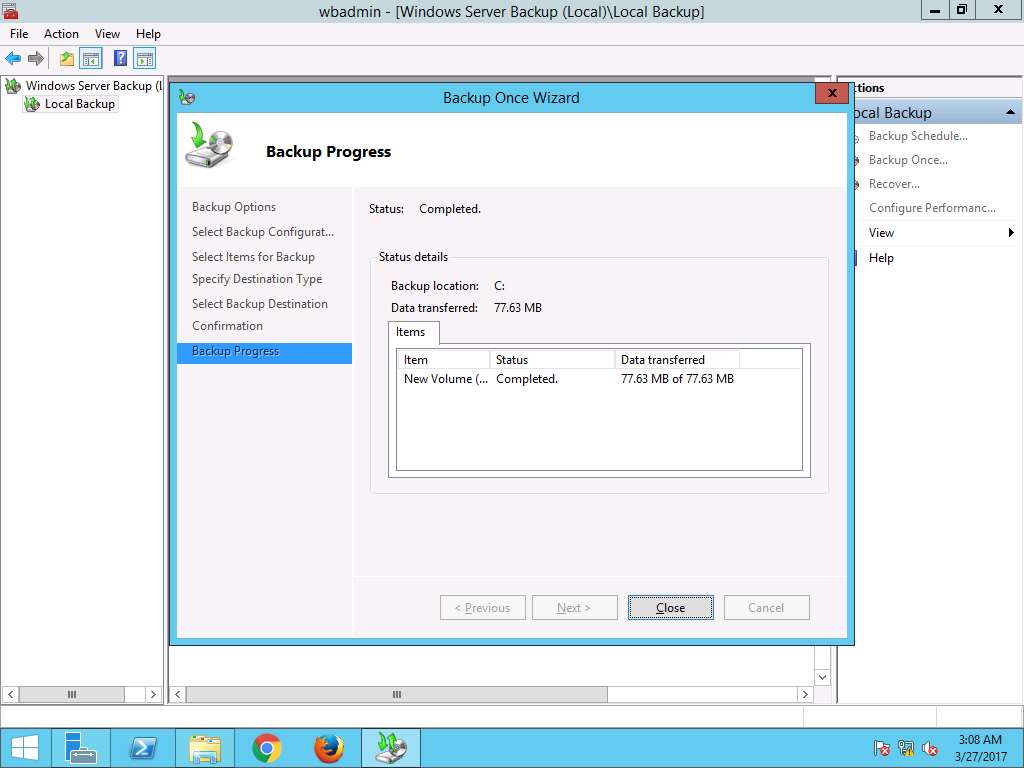
Backup Progress wizard appears showing status of the backup progress. After completion of backup process click Close to close Backup Once Wizard.
Navigate to This PC --> New Volume (E:) and permanently delete folder Test by using Shift+Delete keyboard shortcut. Delete Folder window appears. click Yes to permanently delete folder Test.
We are permanently deleting the folder Test to demonstrate the scenario of permanent data loss.

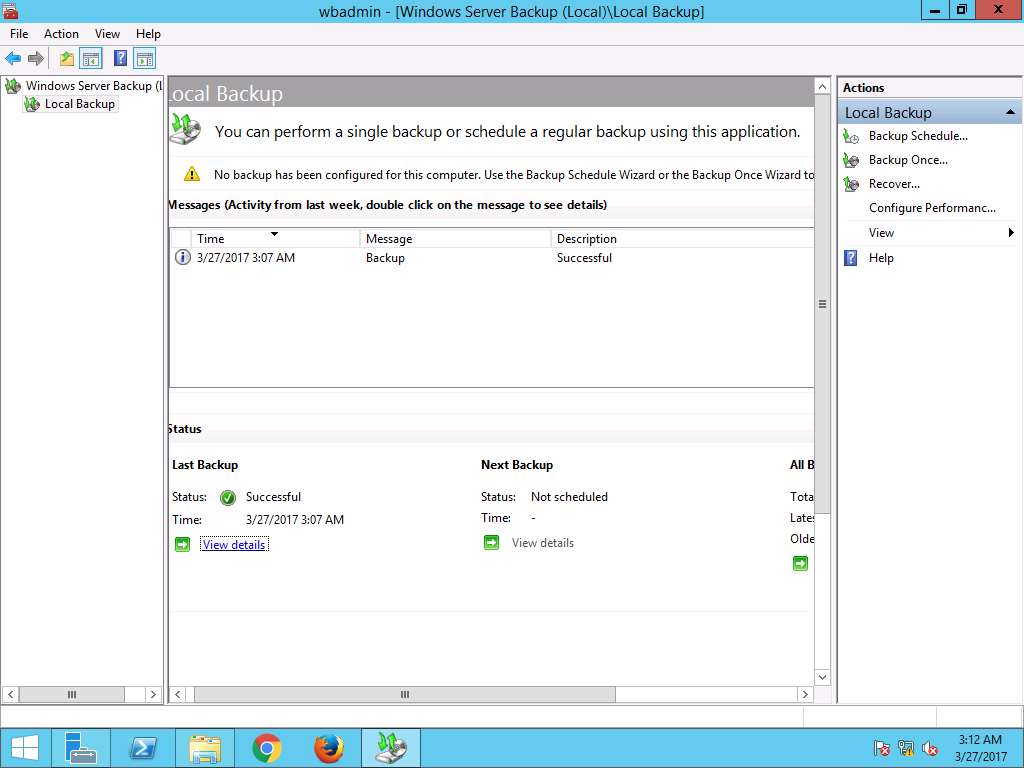
Again navigate to wbadmin - [Windows Server Backup (Local)\Local Backup] window, in left pane click Local Backup and select Recover… option present on Actions pane on the right side of the window.
Alternatively, you can click Action on menu bar and select Recover… option from the drop-down menu.
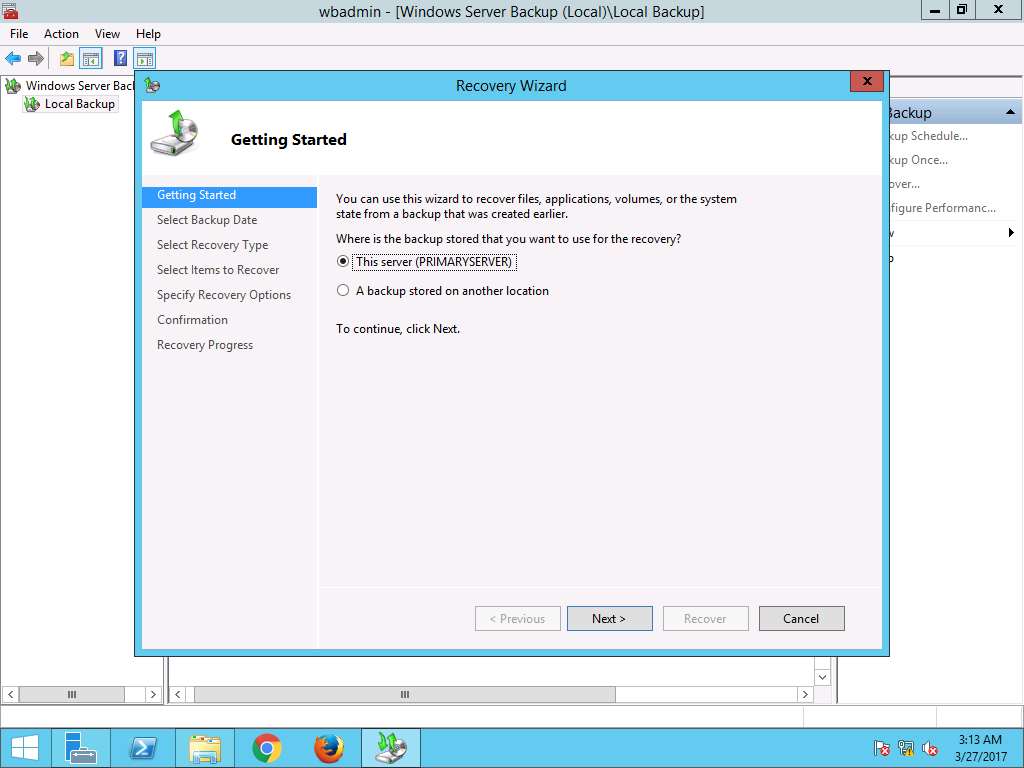
Recovery Wizard appears with Getting Started page, This server (PRIMARY SERVER) is selected by default as backup storage location. Click Next.
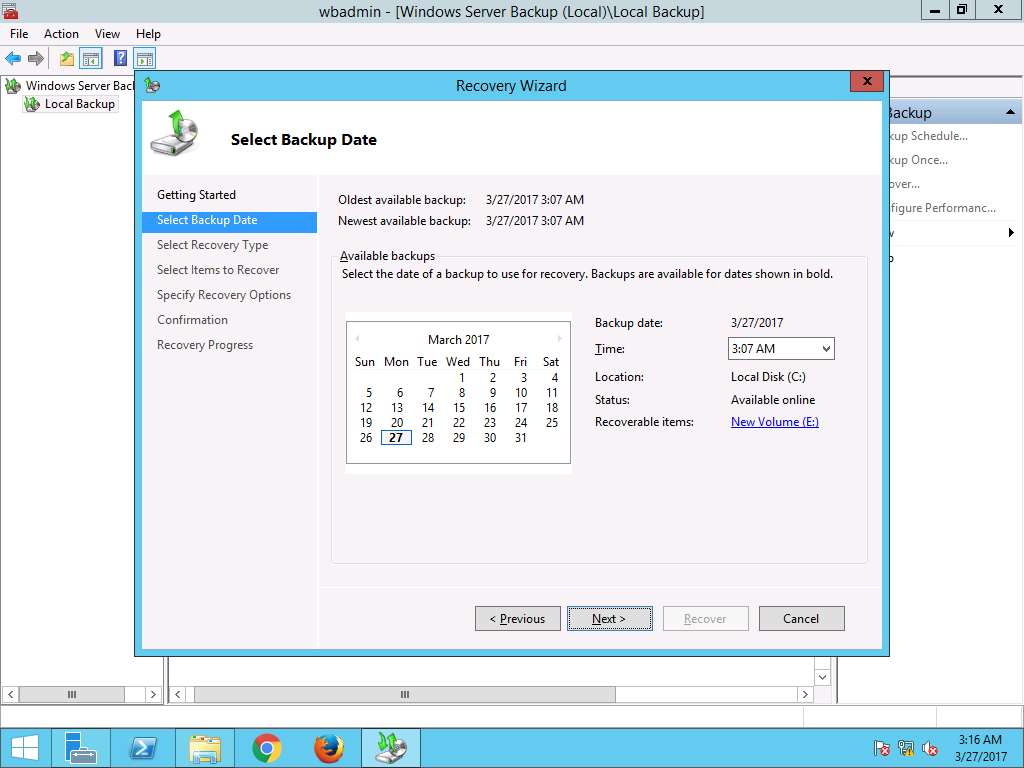
Select Backup Date wizard appears, select the date of a backup to use for recovery. Recently taken backup is selected by default. Click Next to continue. In this scenario, selected Backup date is 3/27/2017 and Time is 3:07 AM.
Screenshots may vary in different lab scenarios.
In case of multiple available backups, you can select the date of a backup to use for recovery. Backups are available for dates are shown in bold.
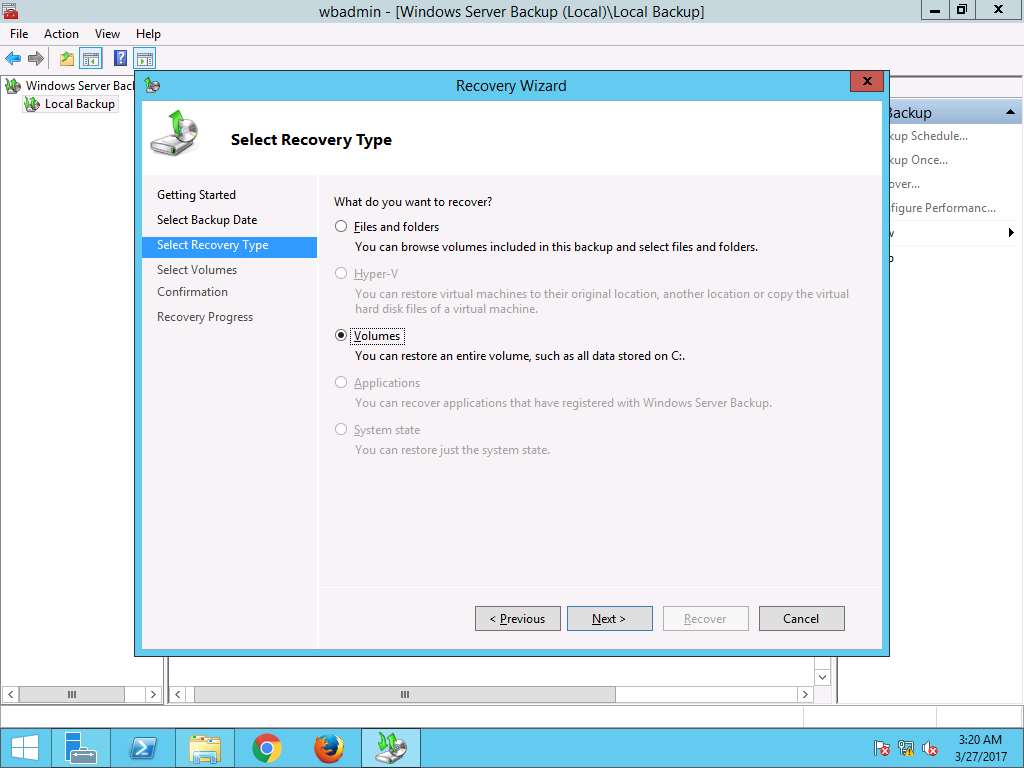
Select Recovery Type wizard appears, select Volumes radio button and click Next.
Volume recovery provides the option to restore the entire data in a disk volume.
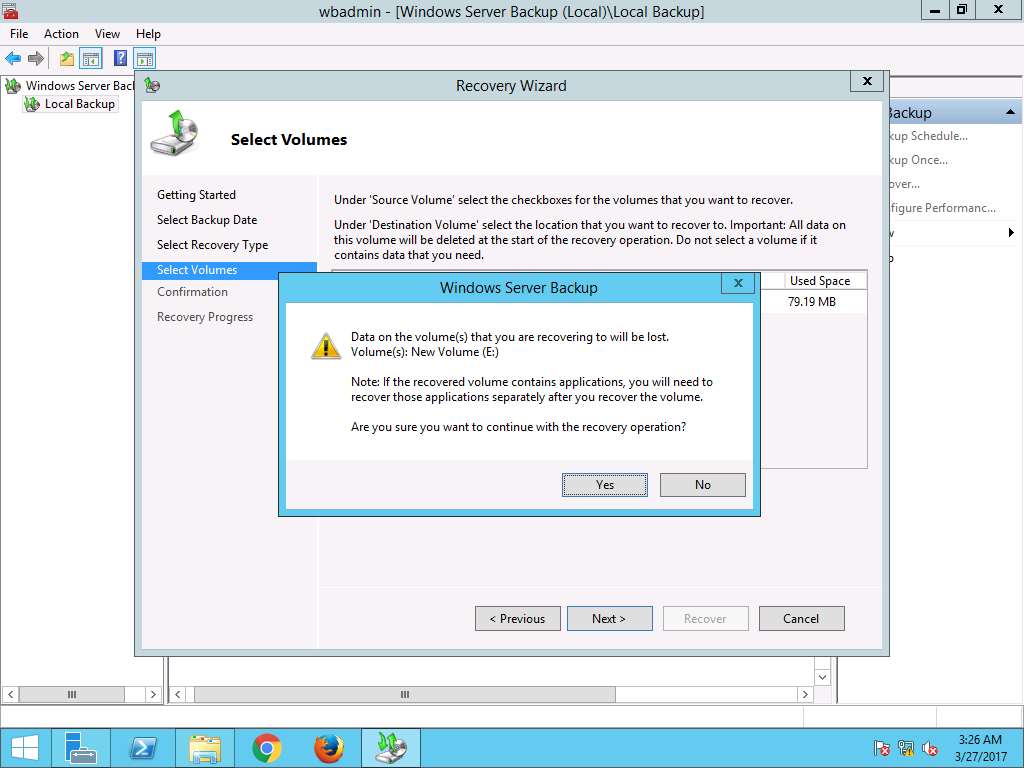
Select Volumes wizard appears, click New Volume (E:) check-box in the Source Volume pane and select New Volume (E:) from the Destination Volume drop-down menu as shown in the screenshot. Click Next to continue.
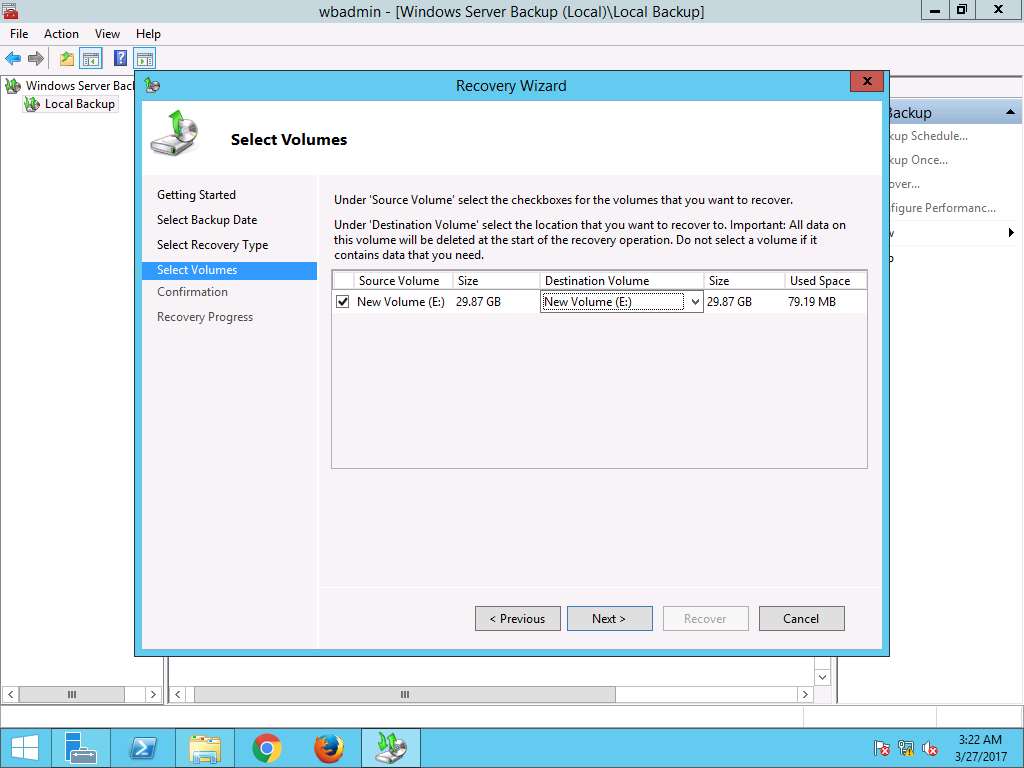
Windows Server Backup warning window appears, click Yes.
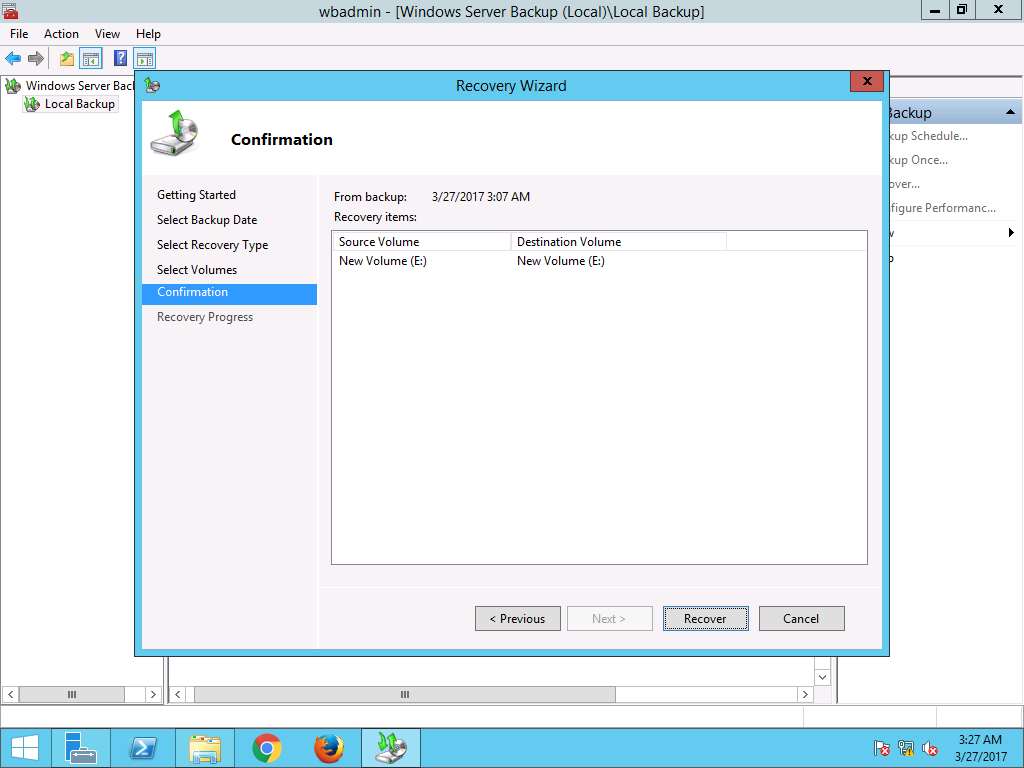
Confirmation wizard appears, New Volume (E:) is selected as Source Volume and New Volume (E:) is selected as Destination Volume. Click Recover to start the recovery.
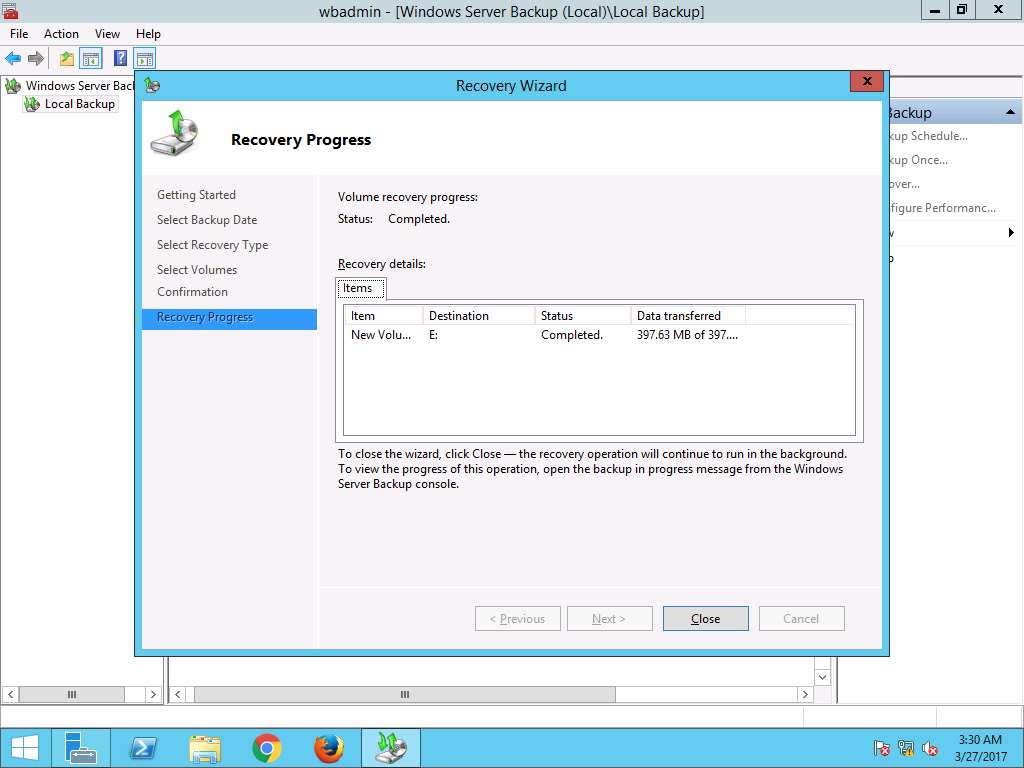
Recovery Progress wizard appears showing the progress of the disk recovery. After completion of recovery, click Close to close the Recovery Wizard.
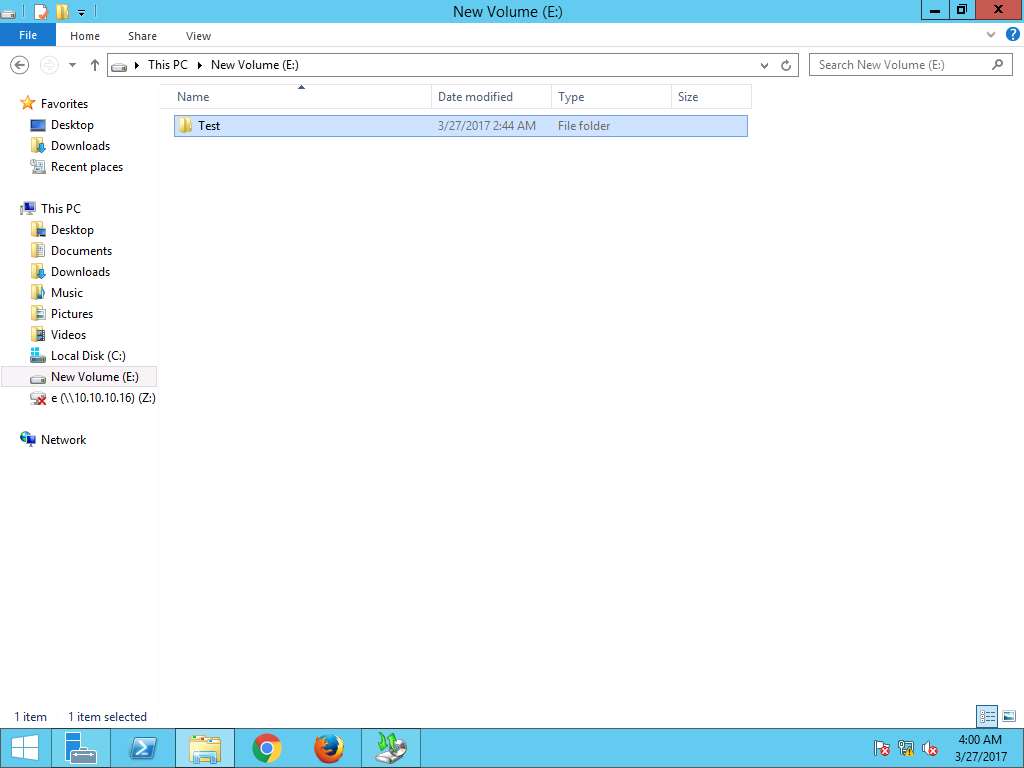
Navigate to This PC --> New Volume (E:). Permanently deleted folder Test appears again, which demonstrates successful restoration of disk using Disk-to-Disk Backup strategy.
Assessment 1:
What was the name of the destination server used to install roles and features?
Step 7:
The destination server PrimaryServer.EDRPlabs.com is selected in of the process.
Performing Deduplication Task in Windows Server 2012
Scenario
Data Deduplication is a feature of Windows Server 2012 that can help reduce the impact of redundant data on storage costs. When enabled, Data Deduplication optimizes free space on a volume by examining the data on the volume by looking for duplicated portions on the volume.
Lab Objectives
This lab demonstrates perform data deduplication job in Windows Server 2012 Primary Server.
Lab Scenario
Performing Data Deduplication in periodic intervals is an important task of an administrator in any organization. Data Deduplication optimizes free spaces on a volume by examining the data on the volume by looking for duplicated portions on the volume. Data Deduplication optimizes redundancies without compromising data fidelity or integrity. As a disaster recovery professional, you should know how to perform a deduplication task in Windows Server environment.
Click Machines pane, and click Ctrl+Alt+Delete under Windows Server 2012 Primary Server thumbnail.
Alternatively you can navigate to Commands menu and click Ctrl+Alt+Delete to login.
Type Pa$$w0rd in the Password field and press Enter.
Alternatively you can click Paste Password from Commands --> Paste options or click clipboard icon under Windows Server 2012 Primary Server from Machines pane.
Click Server Manager icon on the task-bar to launch Server Manager for Windows Server 2012 Primary Server
Alternatively, you can launch the Server Manager by navigating to Administrative Tools --> Server Manager.
Server Manager window appears, click Add roles and features option present on Configure this local server section as shown in the screenshot.
Alternatively, you can navigate to Add roles and features option by clicking Manage option present on menu bar and then selecting Add roles and feature option from the drop-down menu.
Add Roles and Features Wizard appears with Before you begin page, click Next.
Select installation type wizard appears, Role-based or feature-based installation radio button is selected by default. Click Next button to continue.
Select destination server wizard appears, select Select a server from the server pool radio button. In Server Pool section, select PrimaryServer.EDRPlabs.com and click Next.
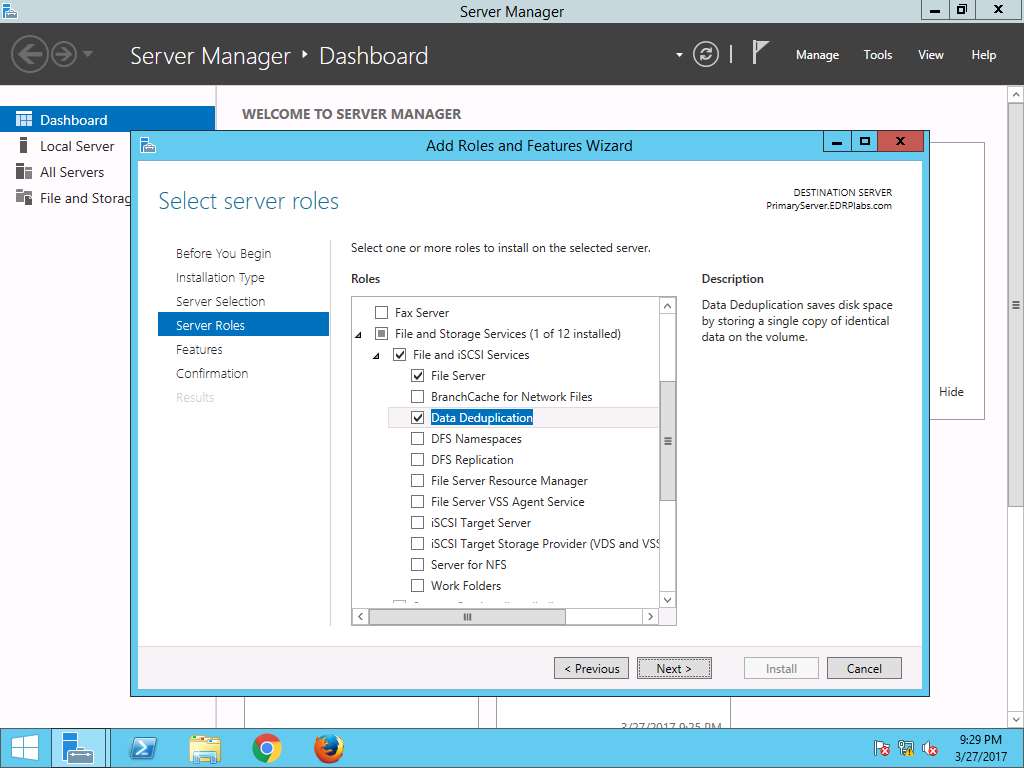
Select server roles wizard appears, in Roles scroll-down menu navigate to File and Storage Services --> File and iSCSI Services and select Data Deduplication check-box as shown in the screenshot.
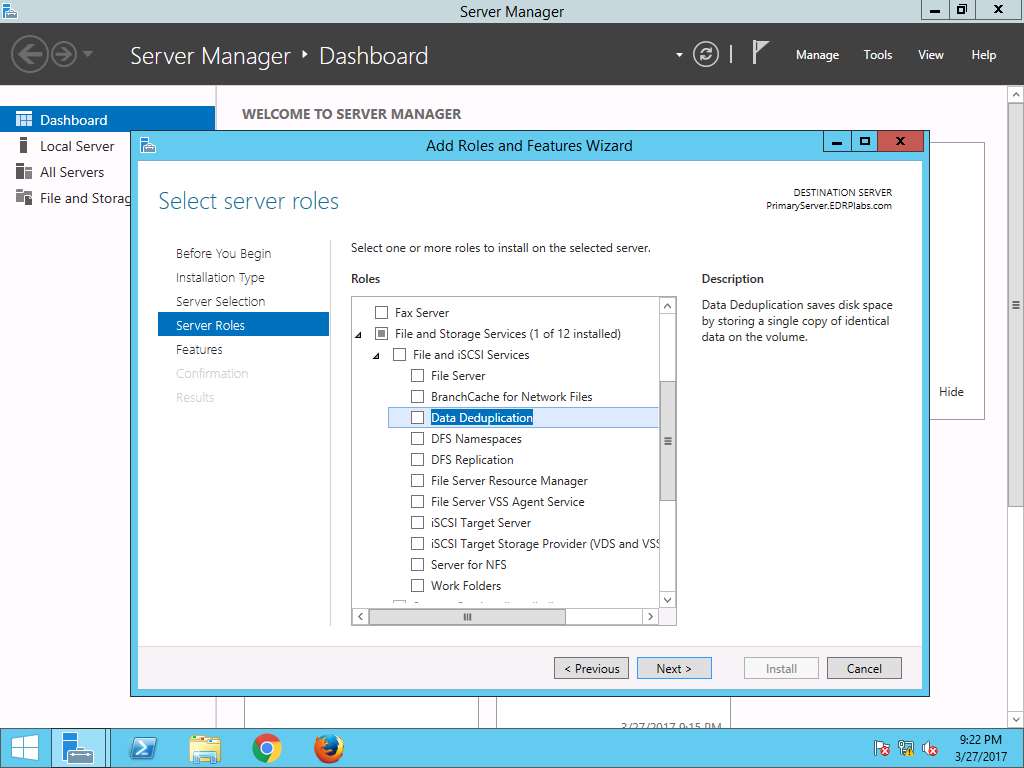
Add Roles and Feature Wizard pops up, click Add Features.
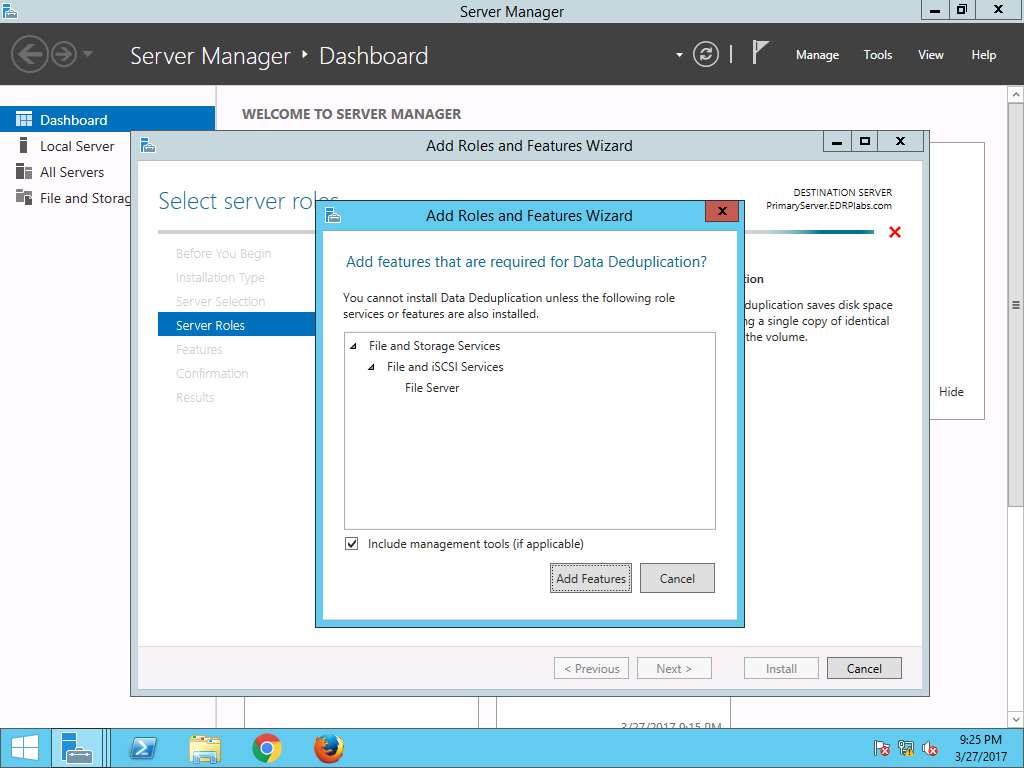
Select server roles wizard appears again, Data Deduplication check-box is checked. Click Next to continue.
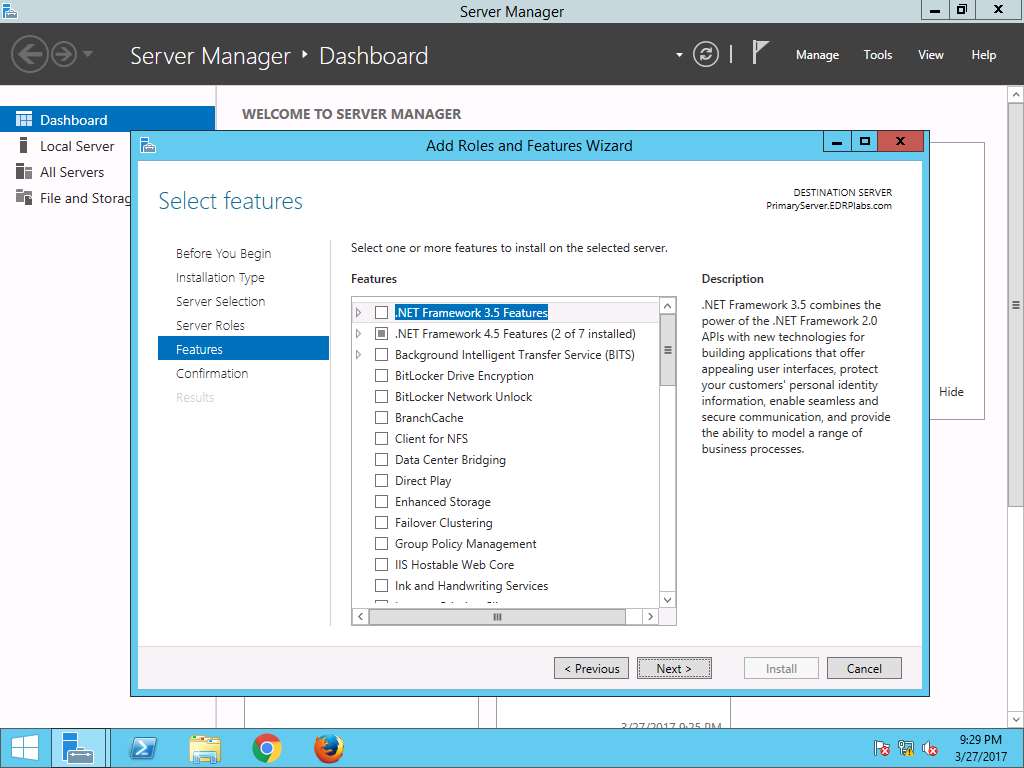
Select Features wizard appears, click Next to continue.
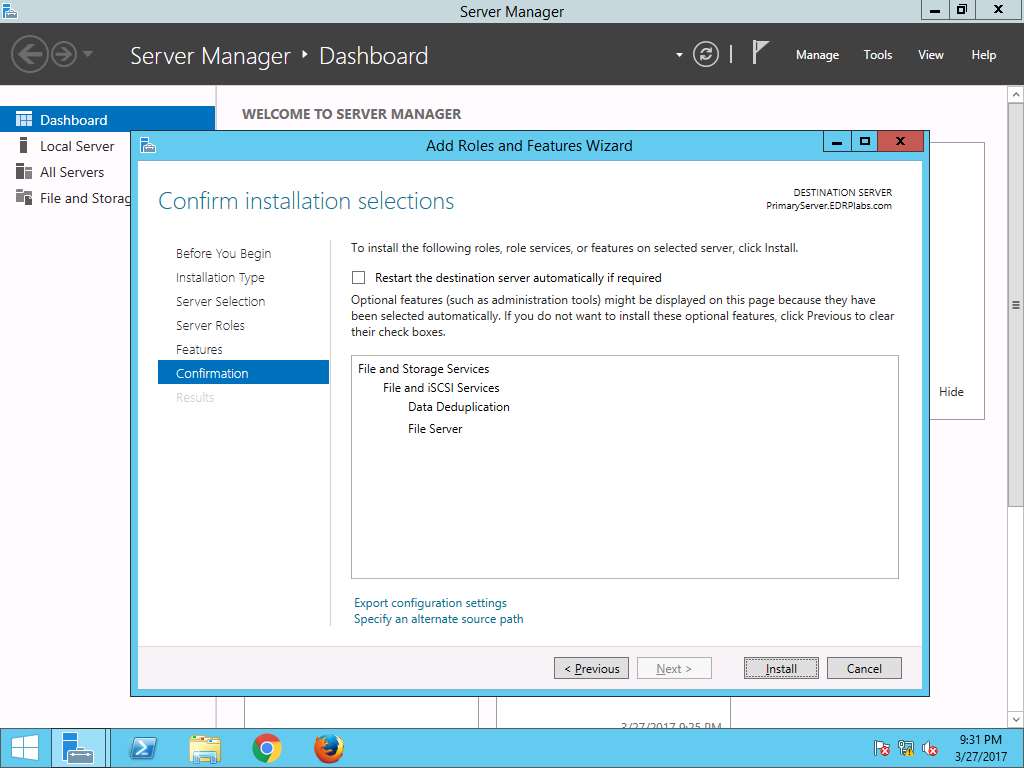
Confirm installation selections wizard appears, click Install to start the installation of the Windows Server Backup feature.
Installation progress wizard appears. After the completion of installation of the Windows Server Backup feature, click Close to close the Add Roles and Features Wizard.
Navigate to Server Manager, in left pane click File and Storage Services as shown in the screenshot.
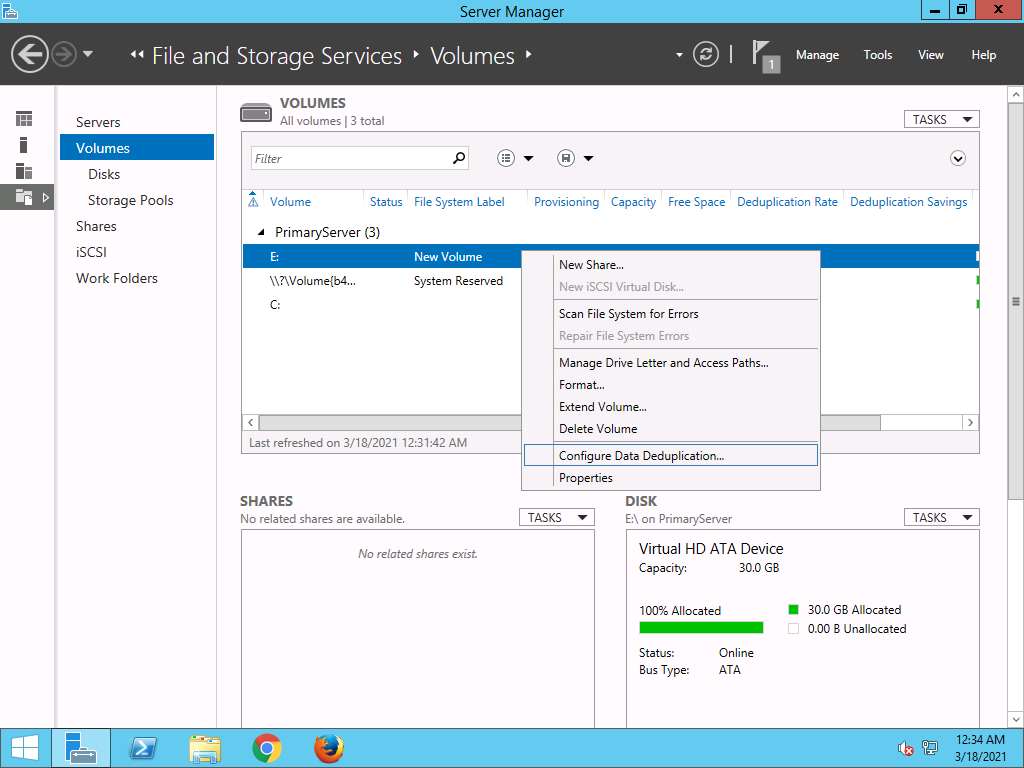
SERVERS page appears, in left pane click Volumes. Volume Page appears, in right pane, right click E: and select Configure Data Deduplication… from the context menu as shown in the screenshot.
New Volume (E:) Deduplication Settings window appears, in Data deduplication: drop-down menu; select General purpose file server and in Deduplicate files older than (in days): field, enter 0. Click Apply and OK to close the window.
Note: For the purpose of this lab we set the number of days to 0. If you set Deduplicate files older than (in days): to 0, deduplication will process all files, regardless of their age.

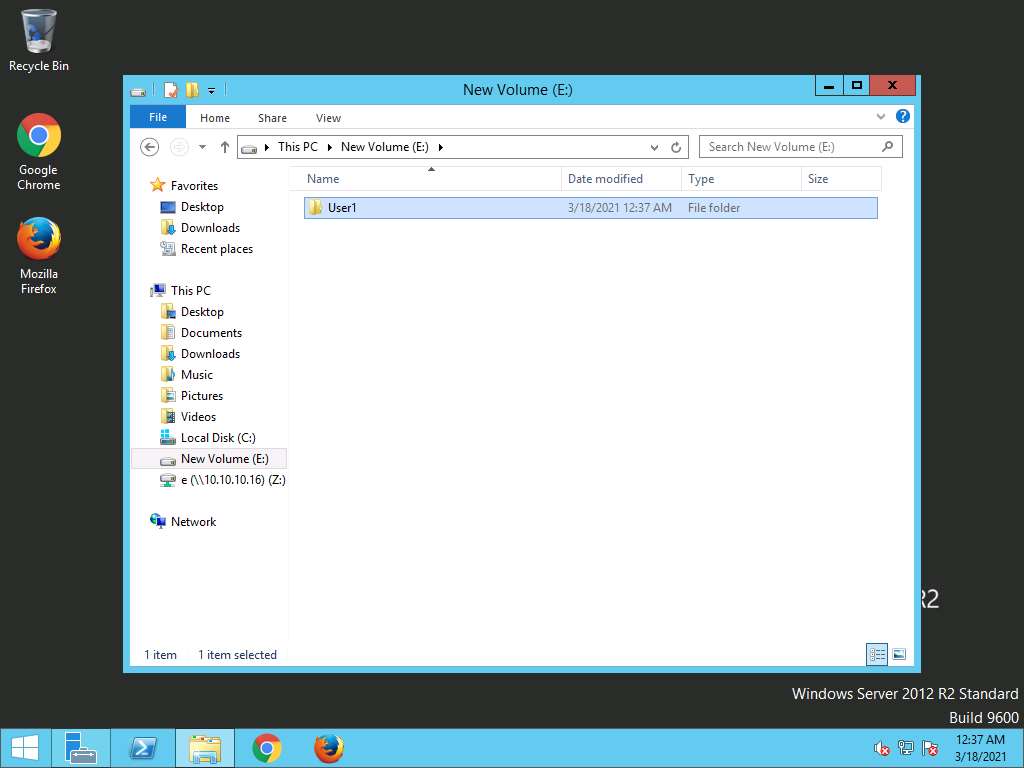
Navigate to This PC --> New Volume (E:) and right-click on the right pane as shown in screenshot. Select New --> Folder.
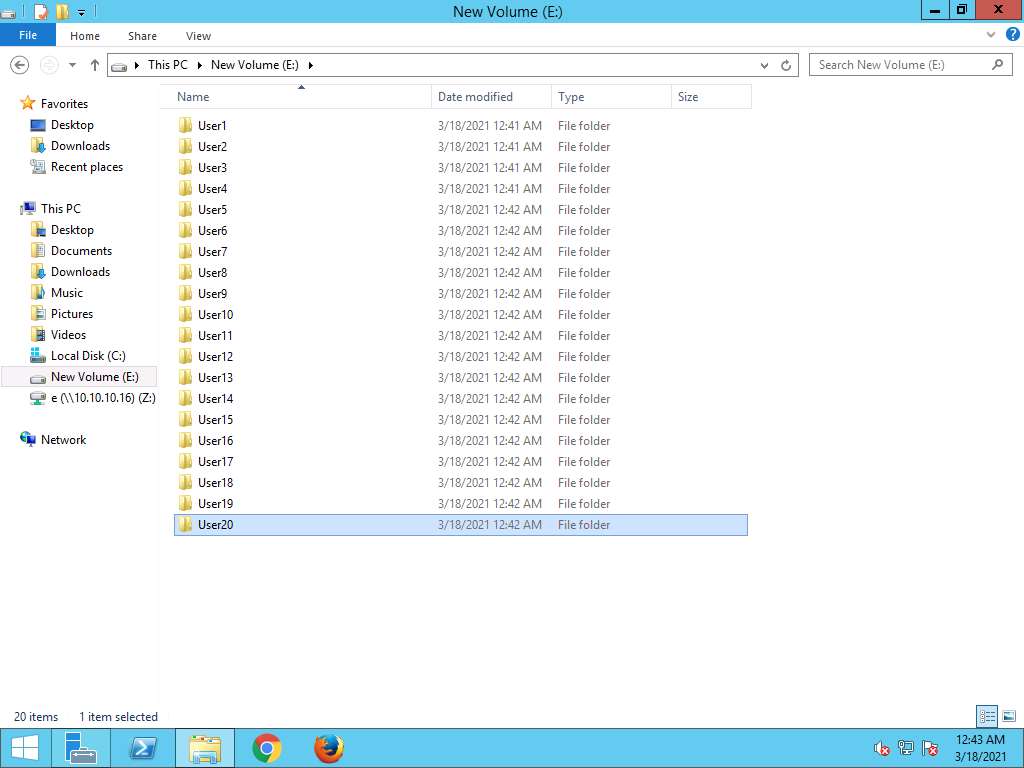
Rename the new folder as User1.
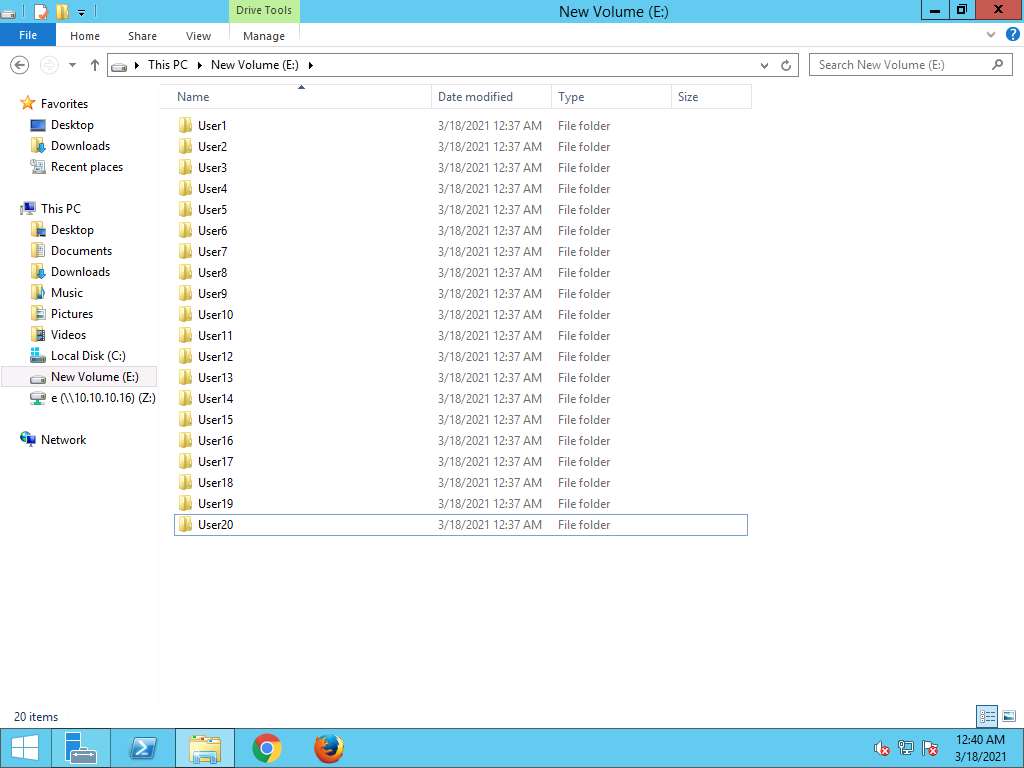
Similarily, create folders User2, User3, User4, User5 till User 20 as shown in the screenshot.
We will create multiple folders in order to demonstrate the data redundancy present in disk New Volume (E:)
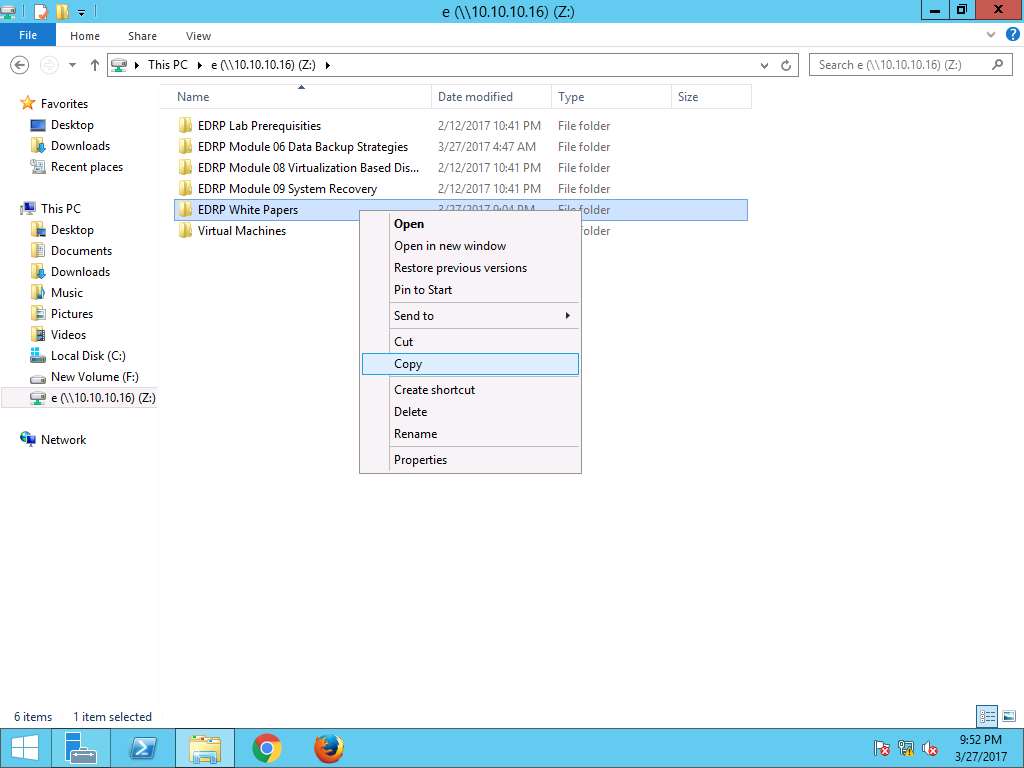
Navigate to This PC --> EDRP-Tools (Z:) and copy the EDRP White Papers folder by right-clicking and selecting Copy from the context menu as shown in the screenshot
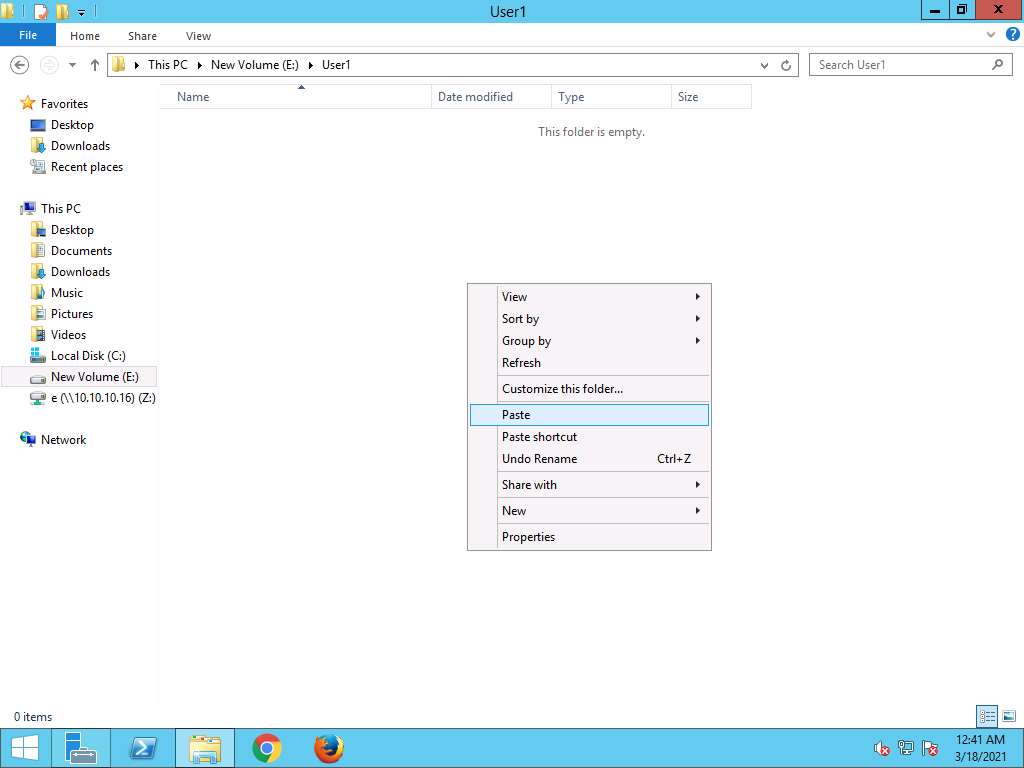
Navigate to This PC --> New Volume (E:) --> User1 and paste EDRP White Papers as shown in the screenshot.
Similarly, paste EDRP White Paper to folders User2, User3, User4 till User20 as shown in screenshot.
We will paste same set of data to folders User1, User2, User3 and User4 to demonstrate the redundancy of data present in the volume: New Volume (E:).
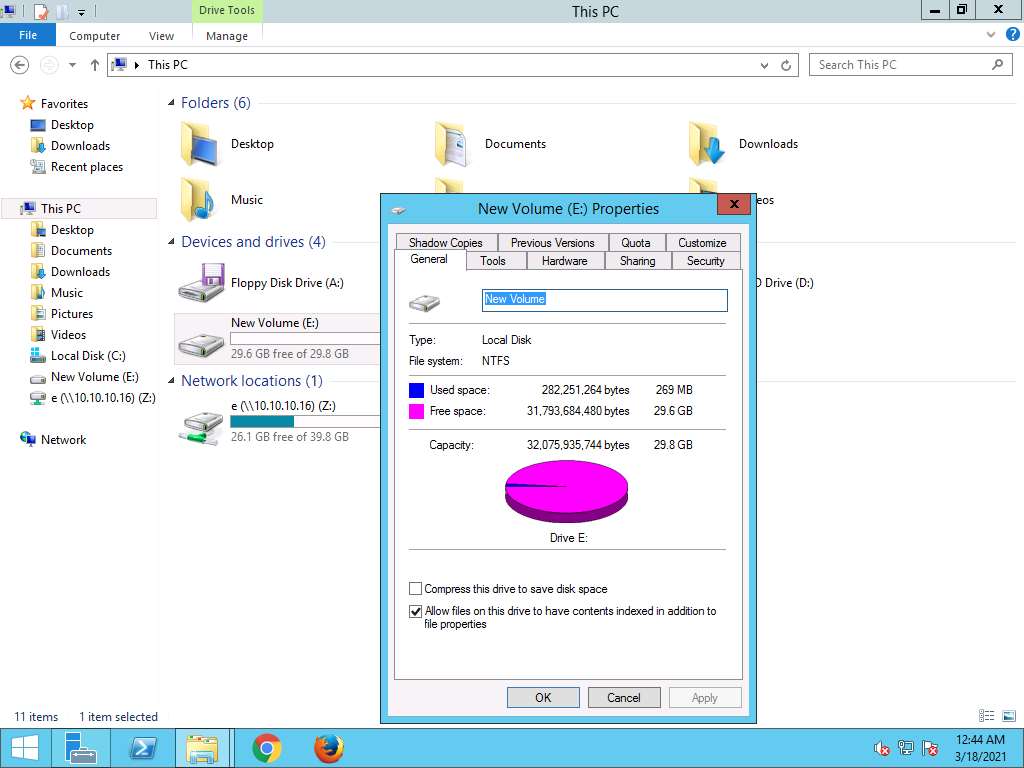
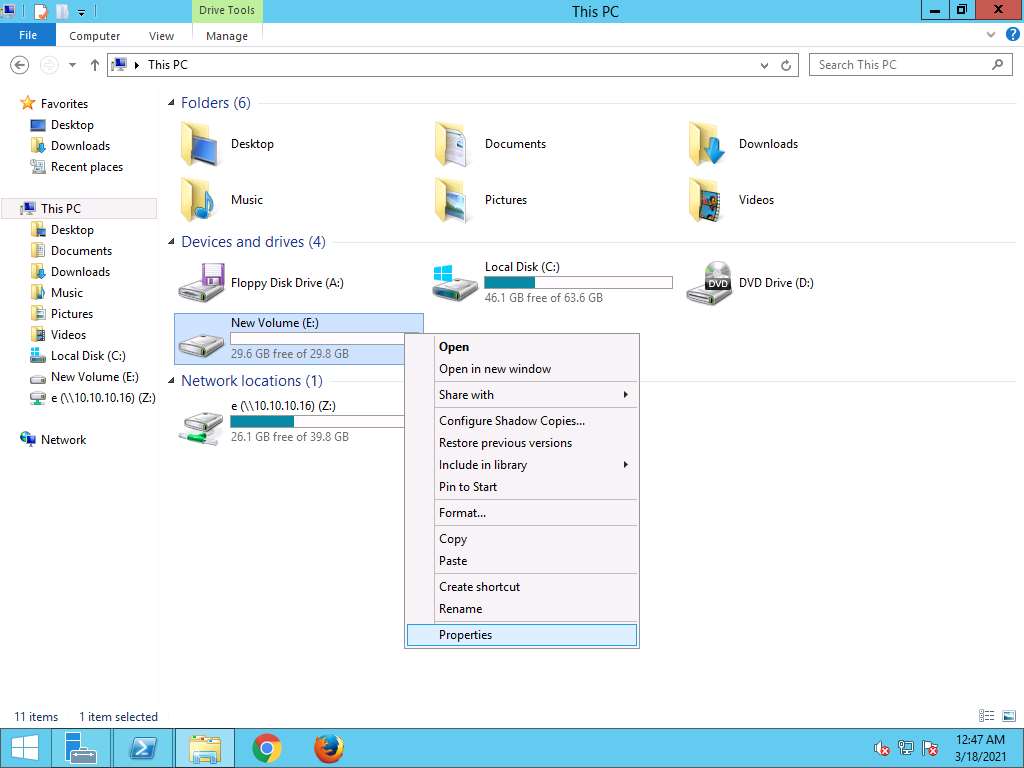
Navigate to This PC and right click the New Volume (E:) drive and select Properties from the context menu as shown in the screenshot.

New Volume (E:) properties window appears. In this particular scenario, the Used space: is 269 MB. Click Cancel to close the window.
Note: Before deduplication, in this scenario the Used space is 269 MB. After deduplication the Used space will reduce significantly. So, to verify the deduplication, it is necessary to note down the Used space before and after performing the deduplication task. Screenshots may vary.
Click Windows PowerShell icon on the task-bar to launch Window PowerShell.
Alternatively, you can launch the Windows PowerShell by navigating to Administrative Tools --> Windows PowerShell (x86).
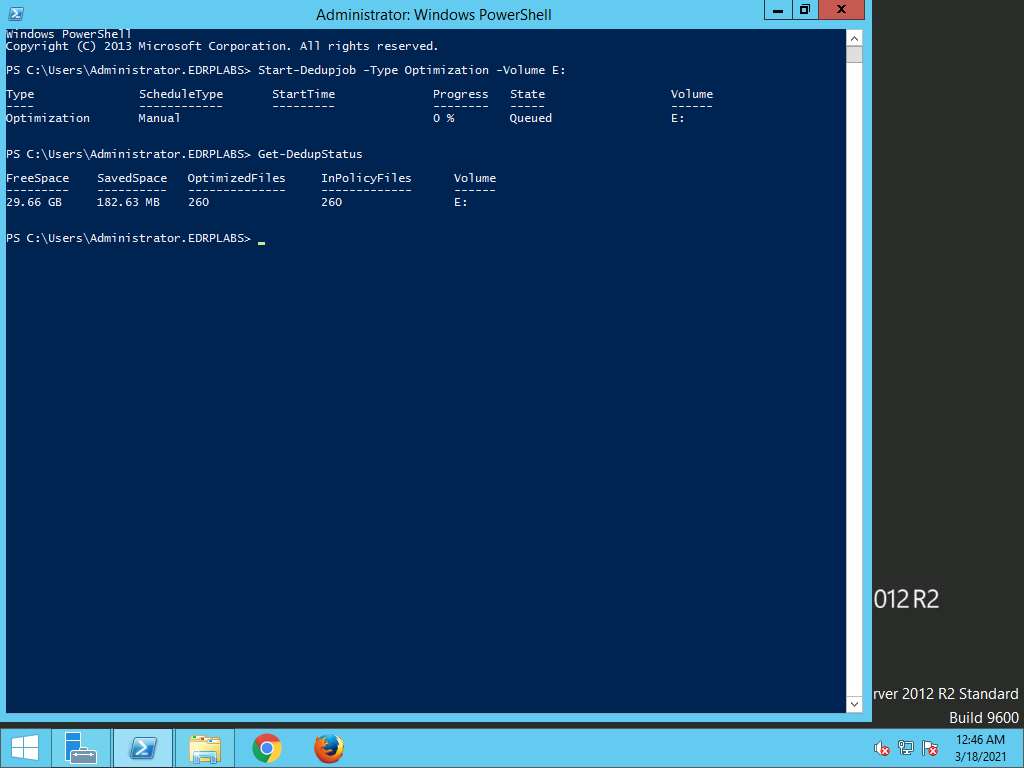
Windows PowerShell appears, type the command: Start-Dedupjob –Type Optimization –Volume E: and hit Enter as shown in screenshot. This will start the deduplication job in disk New Volume (E:).
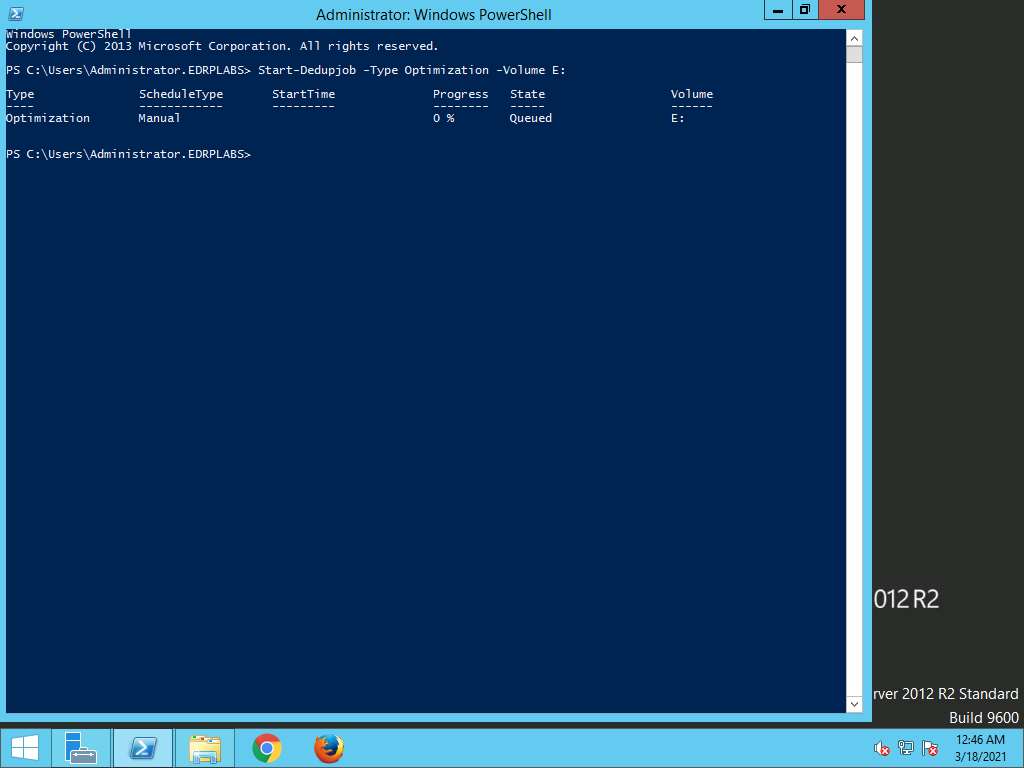
Again in PowerShell, type the command: Get-DedupStatus and hit enter. This command will show the deduplication status and statistics like: FreeSpace, SavedSpace, OptimizedFiles, InPolicyFiles and Volume. In this scenario, number or OptimizedFiles (i.e. deduplicated files) are 260 which gives SavedSpace of 182.63 MB.
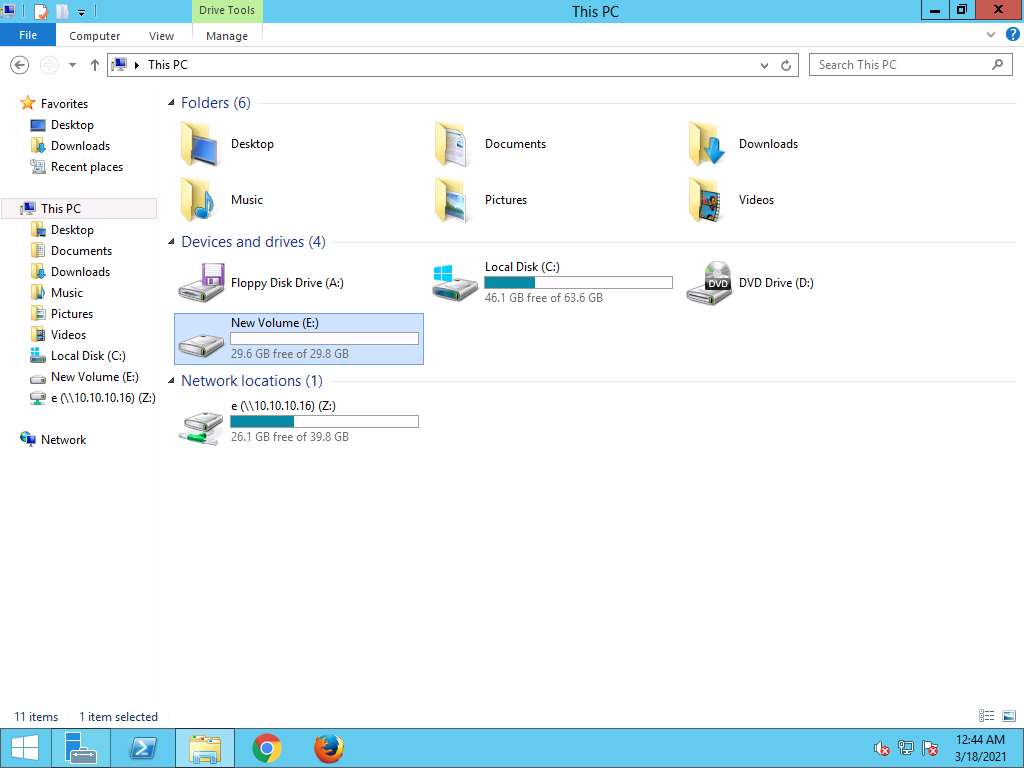
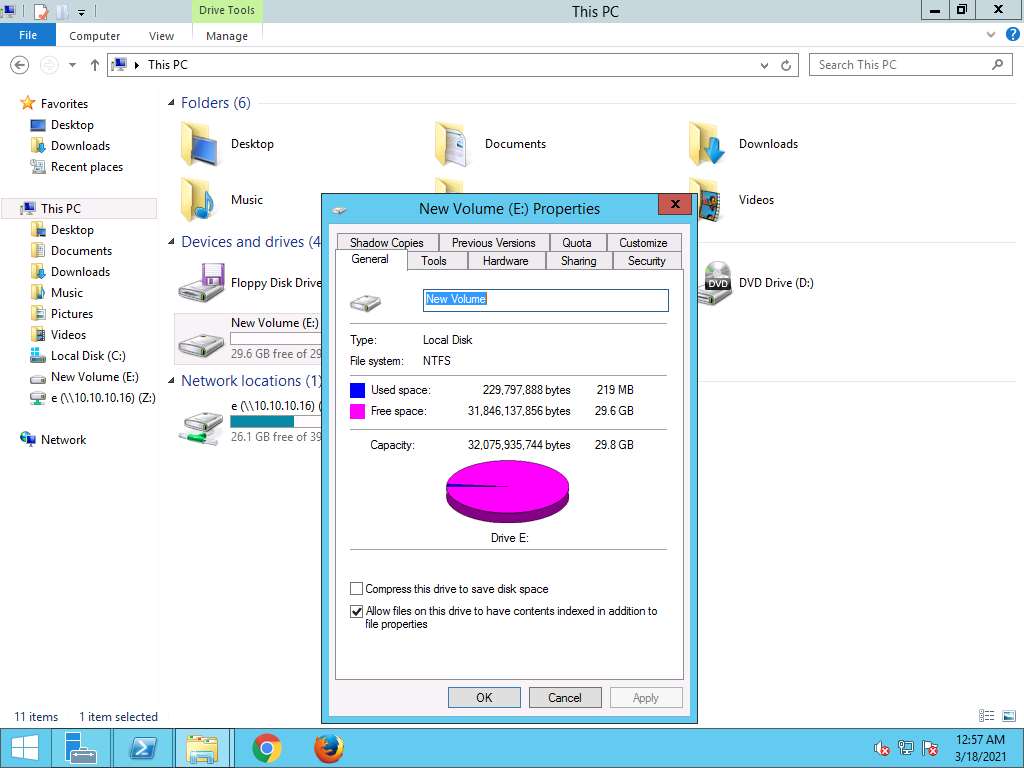
Navigate to This PC: and right click the New Volume (E:) drive and select Properties from the context menu as shown in the screenshot.
New Volume (E:) Properties window appears; in General tab the Used space is 219 MB now, which is reduced from 269 MB as result of deduplication which verifies the deduplication in Windows Server 2012.
Assessment 2:
In the EDRP Windows Server 2012 Primary Server machine, install the Data Duplication role to perform a data duplication. Configure the date duplication on E: drive. Create folders like User1, User2, User3,… Upto 20 in the E: drive and copy the EDRP White Papers folder available at This PC\EDRP-Tools (Z:) in all the newly created folders. Use the data duplication feature using Windows PowerShell and observe the used space of E: drive before and after duplication. Enter the value OptimizedFiles field found in the result.
Step 27
OptimizedFiles 字段值 260
实际执行 56
Performing File backup in Windows 10 using AOMEI Backupper standard
Scenario
AOMEI back upper is an important tool used for backup and restoration. It can back up large amounts of data in a short time, has a user friendly GUI and is compatible with most systems.
Lab Objectives
This lab demonstrates how use AOMEI Backupper software to perform file backup in Windows 10 system.
Lab Scenario
Taking data backups at periodic intervals is an important task of an administrator in any organization. Backups help organizations recover from data loss and disasters. Loss of data or corruptions of data cause severe problems to an organization as it may damage their reputation or can affect their business continuity. As a disaster recovery professional, you should know various tools and techniques for taking backups of sensitive data.
To login Windows 10 machine, navigate to Machines pane and click Windows 10. Windows 10 login screen appears, type Pa$$w0rd in the password field and press Enter to login.
Alternatively you can click Paste Password from Commands --> Paste options or click clipboard icon under Windows10 from Machines pane.
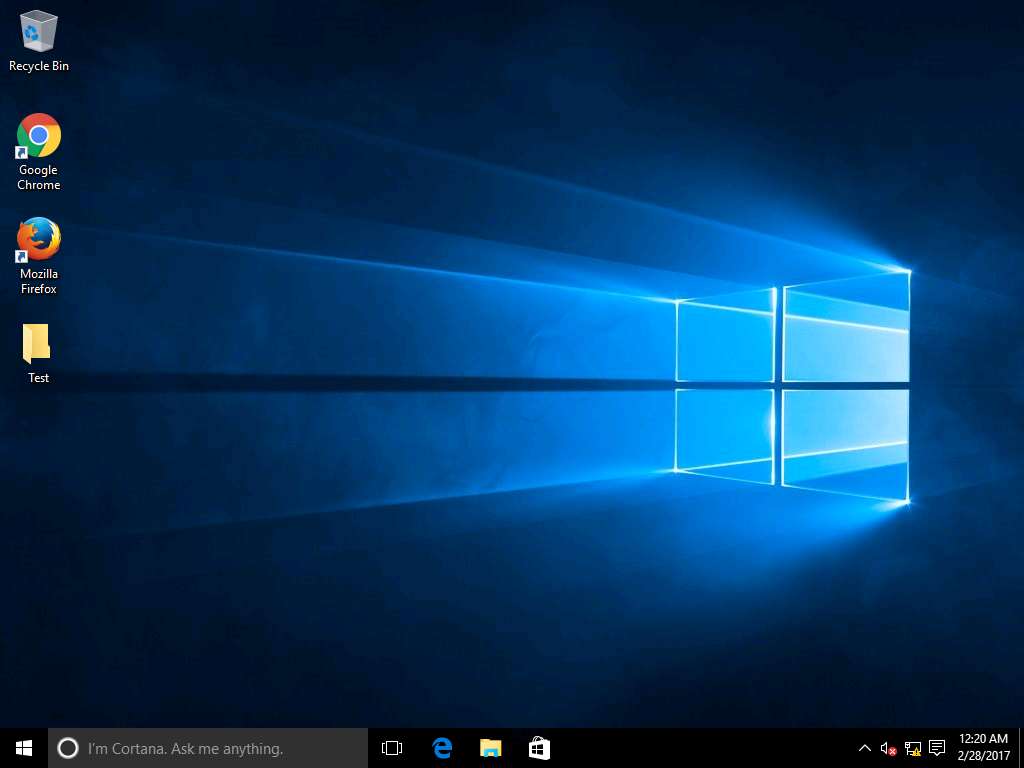
To create a new folder, right-click on the Desktop and click New Folder from the context menu. After new folder is created on desktop rename the folder as Test.
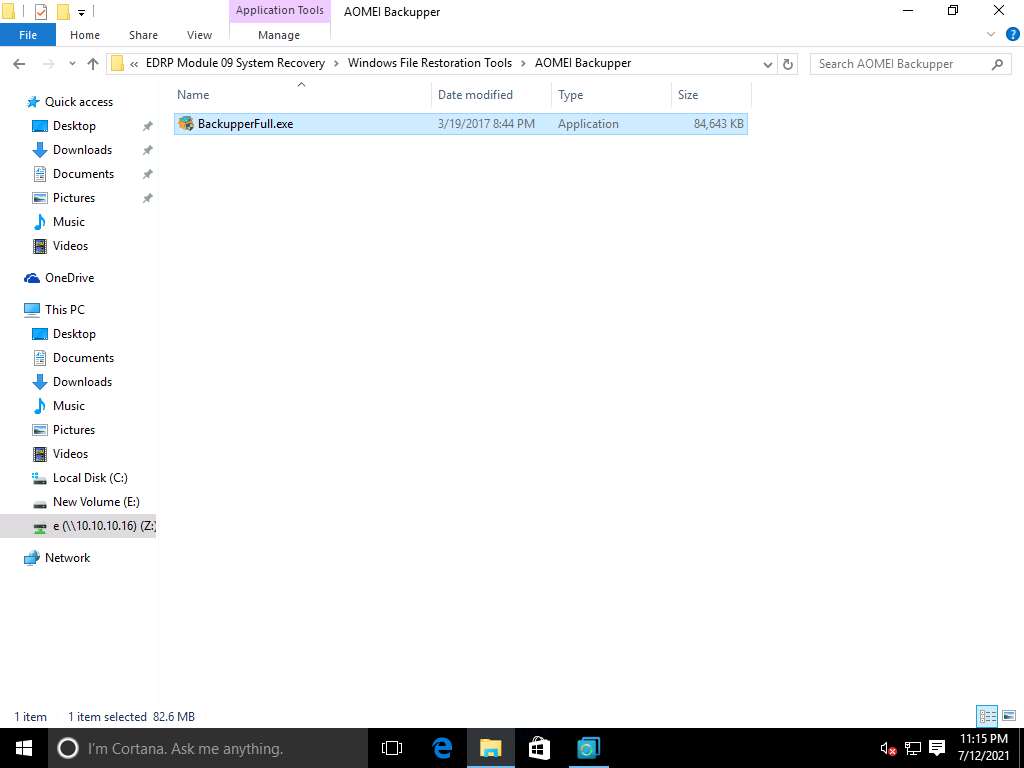
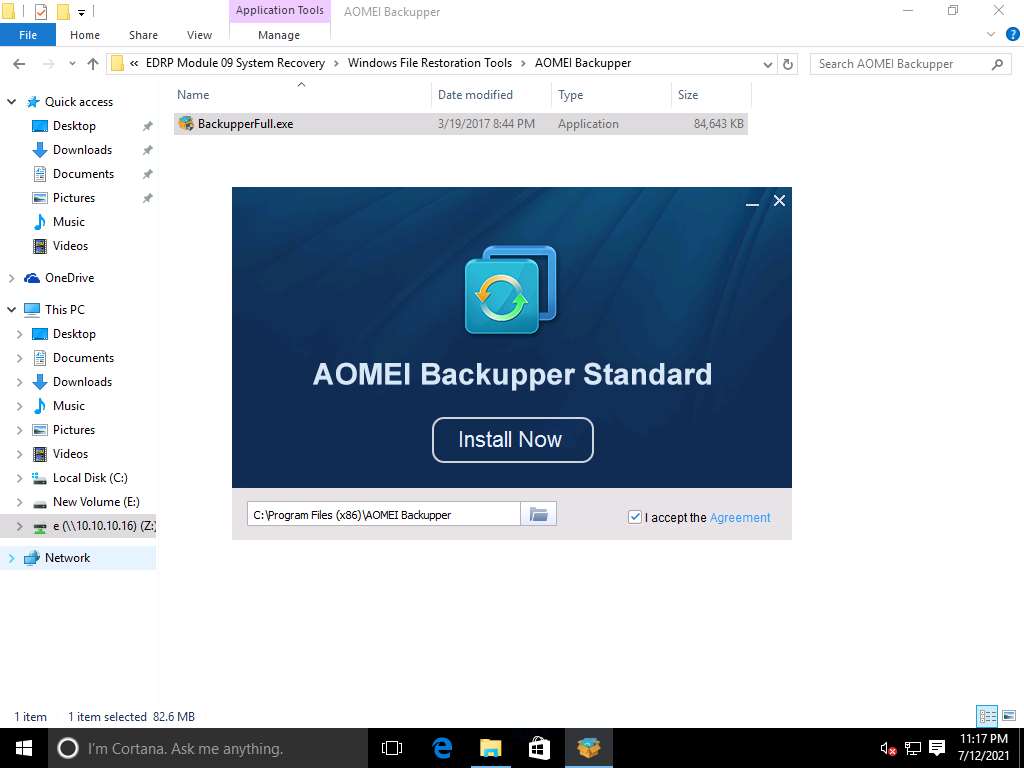
To install AOMEI Backupper, navigate to Z:\EDRP Module 09 System Recovery\Windows File Restoration Tools\AOMEI Backupper and double-click BackupperFull.exe to install.
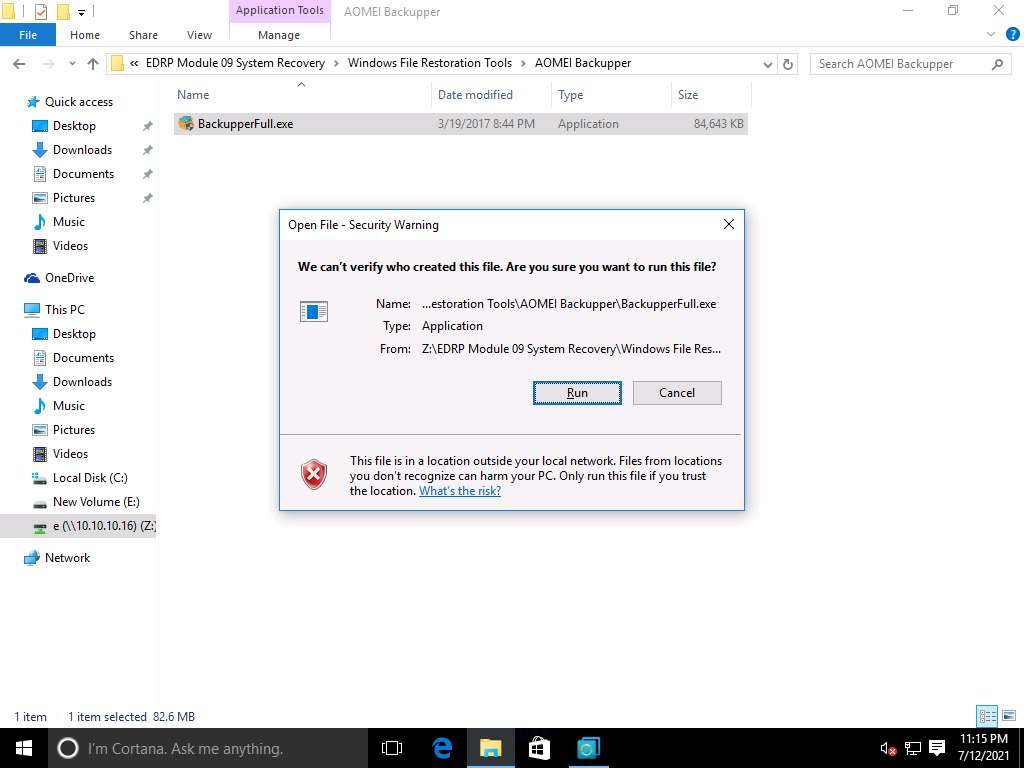
Security Warning window appears, click Run to continue.
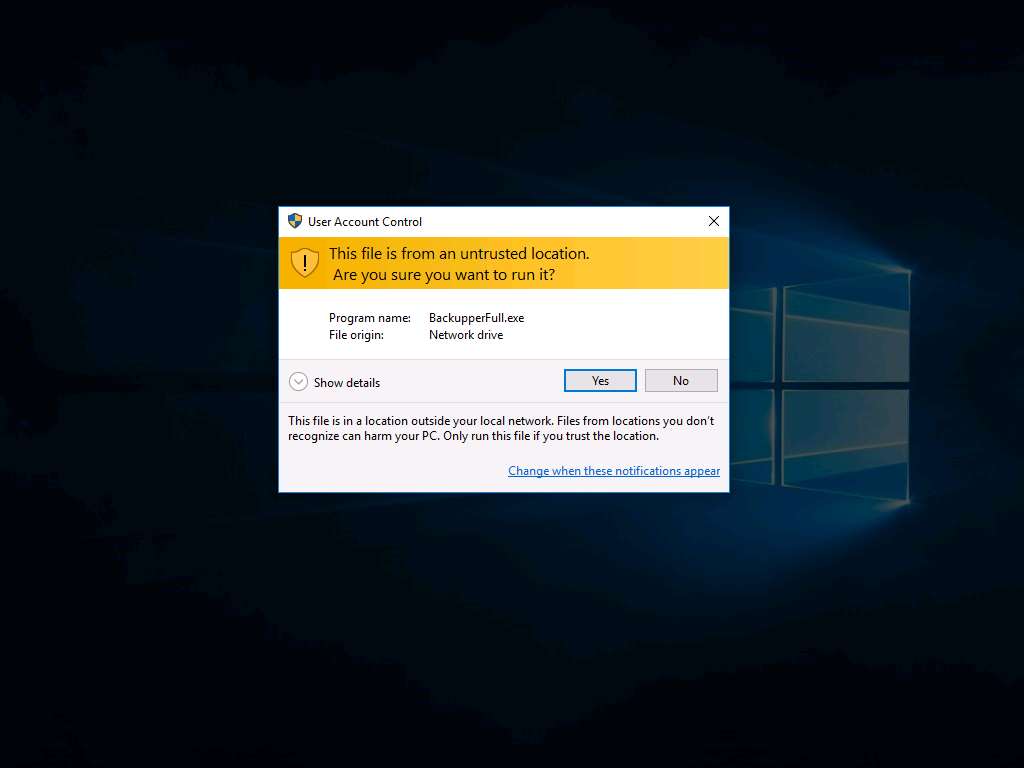
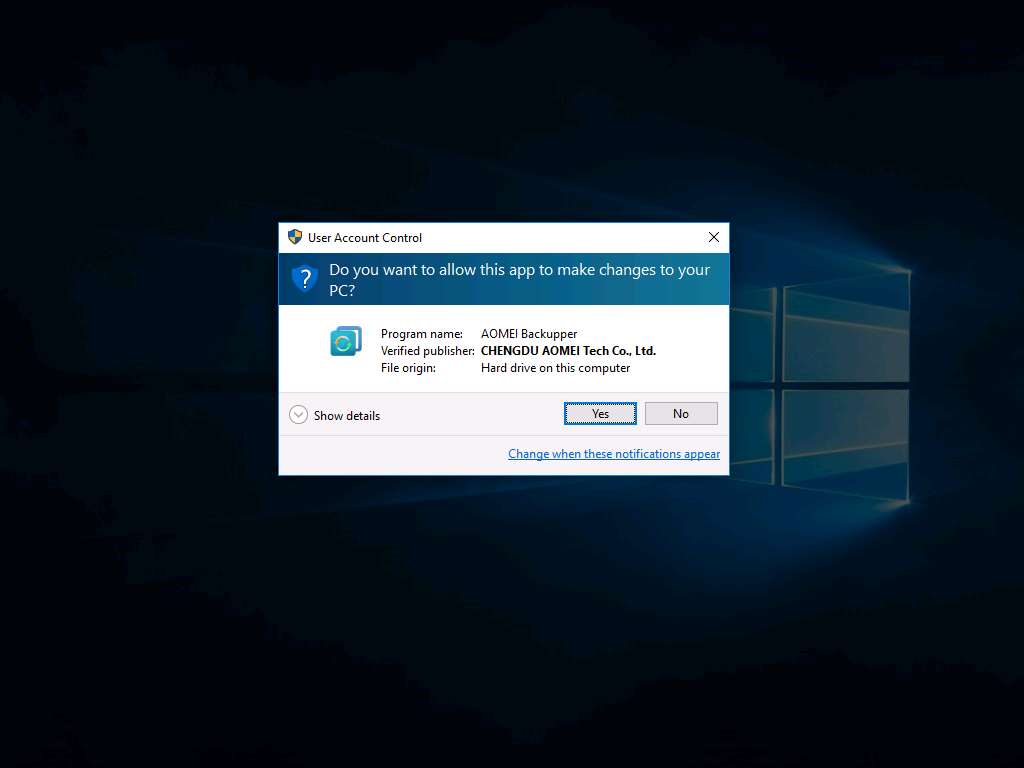
User Account Control window appears, click Yes to continue with installation process.
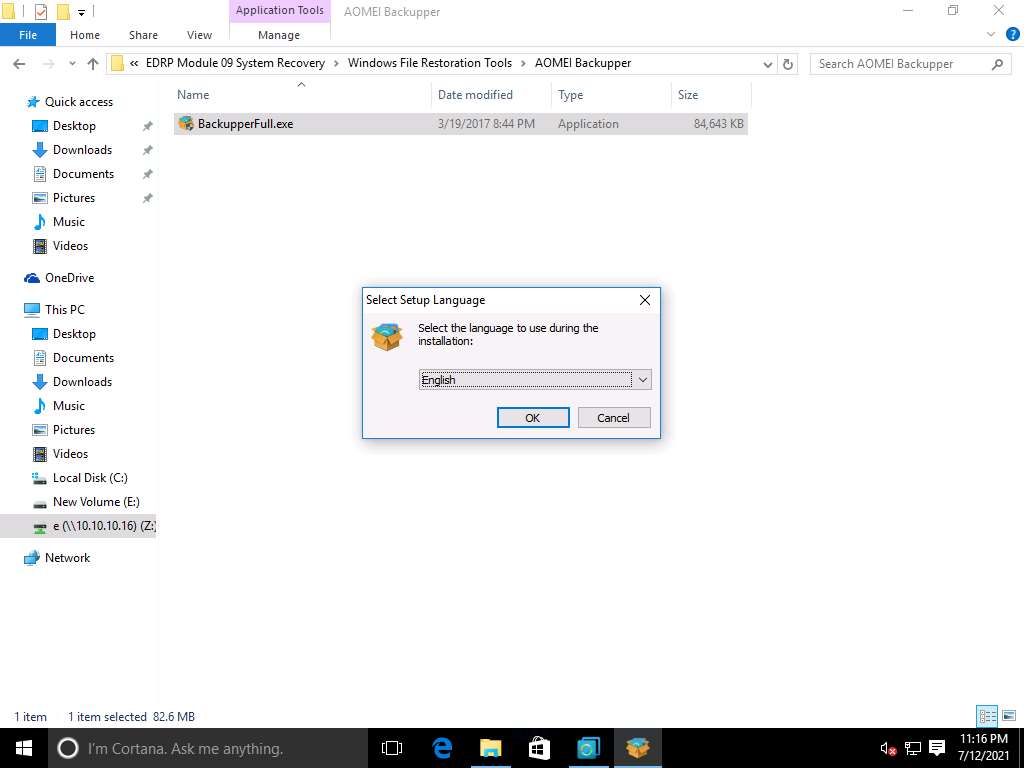
Select Setup Language window appears, English is selected as default language. Click OK to continue.
AOMEI Backupper setup wizard appears, click Install Now. Make sure that I accept the Agreement option is checked.
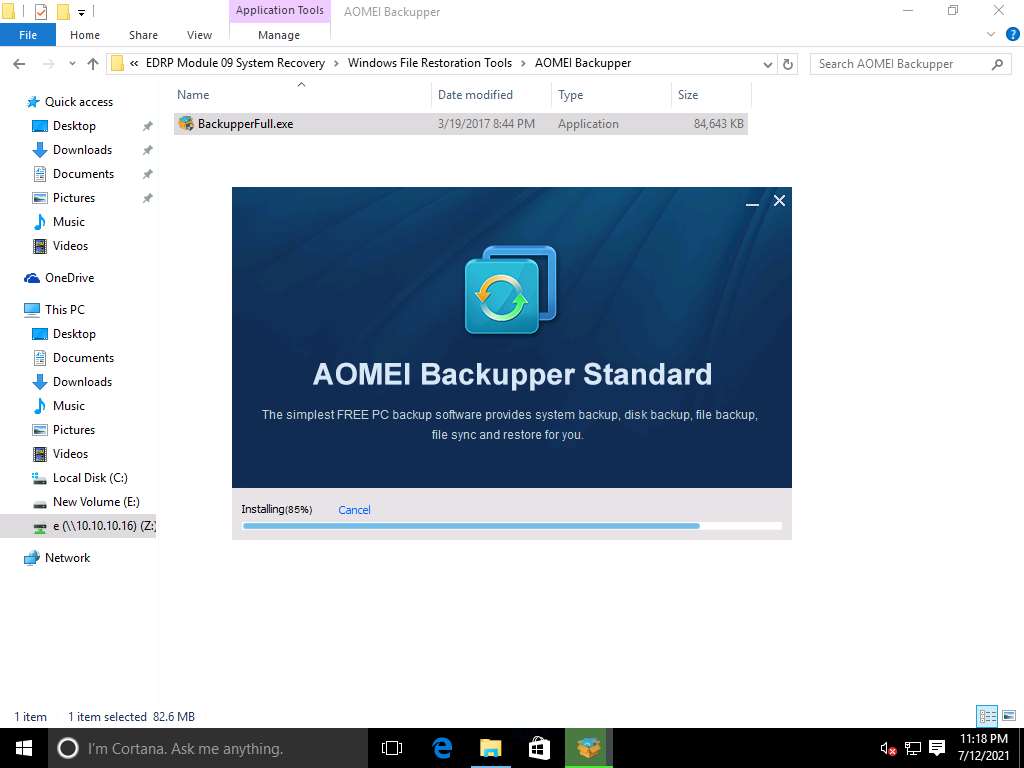
Wait until the installation completes. You can see the progress as shown in the screenshot.
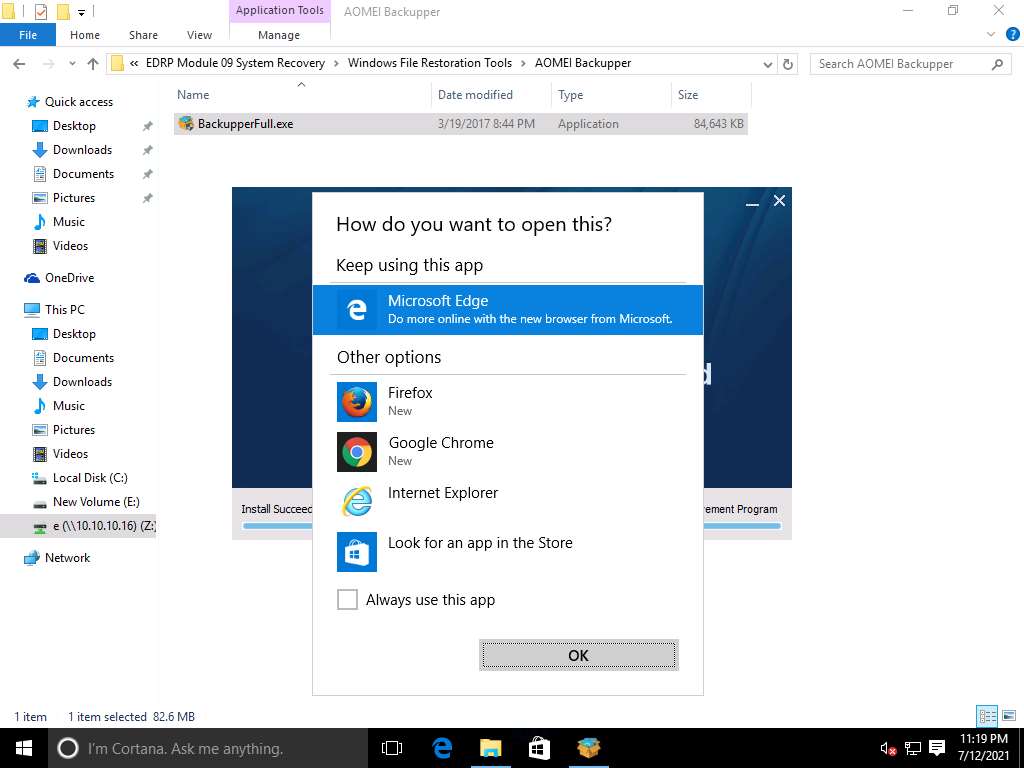
How do you want to open this? pop-up appears, click any where on the Desktop screen to Ignore the pop-up.
Once the installation is completed close the installation window.
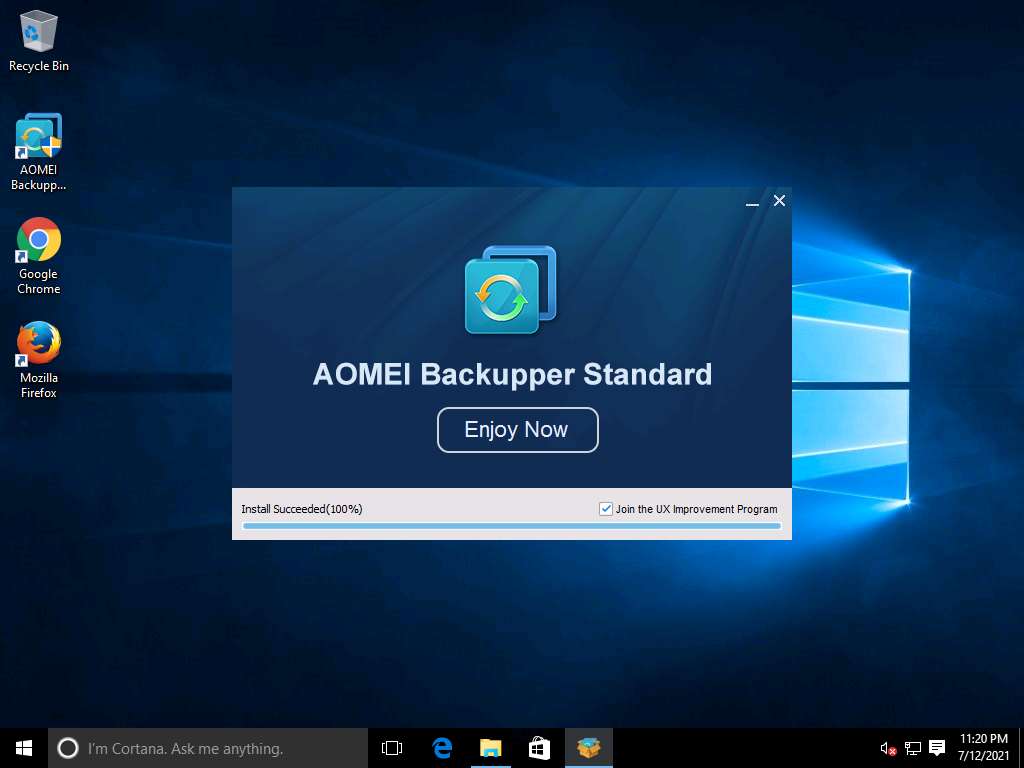
Navigate to desktop and double click the AEOMI Backupper Standard shortcut icon.
User Account Control window appears, click Yes.
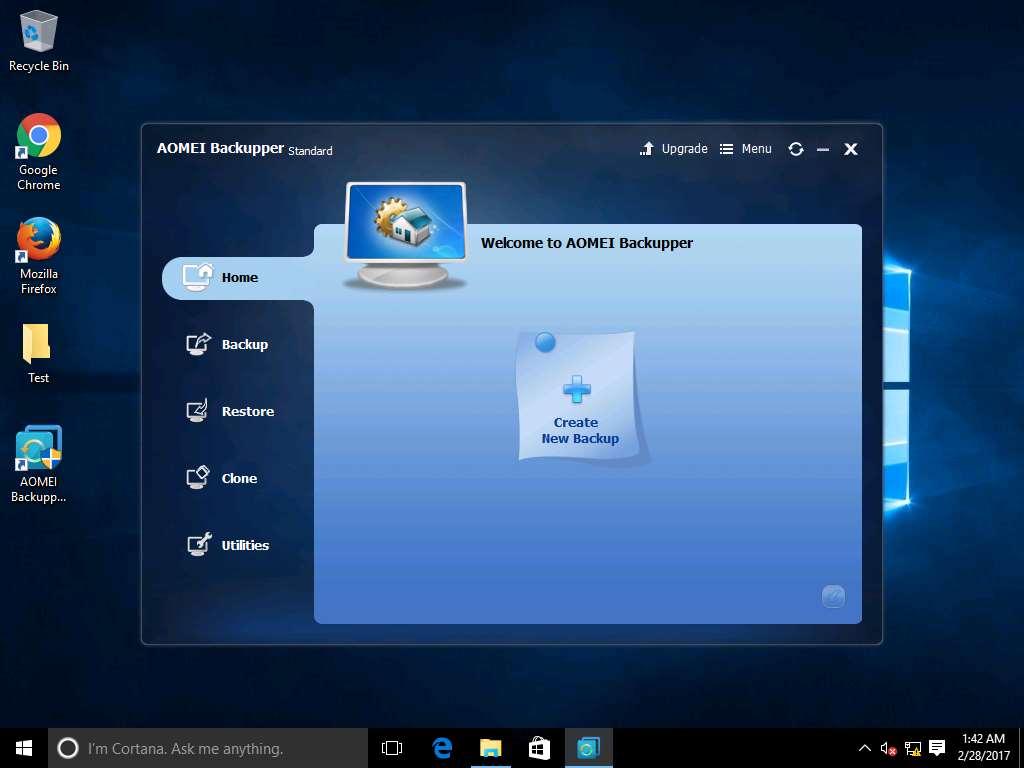
AOMEI Backupper Standard window appears, click Create New Backup option present in Home tab.
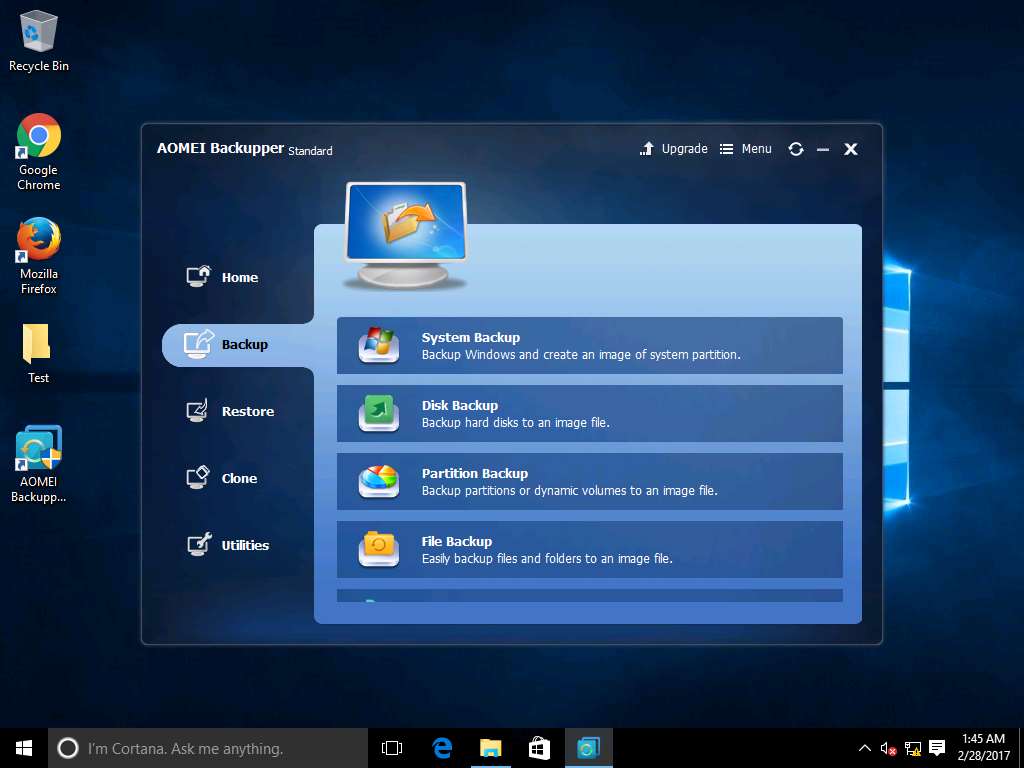
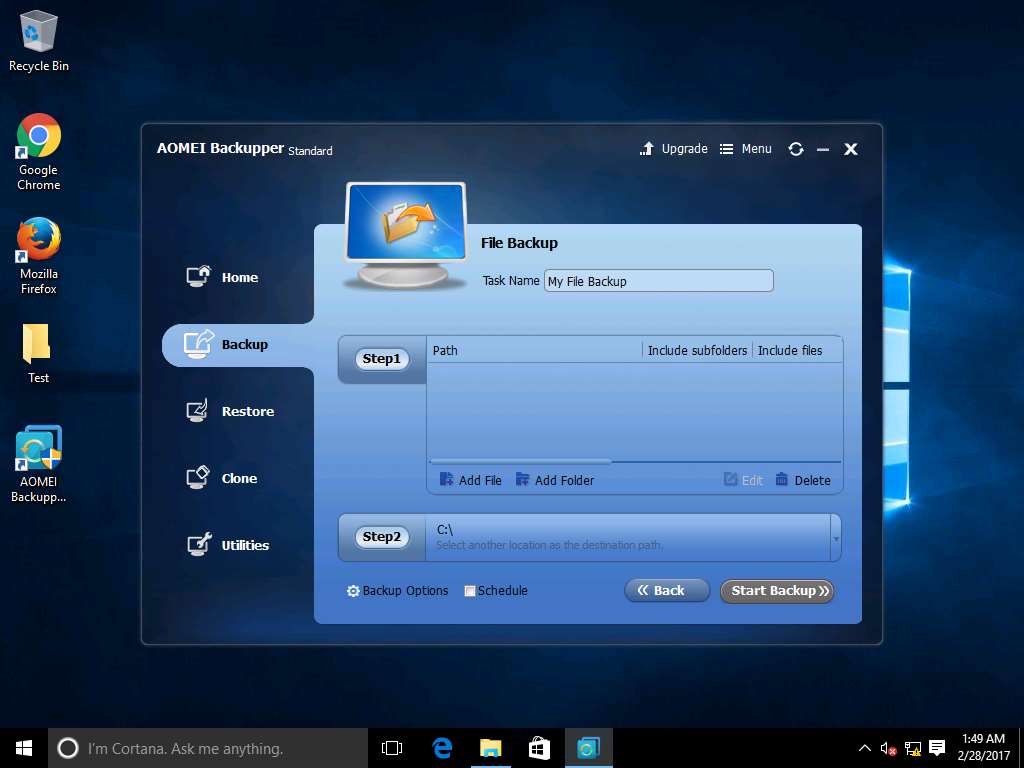
Backup tab appears, click File Backup to initiate the File backup.
File Backup option provides the feature to back up the manually selected files and folders to an image file.
File Backup window appears, click Add Folder option present in Step1 field.
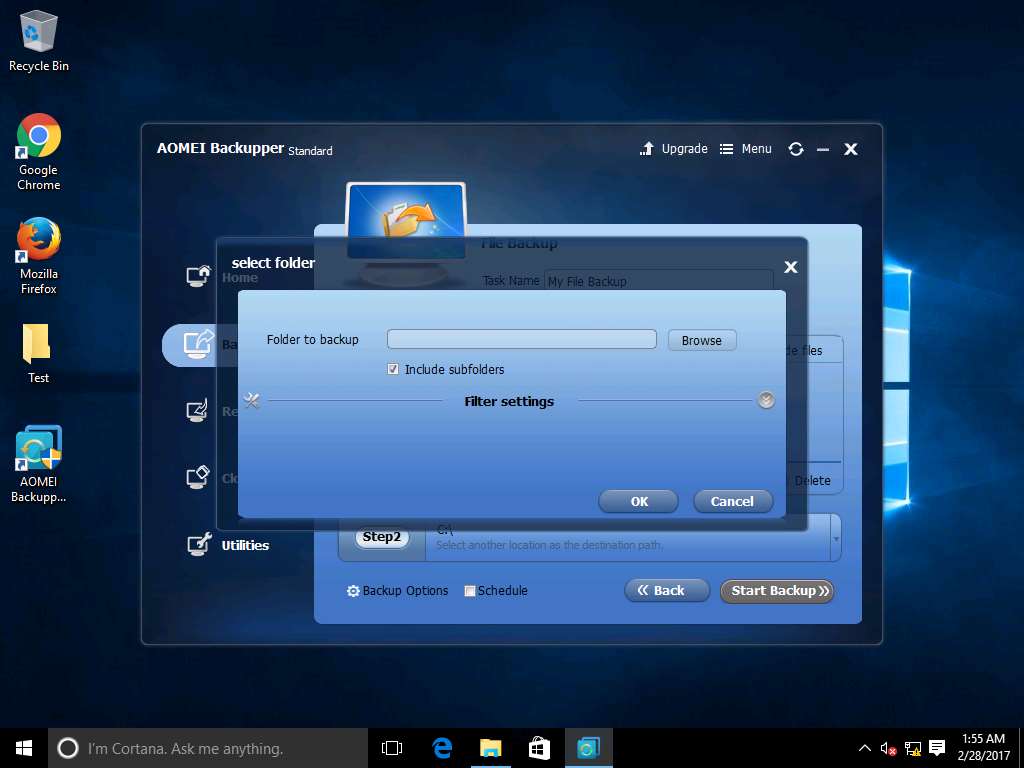
Select Folder window appears, Include subfolders is checked by default. Click Browse.
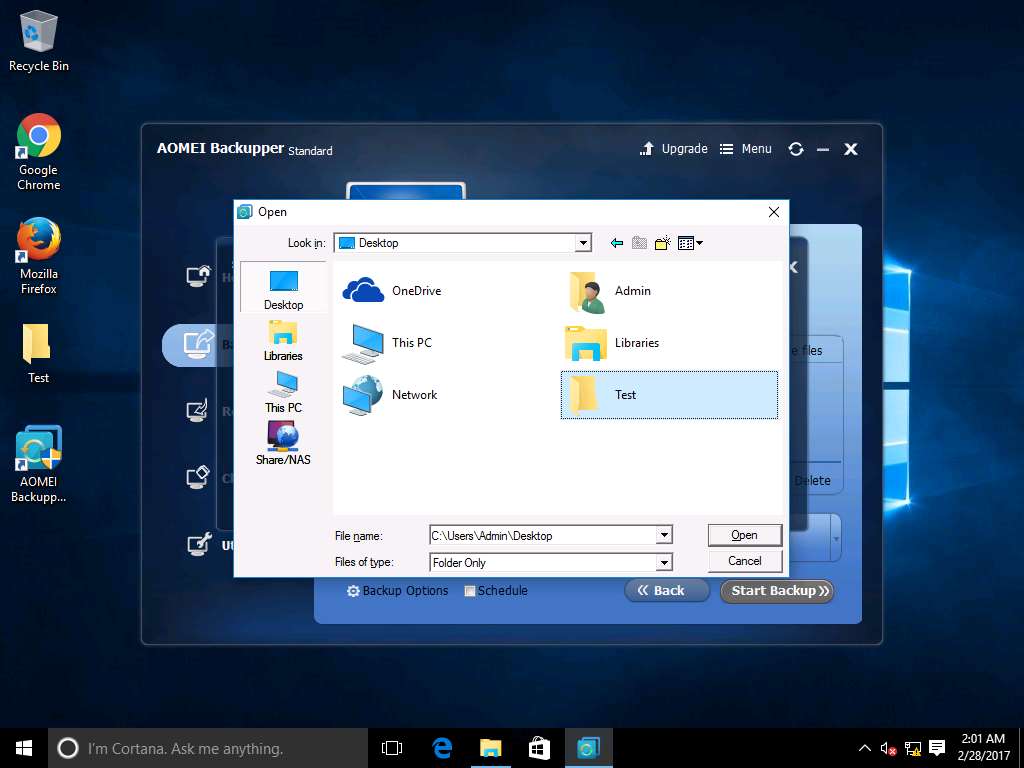
Open window appears, click Desktop icon on the left-pane and select Test folder. Click Open to continue.
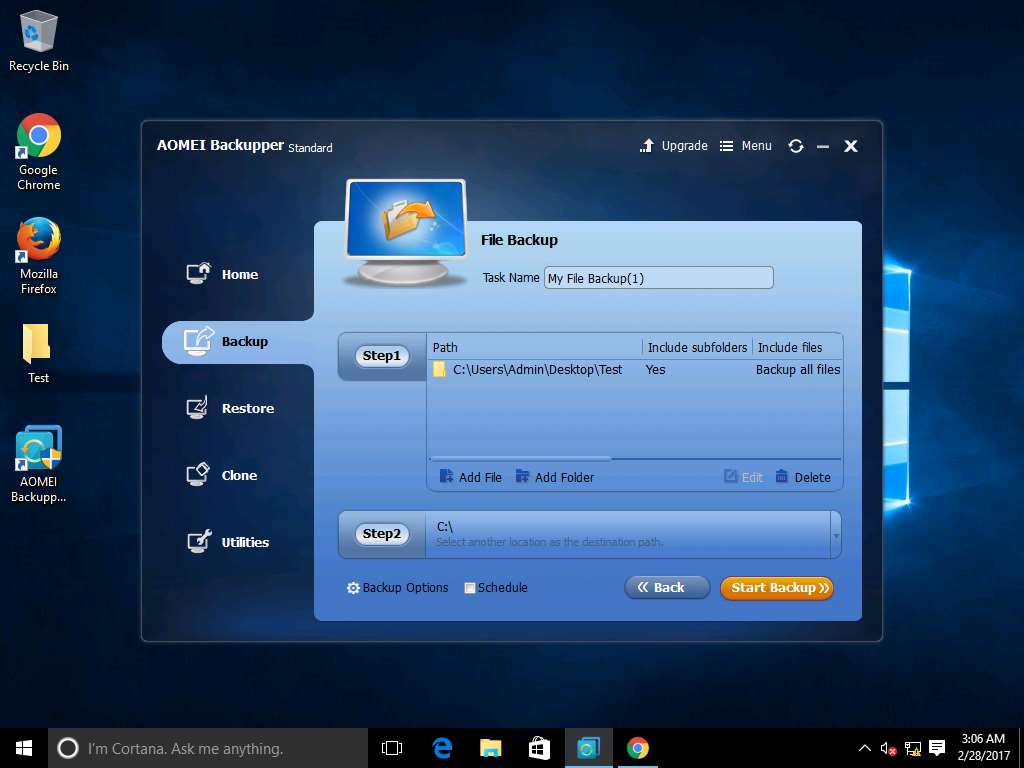
AOMEI Backupper standard window appears, click Start Backup button to start the backup process in the default destination folder.
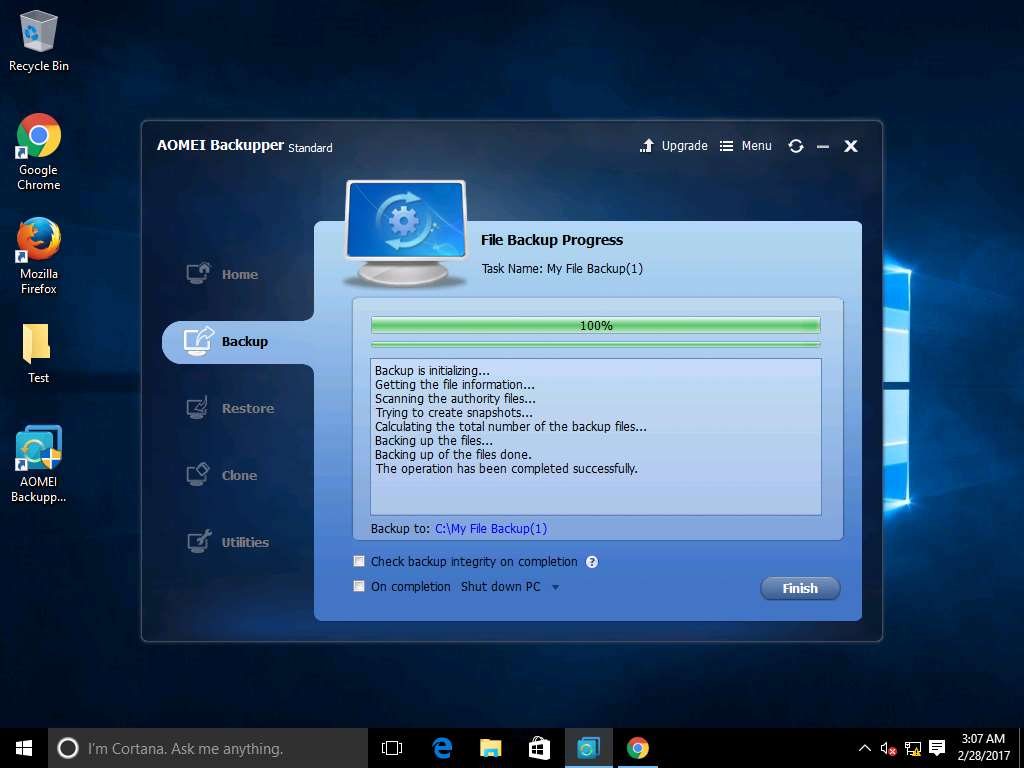
File Backup Progress appears showing the backup progress. After completion of backup process, click Finish.
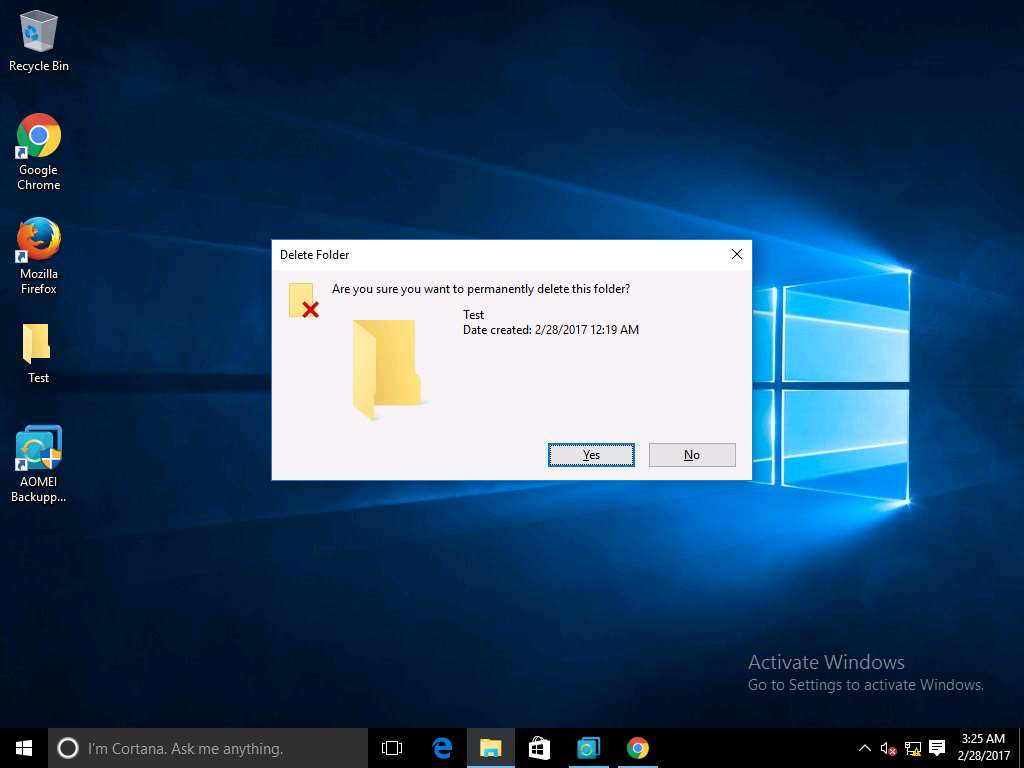
Navigate to the desktop of windows 10, permanently delete the folder Test using Shift+Delete shortcut key. Delete Folder window appear, click Yes.
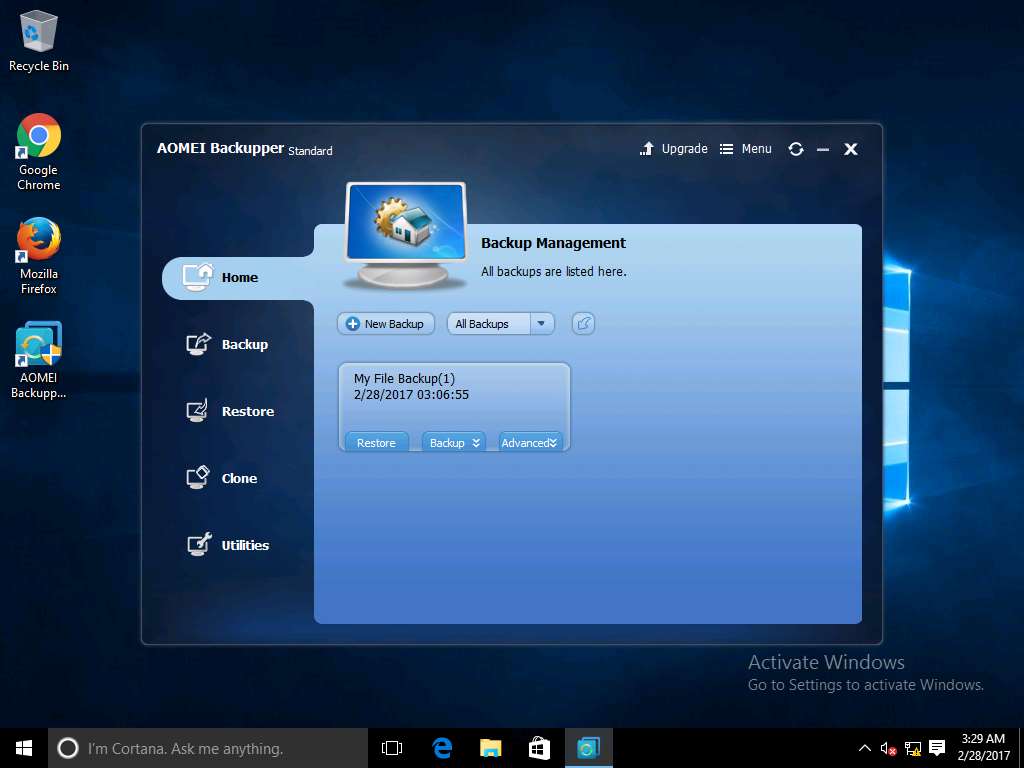
For restoration of the permanently deleted folder Test, navigate to Backup Management window of AOEMI Backupper and click Restore present in My File Backup (1) section.
Backup Point window appear showing the list of the available backups. Select recent backup time point and click Next button to continue the restoration process.
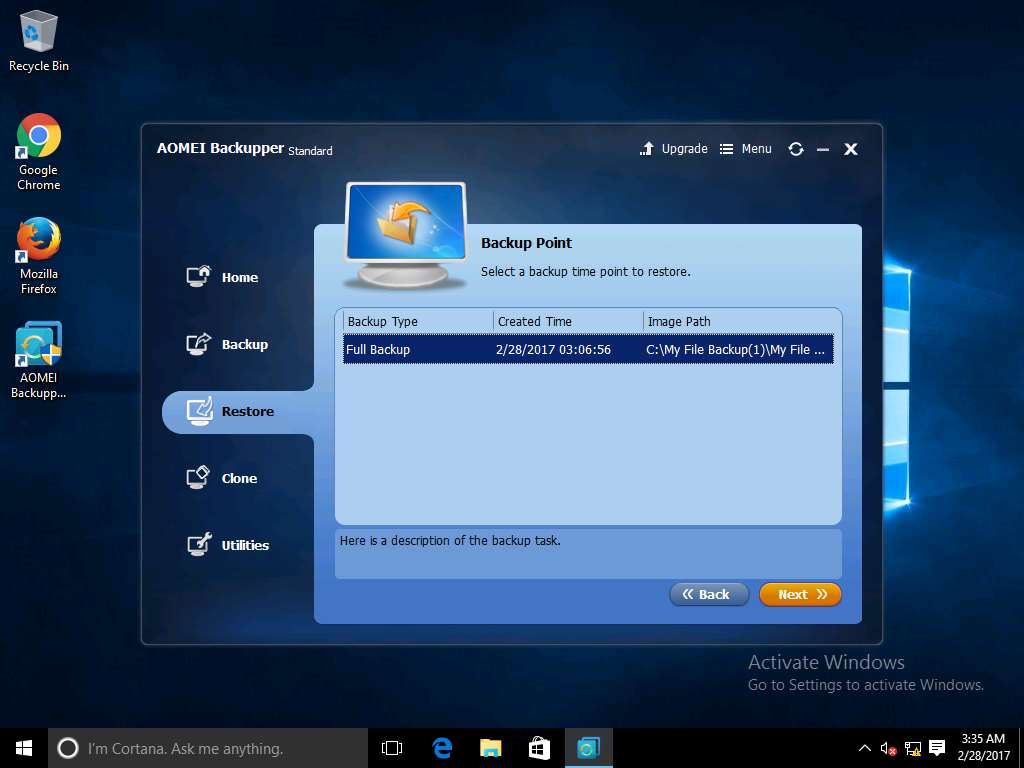
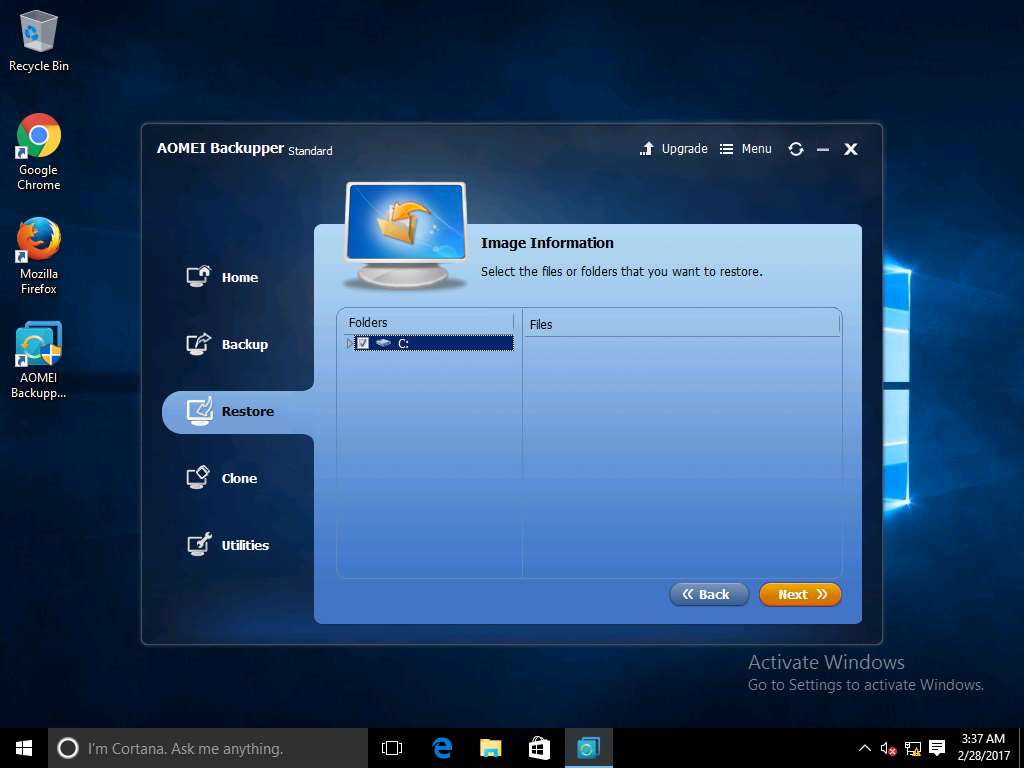
Image Information window appear, check the box present before C: drive in Folders pane. Click Next.
File Restore window appears, Restore to original location radio button is selected as default. Click Start Restore.

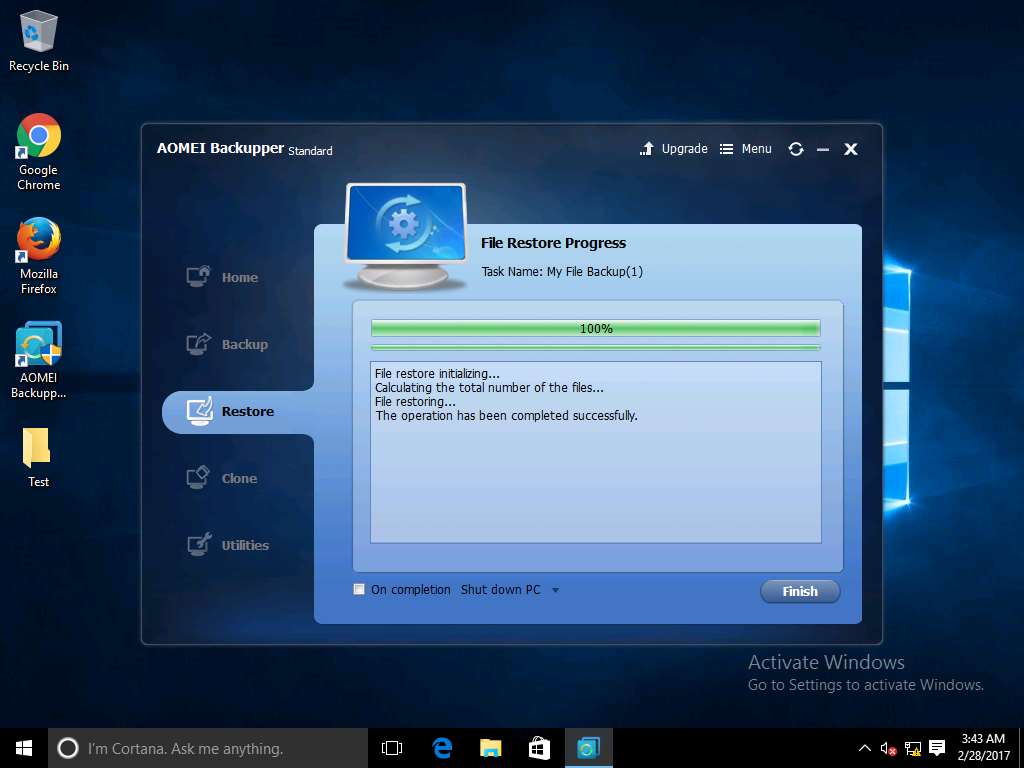
File Restore Progress window appears, after completion of restoration process click Finish.
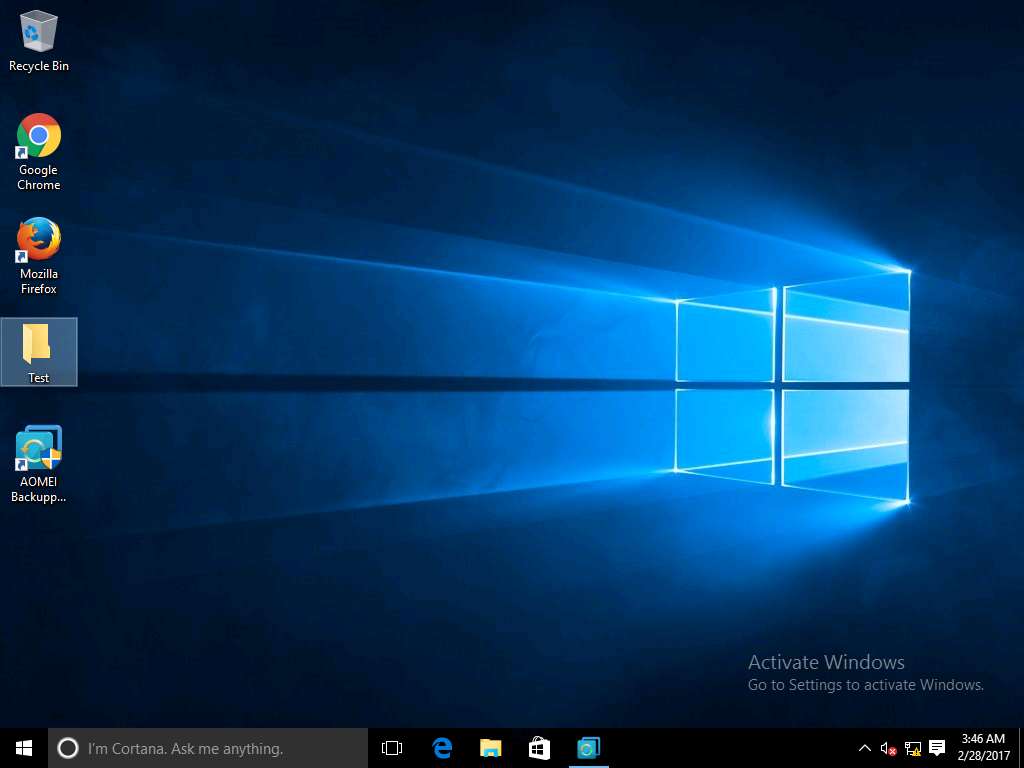
Navigate to desktop of Windows 10, permanently deleted folder Test appears. This demonstrates the successful restoration.
Performing Disk Backup in Windows Server 2016 using AOEMI Backupper Server
Scenario
AOMEI Backupper Server is an important tool used for backup and restoration. It can back up large amounts of data in a short time, has a user friendly GUI and is compatible with most systems.
Lab Objectives
This lab demonstrates how use AOMEI Backupper Server software to perform file backup in Windows Server 2016 system.
Lab Scenario
Taking data backups at periodic intervals is an important task of an administrator in any organization. Backups help organizations recover from data loss and disasters. Loss of data or corruptions of data cause severe problems to an organization as it may damage their reputation or can affect their business continuity. As a disaster recovery professional, you should know various tools and techniques for taking backups of sensitive data.
Click Machines pane, and click Ctrl+Alt+Delete under Windows Server 2012 Primary Server thumbnail.
Alternatively you can navigate to Commands menu and click Ctrl+Alt+Delete to login.
Type Pa$$w0rd in the Password field and press Enter.
Alternatively you can click Paste Password from Commands --> Paste options or click clipboard icon under Windows Server 2012 Primary Server from Machines pane.
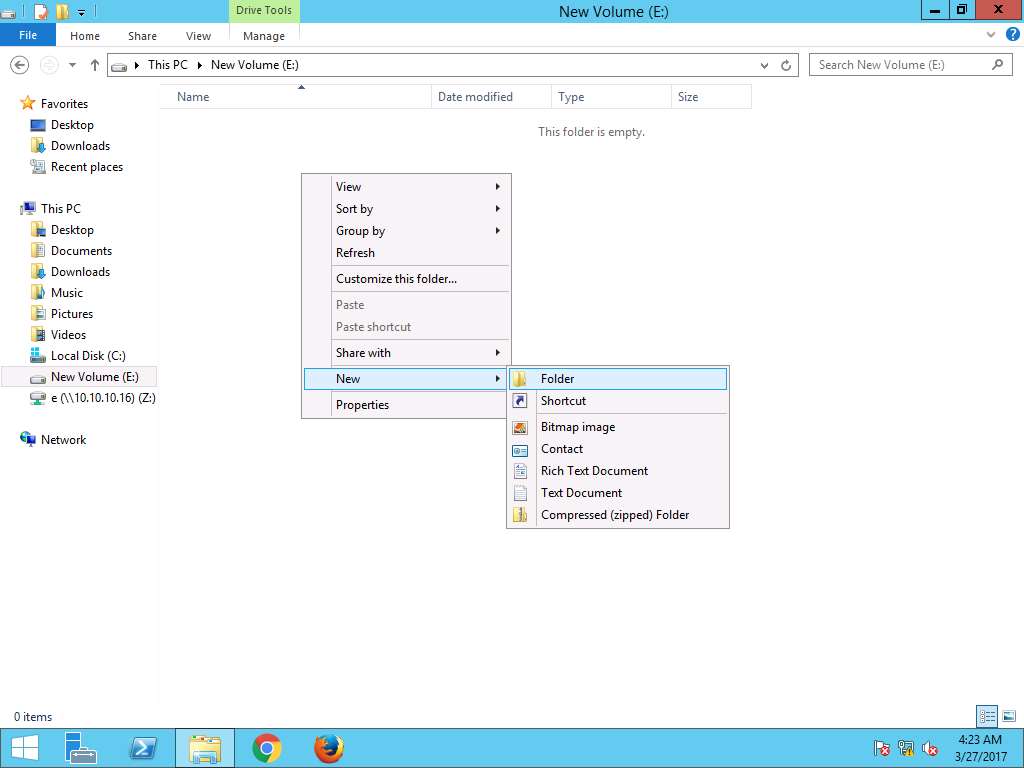
Navigate to This PC --> New Volume (E:) and right-click on the right pane as shown in screenshot. Select New --> Folder.
Rename the new folder as Test.

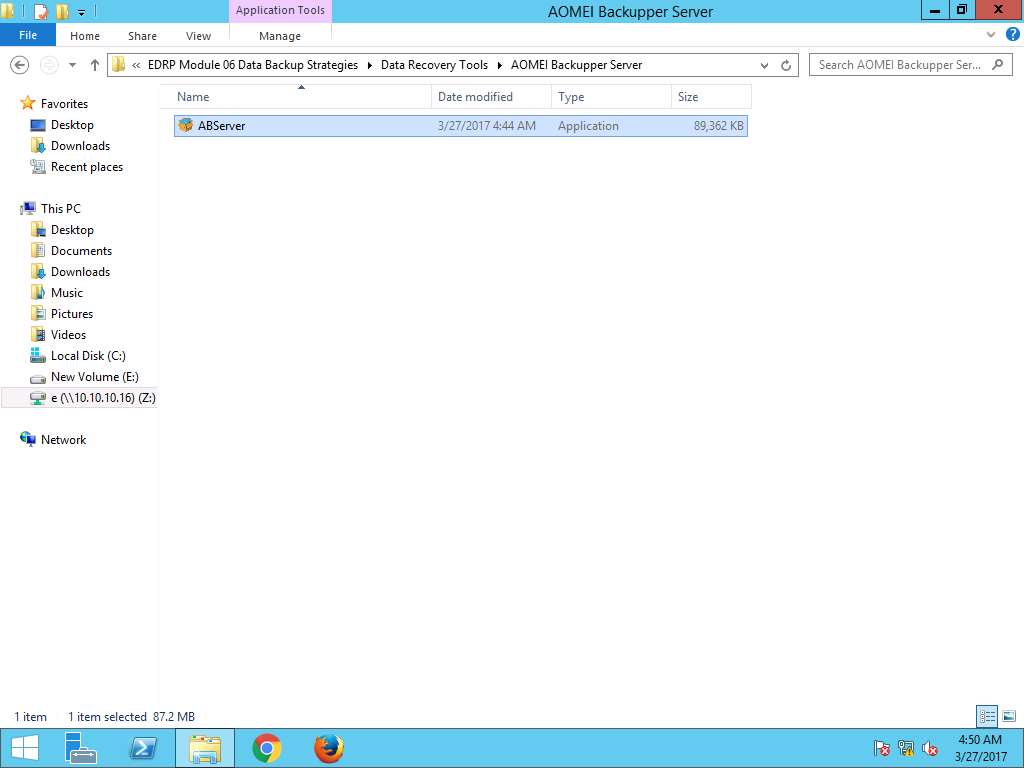
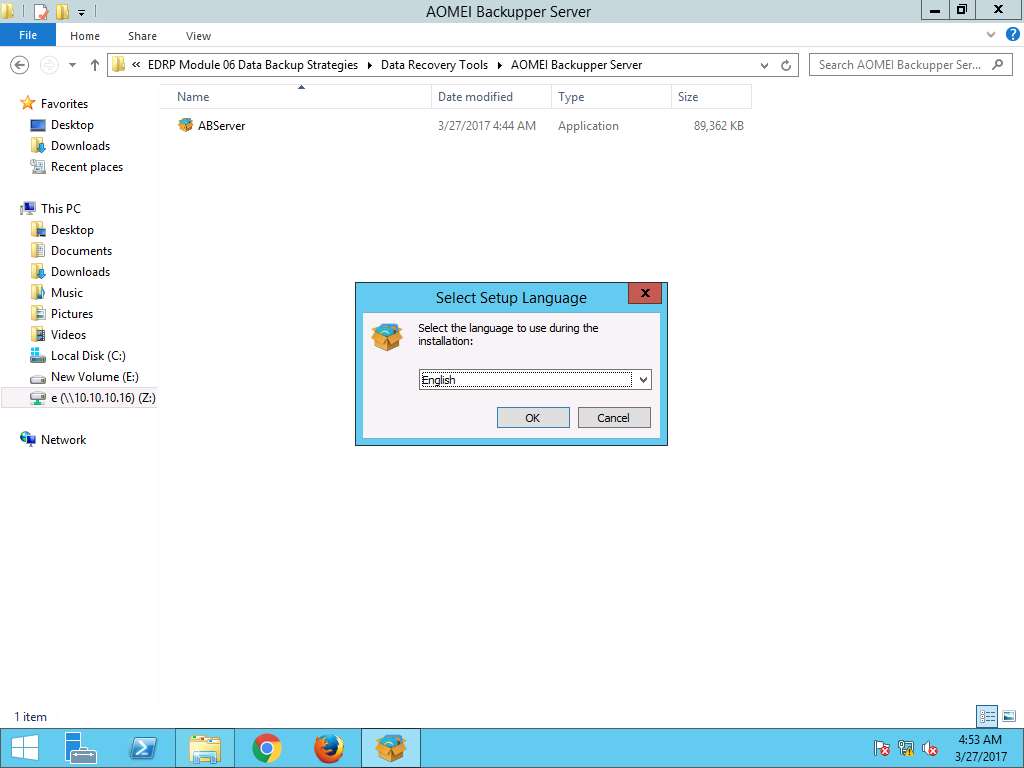
To install AEOMI Backupper, navigate to Z:\EDRP Module 06 Data Backup Strategies\Data Recovery Tools\AOMEI Backupper Server and double-click ABServer to install.
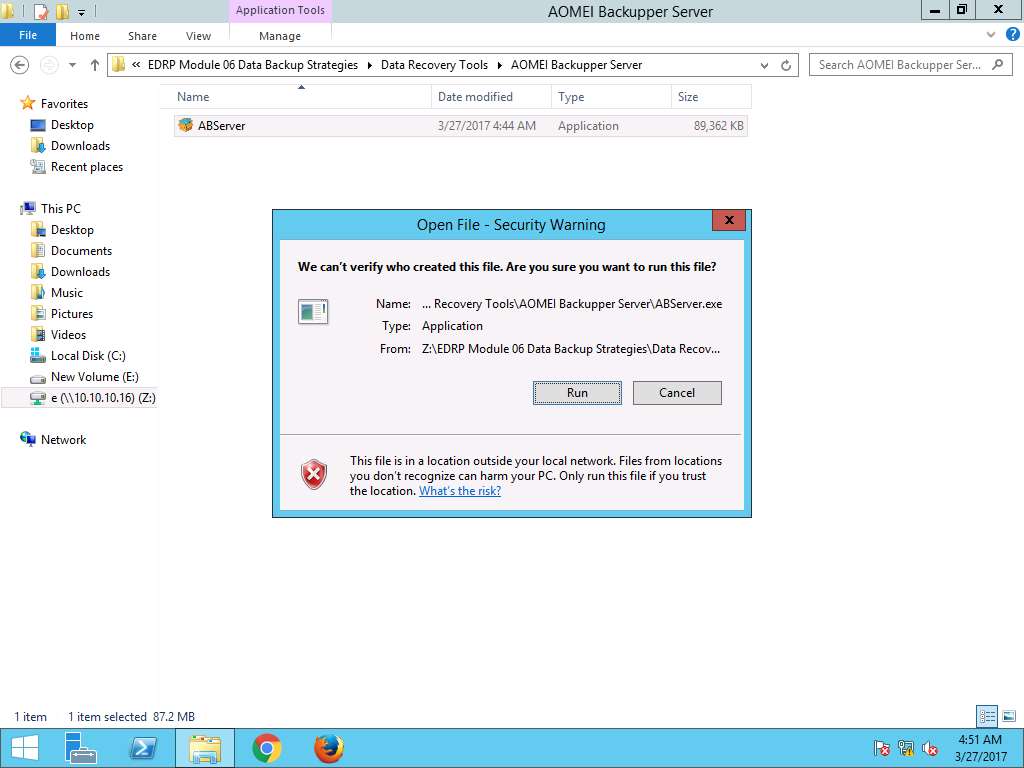
Security Warning window appears, click Run to continue.
Select Setup Language window appears, English is selected as default language. Click OK to continue.
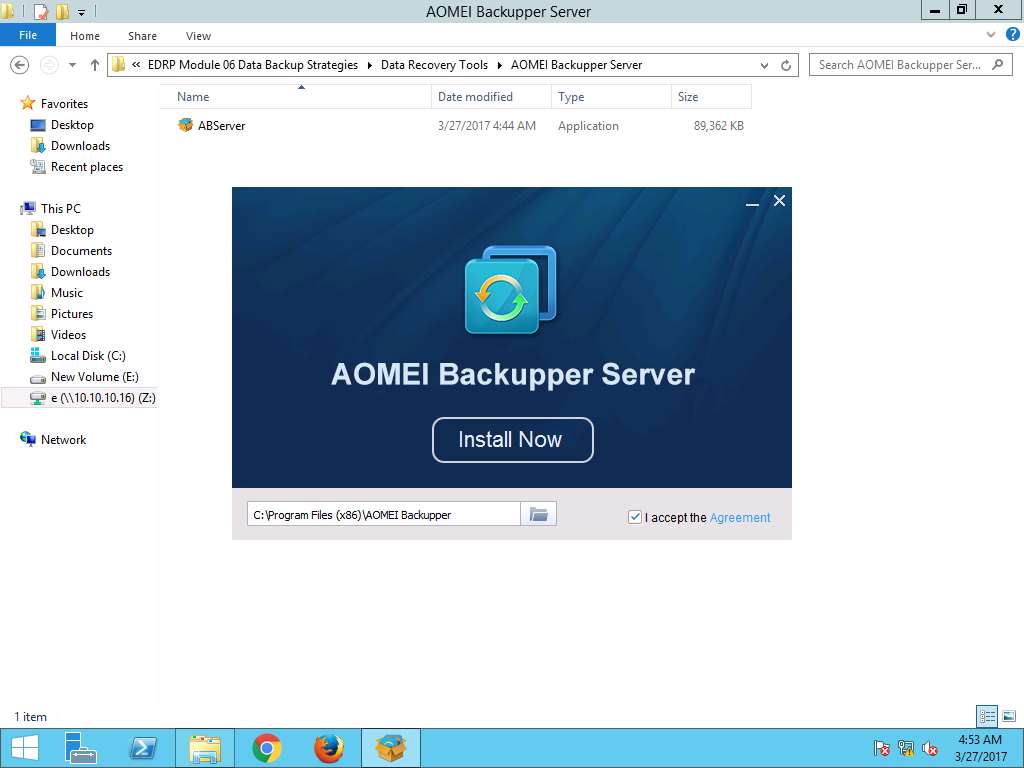
AOMEI Backupper Server window appears, click Install Now to continue.
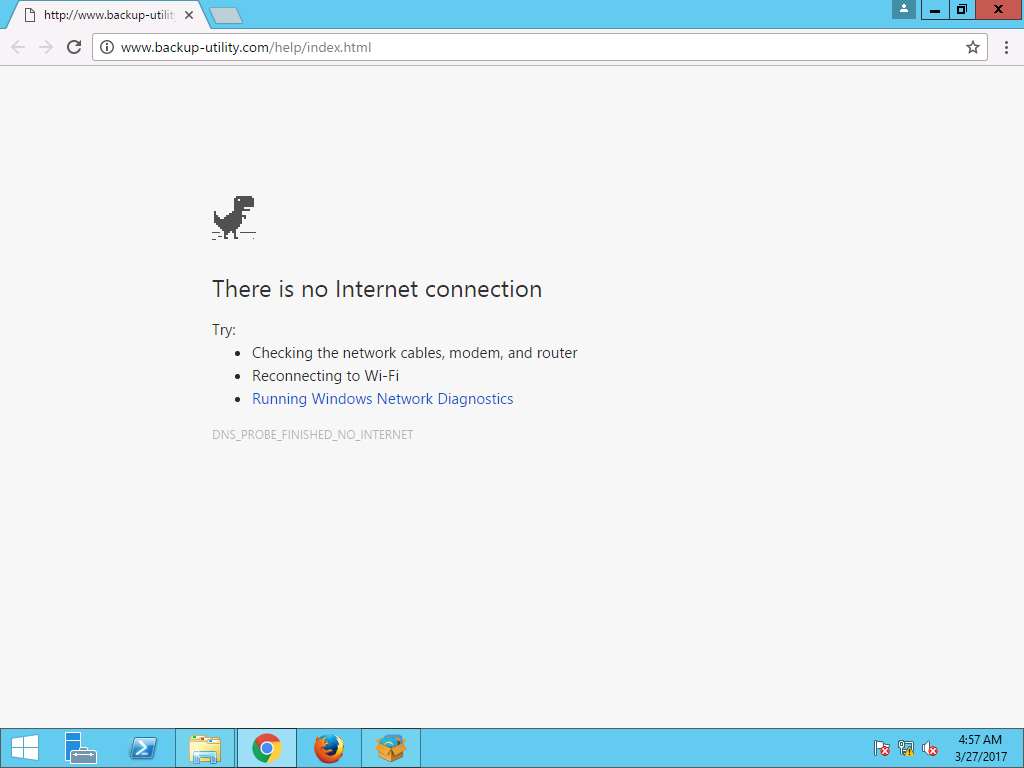
After installation, browser will open automatically. Close browser to continue.
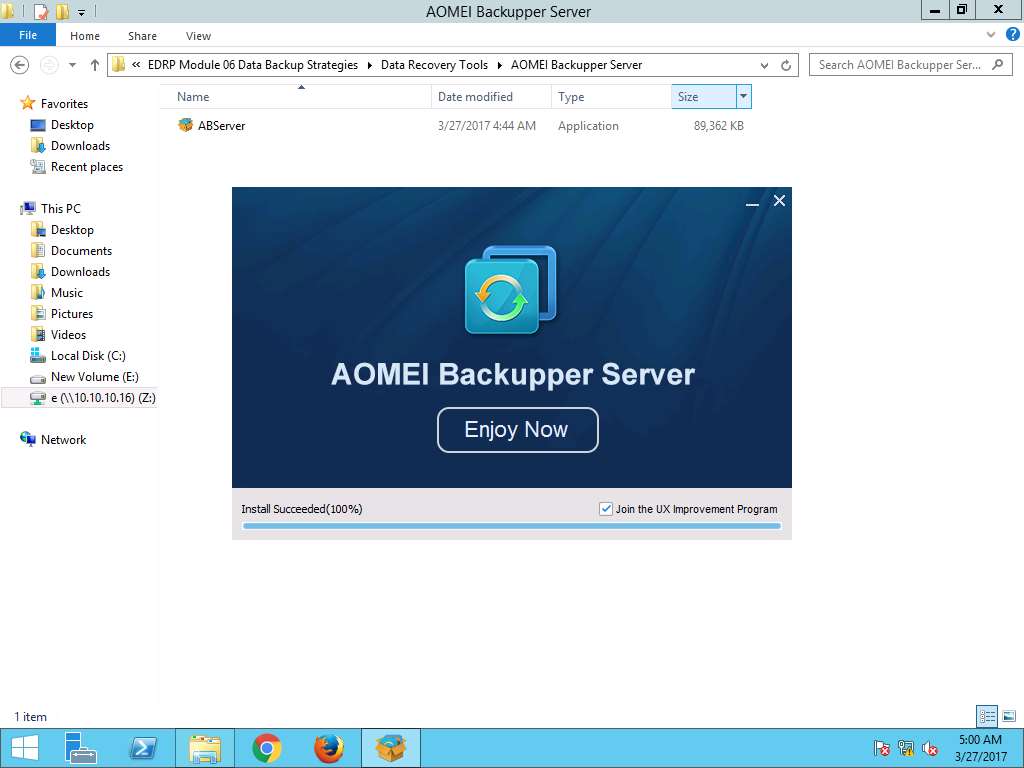
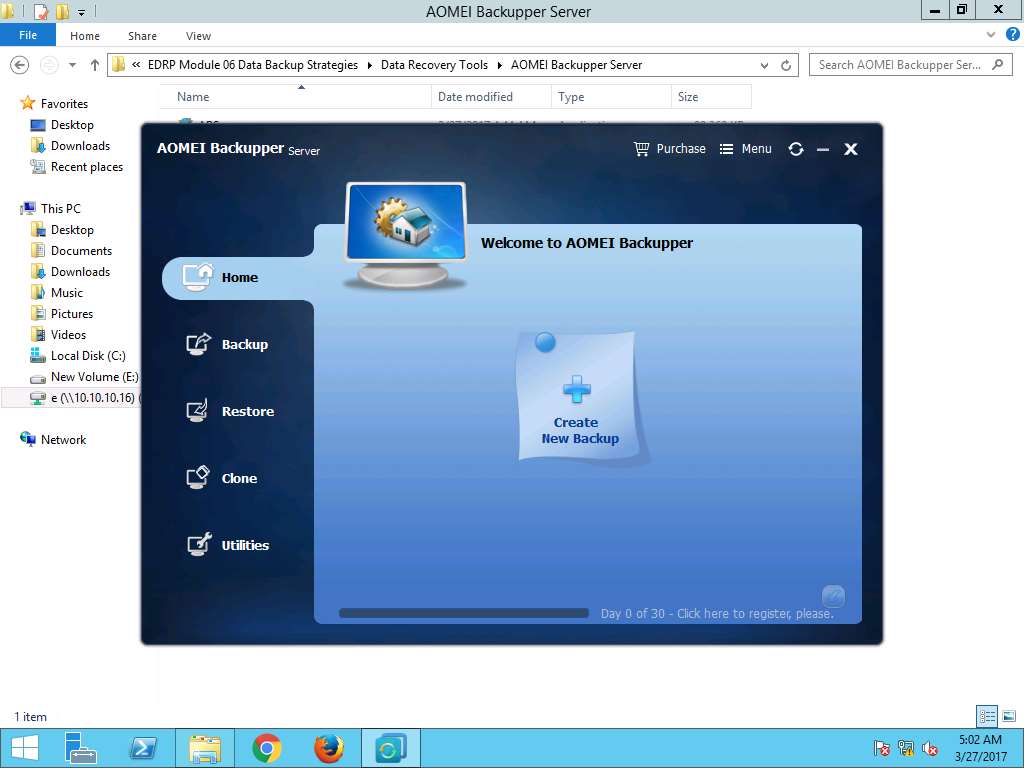
After installation, AOMEI Backupper Server window appears, click Enjoy Now to launch AOMEI Backupper Server as shown in screenshot.
AOMEI Backupper Server window appears, in Home pane click Create New Backup link.
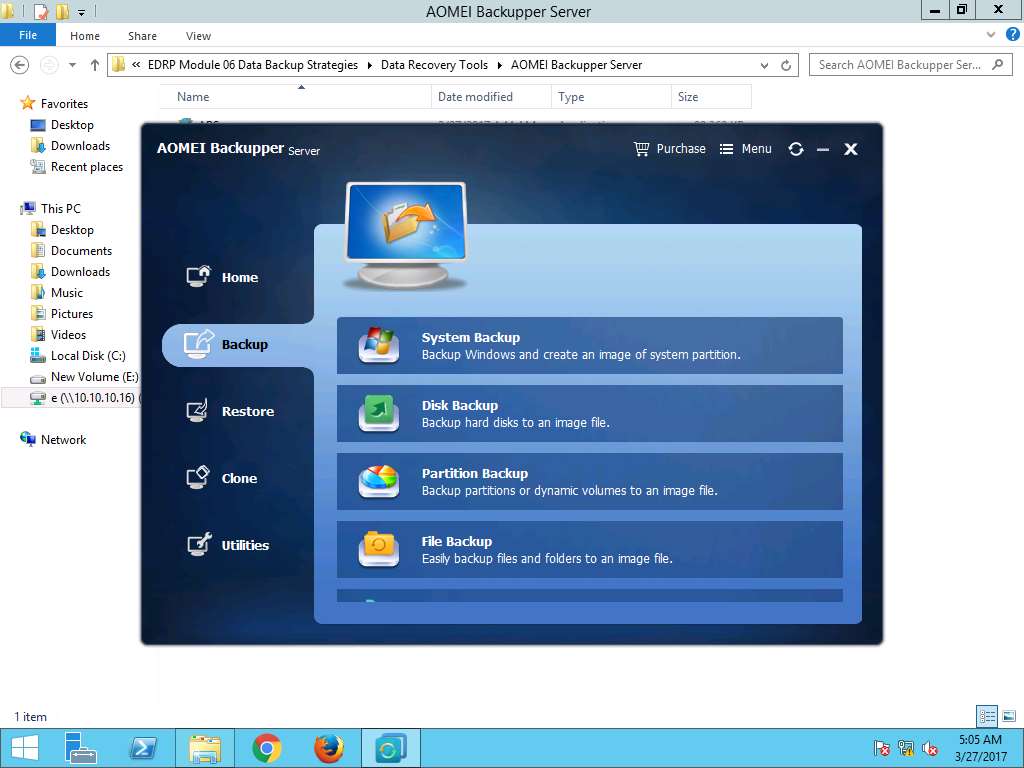
Click Disk Backup option in the Backup pane as shown in screenshot.
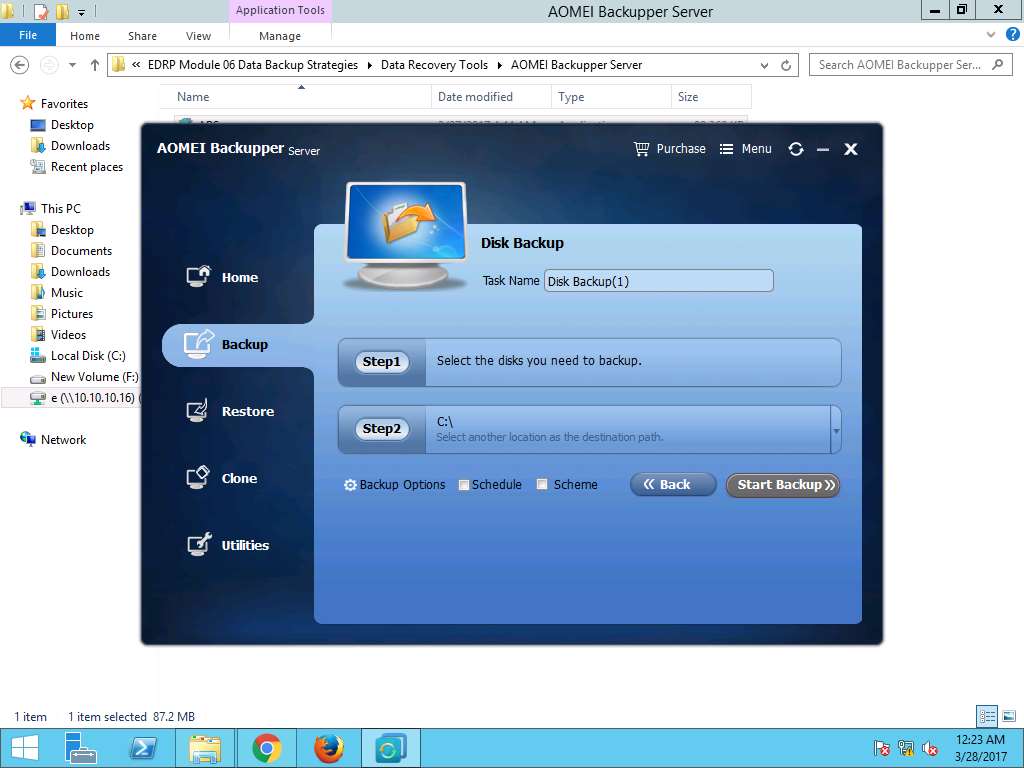
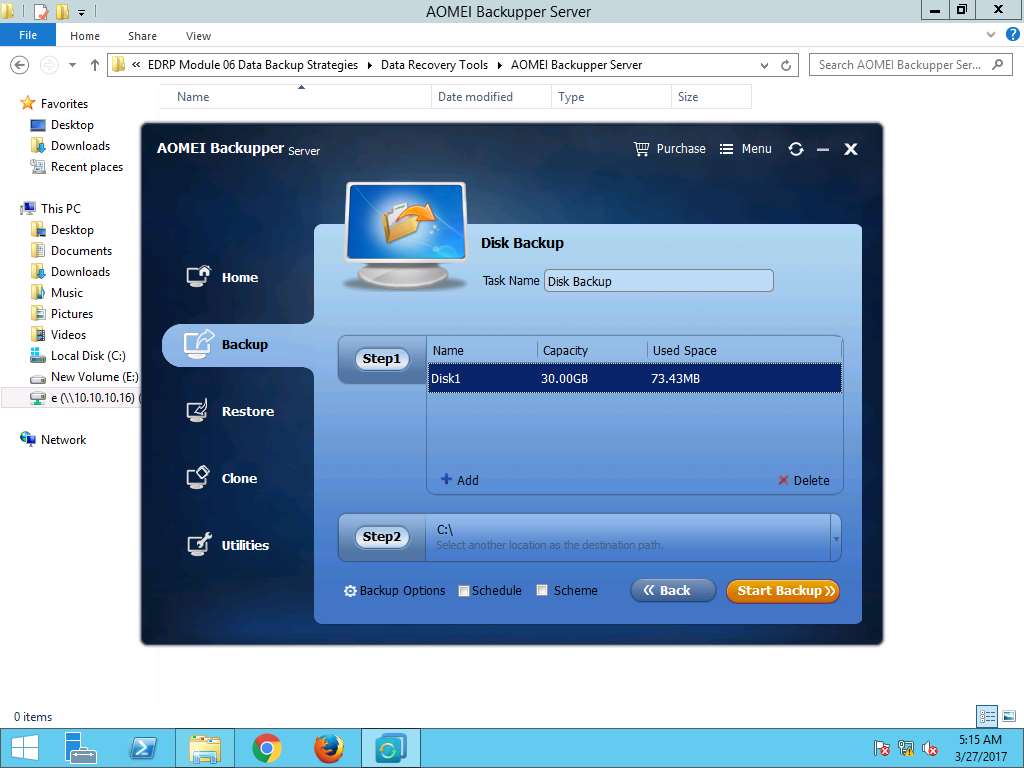
Disk Backup window appears; Disk Backup is taken as default Task Name. Click Step1 Select the disks you need to backup. link in the right pane.
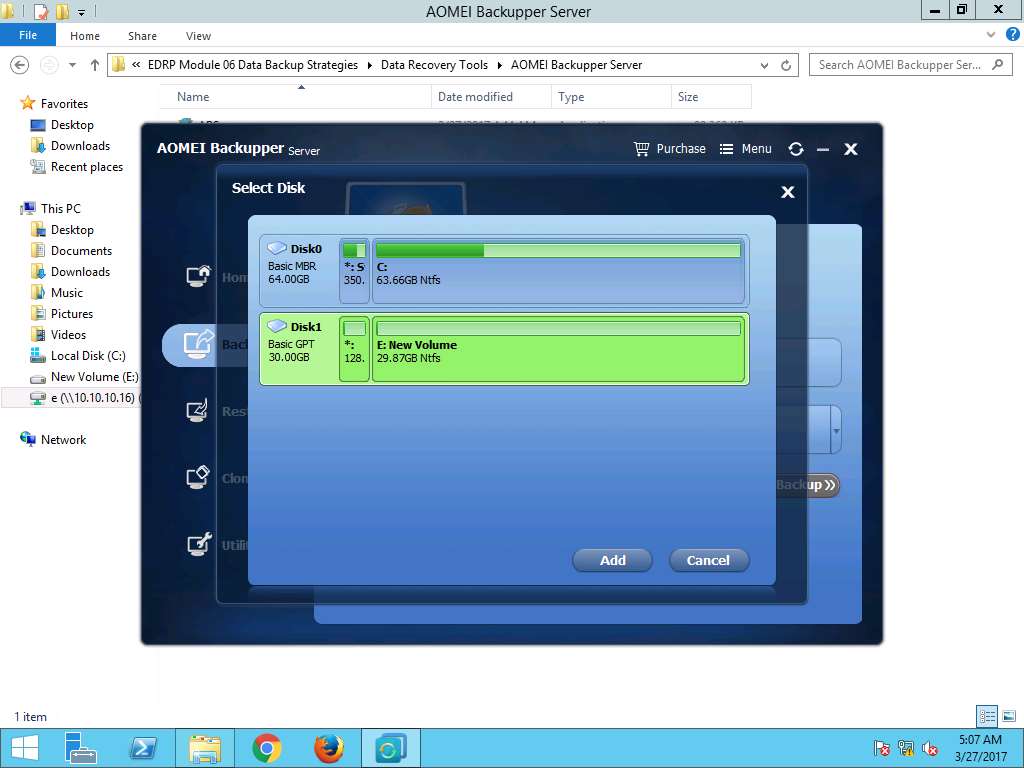
Select Disk window pops up, Select Disk1 (E: New Volume) and click Add to add the Disk1 in the backup task as shown in the screenshot
Disk Backup window appears again, Disk1 is added to the list and **C:** is selected as default location as the destination path. Click **Start Backup** button to start the backup process.
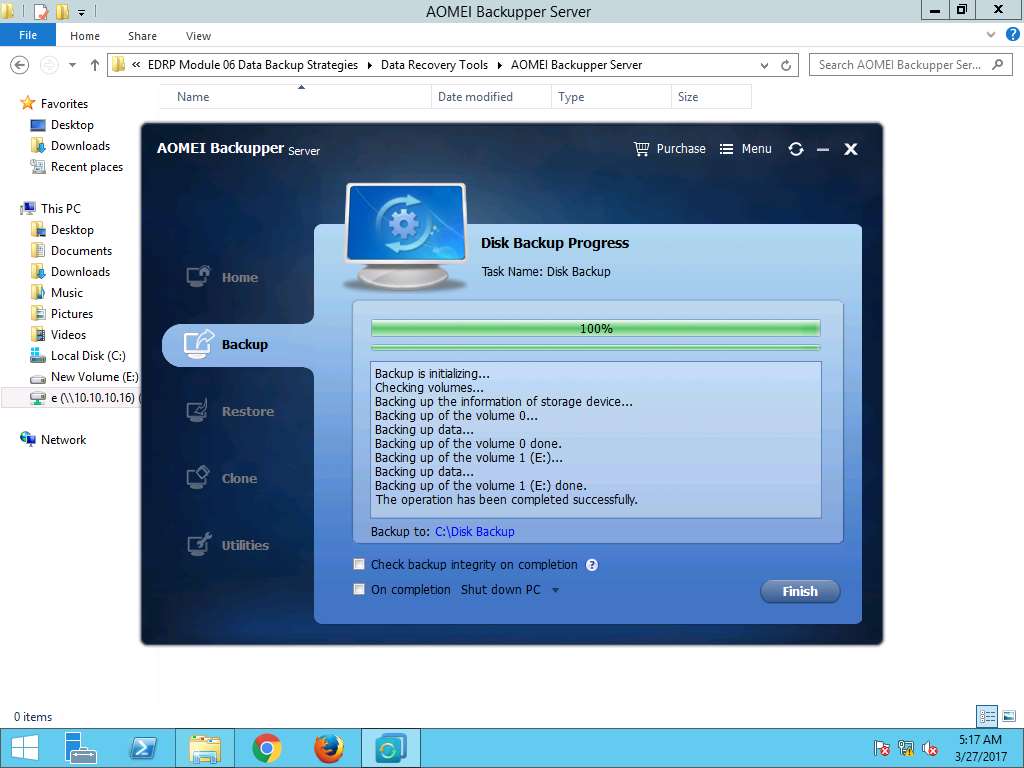
Disk Backup Progress window appears showing the backup progress of the task. After 100% completion of the backup process click Finish.
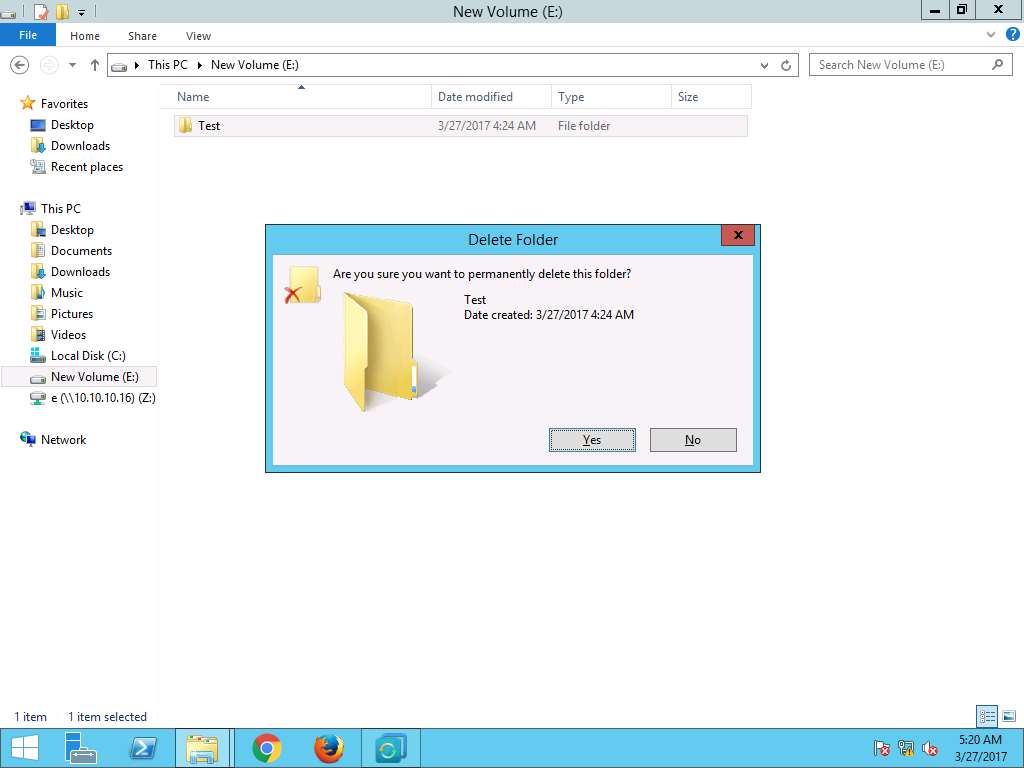
Navigate to This PC --> New Volume (E:) and permanently delete folder Test by using Shift+Delete keyboard shortcut. Delete Folder window appears. click Yes to permanently delete folder Test.
We are permanently deleting the folder Test to demonstrate the scenario of permanent data loss.
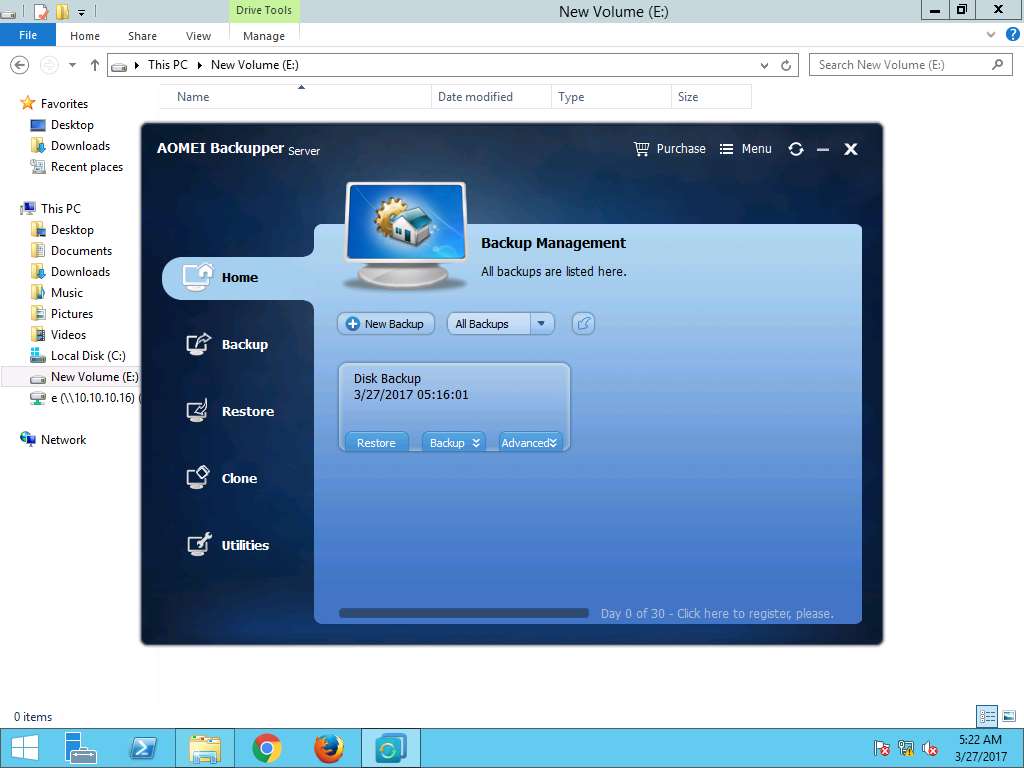
Navigate to AOMEI Backupper Server window. In Home pane Disk Backup tab appears, click Restore button as shown in the screenshot
Backup Point window appears, select Full Backup as a backup time point to restore. Click Next to continue as shown in screenshot
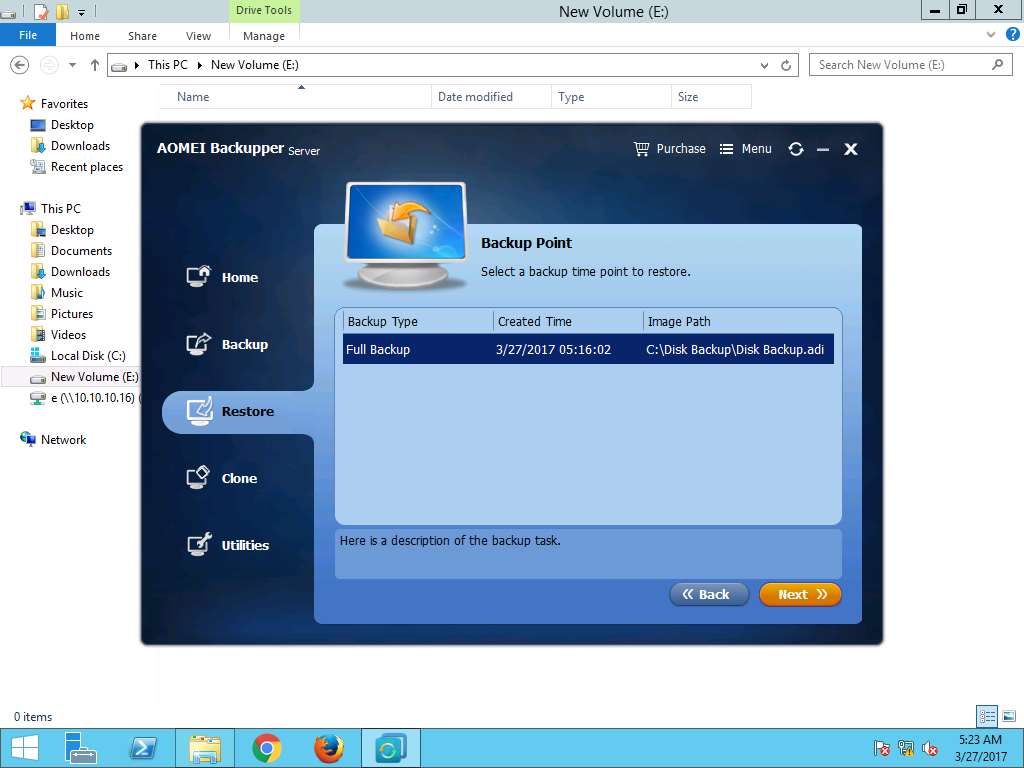
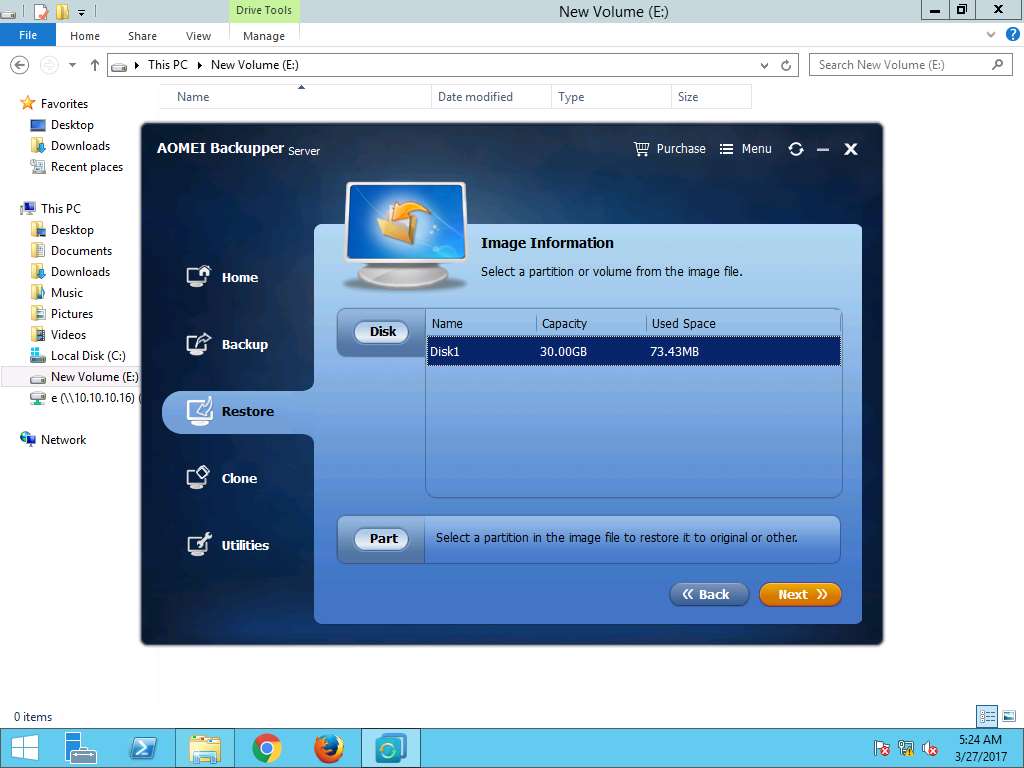
Image Information window appears, in Disk tab select Disk1 and click Next to continue as shown in the screenshot.
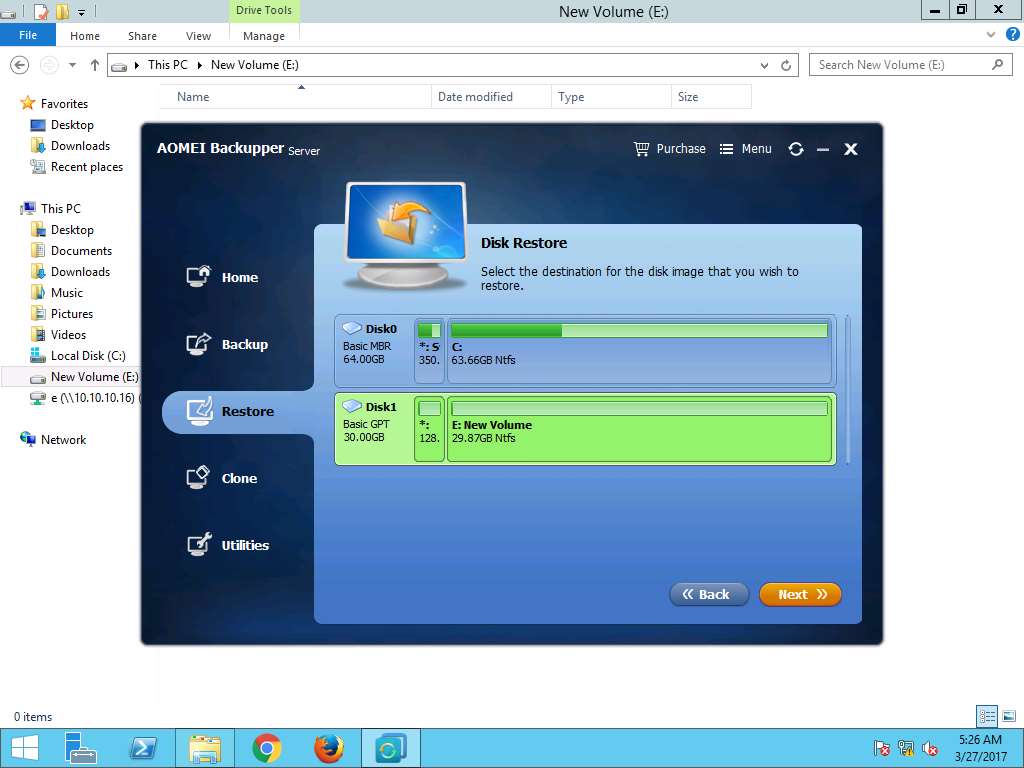
Disk Restore window appears, Select Disk1 as the destination for the disk image to restore. Click Next to continue.
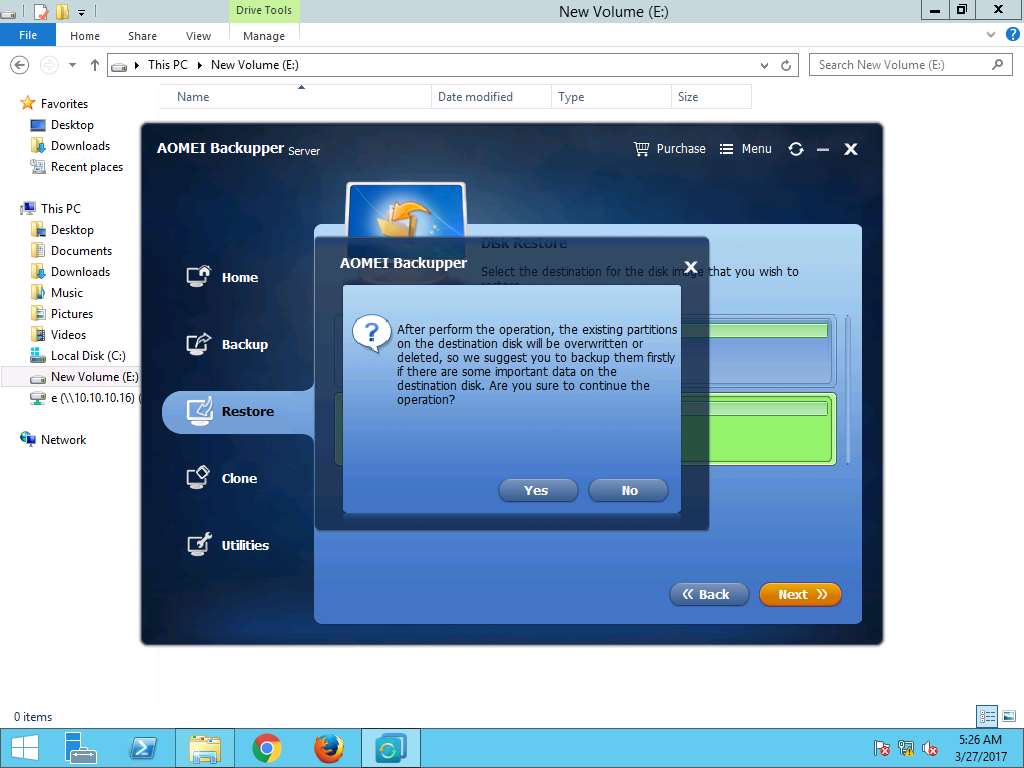
AOMEI Backuppe**r window pop up appears, click **Yes.
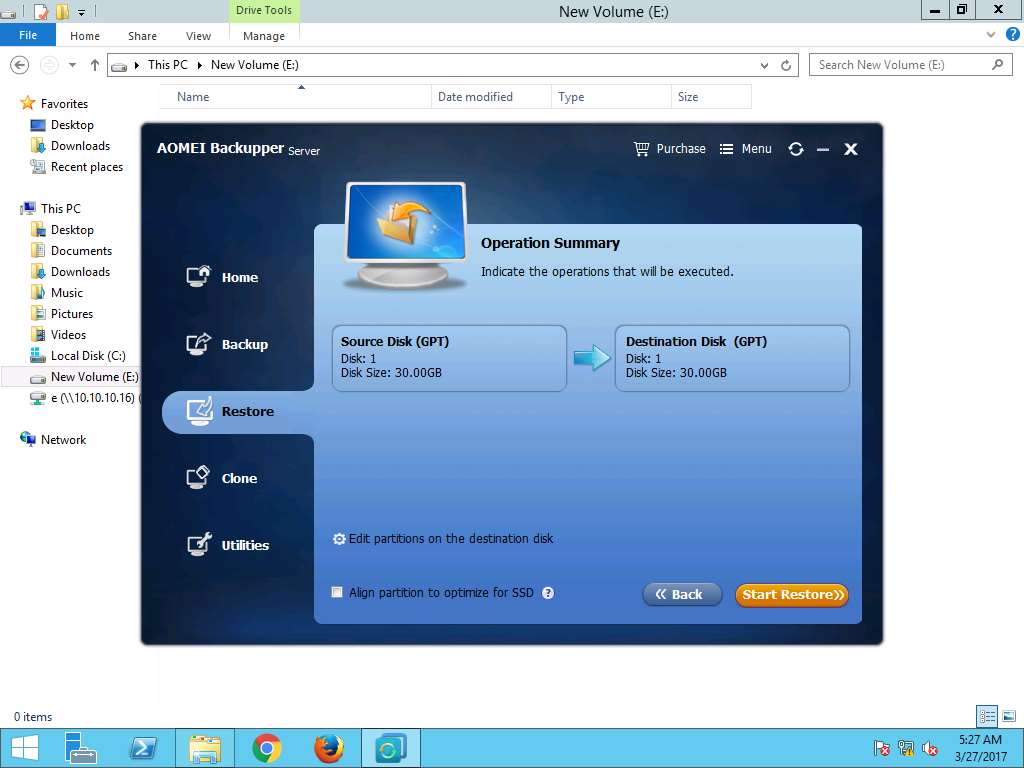
Operation Summary window appears showing the summary of the restoration task, click Start Restore to start the restoration process.
Disk Restore Progress window appears showing the restoration process. After 100% completion of restoration process, click Finish.

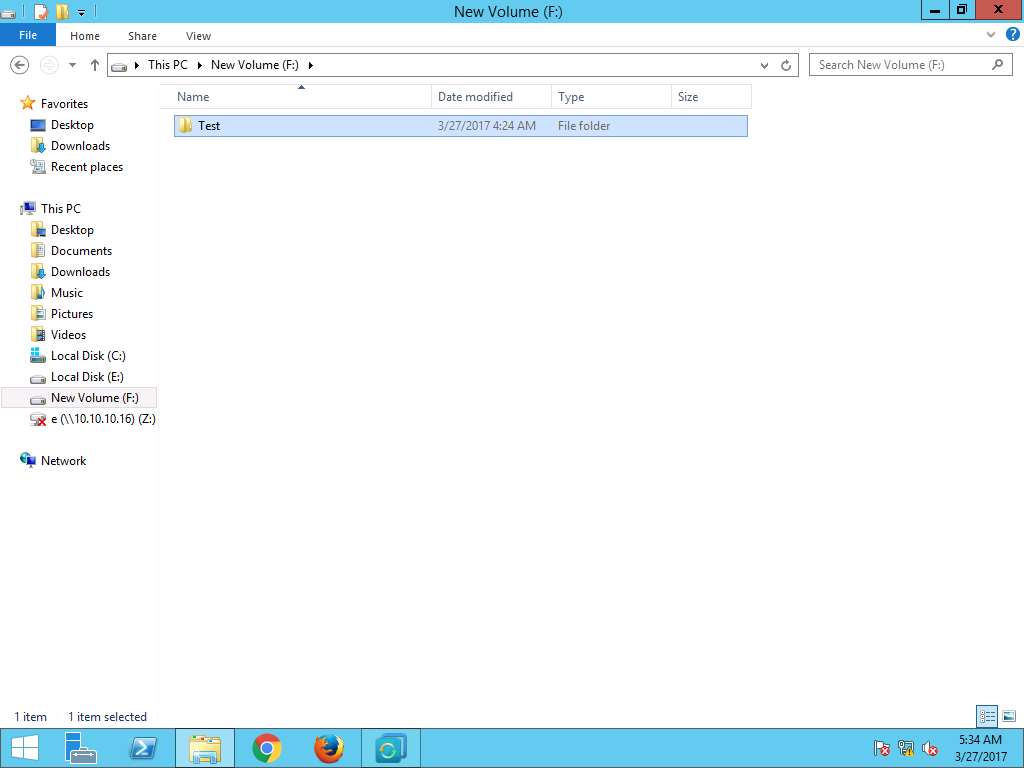
Again navigate to This PC --> New Volume (F:) , the permanently deleted folder: Test appears again as shown in the screenshot. This demonstrates the successful disk restoration using AEOMI Backupper Server tool