Module 09: System Recovery
Objective
Labs in this module demonstrate various recovery techniques such as: system image and bare metal recovery, to restore systems running on different operating system like Windows Server 2012 r2, Windows Server 2016, Ubuntu and Windows 10. In production environment it is important to restore systems in given RPO and RTO to mitigate the impact of any disaster. A disaster recovery professional also know how to quickly recover the permanent lost data using various recovery tools.
Scenario
What if a system running on Windows 10, or any other OS, after installing a particular software starts crashing? This might result in data files getting corrupted or even lost. In that particular scenario, we can recover the system’s corrupted files and lost data by performing system image restore. Furthermore, we can also recover just the previous state of the Operating System by performing system restore technique. Scenarios in system recovery depends upon the type of issue that particular system is facing.
Restoration of a Windows 10 system using System Restore
Scenario
System Restore is a native feature of Microsoft Windows 10, which enables the user to revert their computer's state, including: system files, installed applications, Windows Registry, and system settings to that of a previous point in time, which can be used to recover from system issues and data losses.
Lab Objectives
This lab demonstrates how use System Restore feature to revert the system files and settings.
Lab Scenario
System Restore is Windows 10 inbuilt feature to revert system changes by using restore points, which will allow the system files and settings to revert to an earlier point in time without affecting personal files of users. System Restore utilizes system protection feature which regularly creates and saves information about the drivers, programs, registry, system files, and settings as restore points. In case of an issue with Windows 10, we can use the System Restore to restore the previous state of Windows 10 to an earlier point in time which is a restore point.
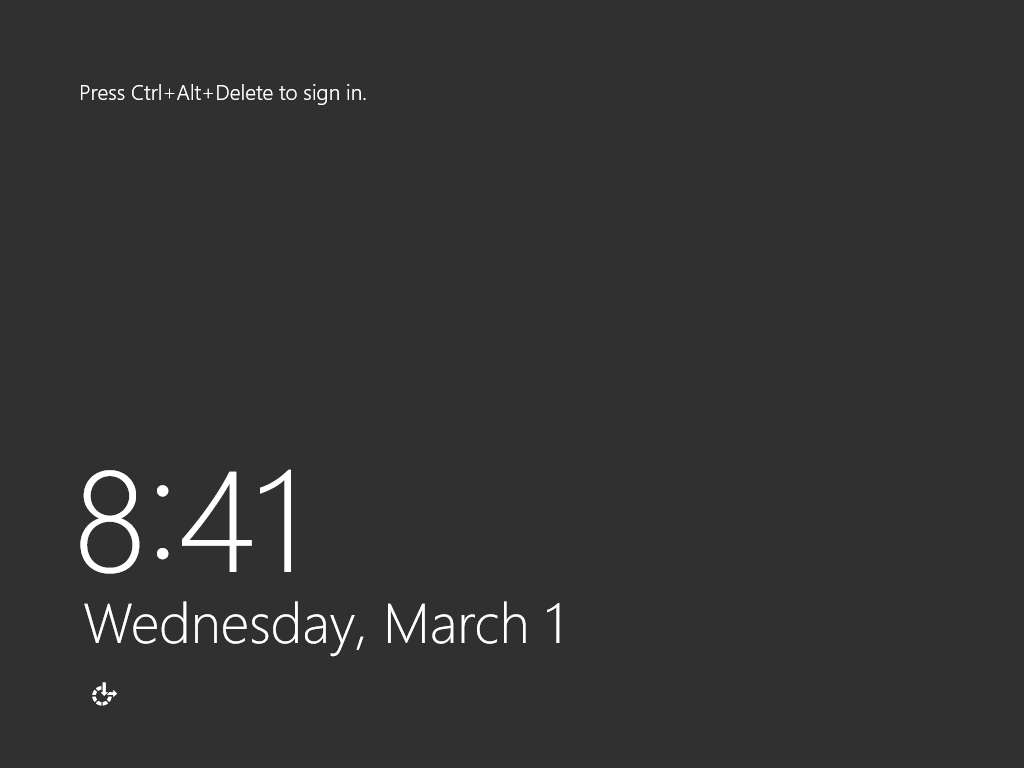
To login Windows 10 machine, navigate to Machines pane and click Windows 10. Click Ctrl+Alt+Delete button under the Windows 10 machine thumbnail.
Alternatively you can navigate to Commands menu and click Ctrl+Alt+Delete to login.

Type Pa$$w0rd in the Password field and press Enter to login.
Alternatively click Paste Password from Commands --> Paste options or click clipboard icon under Windows 10 from Machines pane.
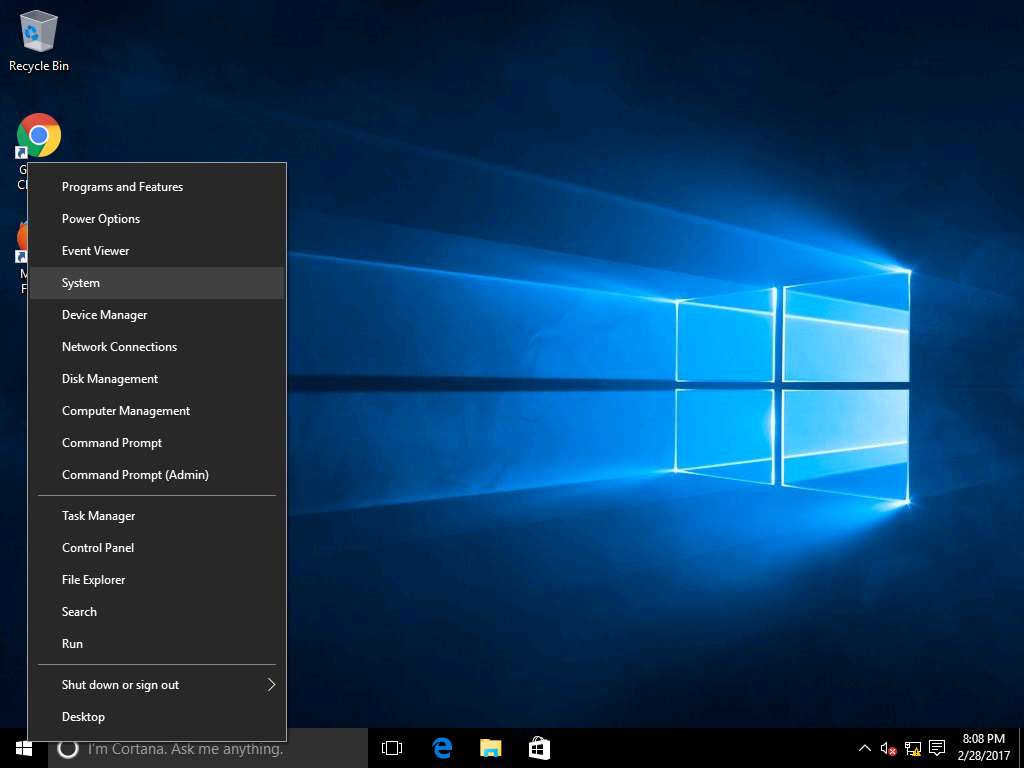
Right-click Start icon and click System option from the context menu as shown in the screenshot.
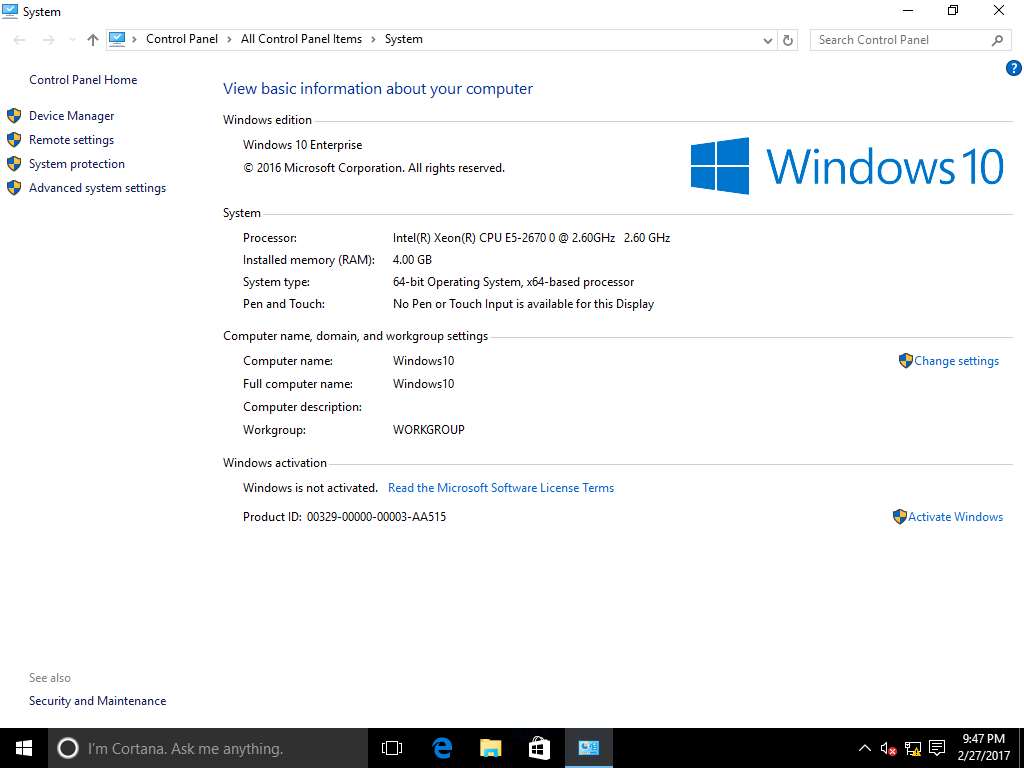
In the System window, click System protection link from the left pane of the window.
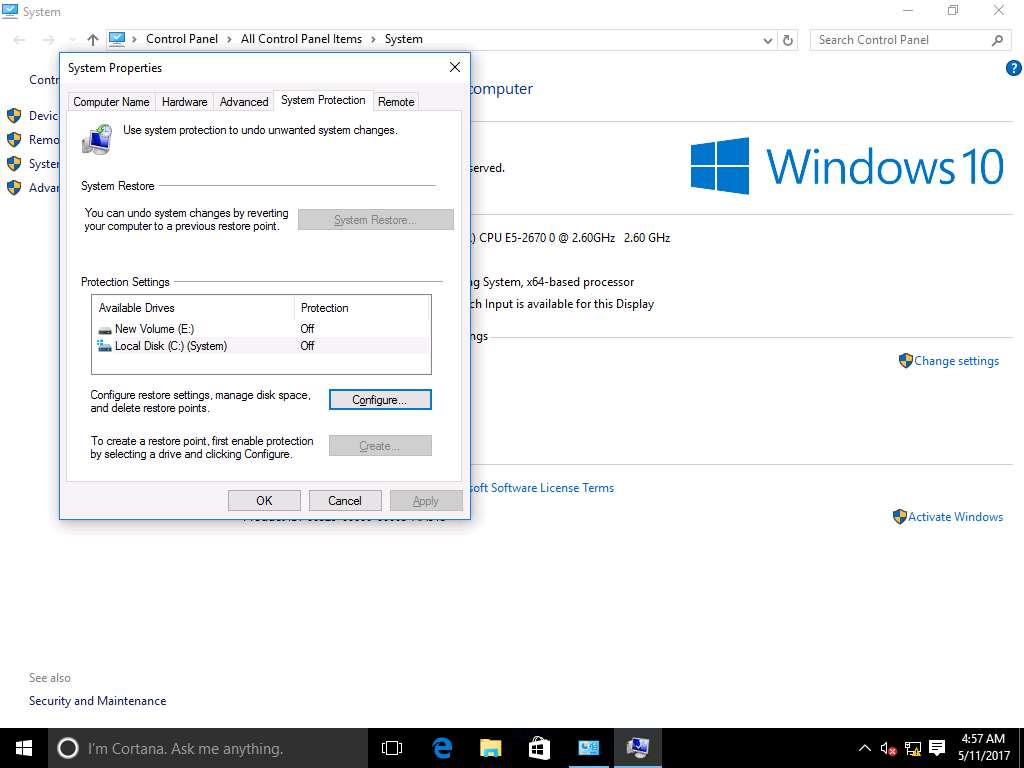
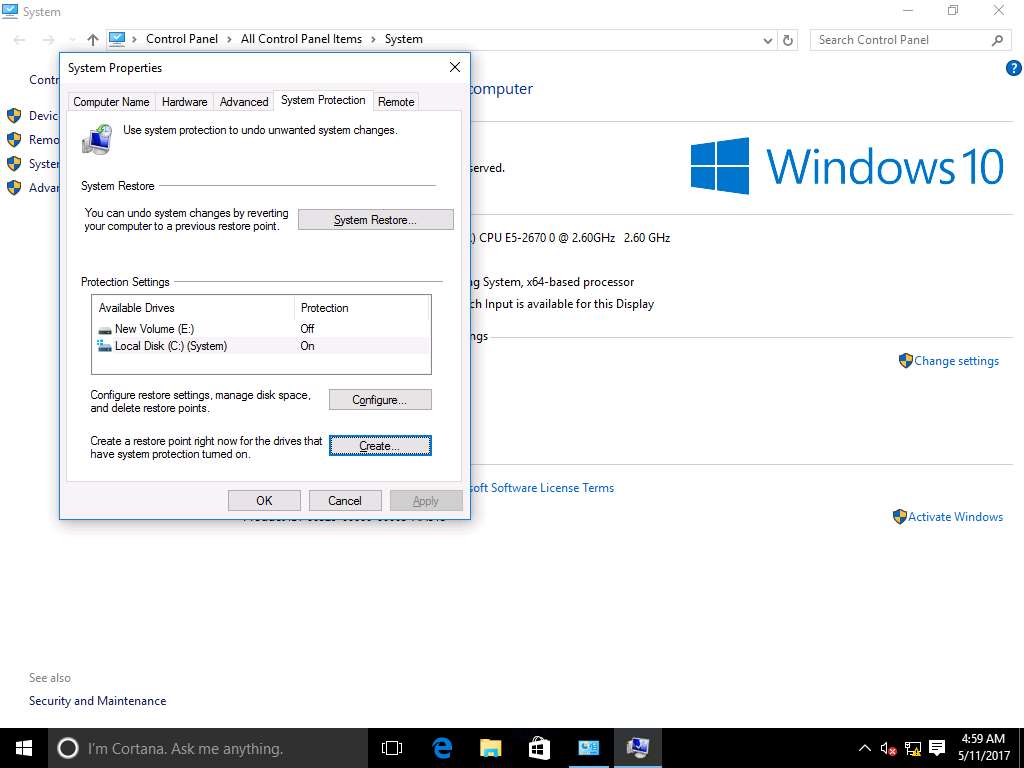
System Properties window appears. In Protection Settings section it will display the available drives in the machine. Choose the drive that you want to protect, in this scenario we will select Local Disk (C:) (System) and click Configure… option present in System Protection tab.
In the Protection Settings section you can see the Protection mode is Off for the available drive.
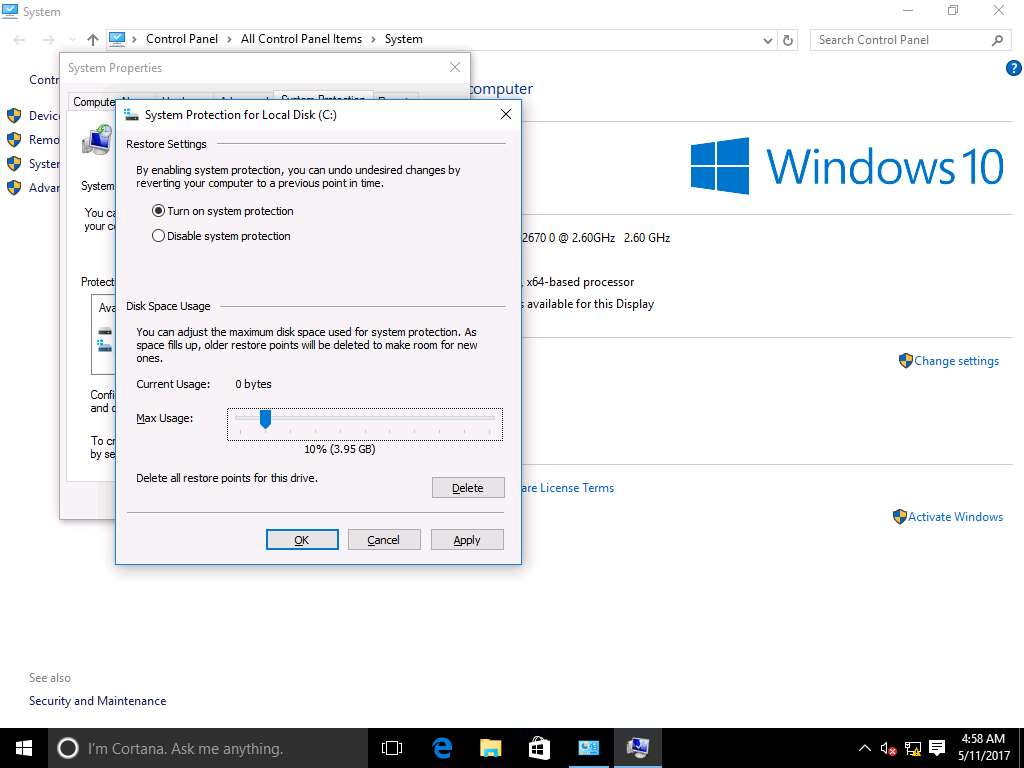
System Protection for Local Disk (C:) window appears, select Turn on system protection radio button and change the Max Usage to 10% by dragging the slider button under Disk Space Usage section. After that click Apply and OK.
You can adjust the maximum disk space used for system protection. As space fills up, older restore points get deleted to make space for new restore points.
Now you can see the Protection mode is On for the available disk under Protection Settings section, now click Create… to create a restore point for those drives that have system protection is on.
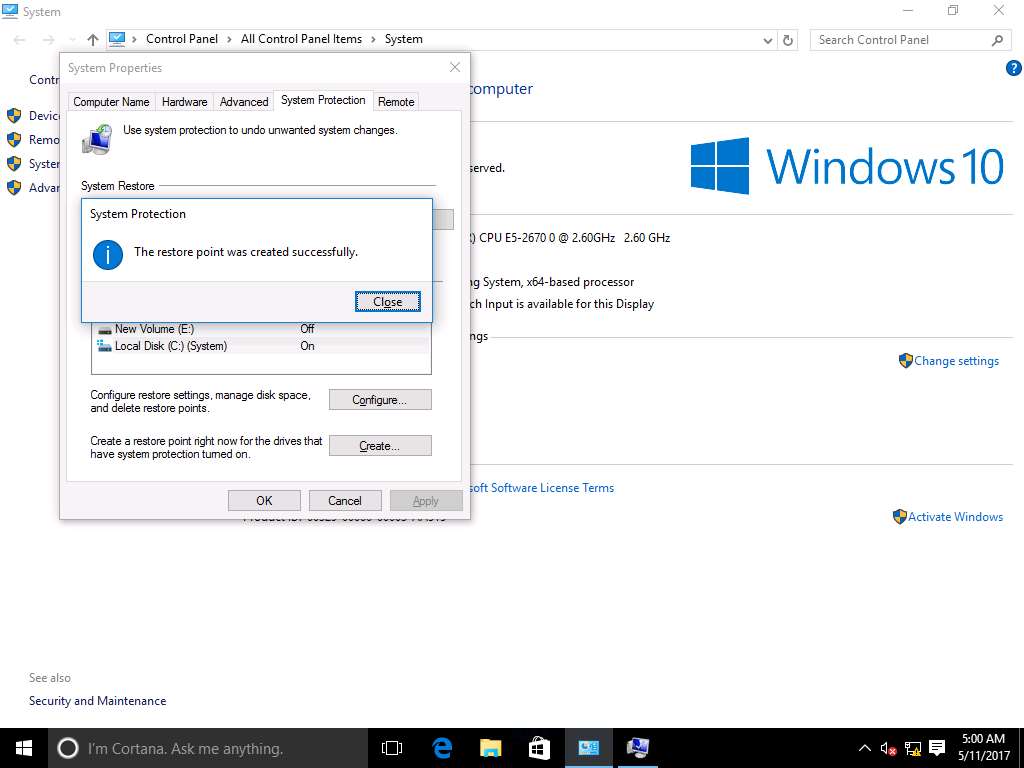
Create a restore point pop-up appears, type Restore point 1 in the description box and click Create to create a restore point.

System Protection notification appears, stating that restore point was created successfully. Now, click Close.
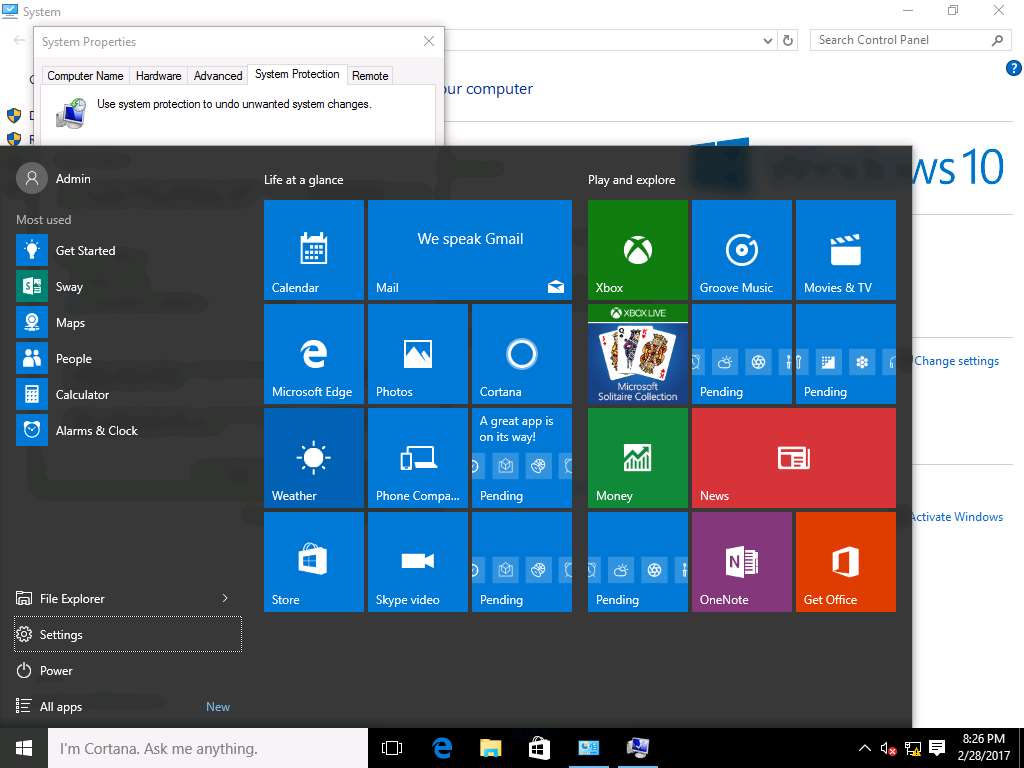
Click Start icon and click Settings option.
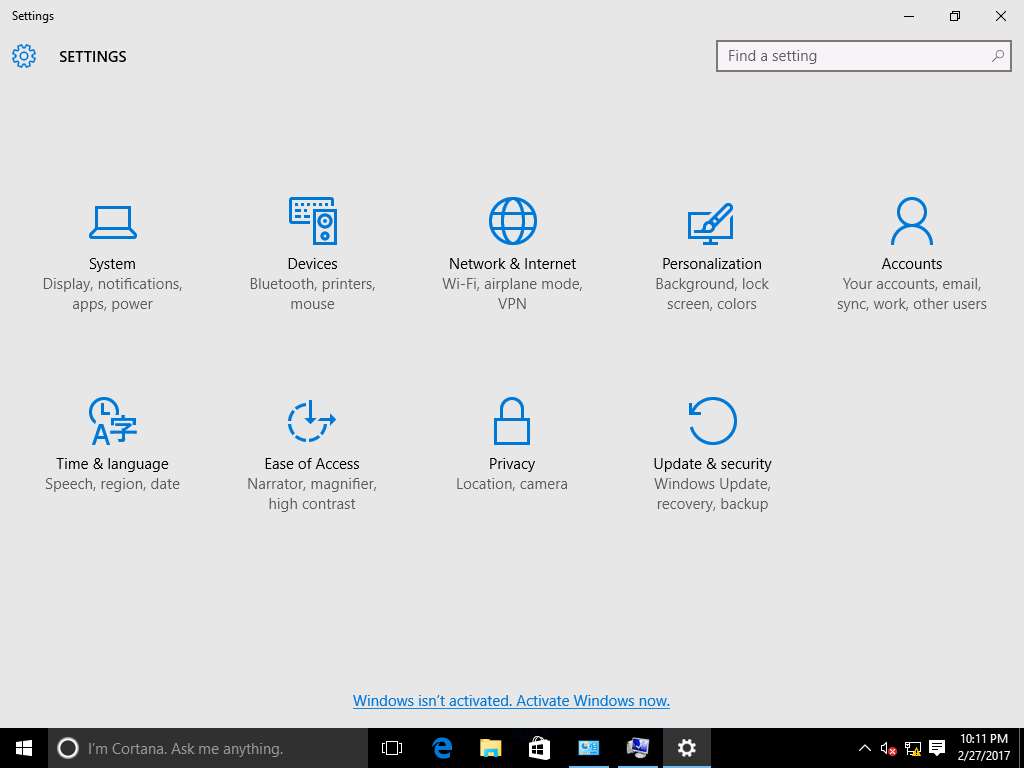
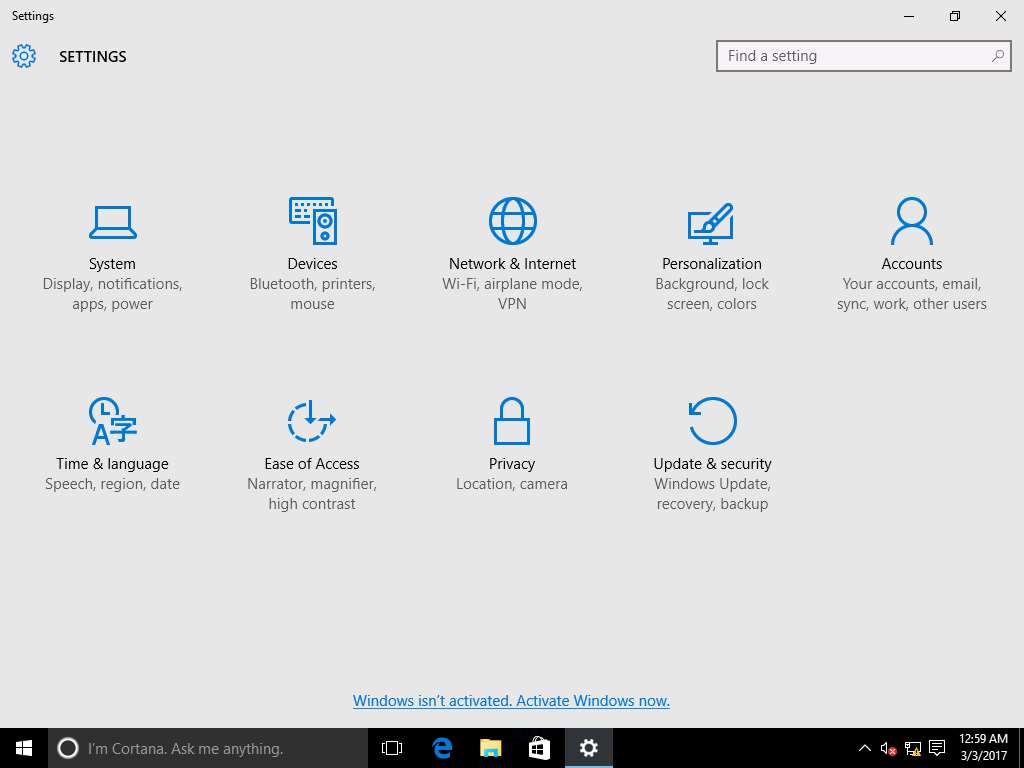
SETTINGS window will appear, click Update & security icon present in the window.
Maximize the Settings window to view all the programs.
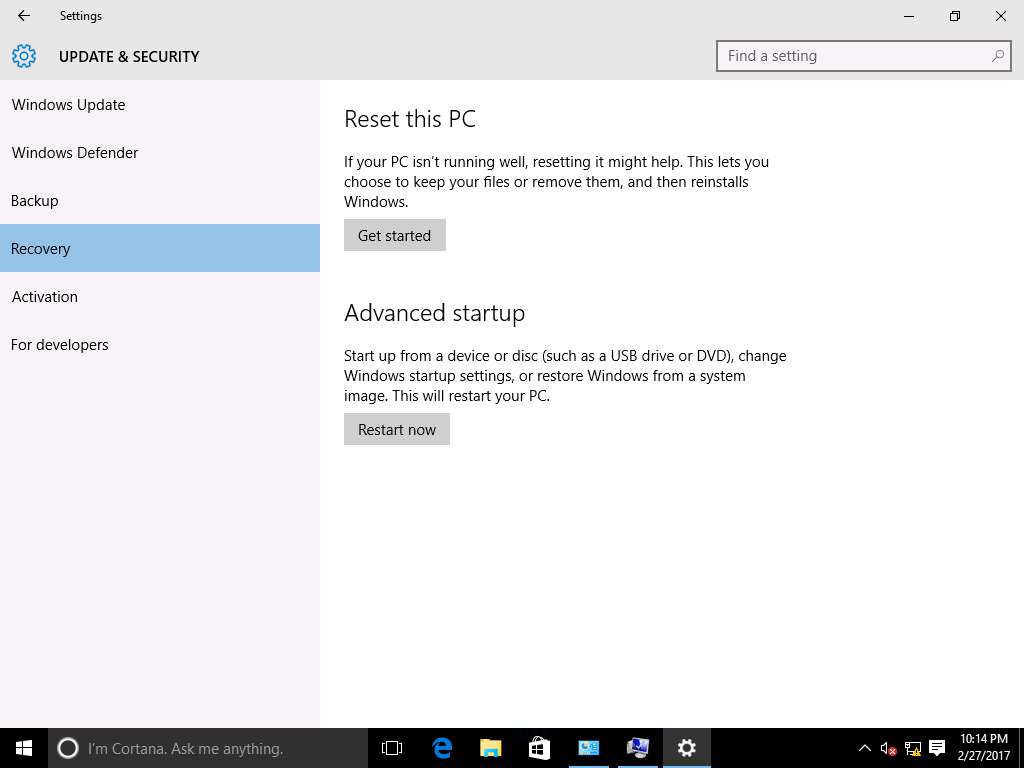
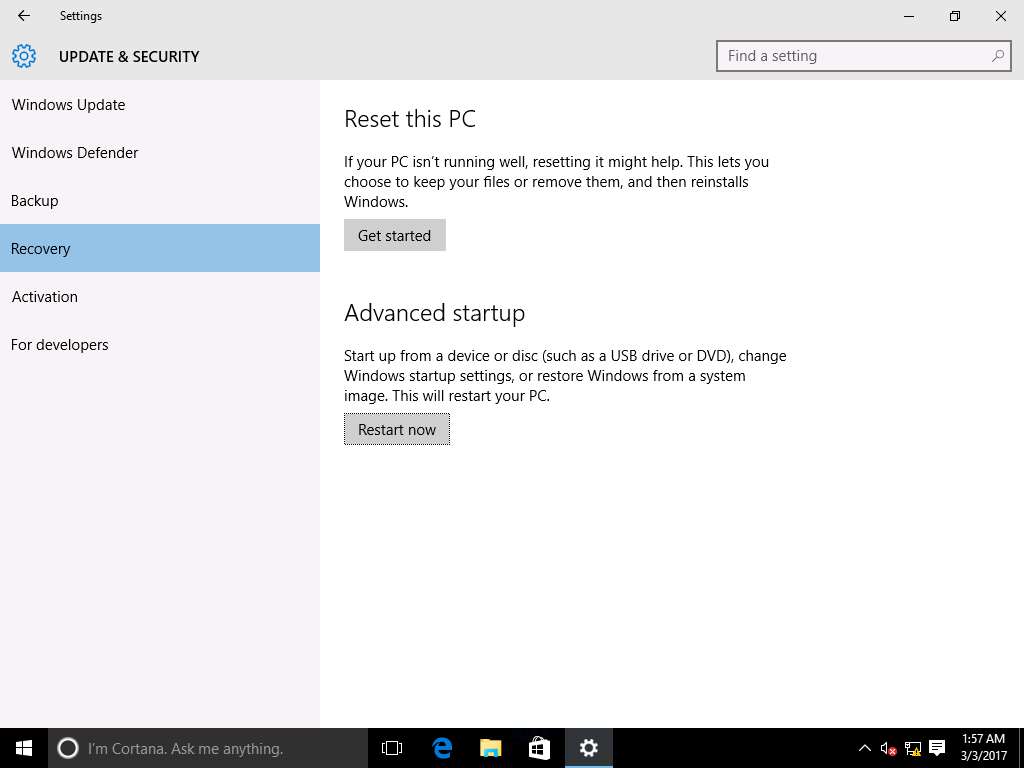
UPDATE & SECURITY window appears, click Recovery option present on left pane and click Restart now under the Advanced startup present on right pane**.**
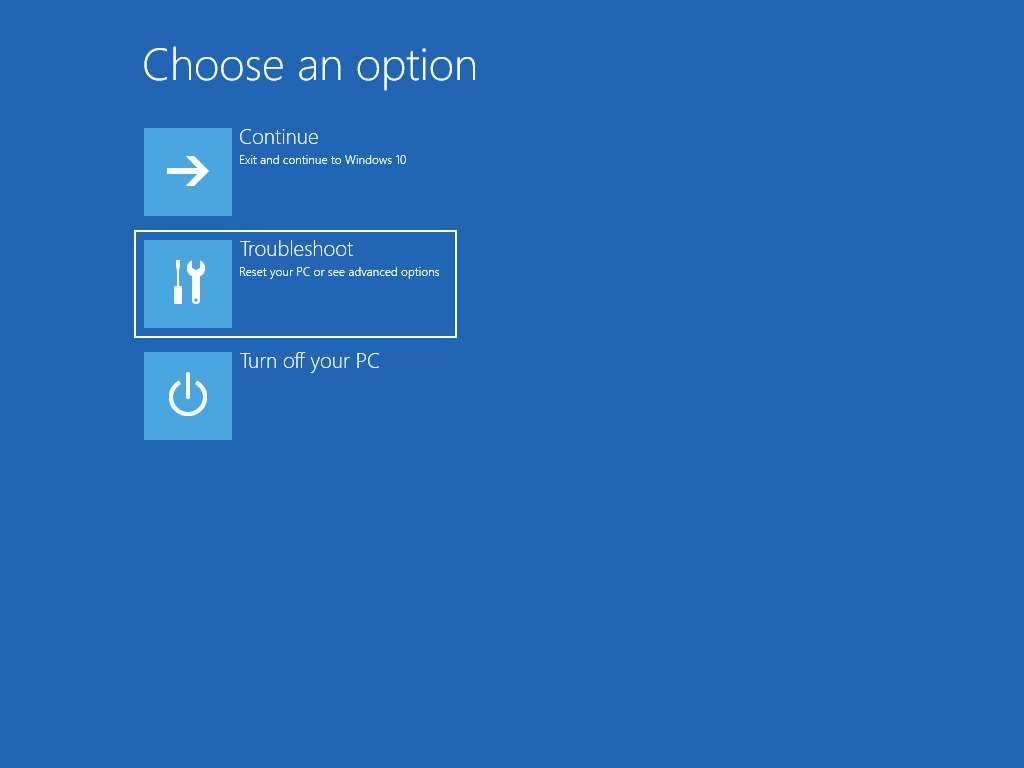
Choose an option screen appears after the restart. Click Troubleshoot icon.

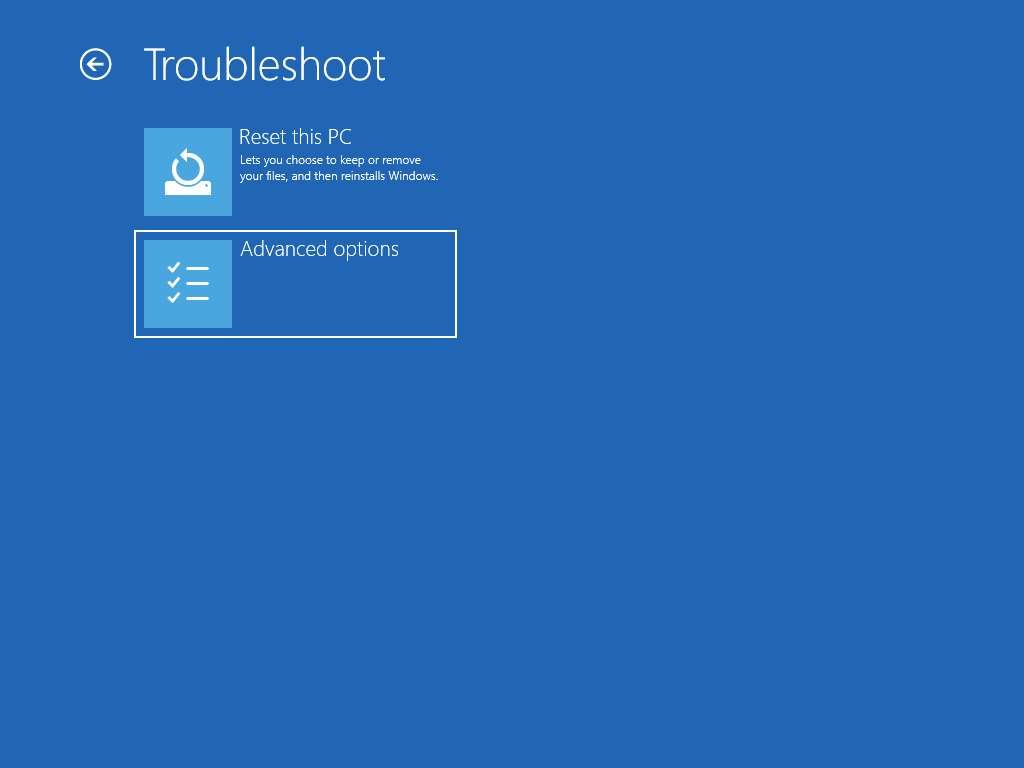
Troubleshoot screen appears, click Advanced options.
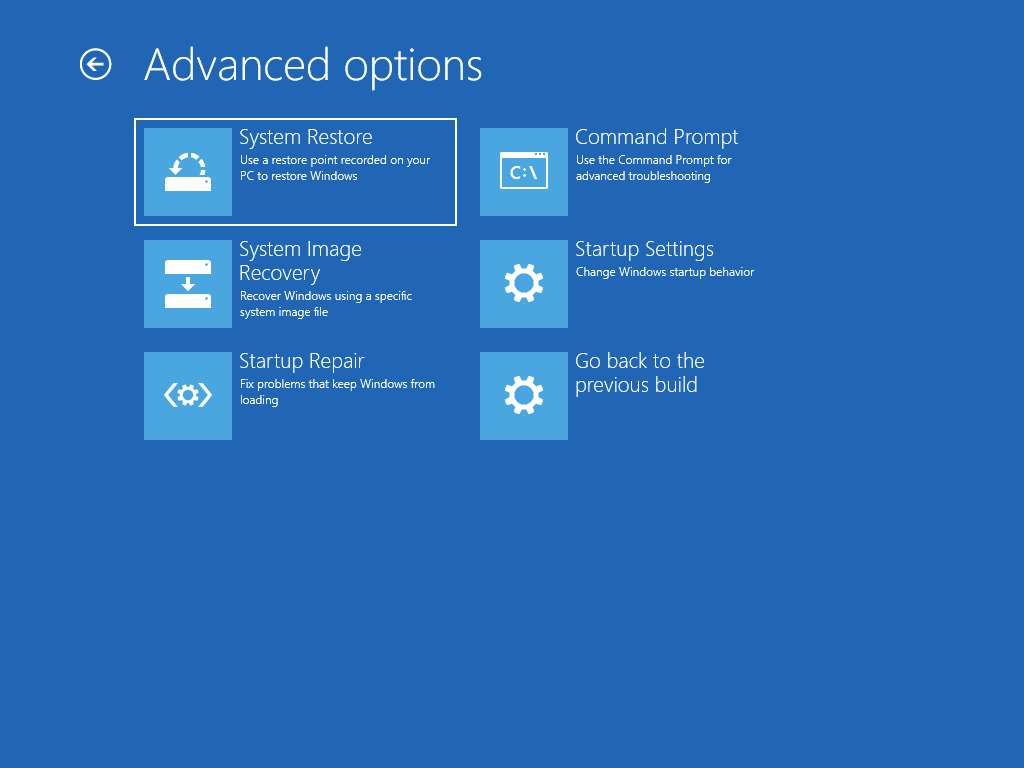
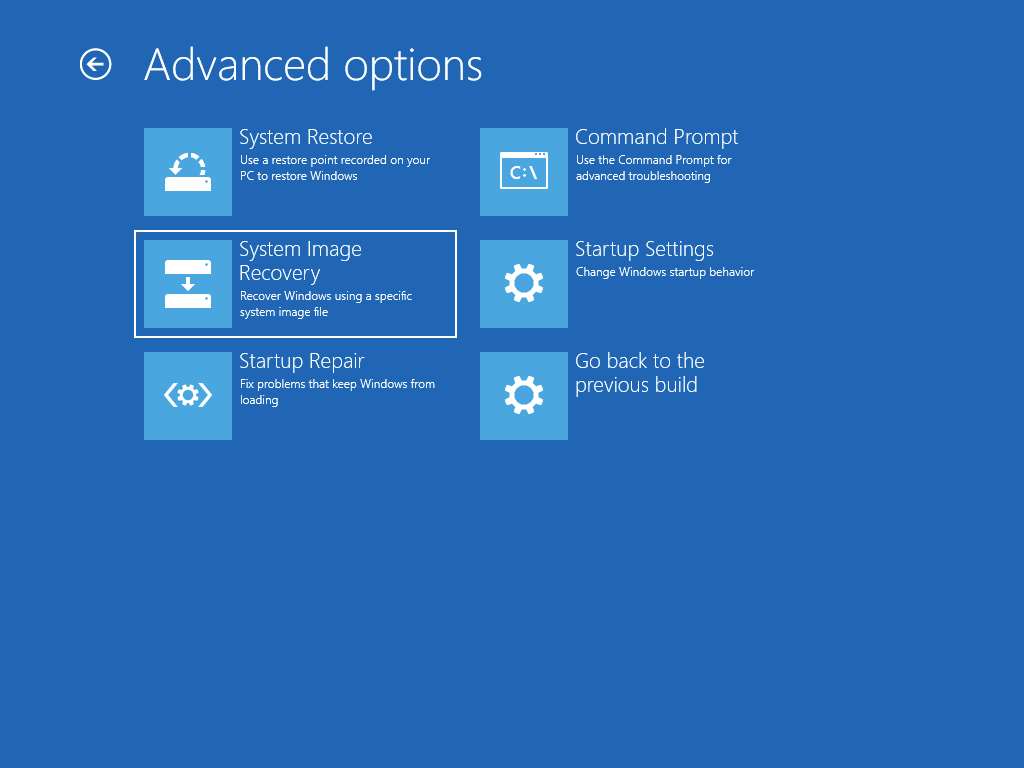
Advanced options provides the troubleshoot options like System restore, System Image Recovery and Startup Repair.

Advanced option screen appears, click System Restore option.
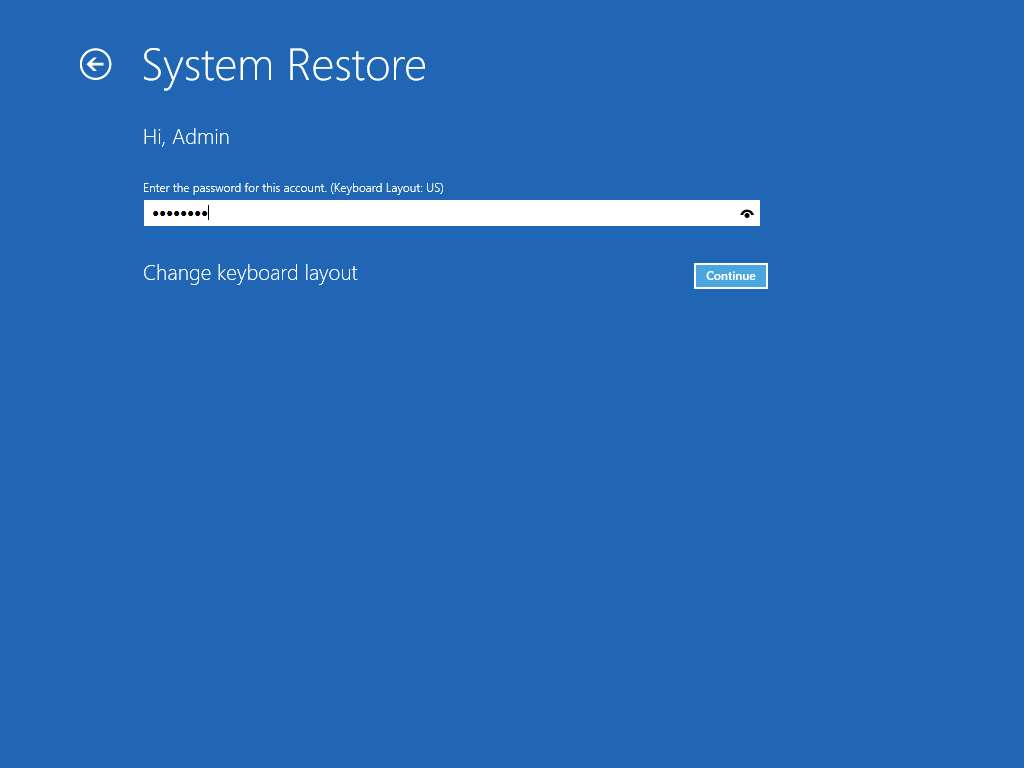
System Restore screen appears, choose Admin account.
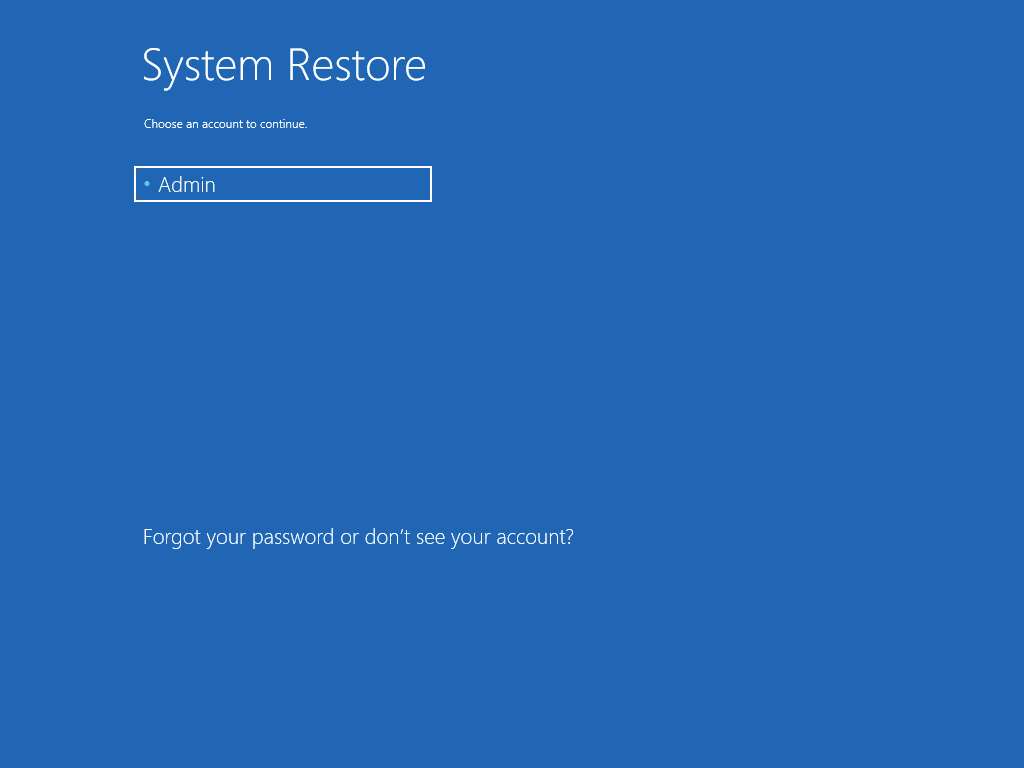
Enter Pa$$w0rd in the Enter the password for this account field and click Continue.
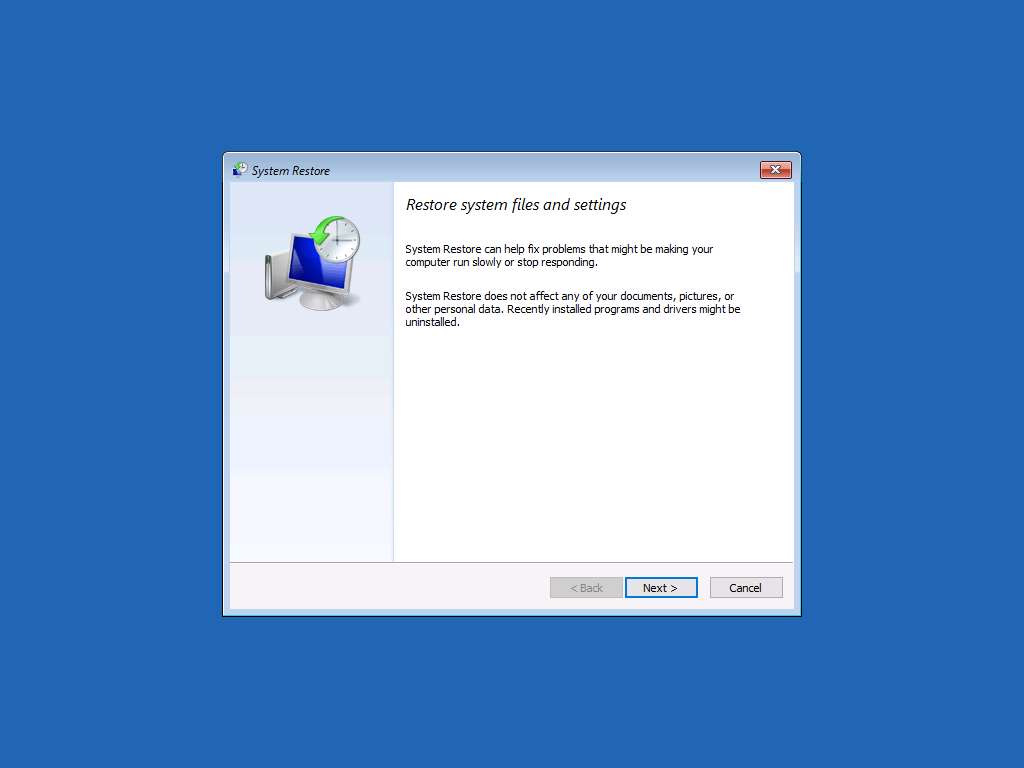
System Restore wizard appears, click Next to continue.
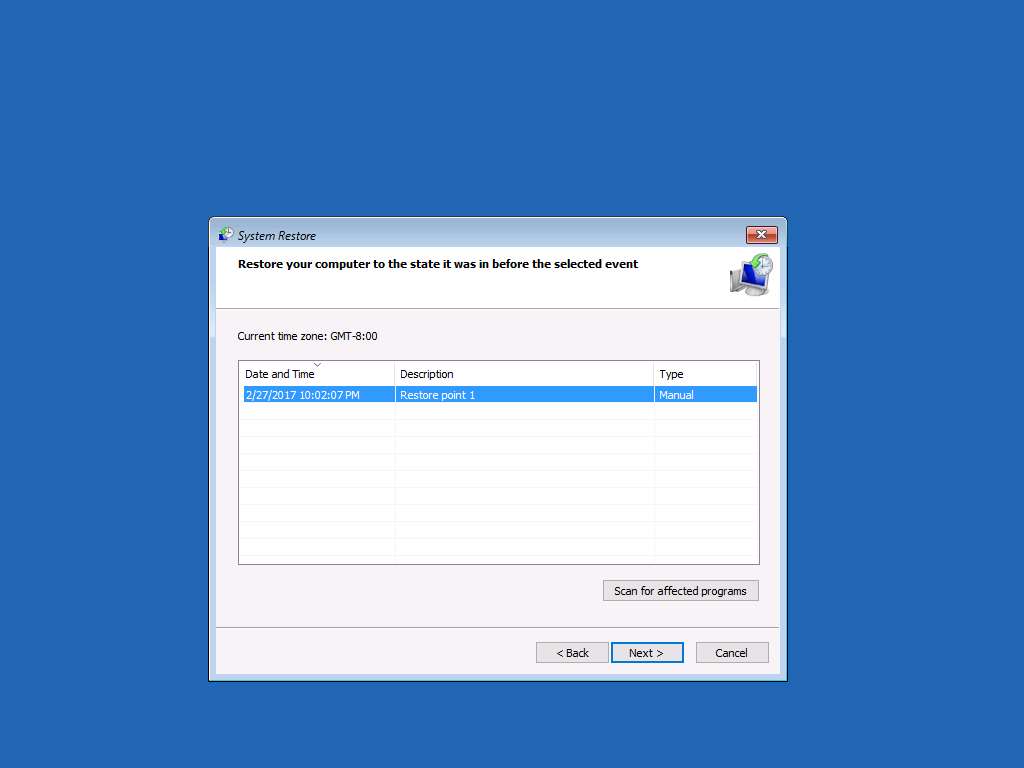
Restore your computer to the state it was in before the selected event window appear, select Restore Point 1 restore point from the list and click Next to continue.
System restore wizard will provide the list of all the restore points available taken at different point of time. To restore a system to a particular point of time, select the appropriate restore point for restoration from the list.
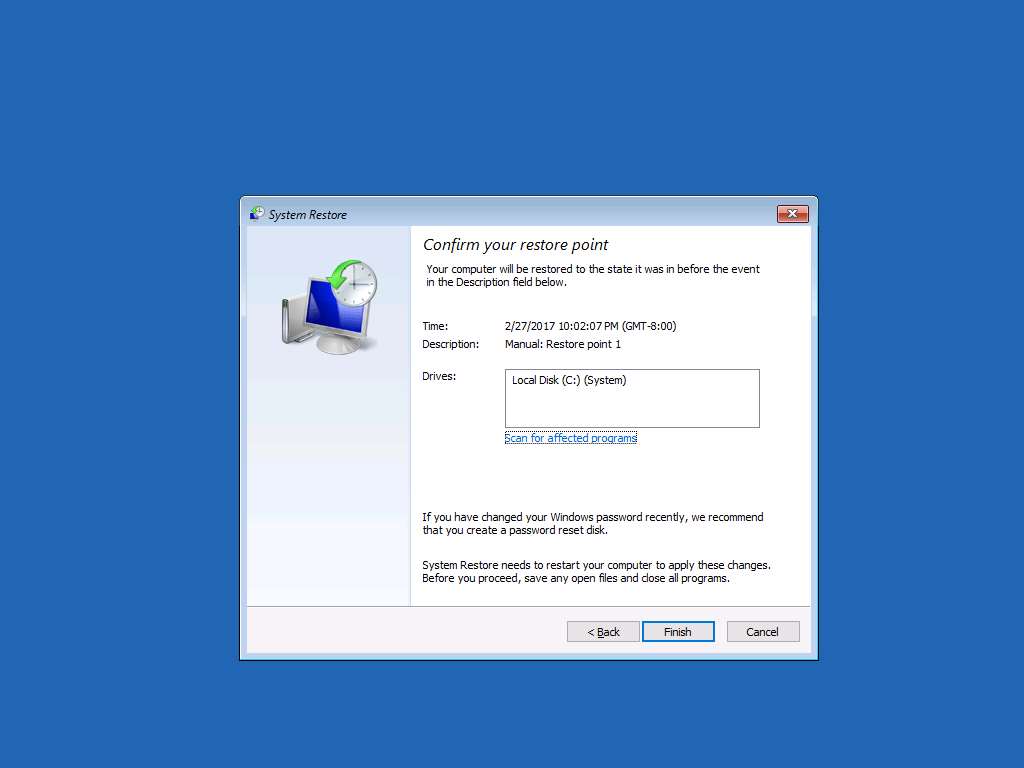
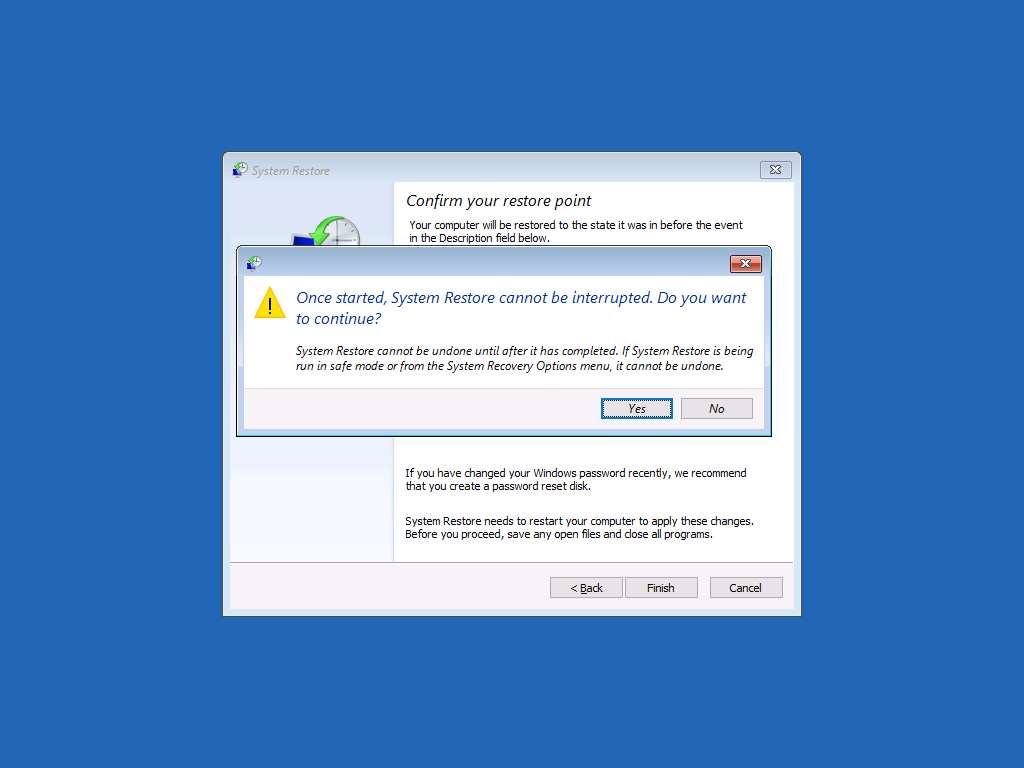
Confirm your restore point window appears, click Finish button.
System restore warning window appears, click Yes.
Wait until the completion of the restoration process, it may take 5 to 10 minutes to restore.
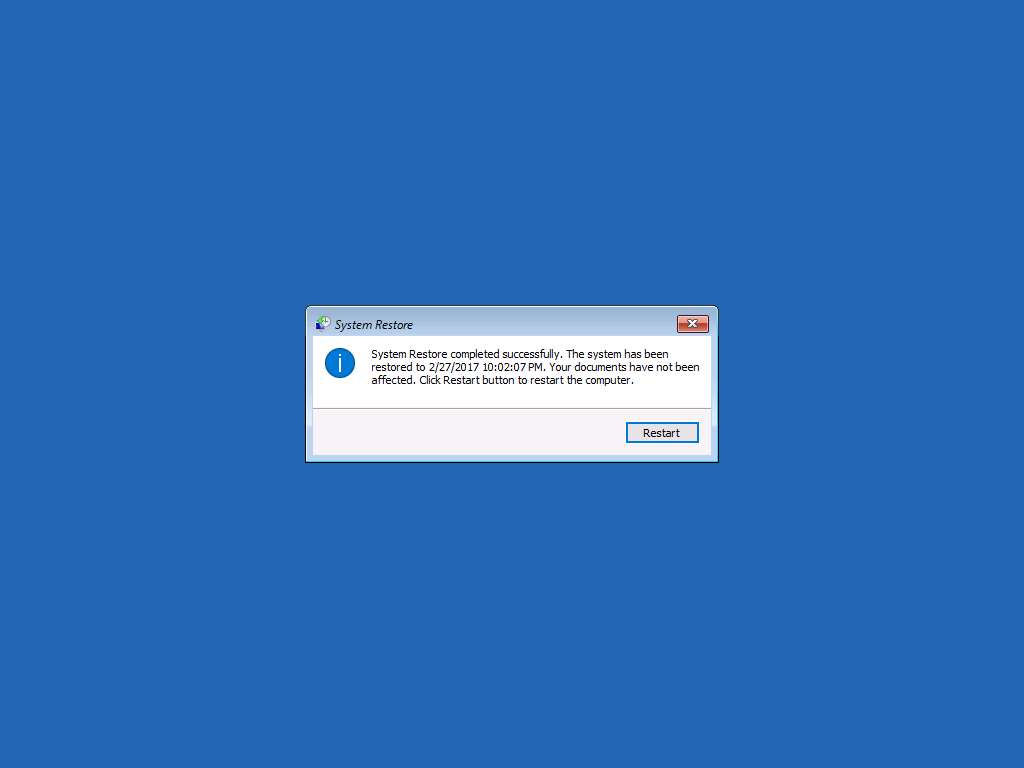
After completion of the restoration process, a warning window will appear asking to restart. Click Restart to restart Windows 10.
Windows 10 login screen appears click Ctrl+Alt+Delete button from the Machines pane, type Pa$$w0rd in the password field and press Enter to login.
Alternatively you can click Paste Password from Commands --> Paste options or click clipboard icon under Windows 10 from Machines pane.
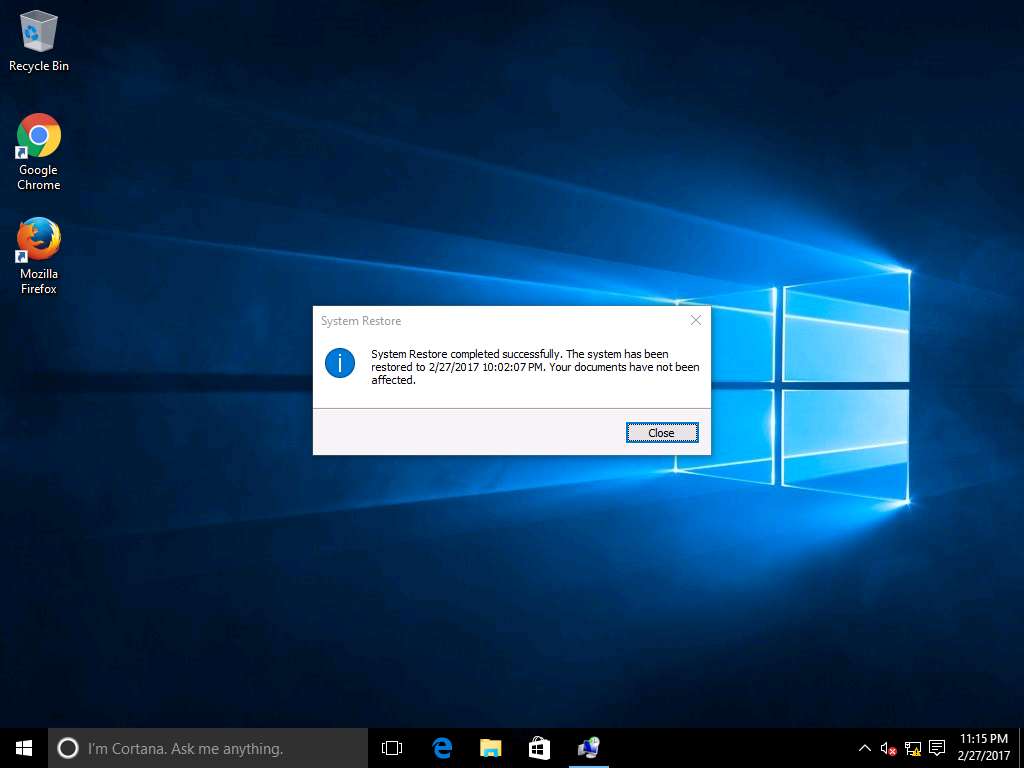
After login, System Restore notification window appear notifying the sucess of the System Restore, click Close to close the notification window.
Assessment 1:
Go to System Properties and select Local Disk (C:) (System) and click Configure… option present in the System Protection tab. Enable the Turn on system protection radio button in System Protection for Local Disk (C:) window. Enter the Max Usage value that is set in the lab under the Disk Space Usage section.
The answer to the assessment question can be found in Step 6 of the lab instructions:
- Go to System Properties (Step 5).
- Select Local Disk (C:) (System) and click Configure… (Step 5).
- Enable "Turn on system protection" (Step 6).
- Enter the Max Usage value (Step 6) – The lab sets this value to 10%.
So, the step where this is performed is Step 6 in the lab instructions.
Answere: 10%
Restoration of a Windows 10 system using System Image Recovery
Scenario
A system image is an exact copy of a drive which includes the drives required for Windows to run and also your system settings, programs, and files. It can be used to restore the contents and settings of system in case of any data losses.
Lab Objectives
This lab demonstrates how to recover a Windows 10 system using System Image Recovery.
Lab Scenario
System Restore feature in Windows 10 is very useful when there are some issues with Windows 10 system when you recently installed an app, driver, or update. You can easily revert your system setting and system files back to earlier point of time by the help of created restore point.
To login Windows 10 machine, navigate to Machines pane and click Windows 10. Click Ctrl+Alt+Delete button under the Windows 10 machine thumbnail.
Alternatively you can navigate to Commands menu and click Ctrl+Alt+Delete to login.

Type Pa$$w0rd in the Password field and press Enter to login.
Alternatively click Paste Password from Commands --> Paste options or click clipboard icon under Windows 10 from Machines pane.

To create a new folder, right-click on the Desktop and click New Folder from the context menu. After new folder is created on desktop rename the folder as Test.
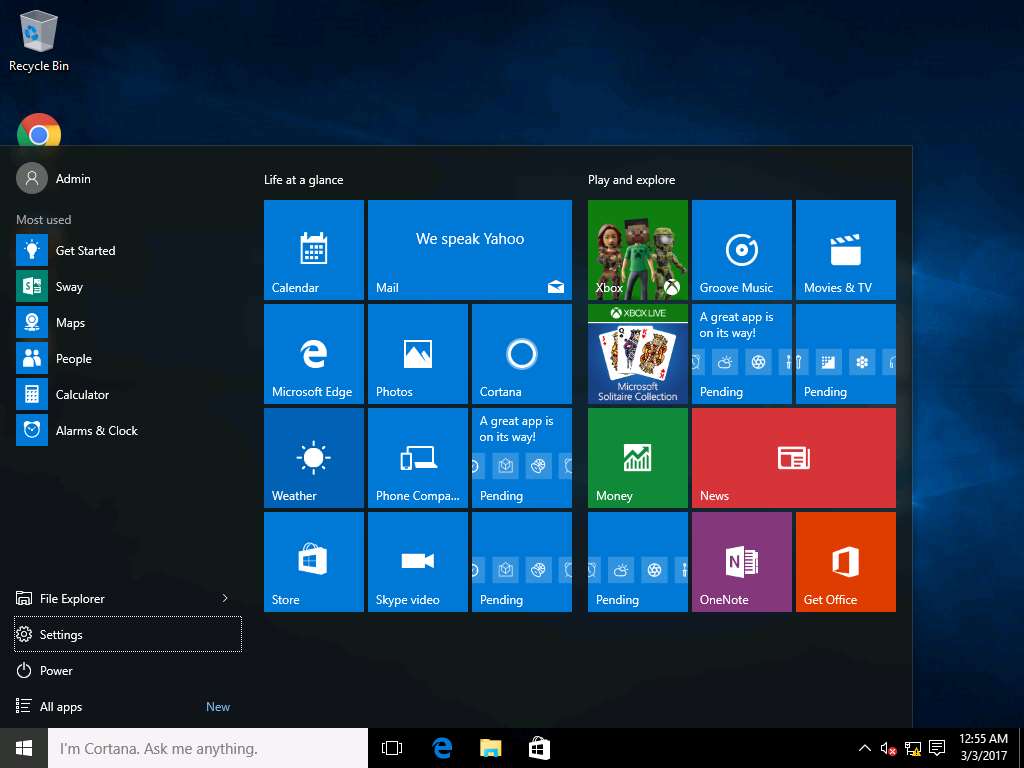
Click Start icon and click Settings option.
SETTINGS window will appear, click Update & security icon present in the window.
Maximize the Settings window to view all the programs.
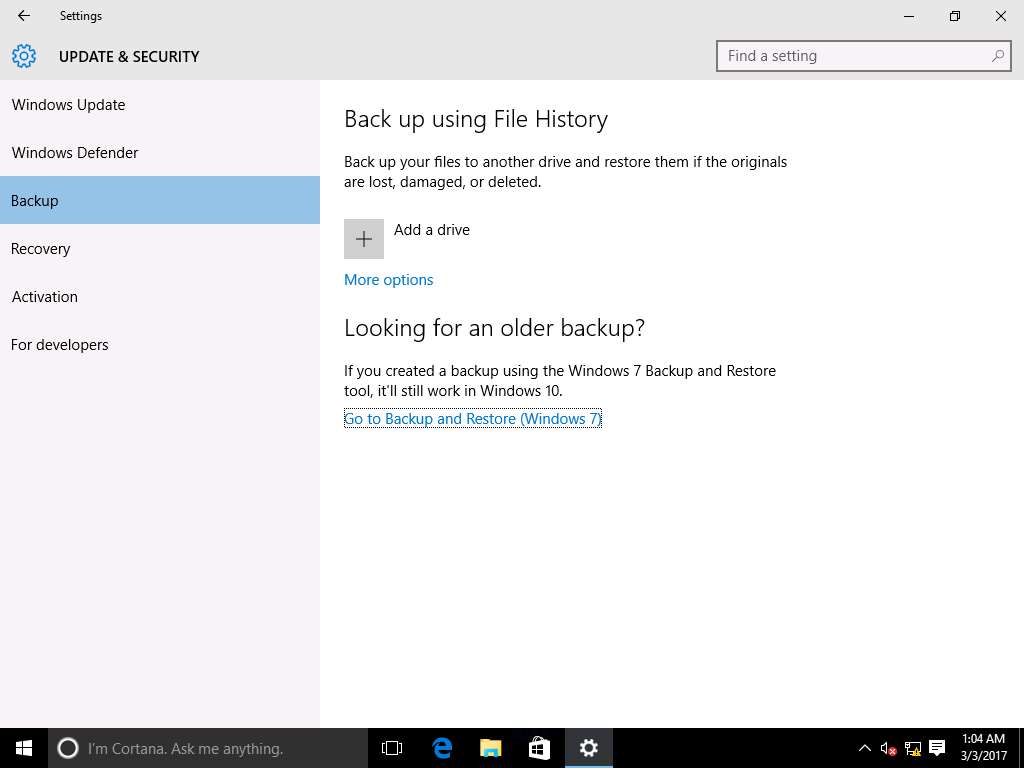
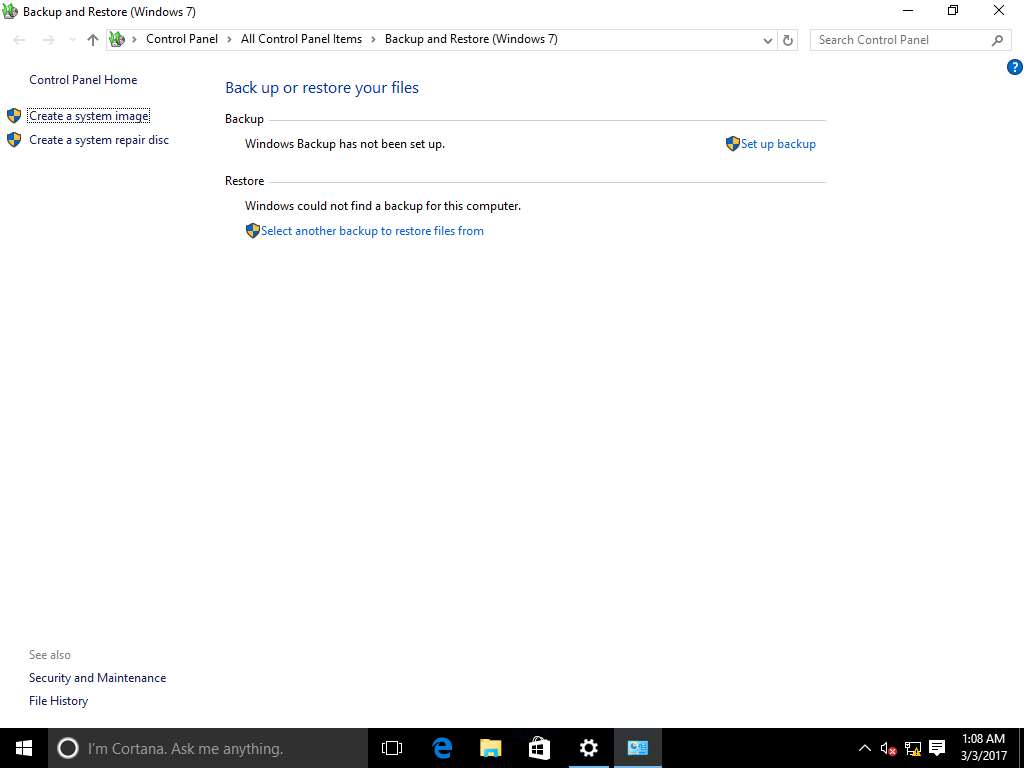
UPDATE & SECURITY window appears, click Backup option present on left pane and click Go to Backup and Restore (Windows 7) link on right pane.
Backup and Restore (Windows 7) window appears, click Create a system image link on left pane to create a system image for Windows 10.
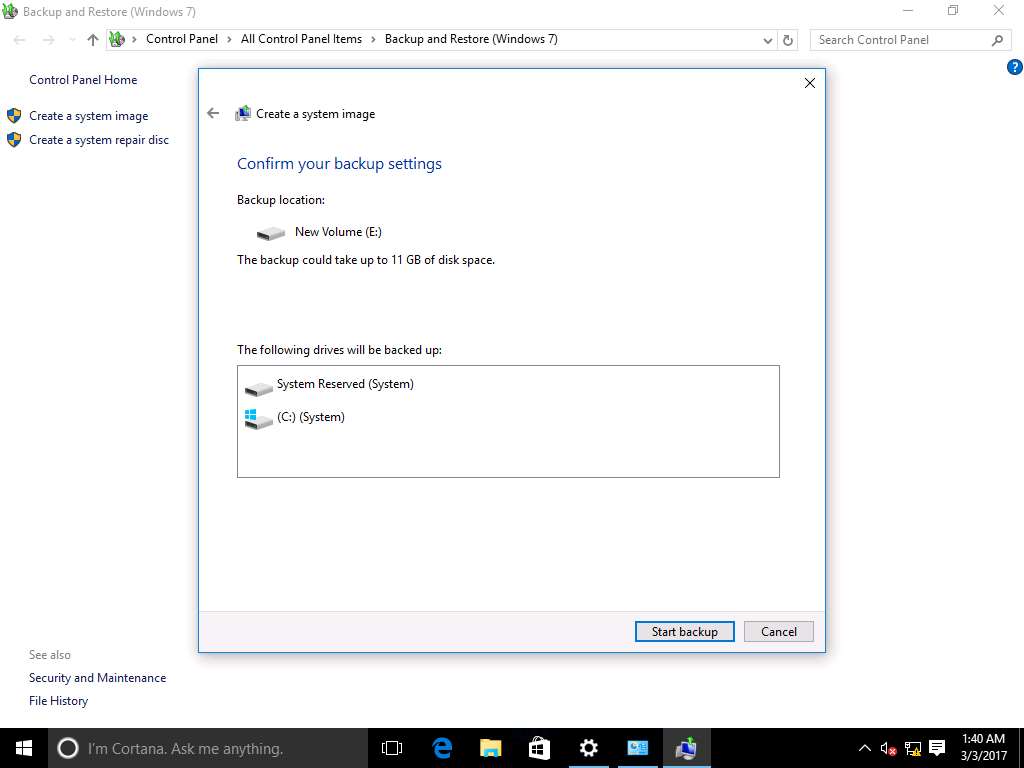
Create a system image wizard appears with Where do you want to save the backup? page. Select On a hard disk radio button and select New Volume (E:). Click Next to continue.
You can also save the System Image on DVDs and Network location like NAS and shared folders.

Confirm your backup settings wizard appears, click Start Backup to start the creation of system image backup.
This backup process may take 3 to 5 minutes to complete.
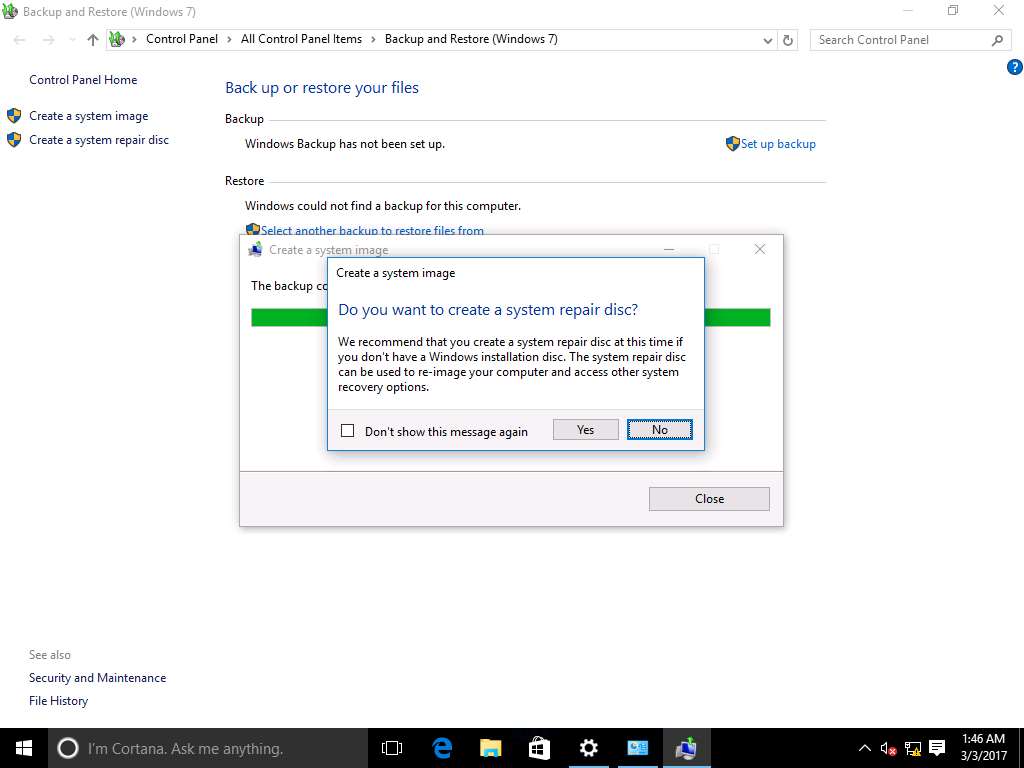
System image backup progress window appears showing the progress of backup. After completion of system image backup Do you want to create a system repair disk? window pop-up appears, click No to continue.
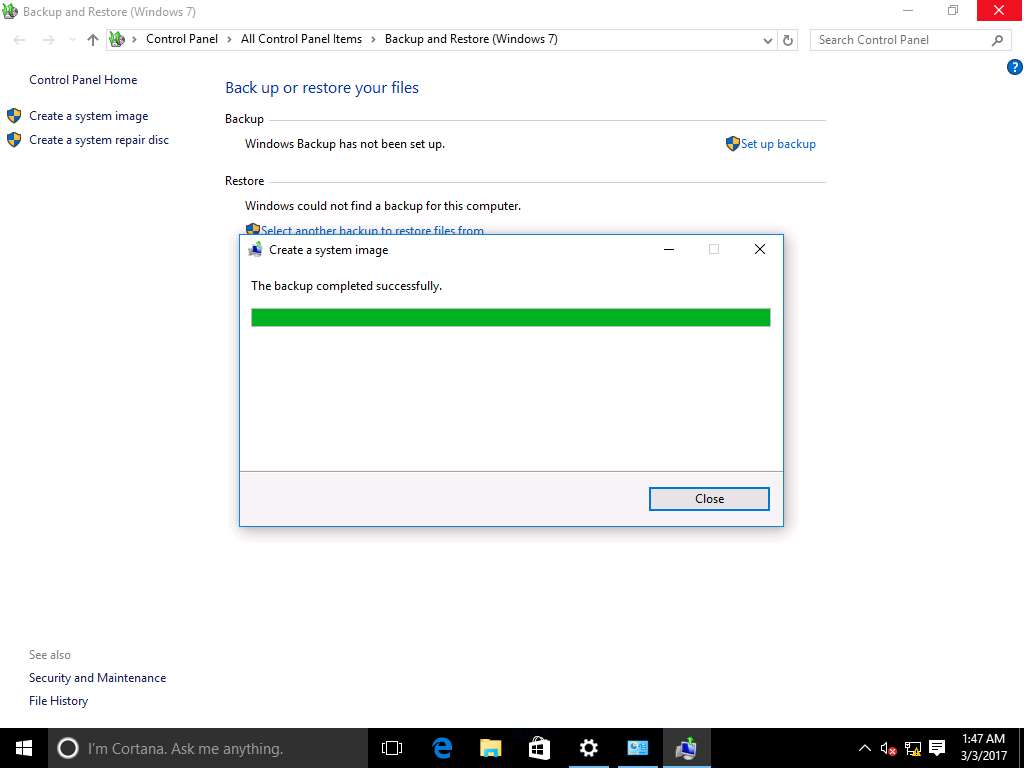
After successful backup, click Close button to close the Create a system image wizard.
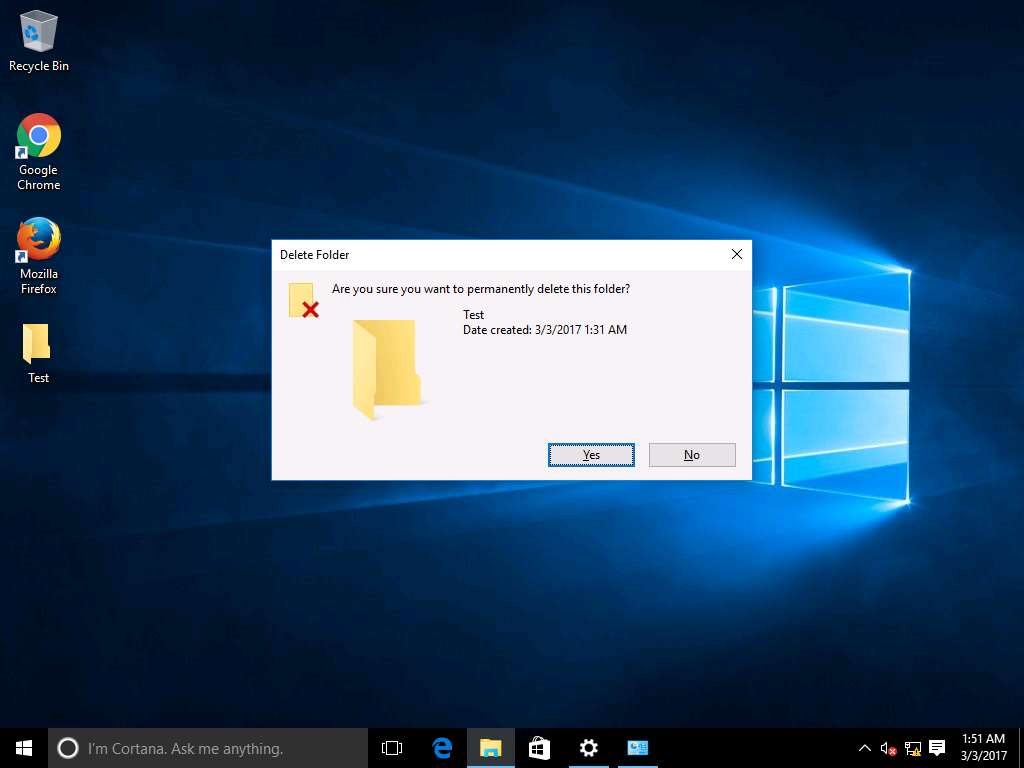
For demonstration of permanent data loss in Windows 10, permanently delete folder Test using Shift+Delete keyboard shortcut key. Delete Folder window appears, click Yes.
Again navigate UPDATE & SECURITY window. On left pane select Recovery and click Restart Now button present under Advanced Startup in right pane.
Choose an option screen appears after the restart. Click Troubleshoot icon.
Troubleshoot screen appears, click Advanced options as shown in screenshot.
Advanced options provides the troubleshoot options like System restore, System Image Recovery and Startup Repair.
Advanced options screen appears, click System Image Recovery option.
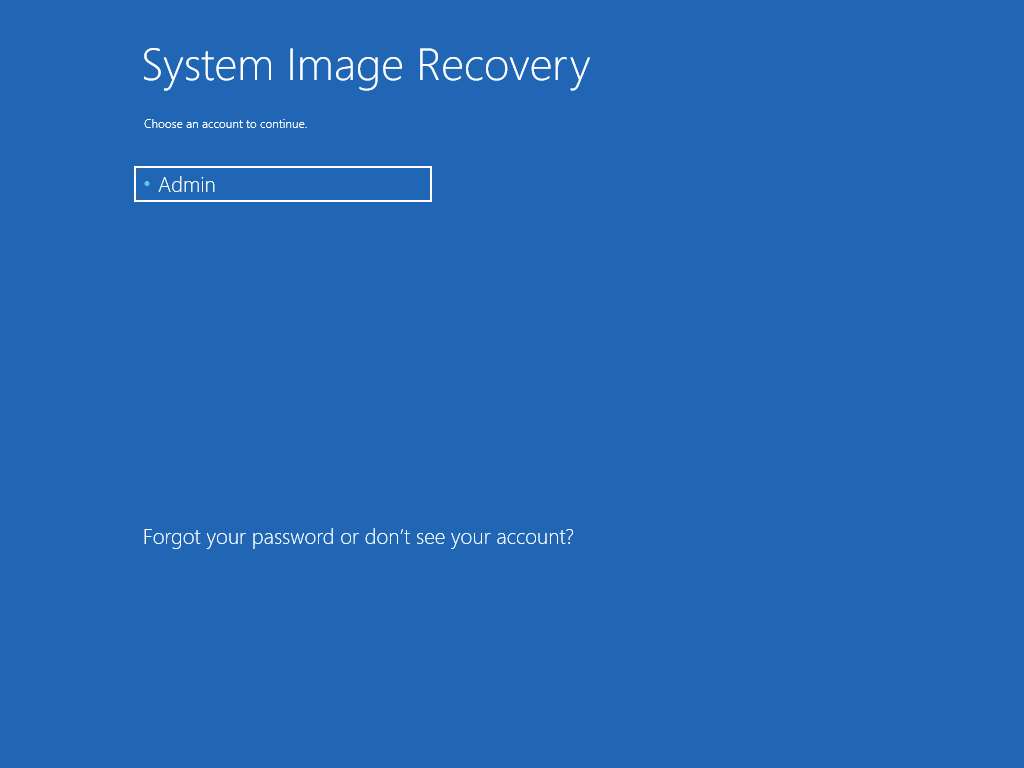
System Image Recovery screen appears, choose Admin account.
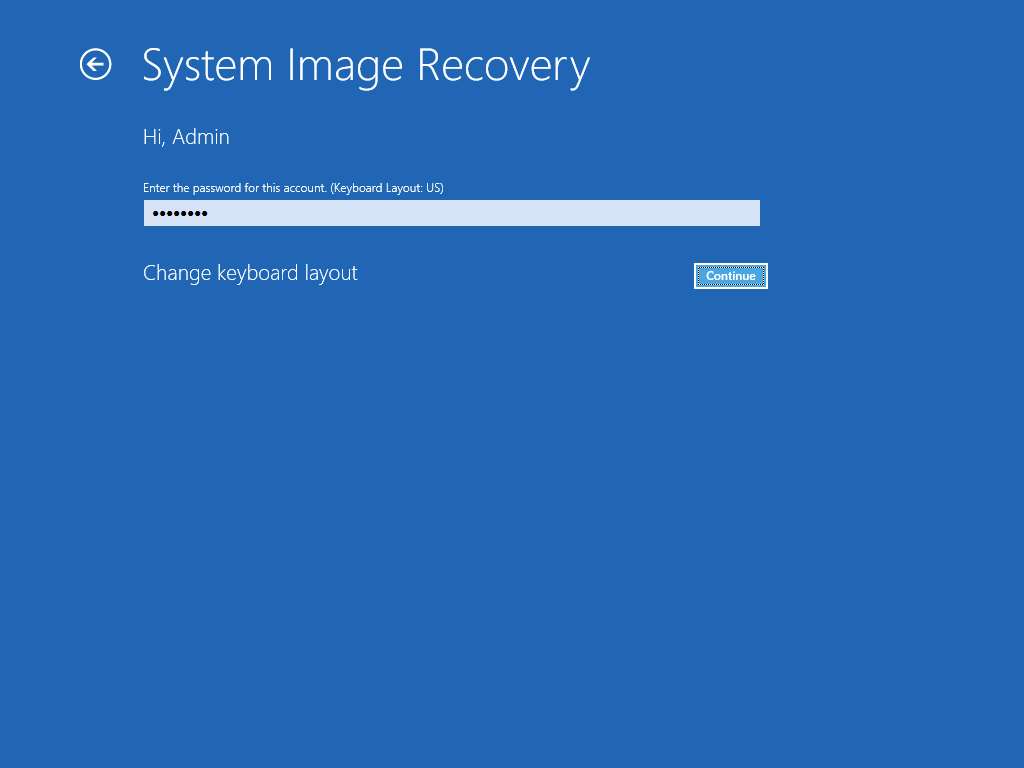
Enter Pa$$w0rd in the Enter the password for this account field and click Continue.
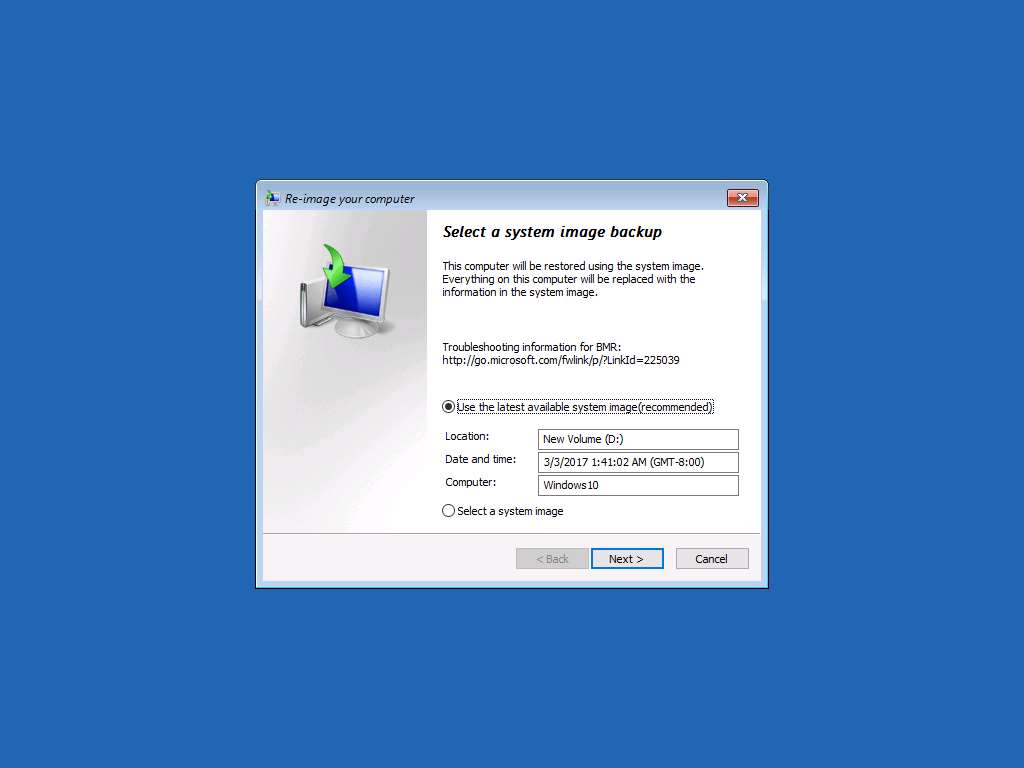
Re-image your computer Wizard appears, select Use the latest system image(recommended) radio button. This will automatically select the latest system image available. Click Next to continue.
If you want to restore the system to previously created system image then select Select a system image radio button and browse the available old system image backups.
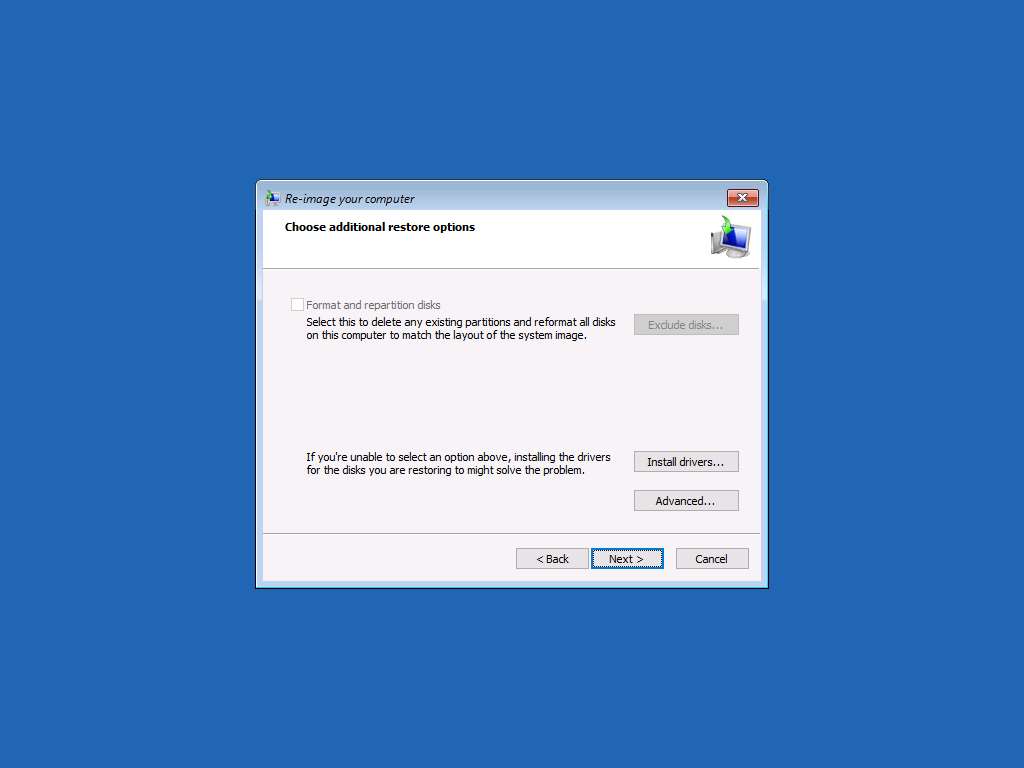
Choose additional restore options wizard appears, click Next.
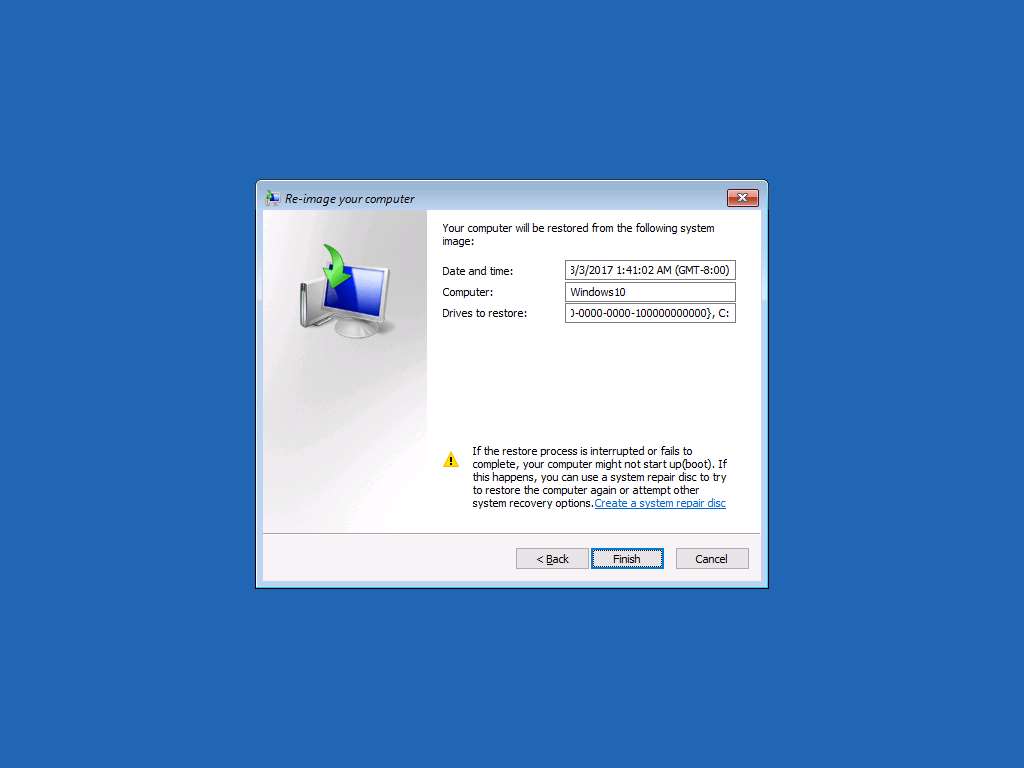
Re-image your computer wizard appears. Saved System Image file is selected by default, click Finish button to start the restoration process.
Screenshots may vary.
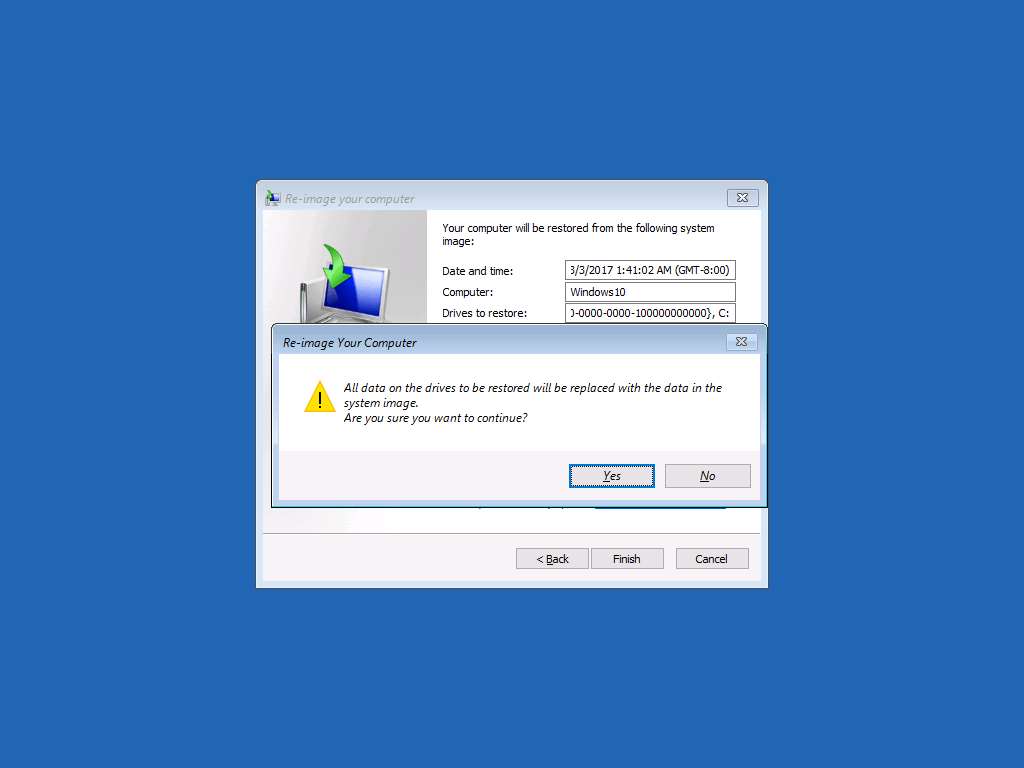
Re-image Your Computer warning window appears, click Yes to continue.
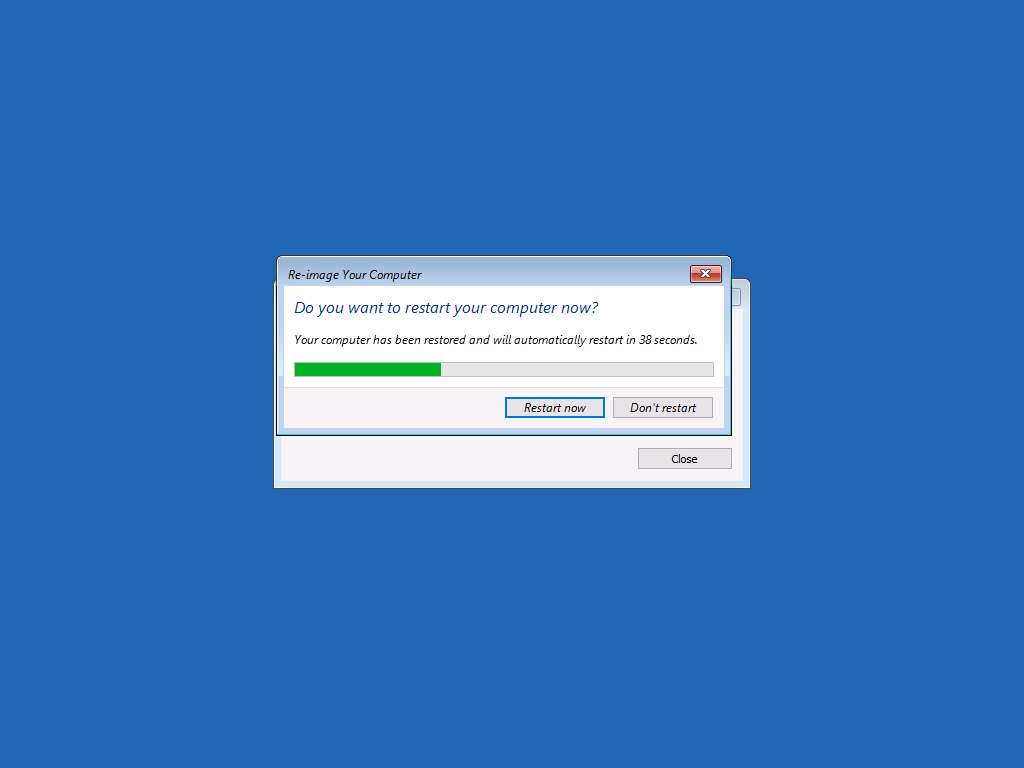
Re-image your computer progress window appears showing the system image recovery status. After completion of system image recovery Do you want to restart your computer now? window appears, click Restart now to restart Windows 10, otherwise the system will automatically restart in 60 seconds.
After restart of Windows 10, type Pa$$w0rd in the Password field and press Enter to login.
Alternatively click Paste Password from Commands --> Paste options or click clipboard icon under Windows 10 from Machines pane.

Desktop screen appears, permanently deleted folder Test appears demonstrating the successful System Image Recovery.

Assessment 2:
In the Backup and Restore (Windows 10) window, click Create a system image link and select the option for saving the backup. Identify the option selected for saving the backup in the lab.
This is based on Step 8 in the lab instructions, where it states:
"Create a system image wizard appears with 'Where do you want to save the backup?' page. Select On a hard disk radio button and select New Volume (E:). Click Next to continue."
Answer: On a hard disk (New Volume (E:))
Restoration of an Ubuntu system using Déjà Dup
Scenario
Déjà Dup is a native backup tool present in Ubuntu which gives the option of incremental backups and restoration which allows quick restoration of file and settings to previous state.
Lab Objectives
This lab demonstrates how to recover an Ubuntu system using Déjà Dup.
Lab Scenario
Déjà Dup is an inbuilt utility of Ubuntu OS introduced at the release of Ubuntu 14.04 LTS, to provide system backup capabilities in the Ubuntu ecosystem. By using Déjà Dup backup, user can easily take the backups of the system and its settings and also revert it back to previous states. It also provides scheduled incremental backups along with encryption capabilities. As a disaster recovery professional, you should know how to take backups and do the restoration of the systems running on Ubuntu
To login Ubuntu machine, navigate to Machines pane and click Ubuntu. Ubuntu login screen appears, type toor in the password field and press Enter to login.

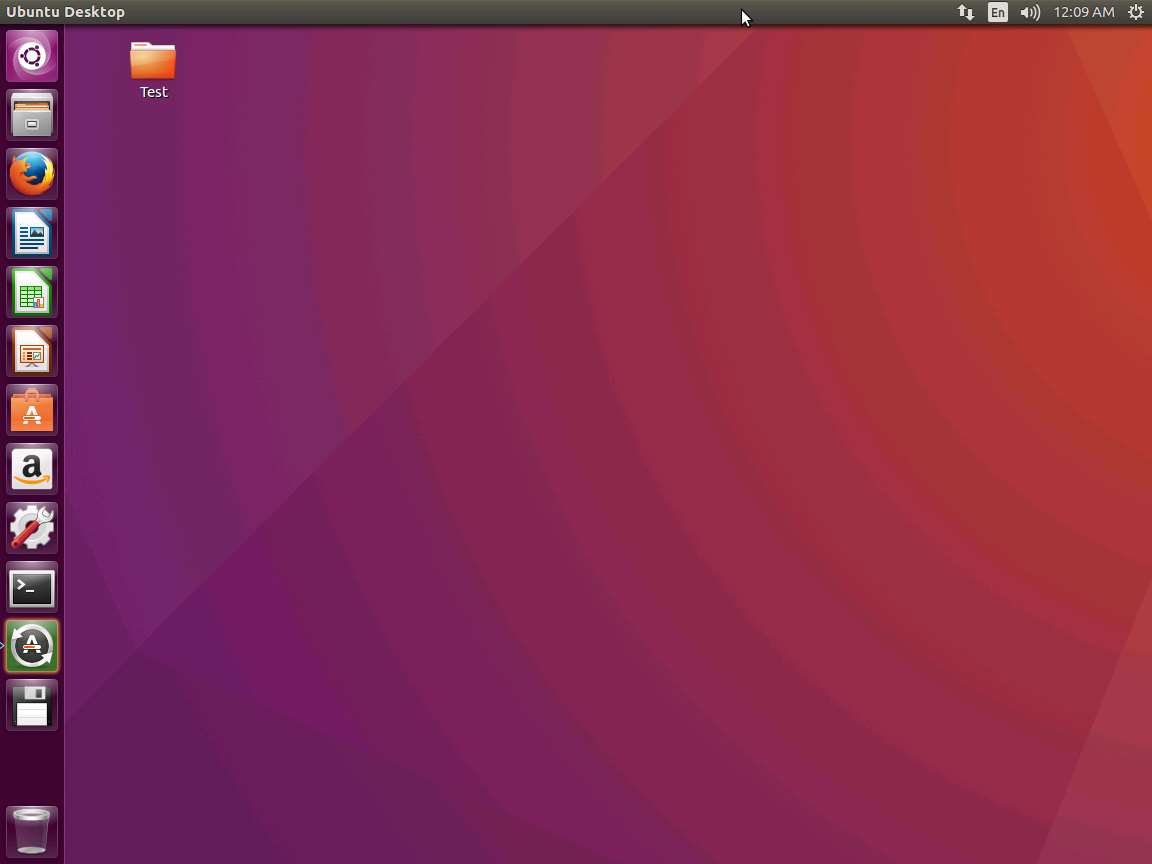
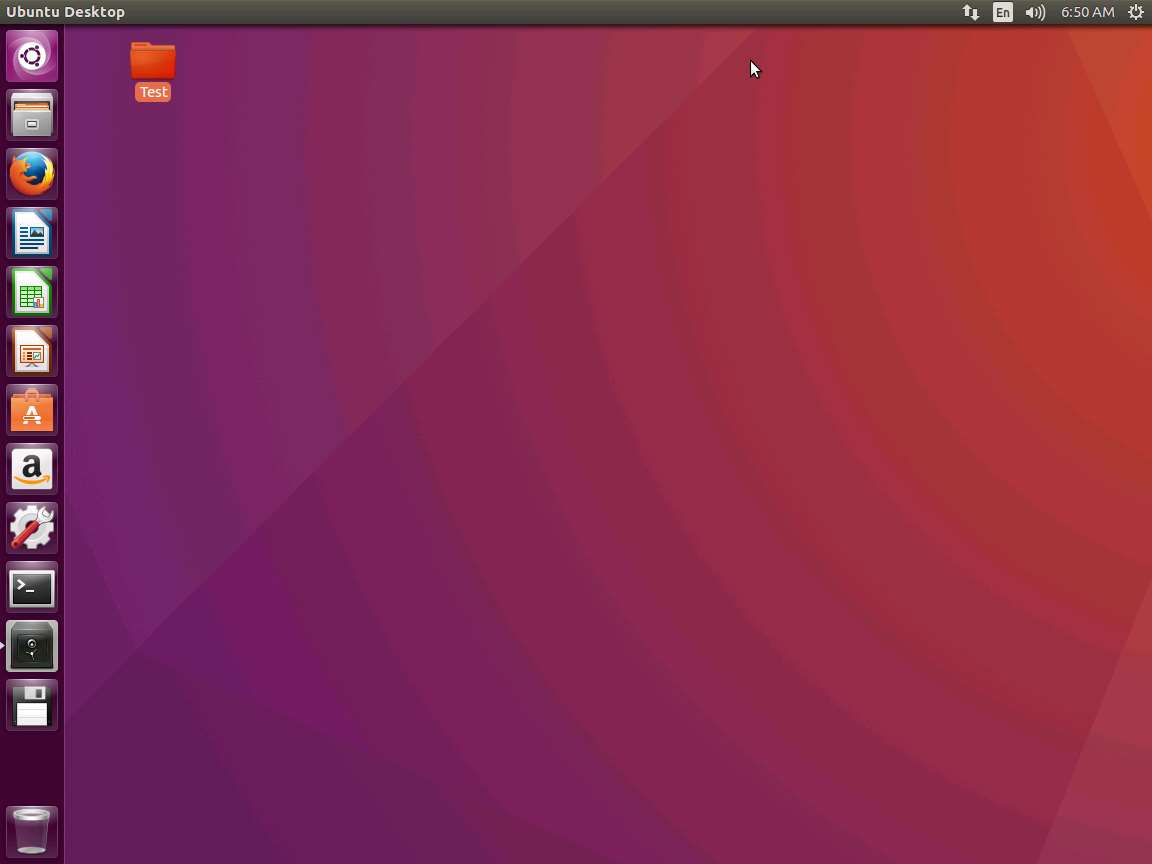
To create a new folder, right-click on the Desktop and click New Folder from the context menu. After new folder is created on desktop rename the folder as Test.
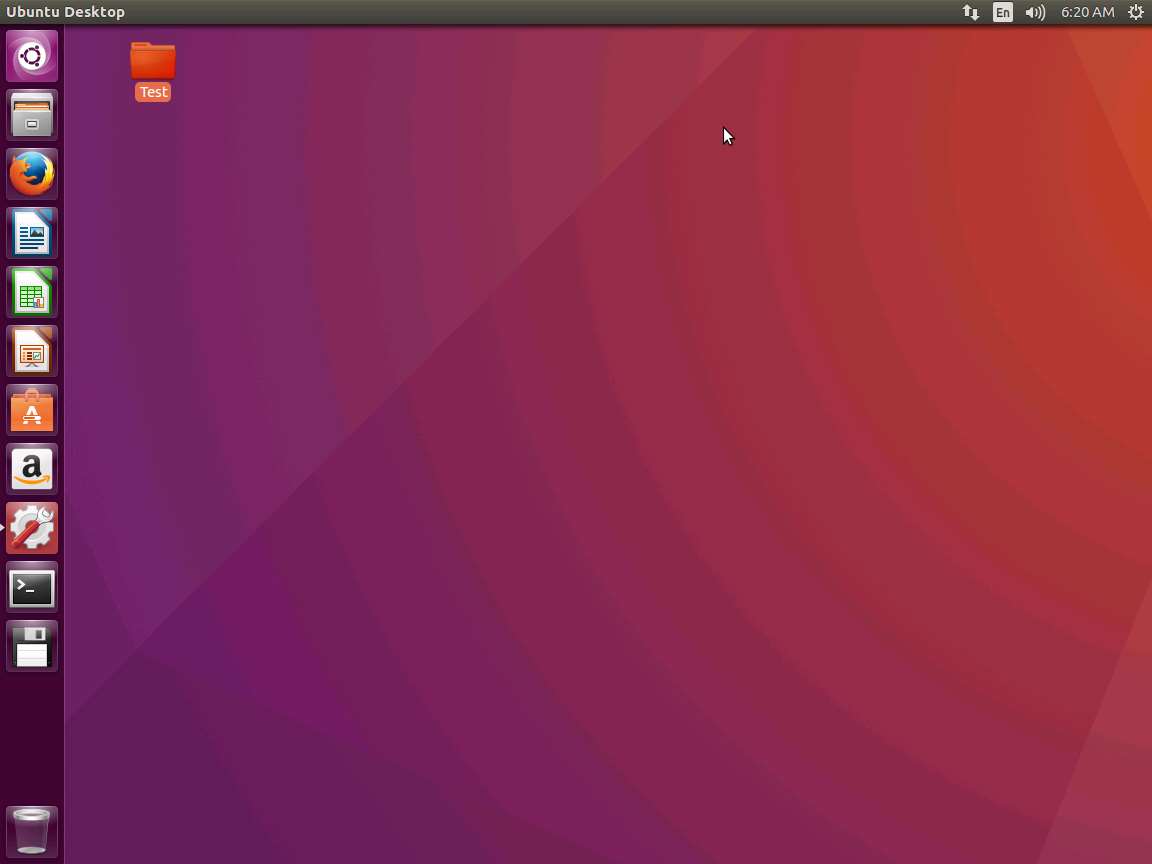
Click System Settings icon present on the launcher dock in left side of the desktop.
Alternatively, you can click Gear icon present on the top-right corner of the desktop and click System Settings… from the drop-down menu.
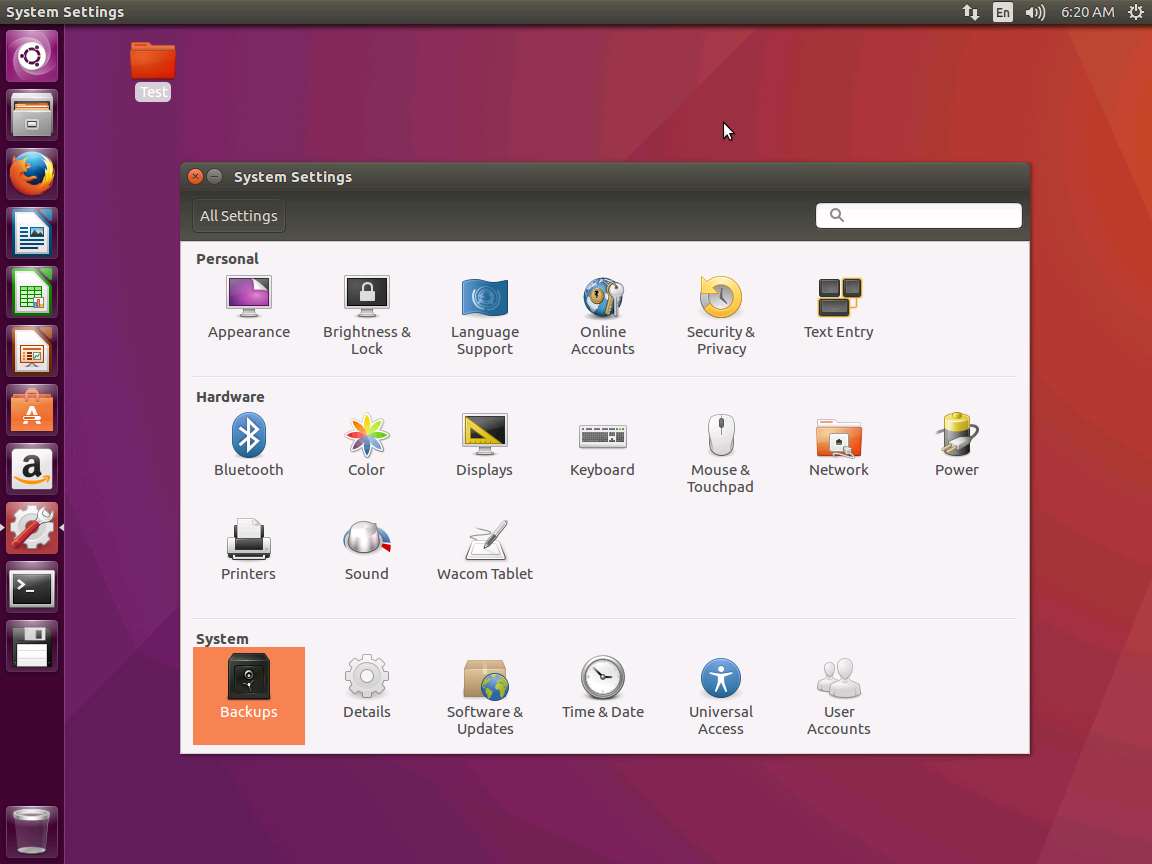
System Settings window appears, click Backups icon present in the System pane.
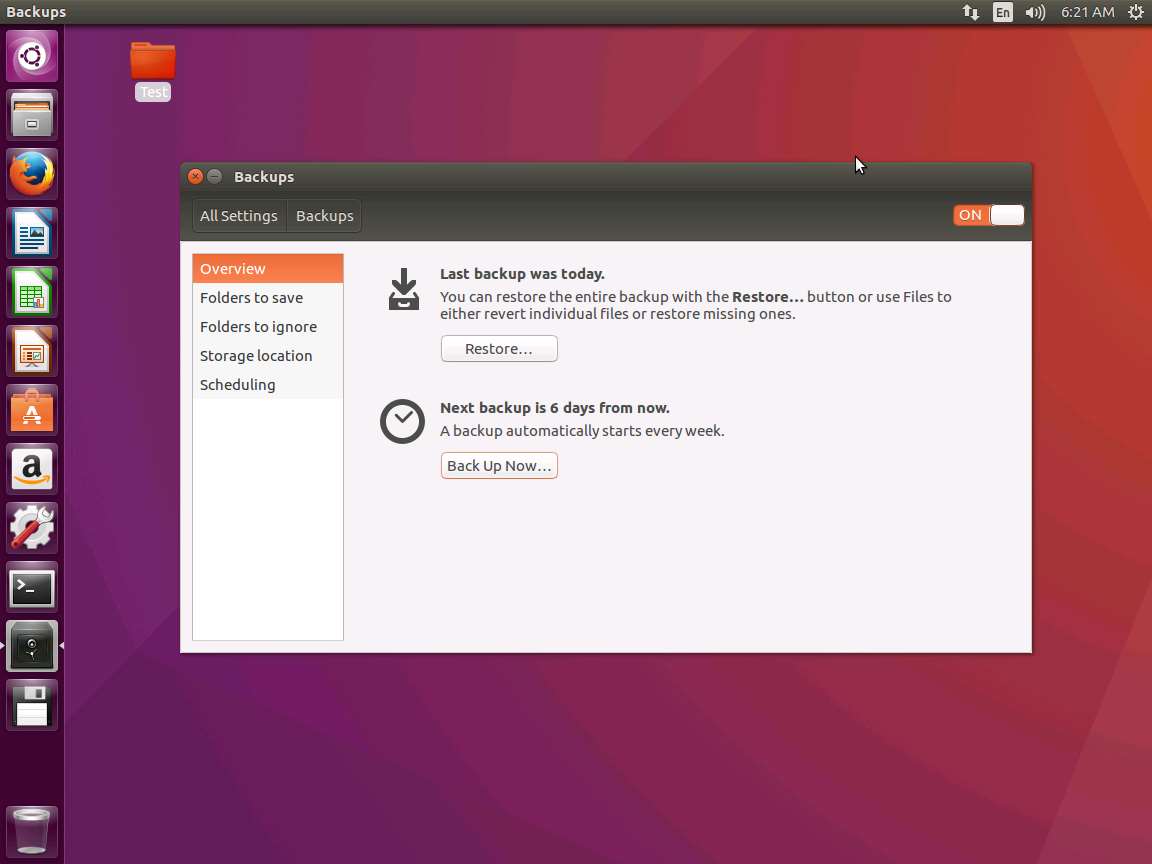
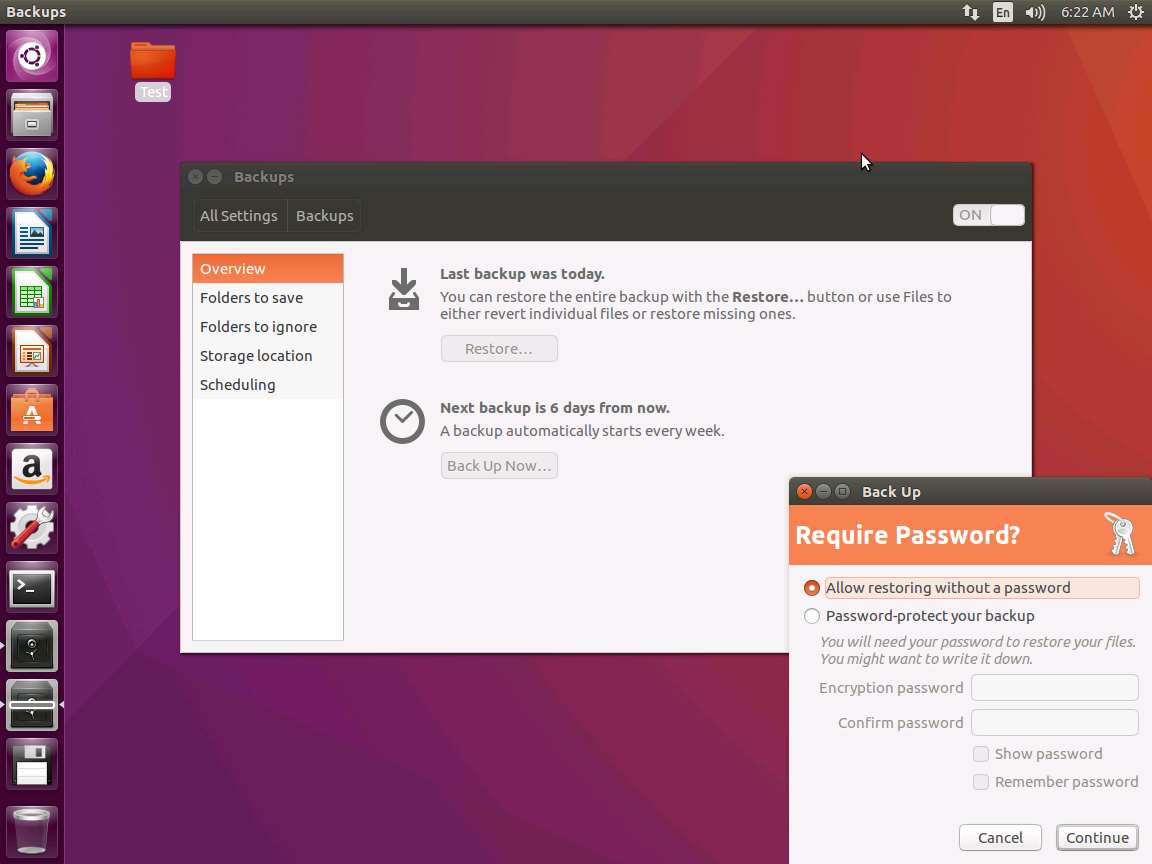
Backups window appears, in right pane click Back Up Now… .
Require Password? window appears, select Allow restoring without a password radio button and click Continue. This will start the backup process.
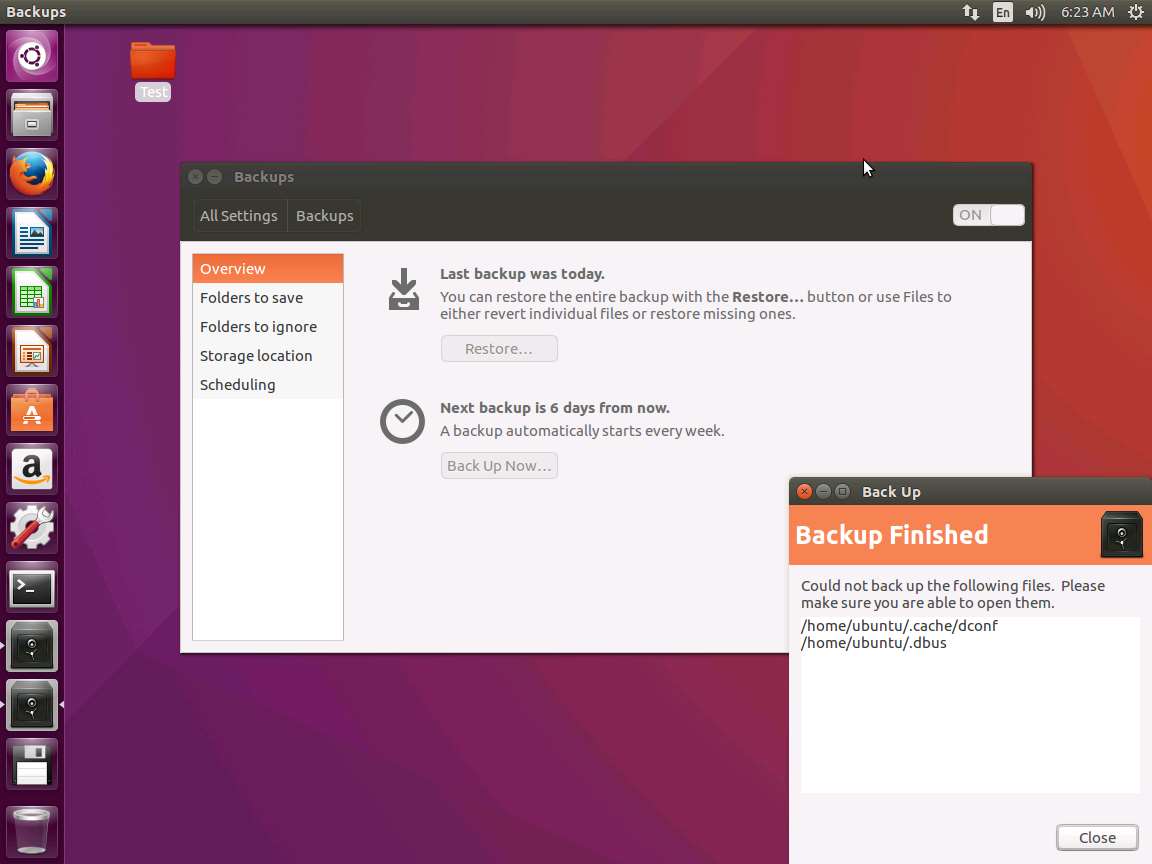
Backup Finished window appears after completion of the backup process. Click Close.
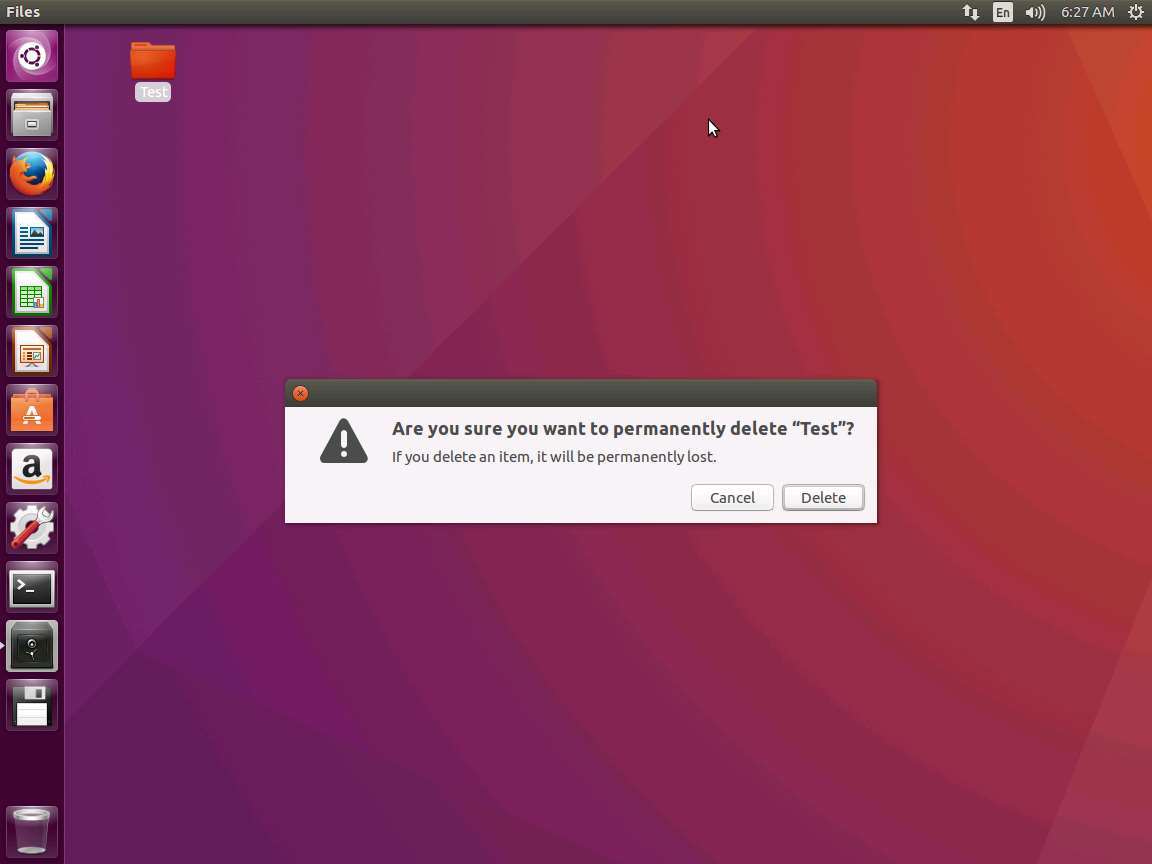
To demonstrate permanent data loss, permanently delete folder Test on the desktop by using Ctrl+Delete keyboard shortcut key. Warning window appears, click Delete.
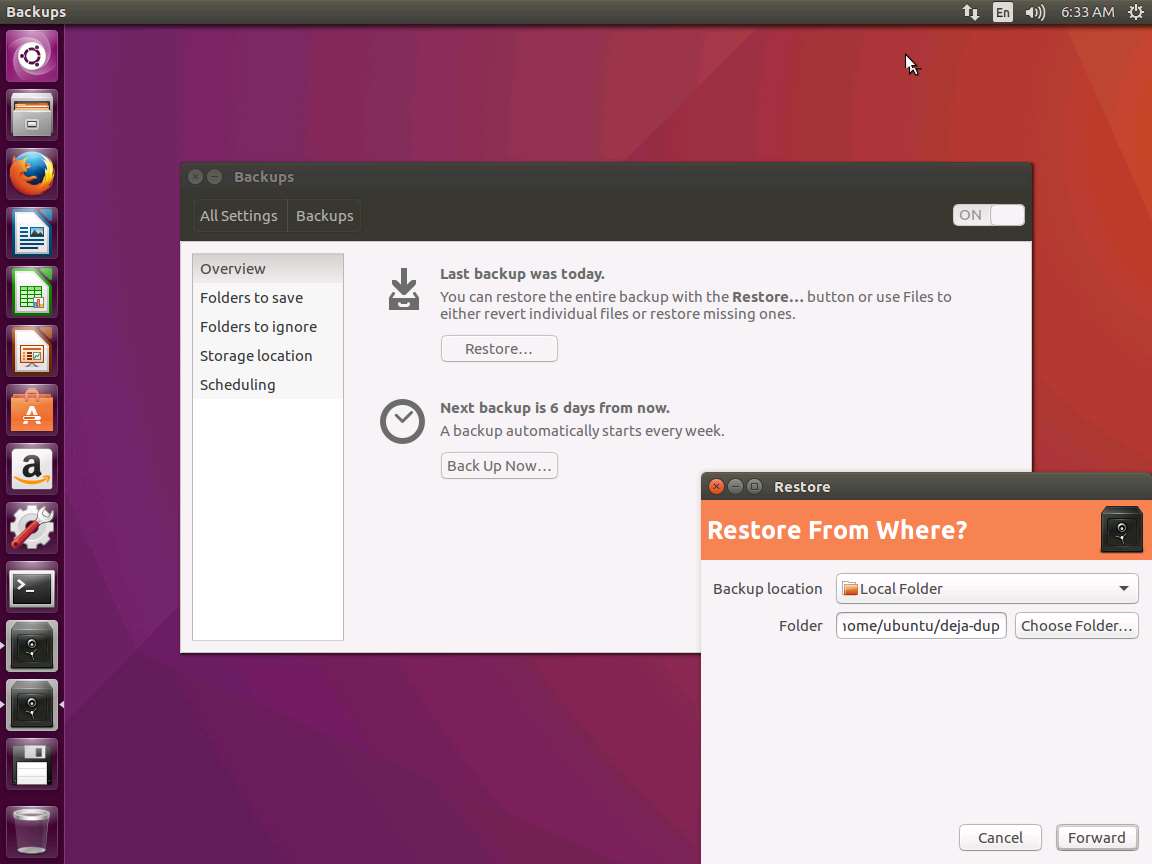
Again, navigate to Backups window and click Restore button in the right pane.

Restore From Where? window appears, default backup location is selected by default. Click Forward to continue.
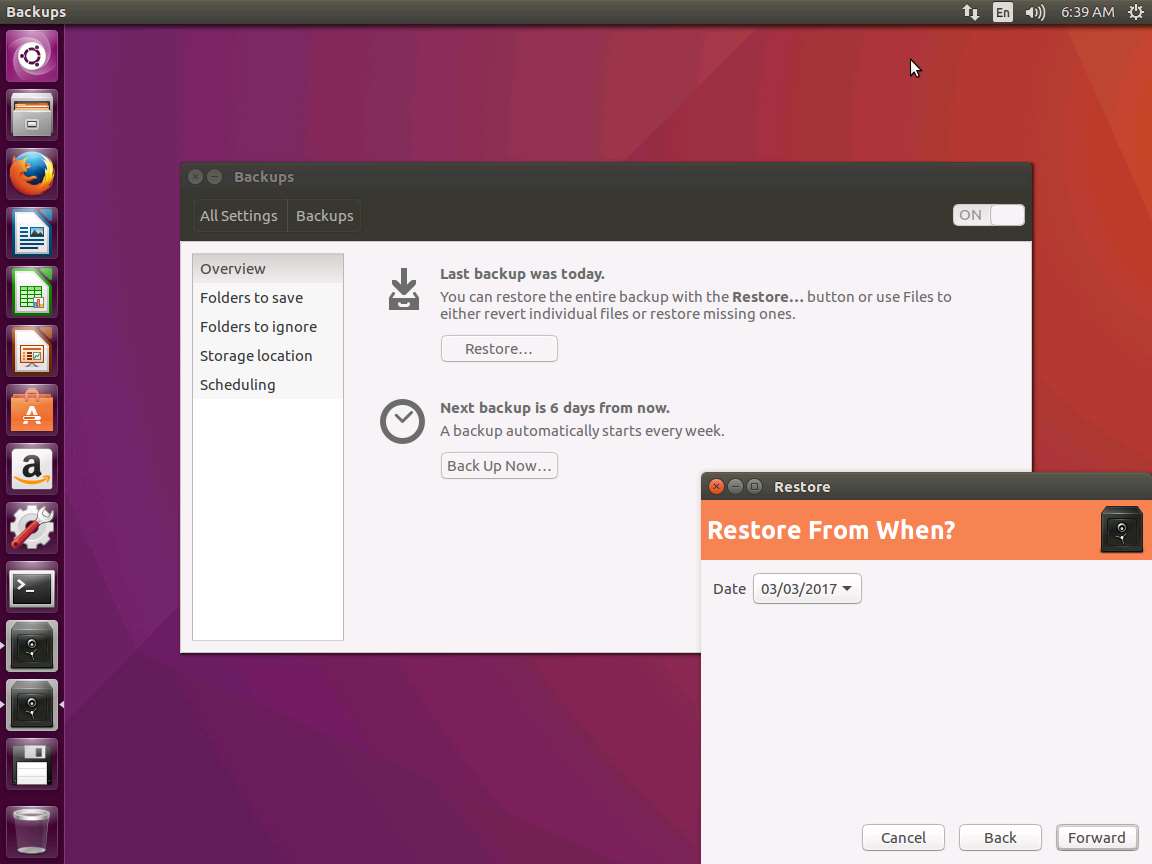
Restore From When? window appears showing the list available backups. Select the restore point from where we want to restore the system from Date drop-down menu. Click Forward button to continue.
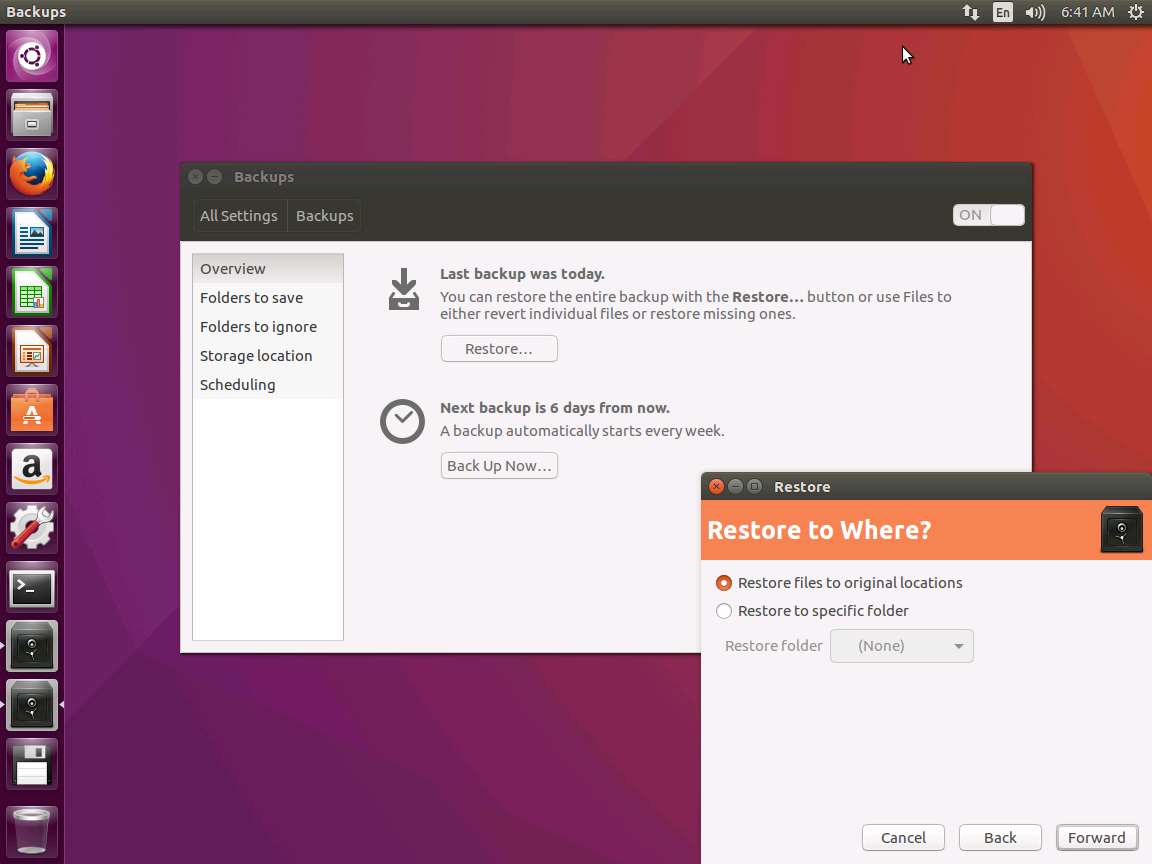
Restore to Where? window appears, select Restore files to original location radio button and click Forward.
Summary window appears showing the summary of backup task. Click Restore to start the restoration process.

Restore Finished window appears after the completion of the Ubuntu restoration. Click Close to close the Restore window.

Navigate to the desktop, permanently deleted folder Test appears. This demonstrate the successful restoration of Ubuntu system using Déjà Dup.
Assessment 3:
To restore the data, navigate to the Backups window and click the Restore button. Select the location and the date from when we want to restore data. Identify the year from the date chosen in the lab for the restore point from where we want to restore the system.
The answer to Assessment 3 is found in Step 11 of the lab instructions:
Step 11: Restore From When? window appears showing the list available backups. Select the restore point from where we want to restore the system from Date drop-down menu. Click Forward button to continue.
Answer: 03/03/2017
Restoration of a Windows Server 2012 machine (Primary Server), using System Image Backup
Scenario
A system image is an exact copy of a drive which includes the drives required for Windows to run and also your system settings, programs, and files. It can be used to restore the contents and settings of system in case of any data losses.
Lab Objectives
The objective of the lab is to demonstrate how to perform a backup and restoration of a Windows Server 2012 system (Primary Server) using System Image Backup.
Lab Scenario
System Image Backup is a native feature of Windows Server 2012 through which it is possible to create the Image Backup of entire system. A System Image is the exact copy of a drive. A system image contains the drives and volumes required for Windows to operate and it also includes system settings, programs, and files. By using System Image, we can restore all the contents of system in case of any issues. System Image Restoration is a complete restoration process in which all programs, system settings, and files are replaced with the contents present inside the system image. As a disaster recovery professional you should know how to backup and restore a Primary Server system by the help of System Image Backup.
Click Machines pane, and click Ctrl+Alt+Delete under Windows Server 2012 Primary Server thumbnail.
Alternatively you can navigate to Commands menu and click Ctrl+Alt+Delete to login.
Type Pa$$w0rd in the Password field and press Enter.
Alternatively you can click Paste Password from Commands --> Paste options or click clipboard icon under Windows Server 2012 Primary Server from Machines pane.
Click Server Manager icon on the task-bar to launch Server Manager for Windows Server 2012 Primary Server.
Alternatively, you can launch the Server Manager by navigating to Administrative Tools --> Server Manager.
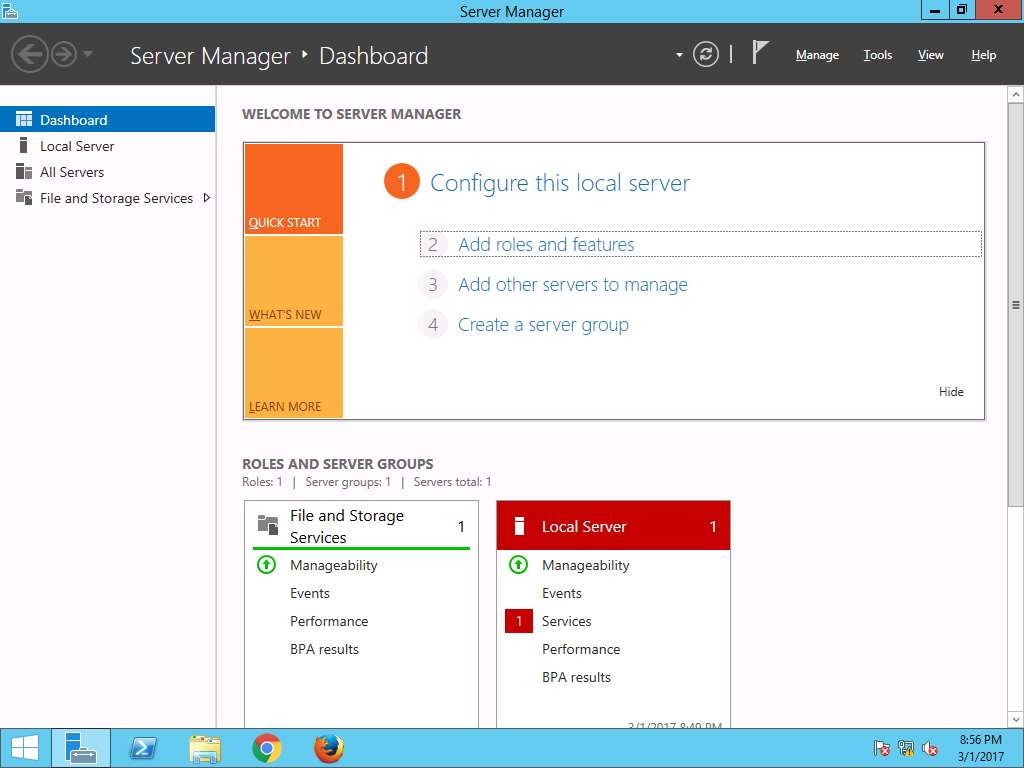
Server Manager window appears, click Add roles and features option present on Configure this local server section.
Alternatively, you can navigate to Add roles and features option by clicking Manage option present on menu bar and then selecting Add roles and feature option from the drop-down menu.
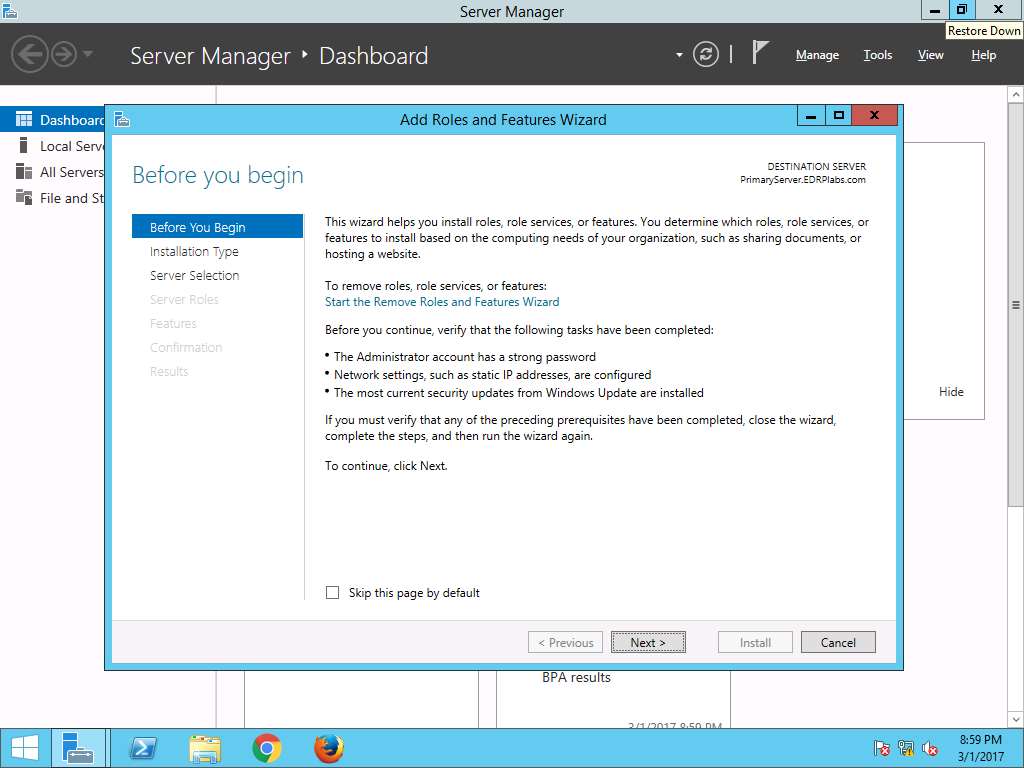
Add Roles and Features Wizard appears with Before you begin page, click Next.
Select installation type wizard appears, Role-based or feature-based installation radio button is selected by default. Click Next button to continue.

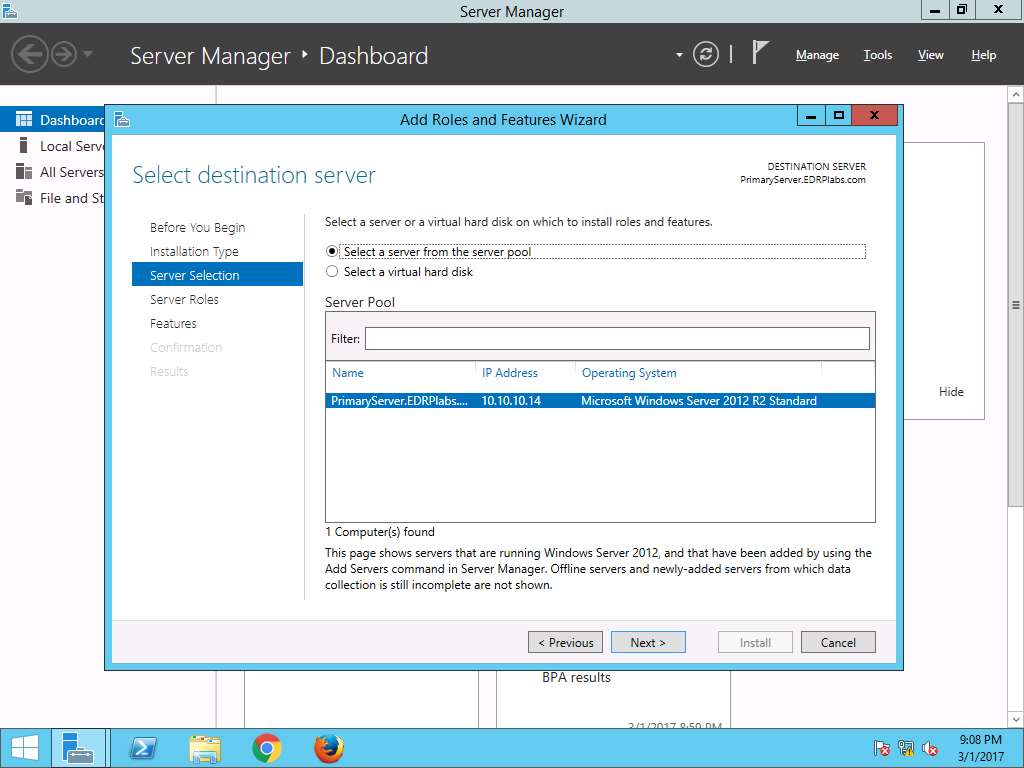
Select destination server wizard appears, select Select a server from the server pool radio button. In Server Pool section, select PrimaryServer.EDRPlabs.com and click Next.
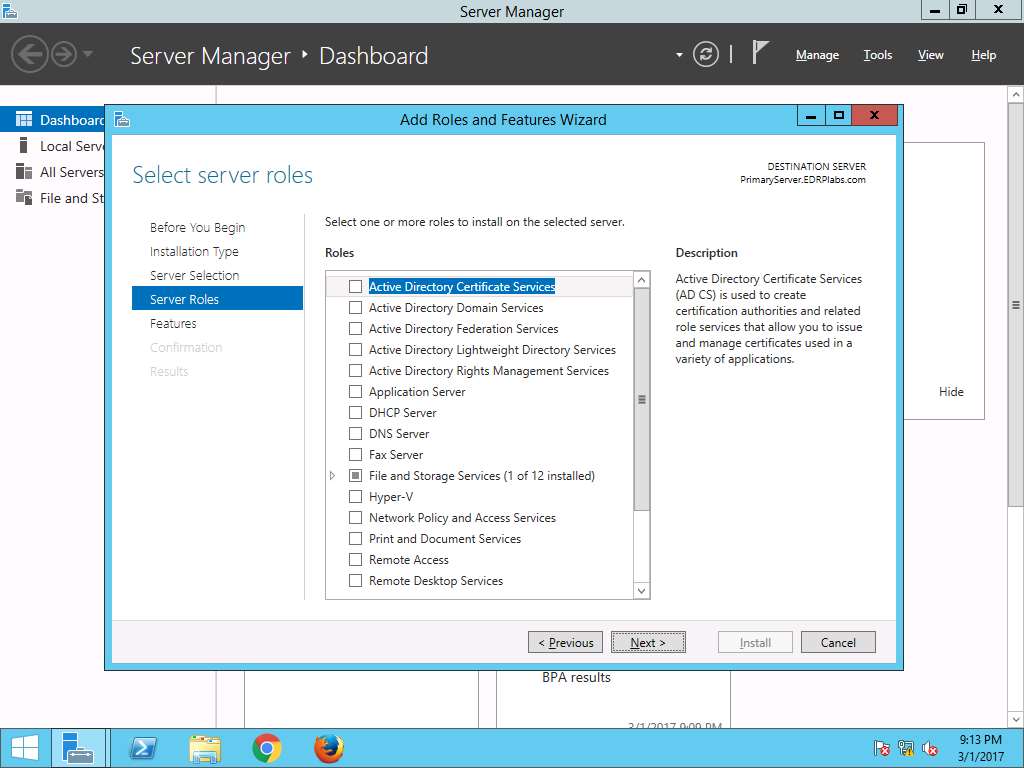
Select server roles wizard appears, click Next.
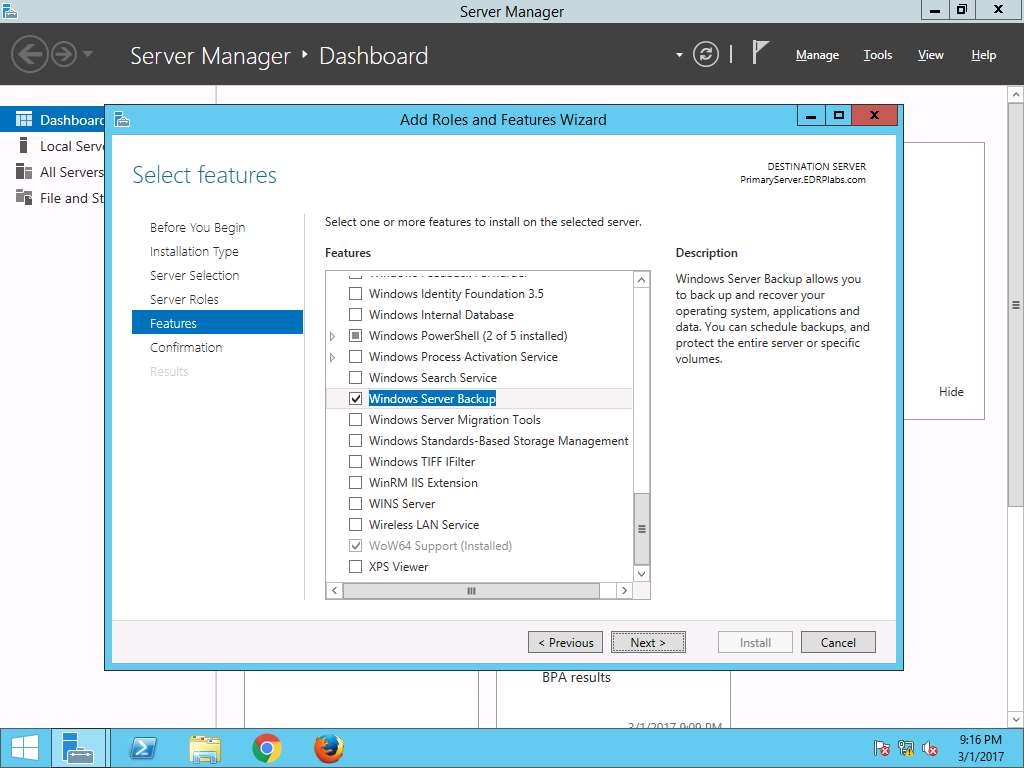
Select features wizard appears, from the Features scroll-down menu select Windows Server Backup check-box. Click Next.
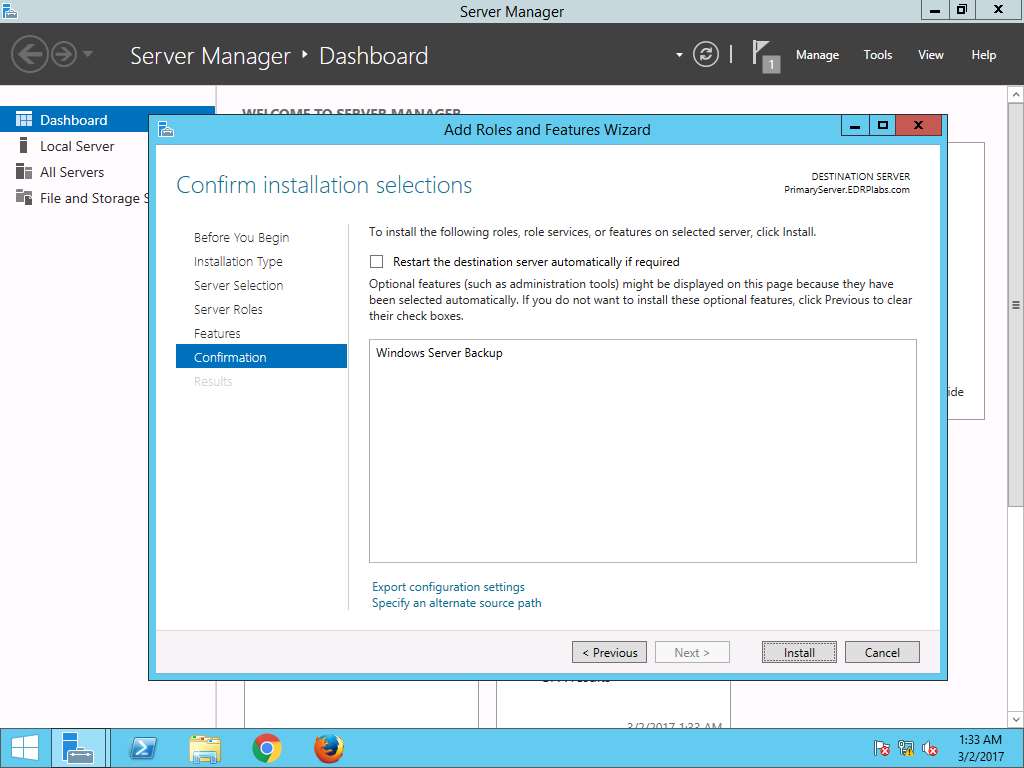
Confirm installation selections wizard appears, click Install to start the installation of the Windows Server Backup feature.
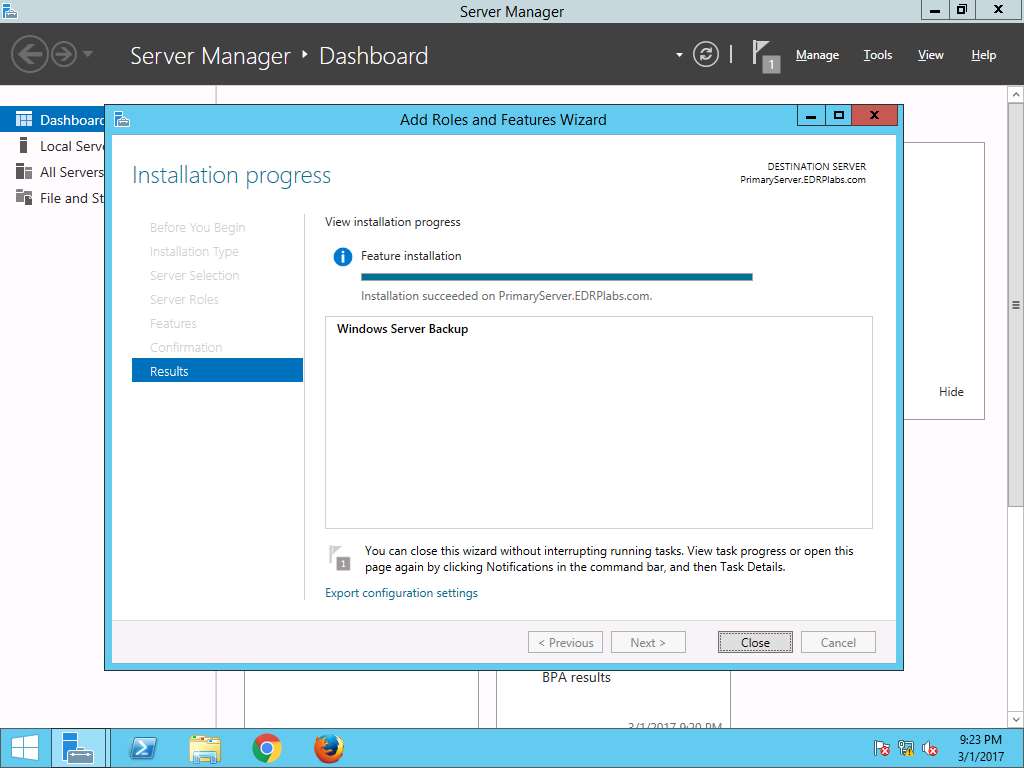
Installation progress wizard appears. After the completion of installation of the Windows Server Backup feature, click Close to close the Add Roles and Features Wizard.
To create a new folder, right-click on the Desktop and click New and select Folder from the context menu. After new folder is created on desktop rename the folder as Test.

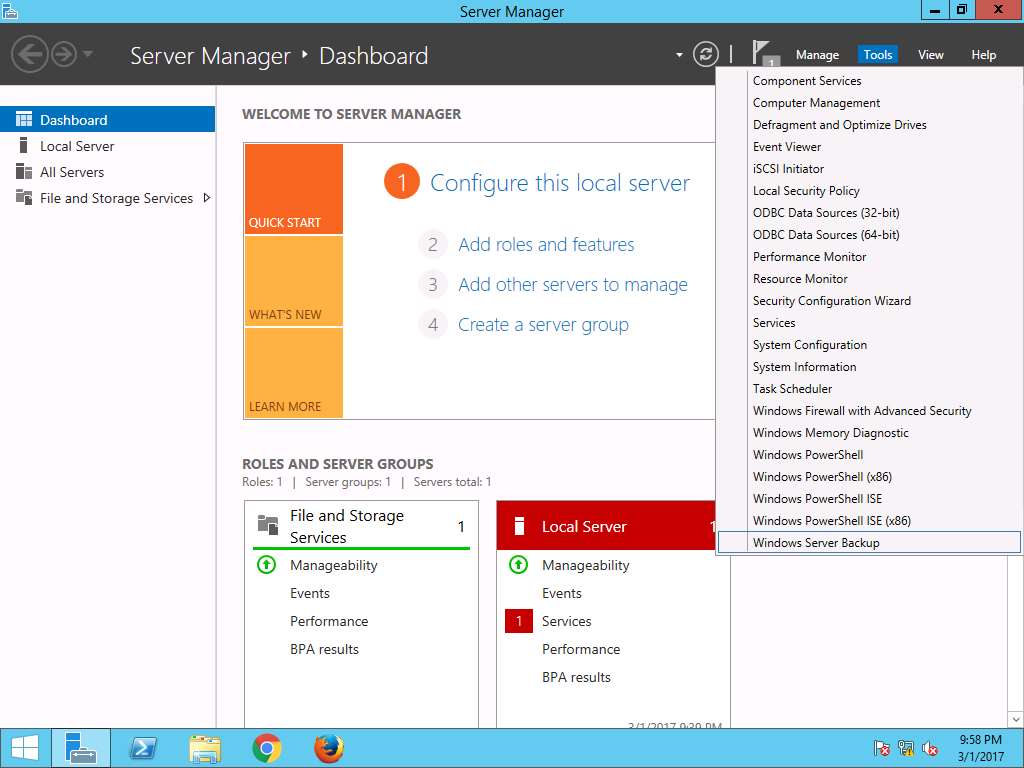
Again navigate to Server Manager, click Tools present on menu-bar and select Windows Server Backup from the drop-down menu.
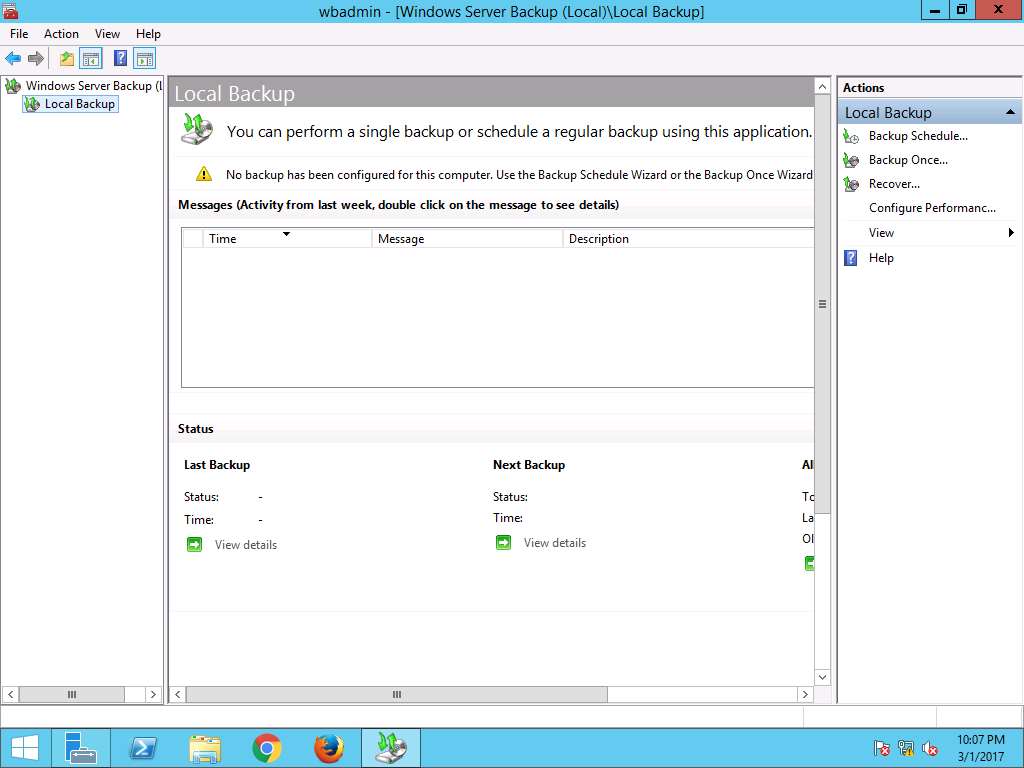
wbadmin - [Windows Server Backup (Local)\Local Backup] window appears, in left pane click Local Backup and select Backup Once… option present on Actions pane on the right side of the window.
Alternatively, you can click Action on menu bar and select Backup Once… option from the drop-down menu.
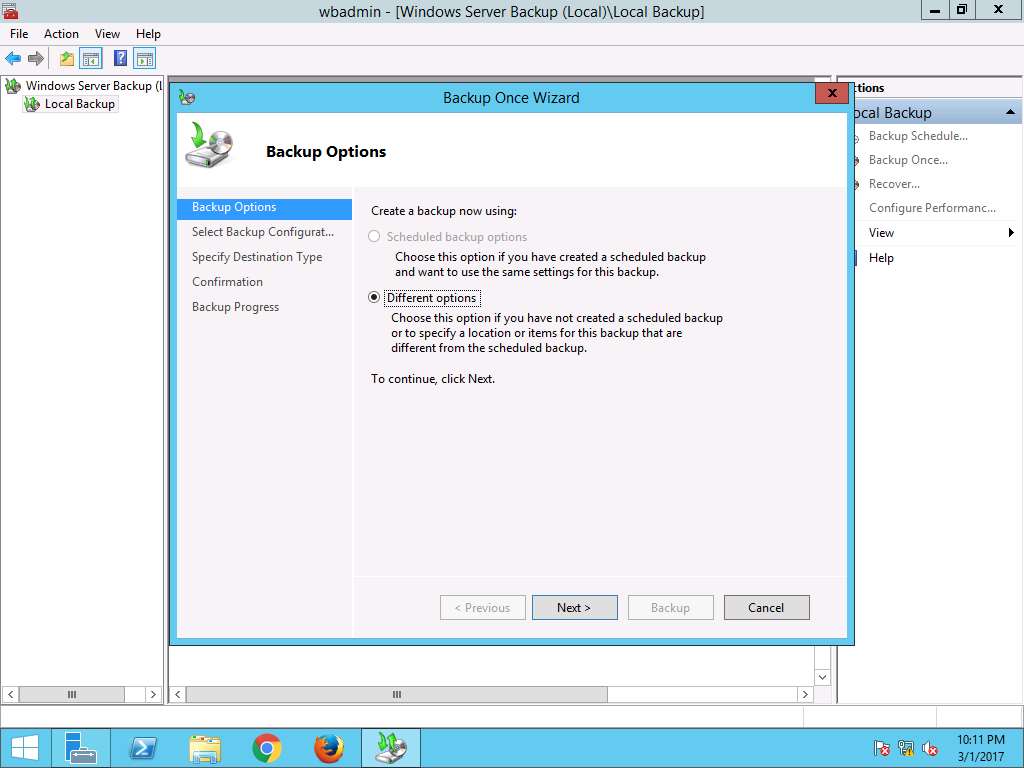
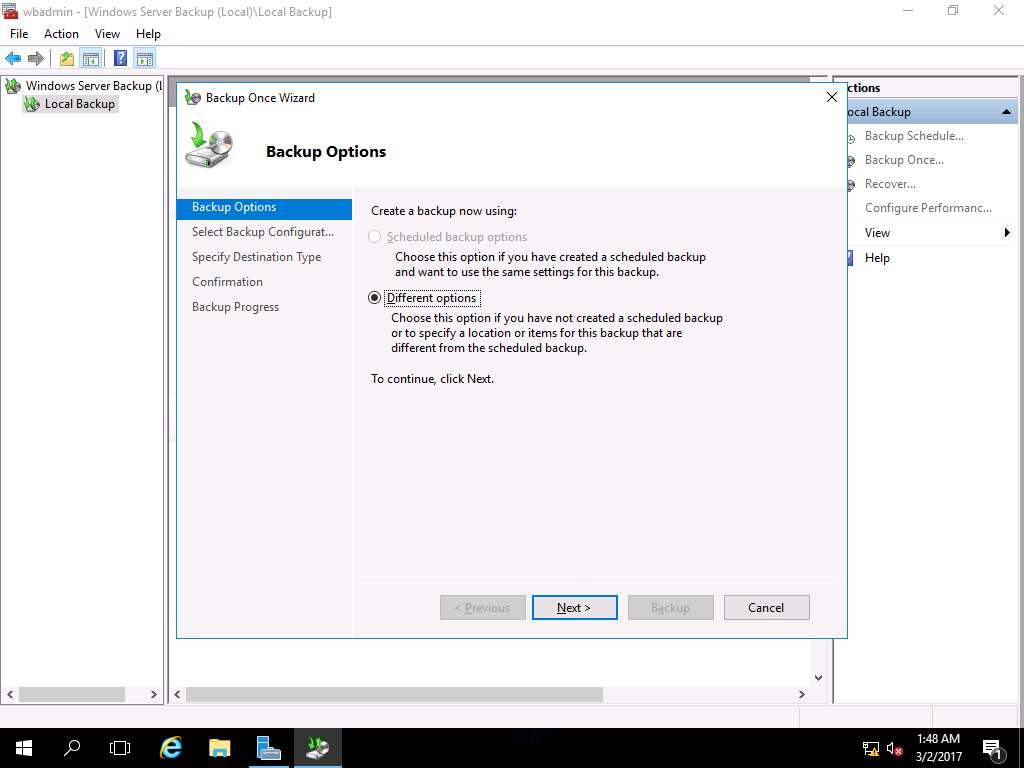
Backup Once Wizard appears, Different options radio button is selected by default, click Next button.
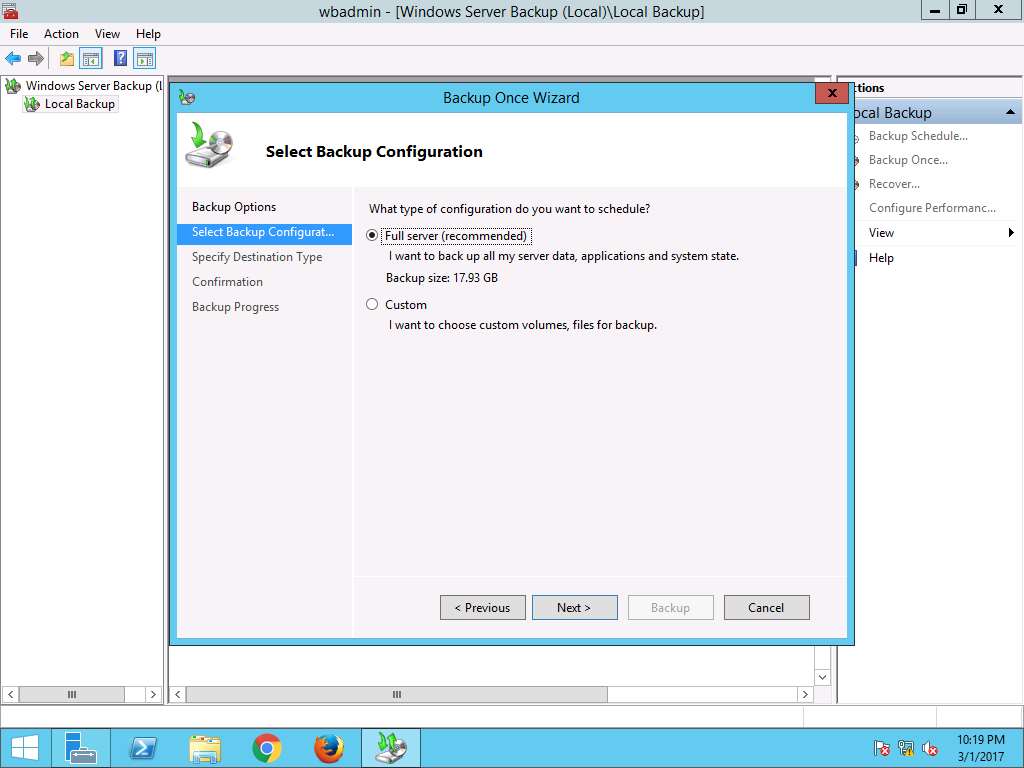
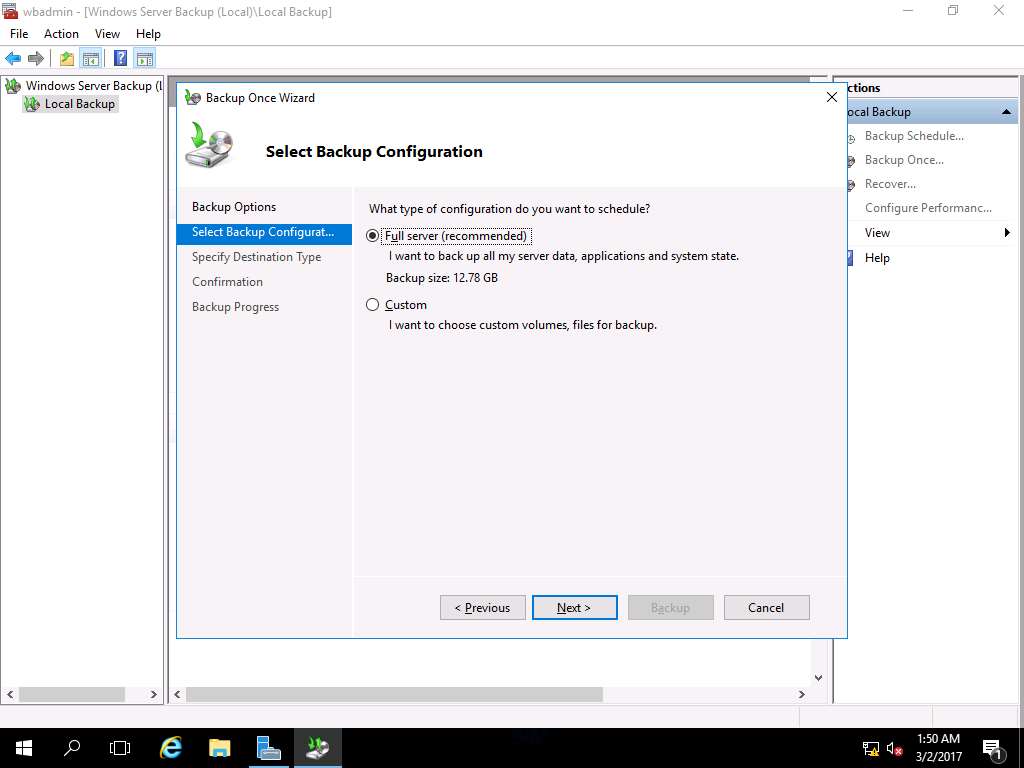
Select Backup Configuration wizard appears, select Full server (recommended) radio button and click Next to continue
Full server option backs up all volumes that contain your files, data, applications, and operating system state. Using Custom option you can backup selected volumes or files.
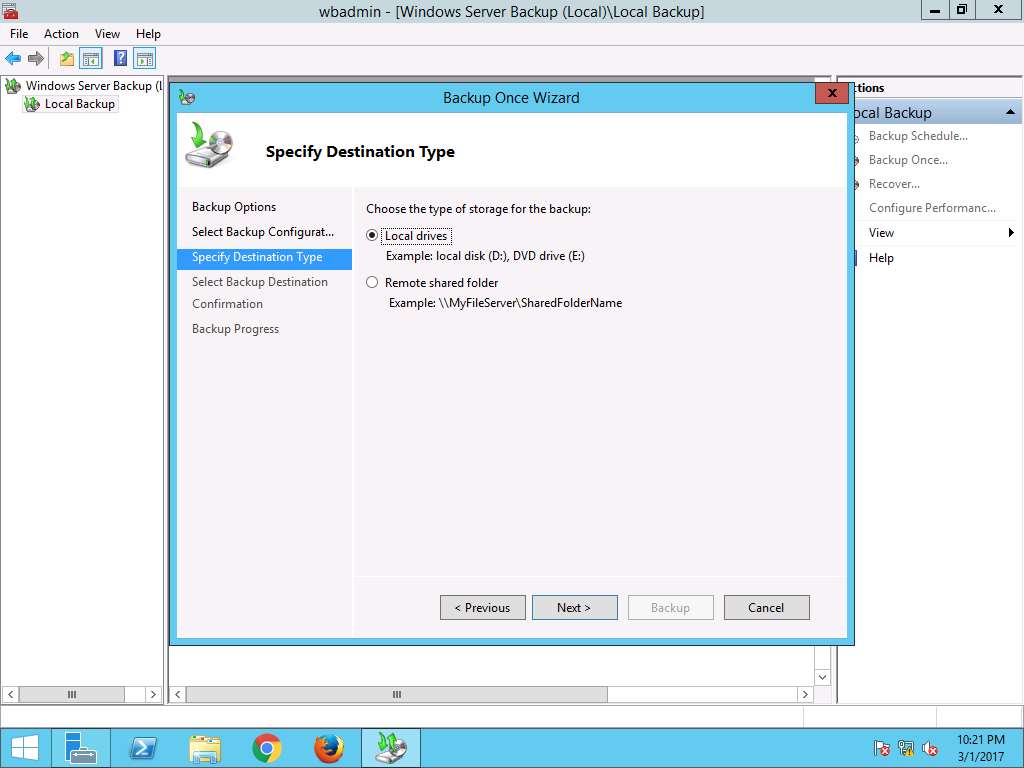
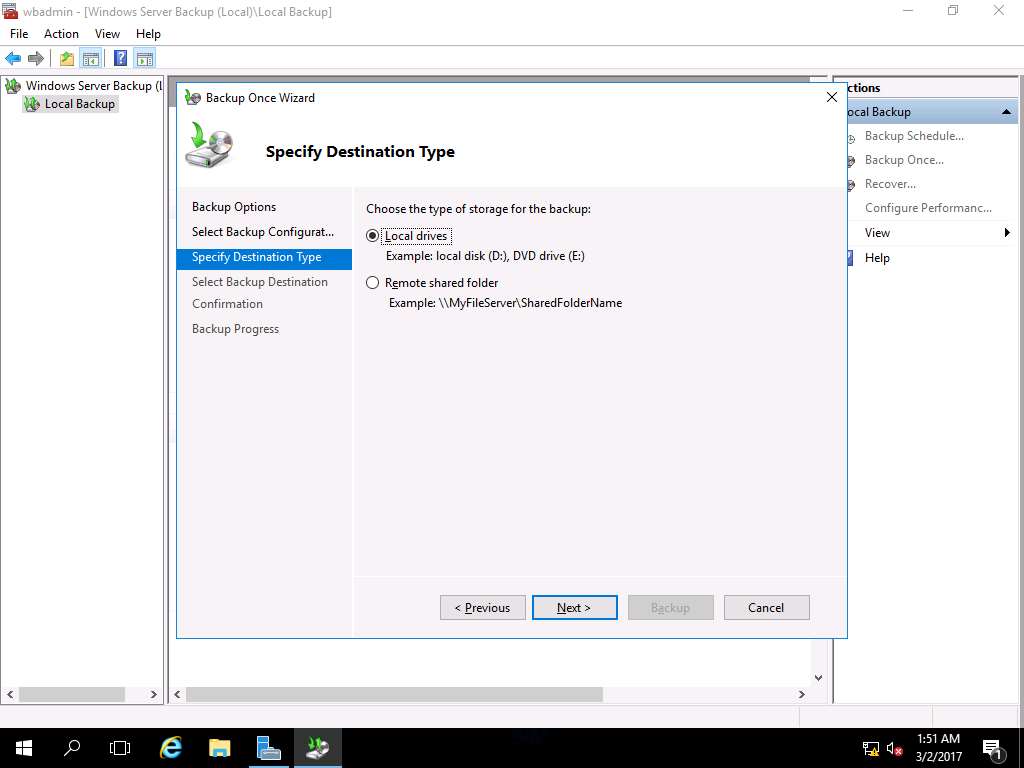
Specify Destination Type window will appear, select Local drives radio button to save the backup image on the local drives. Click Next button.
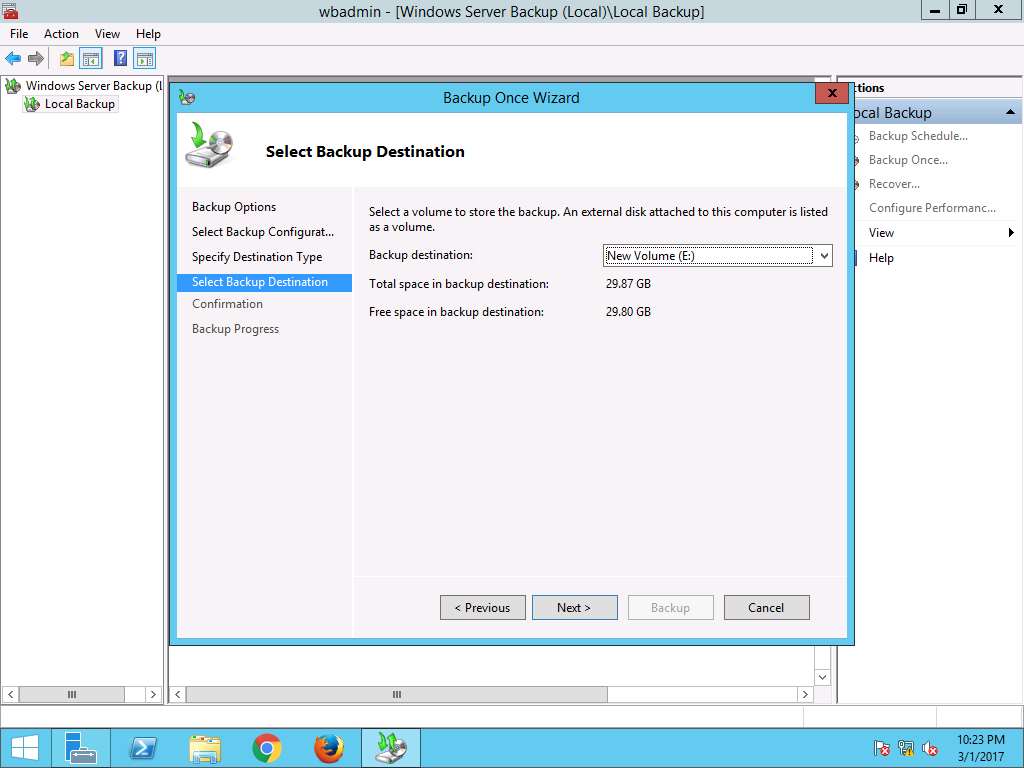
Select Backup Destination wizard appears, Backup destination: is selected as New Volume(E:) which is a local hard drive volume and click Next button.
Windows Server Backup warning window appears, click OK to continue.

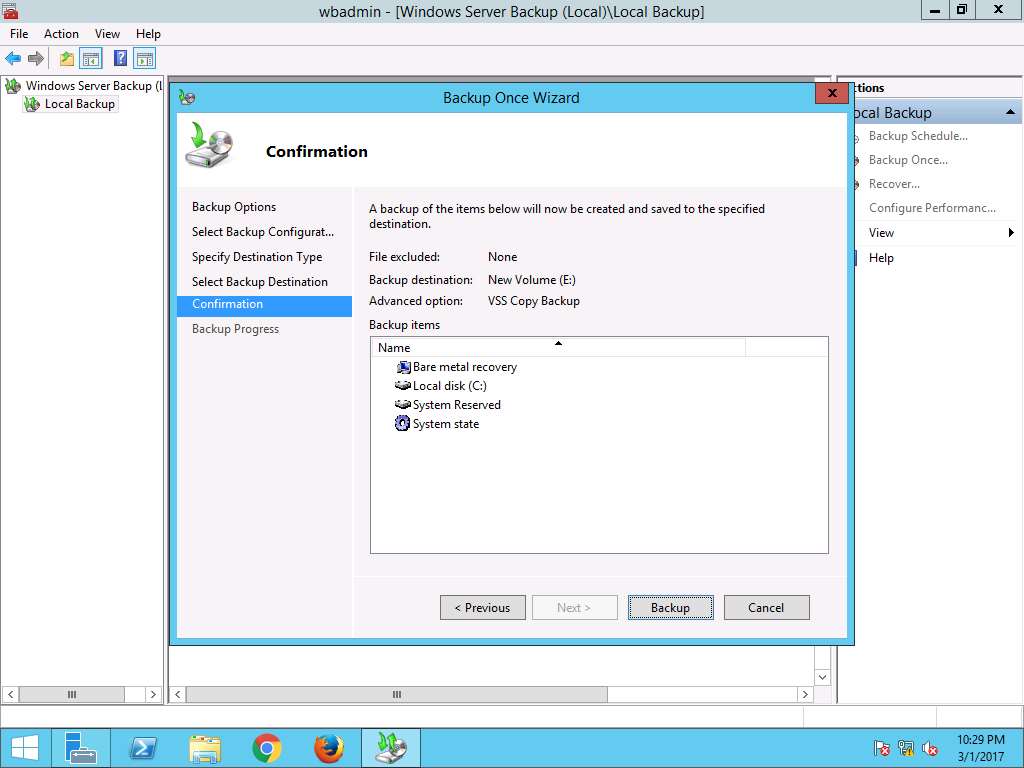
Confirmation wizard appears, click Backup to start the backup process.
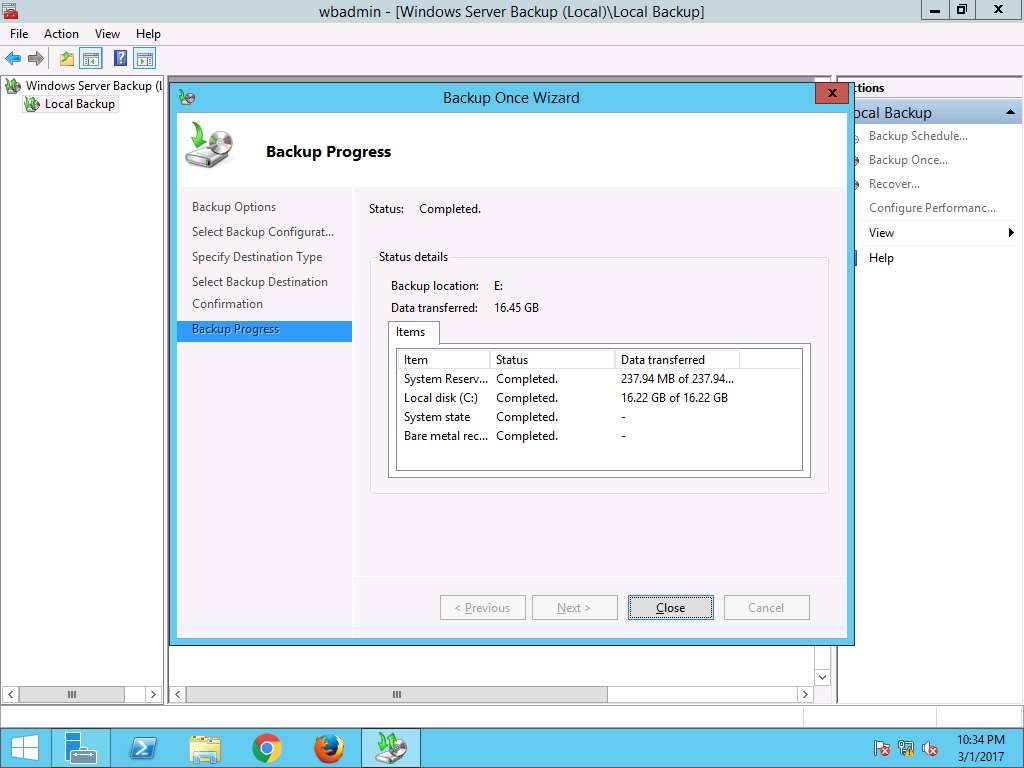
Backup Progress wizard appears showing status of the backup progress. After completion of backup process click Close to close Backup Once Wizard.
Backup process may take 2 to 5 minutes to complete.
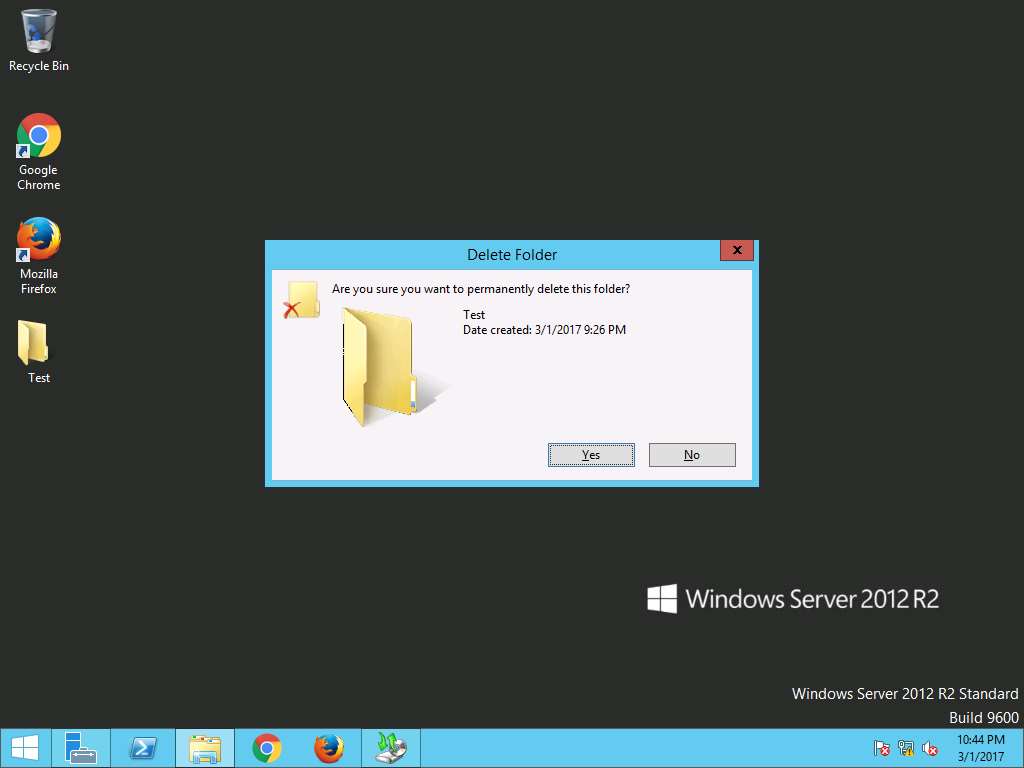
Navigate to desktop and permanently delete folder Test by using Shift+Delete keyboard shortcut. Delete Folder window appears. click Yes to permanently delete folder Test.
We are permanently deleting the folder Test to demonstrate the scenario of permanent data loss.
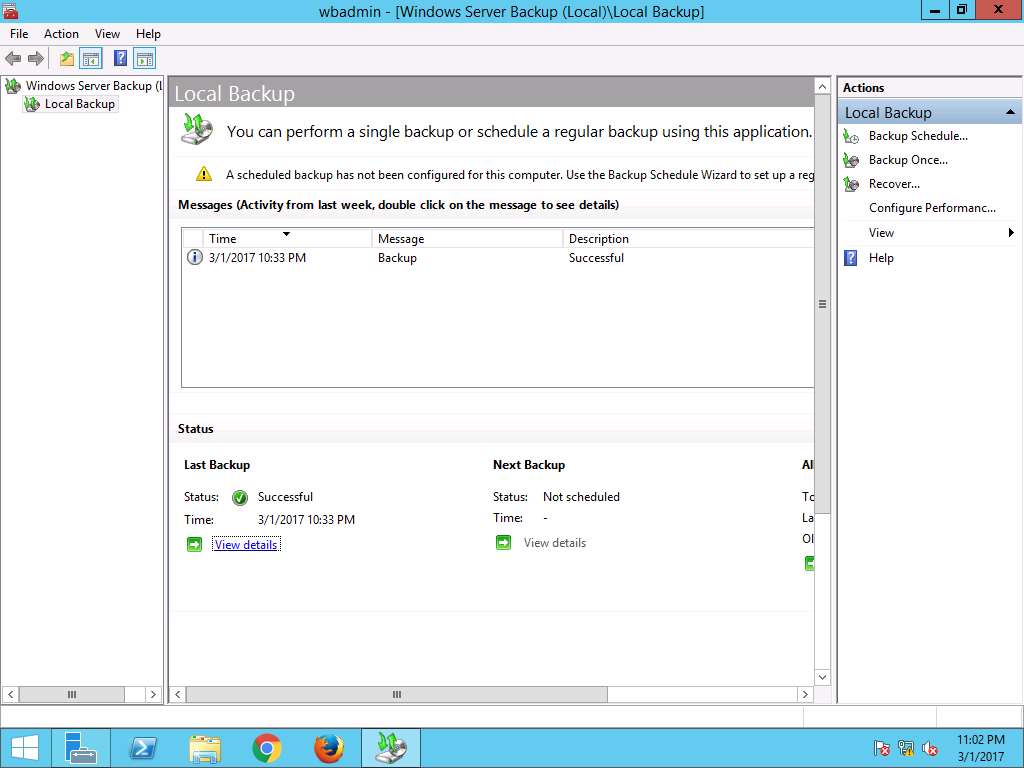
Again navigate to wbadmin - [Windows Server Backup (Local)\Local Backup] window, in left pane click Local Backup and select Recover… option present on Actions pane on the right side of the window.
Alternatively, you can click Action on menu bar and select Recover… option from the drop-down menu.
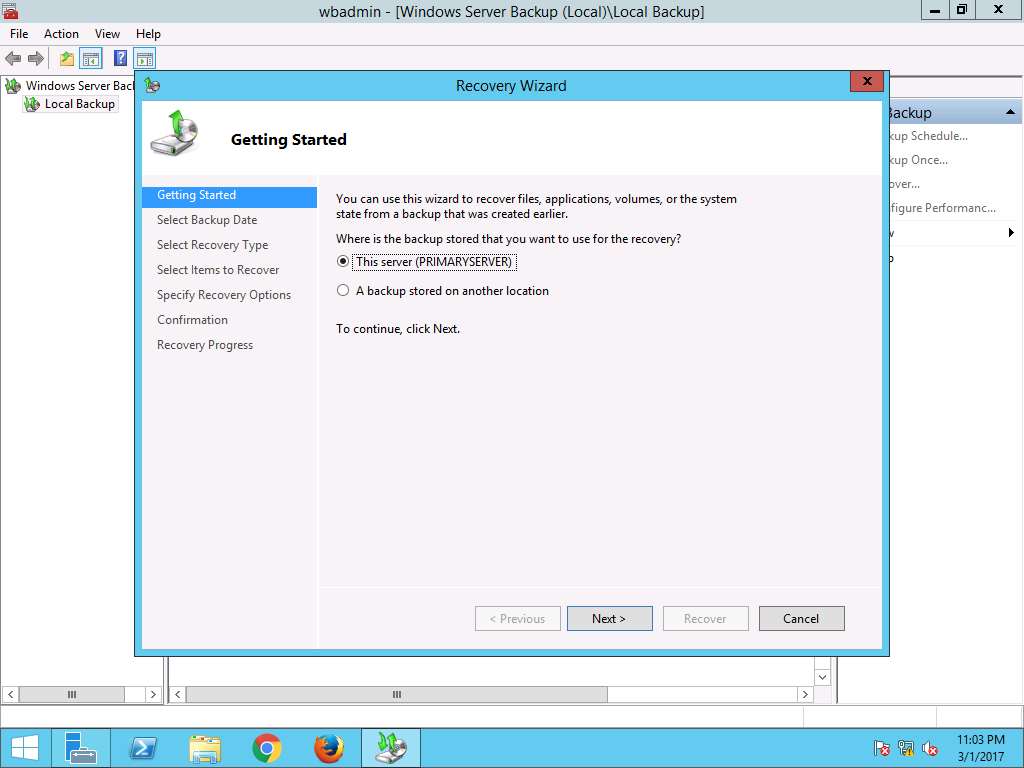
Recovery Wizard appears with Getting Started page, This server (PRIMARY SERVER) is selected by default as backup storage location. Click Next.
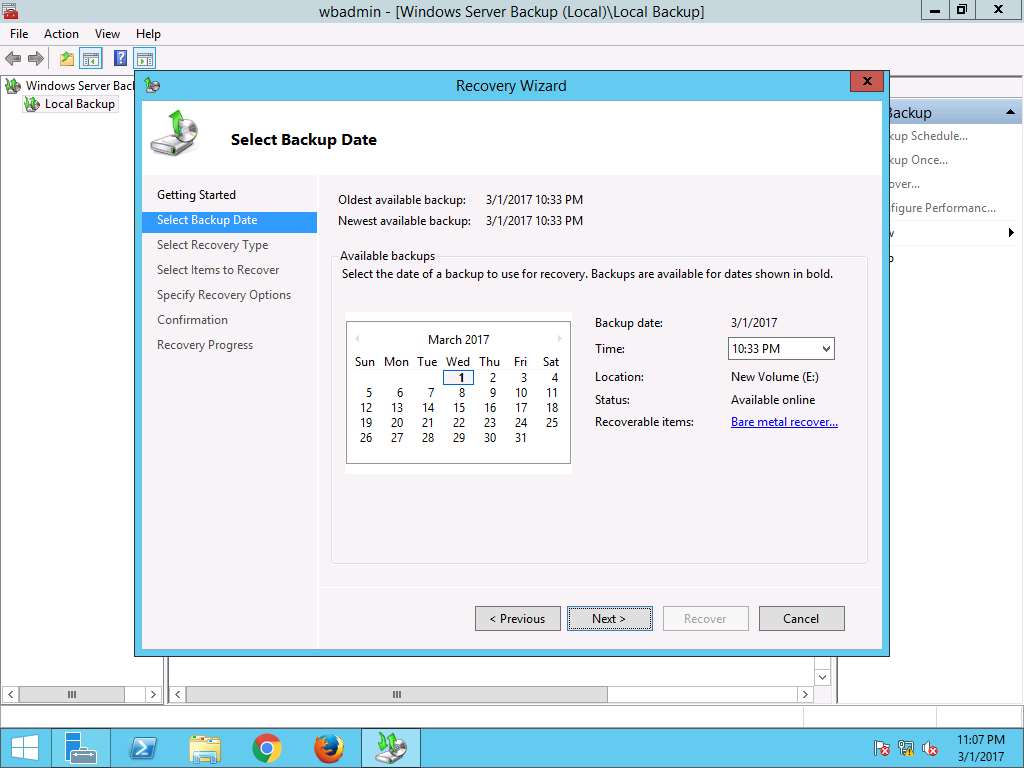
Select Backup Date wizard appears, select the date of a backup to use for recovery. Recently taken backup is selected by default. Click Next to continue.
In case of multiple available backups, use can select the date of a backup to use for recovery. Backups are available for dates are shown in bold.
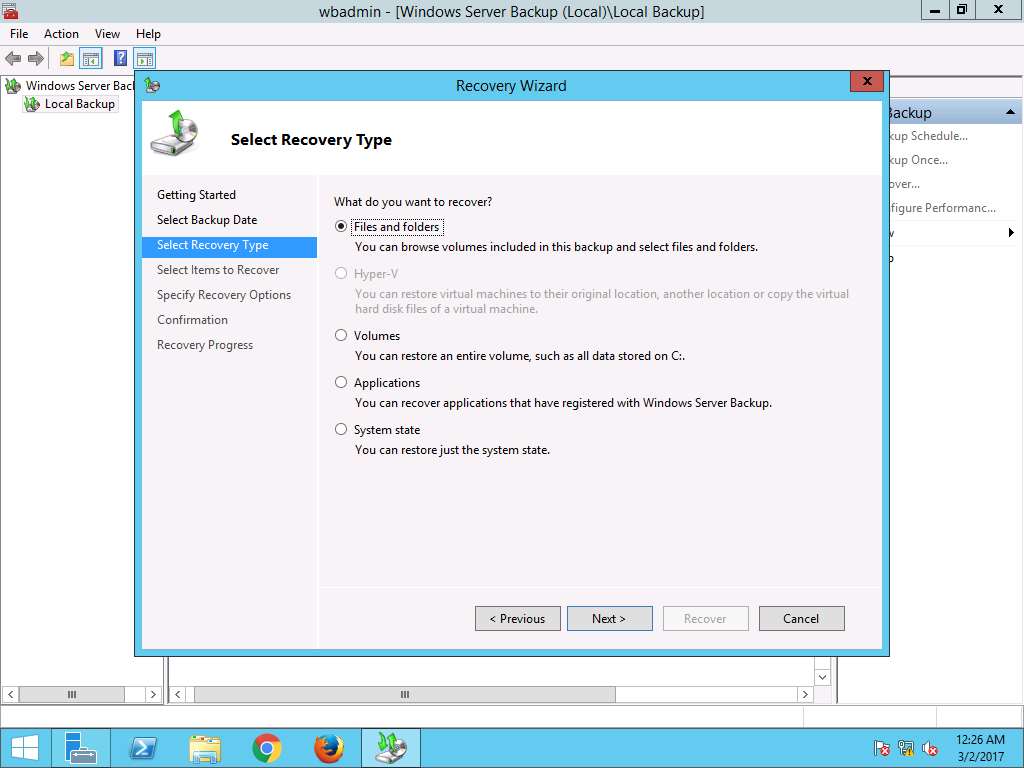
Select Recovery Type wizard appears, select Files and folder radio button and click Next.
File and folder recovery provides the option to browse the volumes included in the backup and select the files and folders to recovery.
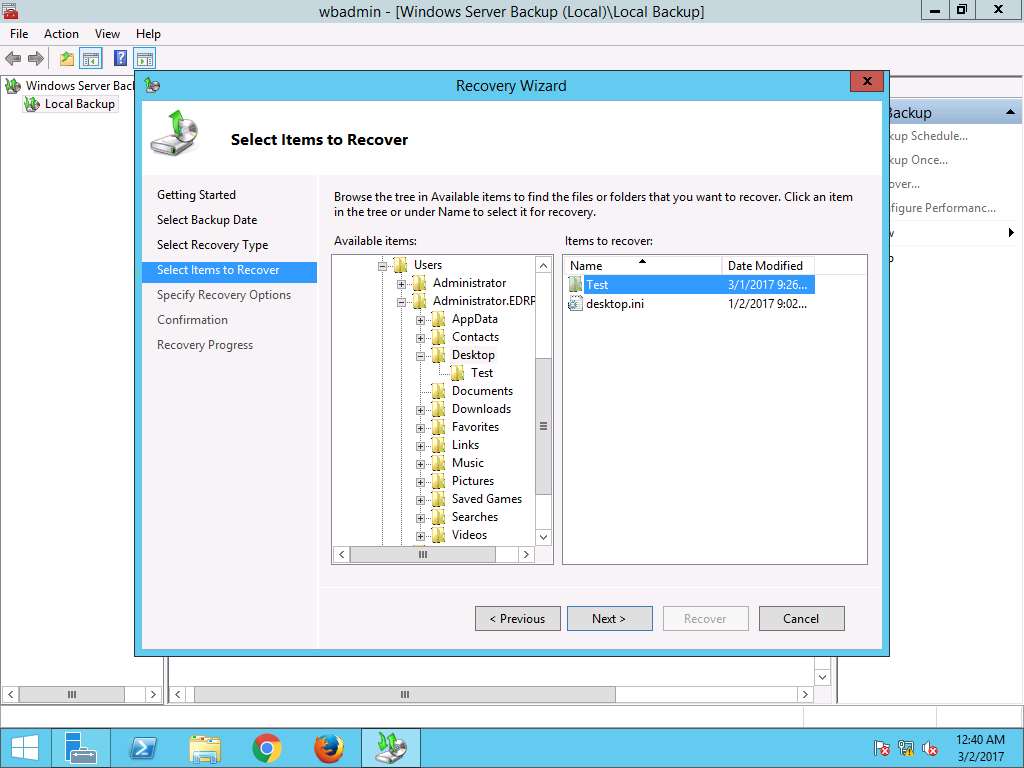
Select Items to Recover wizard appears, in Available items: pane navigate to PrimaryServer --> Local disk (C:) --> Users --> Administrator.EDRPLABS --> Desktop and select Test in Items to recover: pane. Click Next to continue.
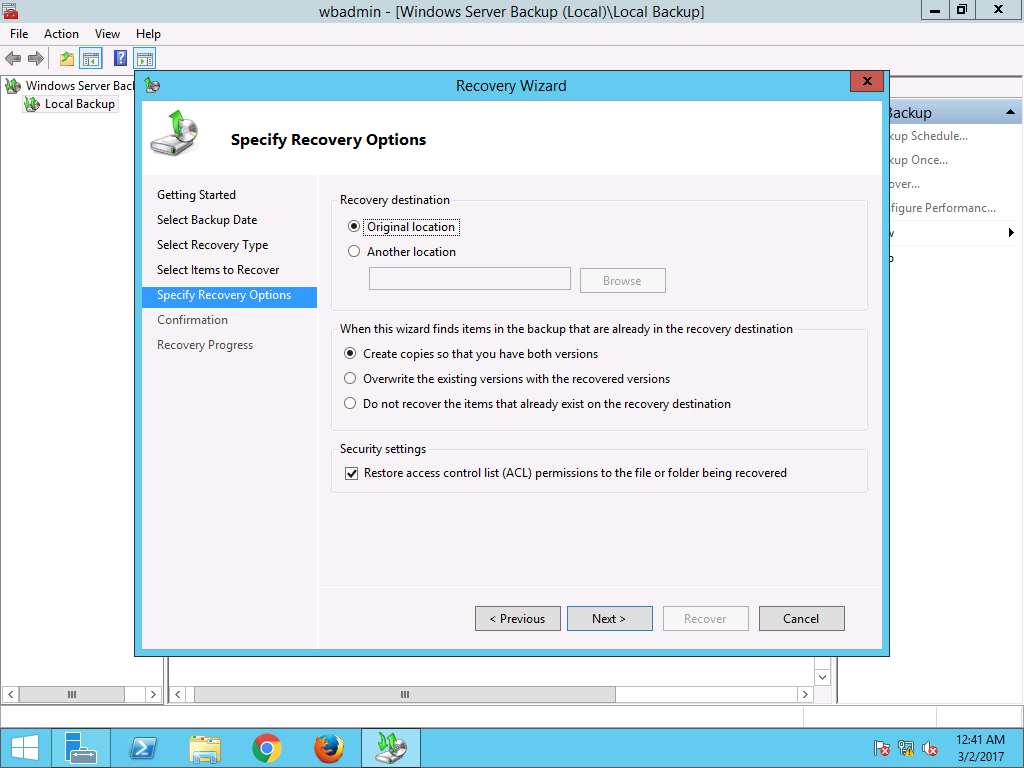
Specify Recovery Option wizard appears. In Recovery destination section, Original location radio button is selected by default. We will use default settings for other options. Click Next.
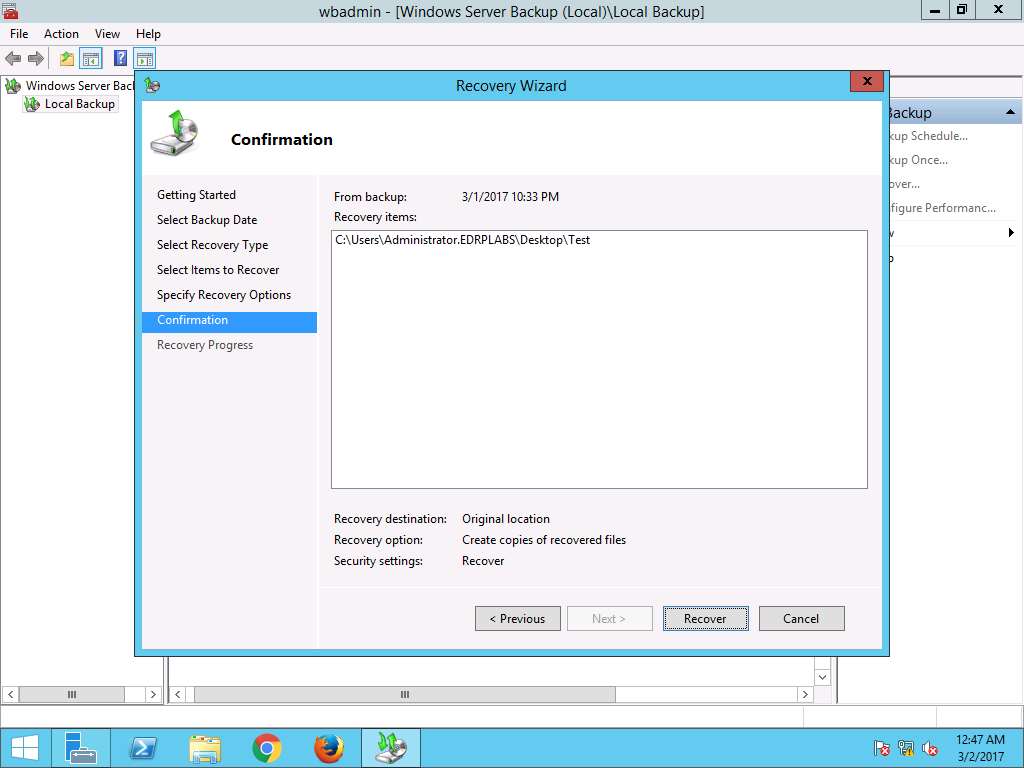
Confirmation wizard appears, click Recover to recover the lost folder Test in the location C:\Users\Administrator.EDRPLABS\Desktop\Test.
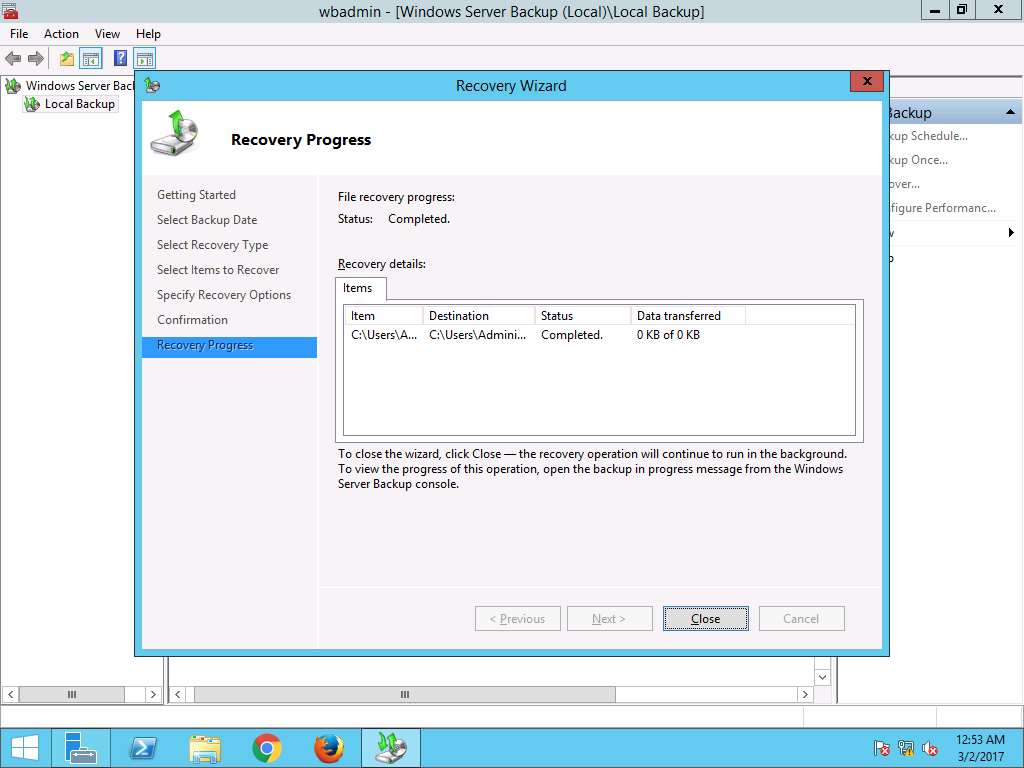
Recovery Progress wizard appears showing the progress of the recovery. After completion of recovery, click Close to close the Recovery Wizard.
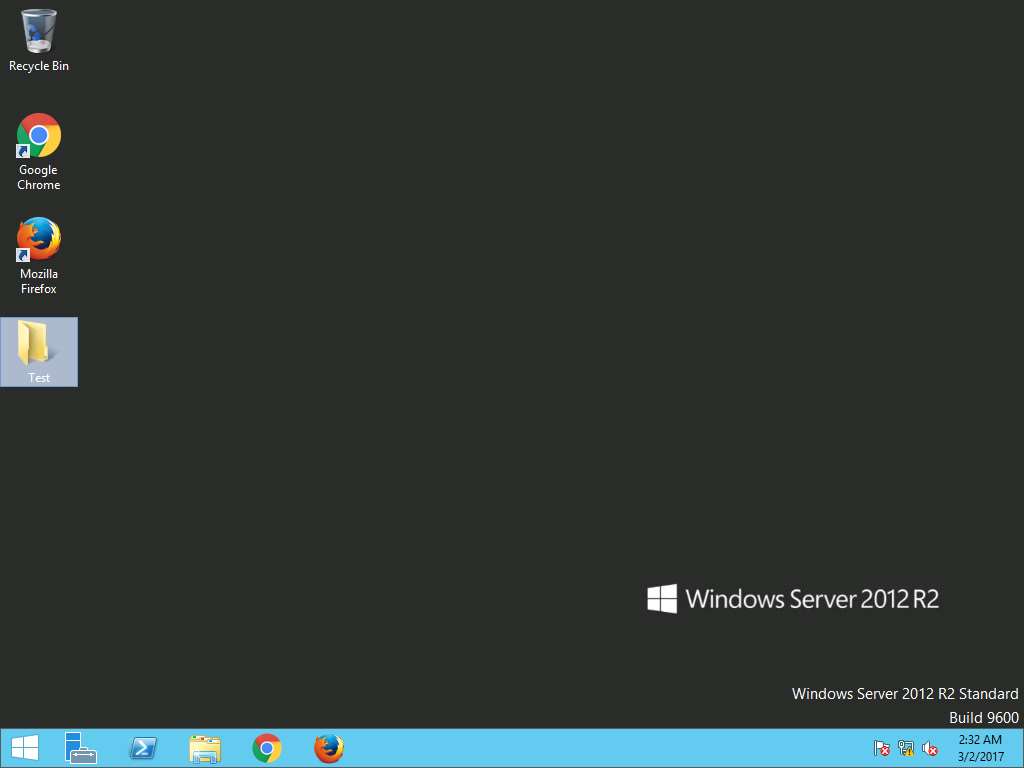
Navigate to desktop, permanently deleted folder Test is restored. This demonstrate the successful restoration using System Image Backup.
Assessment 4:
Once Server Manager Windows is launched, navigate to Add roles and features -> Select installation type and select the destination server for the Windows 12 Server restoration. Identify the IP address of the destination server selected in the Server selection section of the destination server wizard.
Step 7: Select destination server wizard appears, select Select a server from the server pool radio button. In Server Pool section, select PrimaryServer.EDRPlabs.com and click Next.
Destination Server: PrimaryServer.EDRPlabs.com
Answer: 10.10.10.14
Restoration of a Windows Server 2016, using System Image Backup
Scenario
A system image is an exact copy of a drive which includes the drives required for Windows to run and also your system settings, programs, and files. It can be used to restore the contents and settings of system in case of any data losses.
Lab Objectives
The objective of the lab is to demonstrate how to perform a backup and restoration of Windows Server 2016 system using System Image Backup.
Lab Scenario
System Image Backup is a native feature of Windows Server 2016 through which it is possible to create the Image Backup of entire system. A System Image is the exact copy of a drive. A system image contains the drives and volumes required for Windows to operate and it also includes system settings, programs, and files. By using System Image, we can restore all the contents of system in case of any issues. System Image Restoration is a complete restoration process in which all programs, system settings, and files are replaced with the contents present inside the system image. As a disaster recovery professional, you should know how to backup and restore a Windows Server 2016 system by the help of System Image Backup.
Click Machines pane, and click Ctrl+Alt+Delete under Windows Server 2016 thumbnail.
Alternatively you can navigate to Commands menu and click Ctrl+Alt+Delete to login.

Type Pa$$w0rd in the Password field and press Enter.
Alternatively you can click Paste Password from Commands --> Paste options or click clipboard icon under Windows Server 2016 from Machines pane.
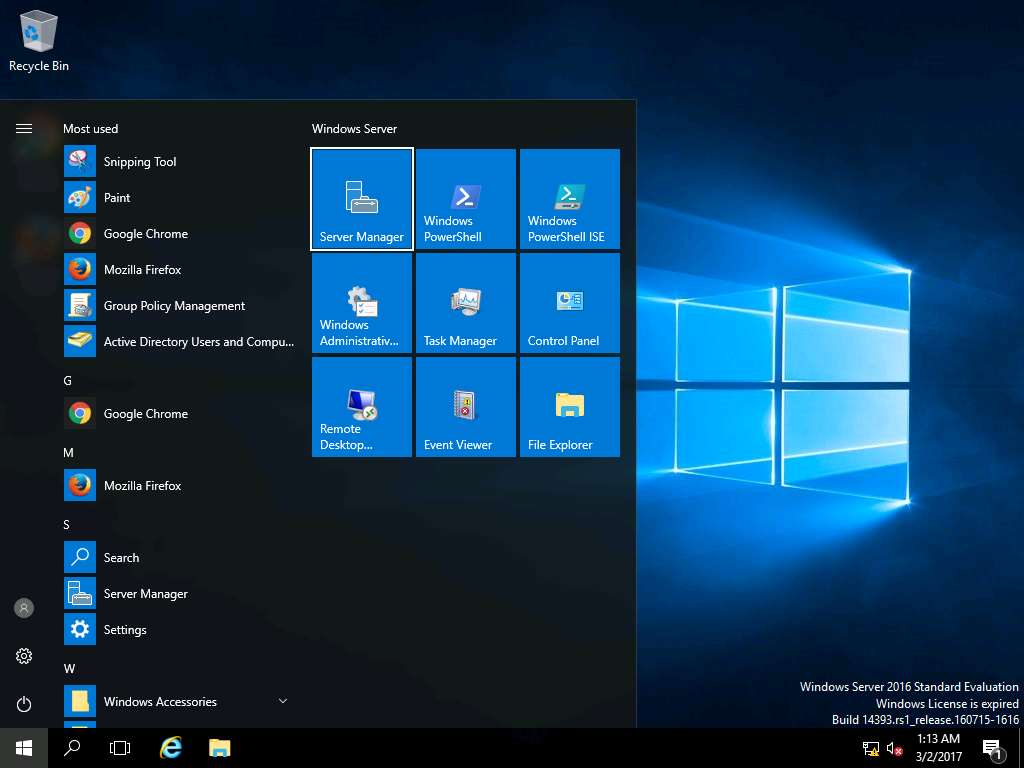
Click Start icon and select Server Manager as shown in the screenshot.
Alternatively, you can launch the Server Manager by navigating to Administrative Tools --> Server Manager.
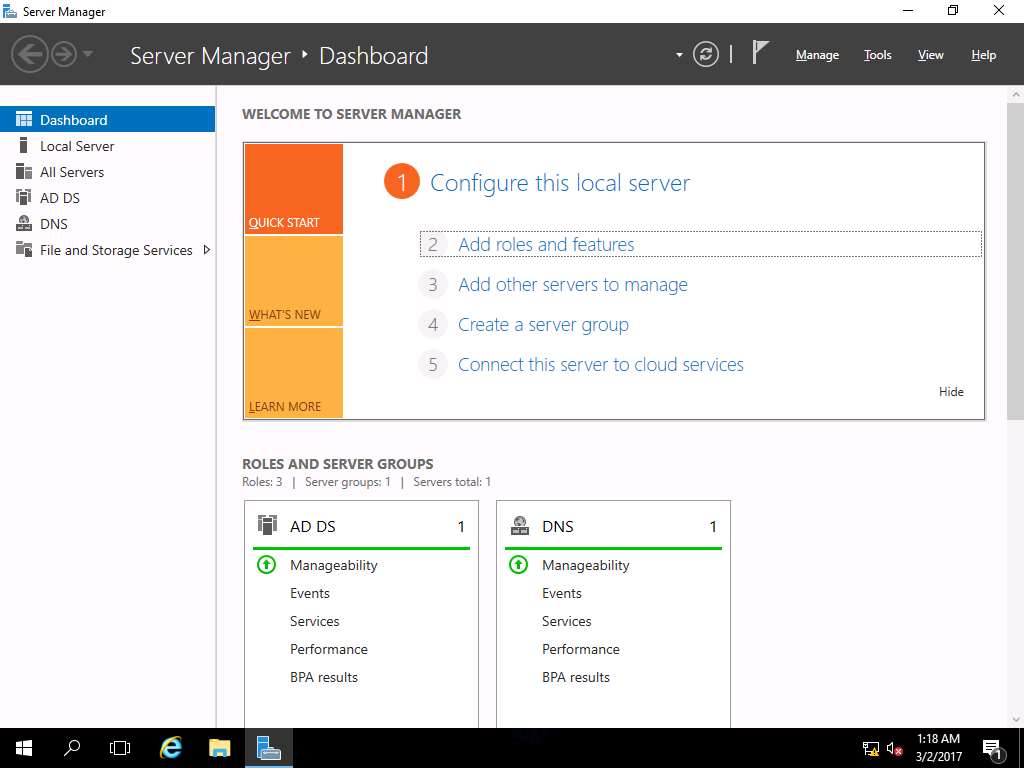
Server Manager window appears, click Add roles and feature**s option present on **Configure this local server section.
Alternatively, you can navigate to Add roles and features option by clicking Manage option present on menu bar and then selecting Add roles and feature option from the drop-down menu.
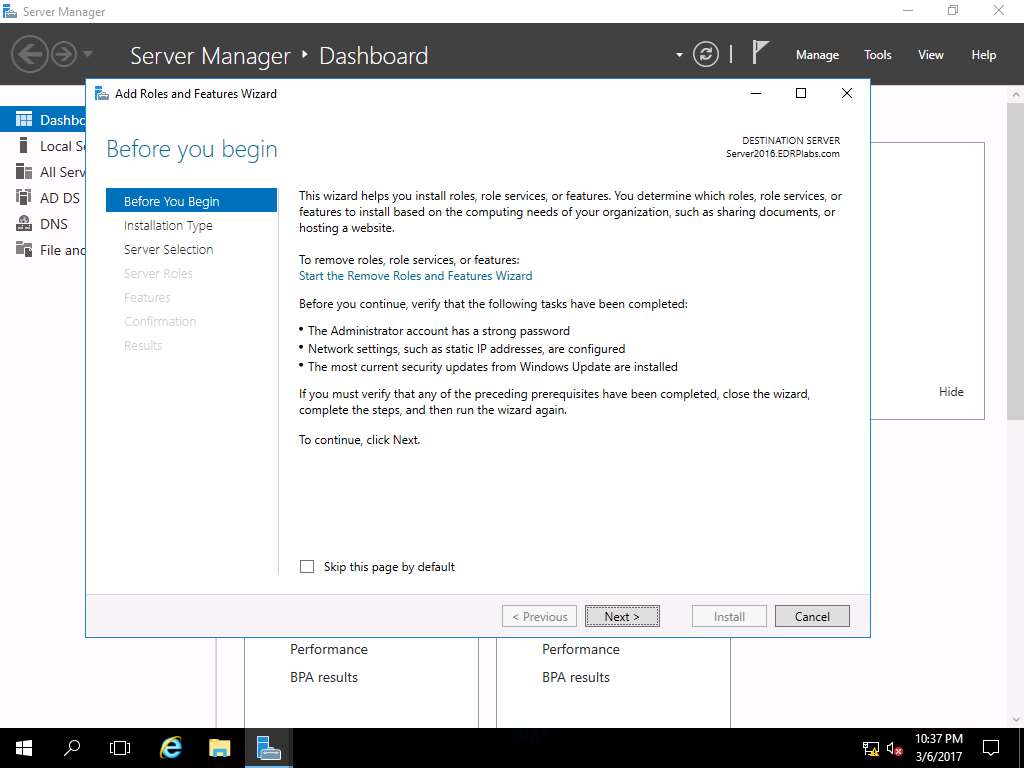
Add Roles and Features Wizard appears with Before you begin page, click Next.
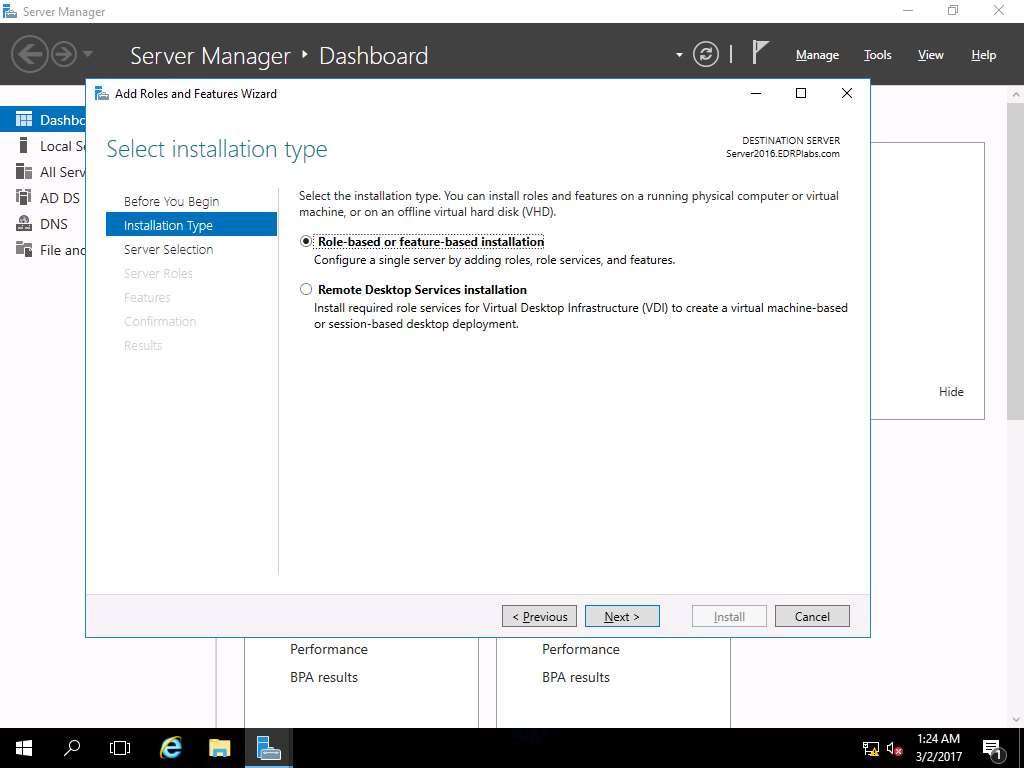
Select installation type wizard appears, Role-based or feature-based installation radio button is selected by default. Click Next button to continue.
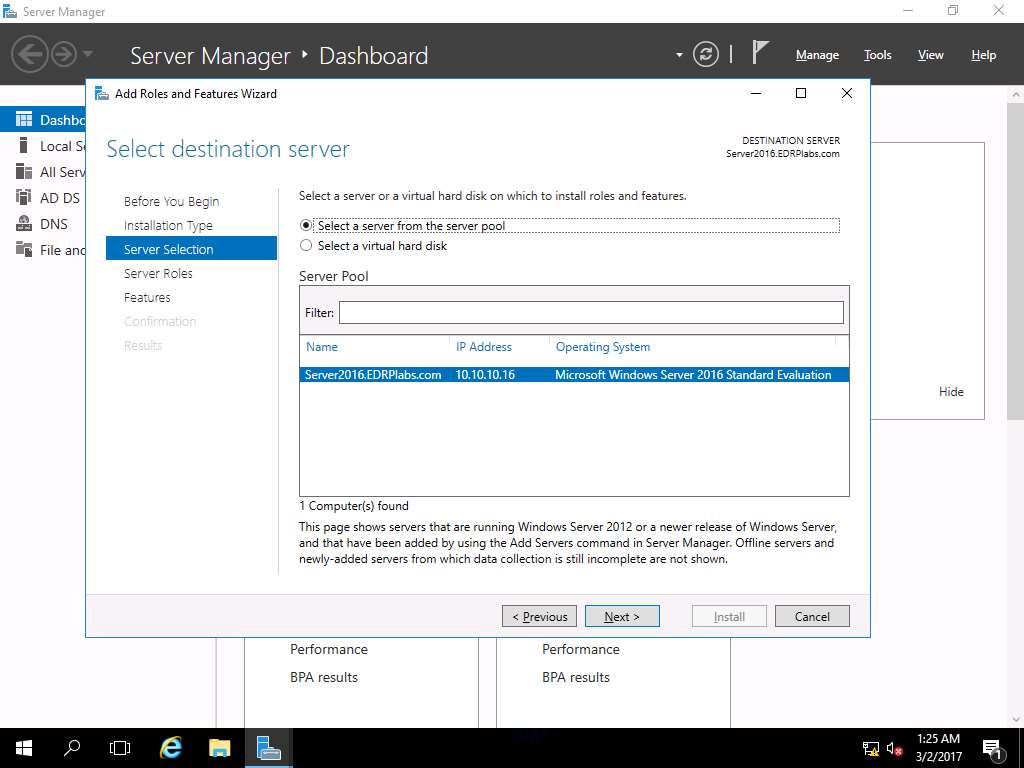
Select destination server wizard appears, select Select a server from the server pool radio button. In Server Pool section, select Server2016.EDRPlabs.com and click Next.
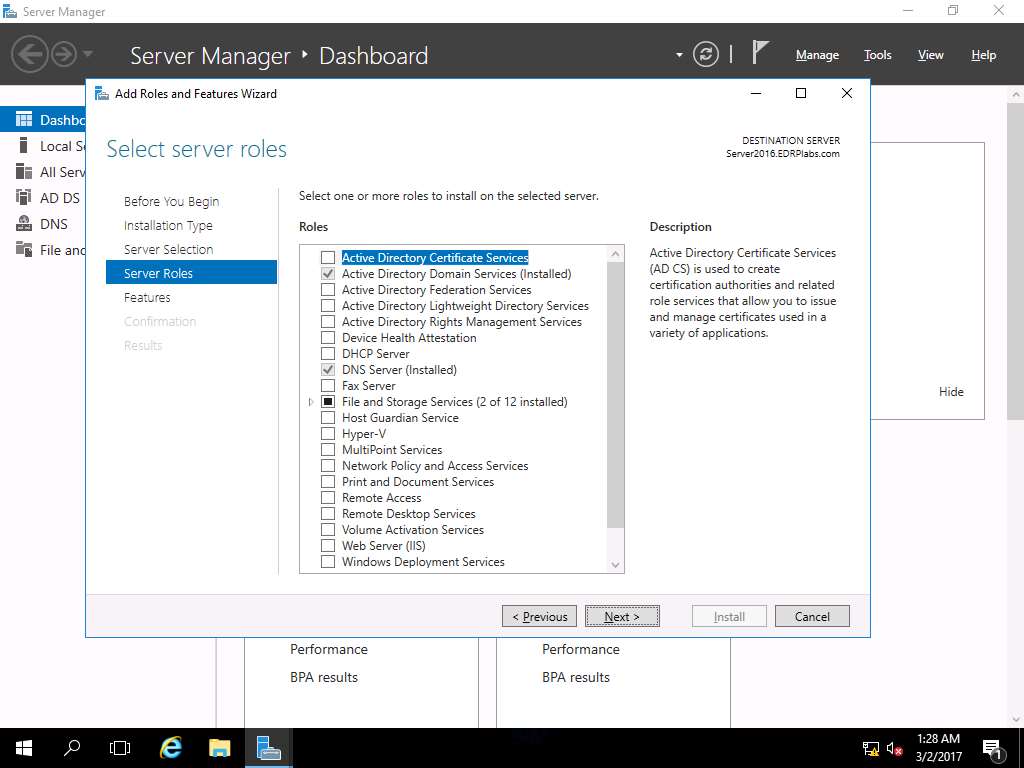
Select server roles wizard appears, click Next.
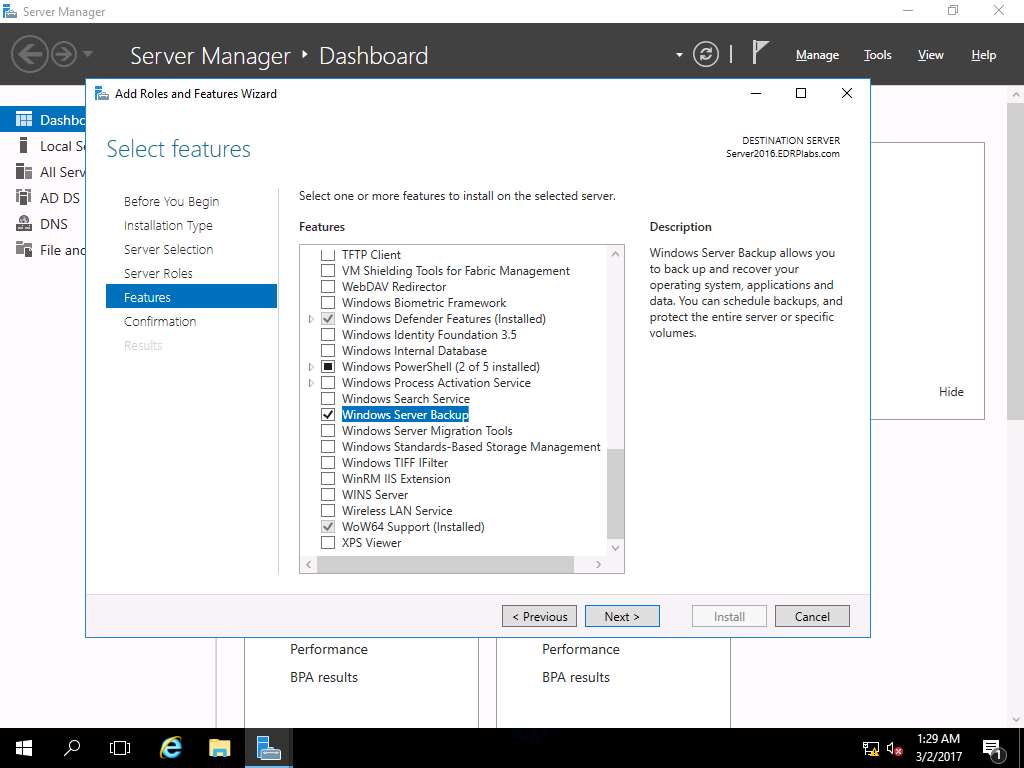
Select features wizard appears, from the Features scroll-down menu select Windows Server Backup check-box. Click Next.
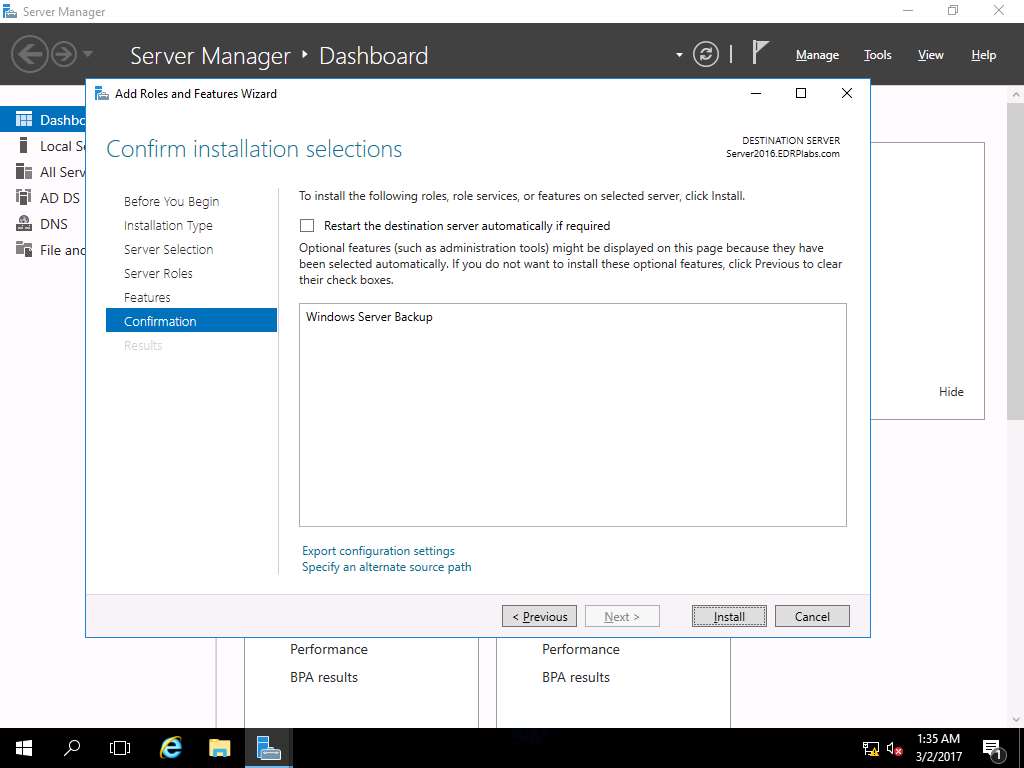
Confirm installation selections wizard appears, click Install to start the installation of the Windows Server Backup feature.
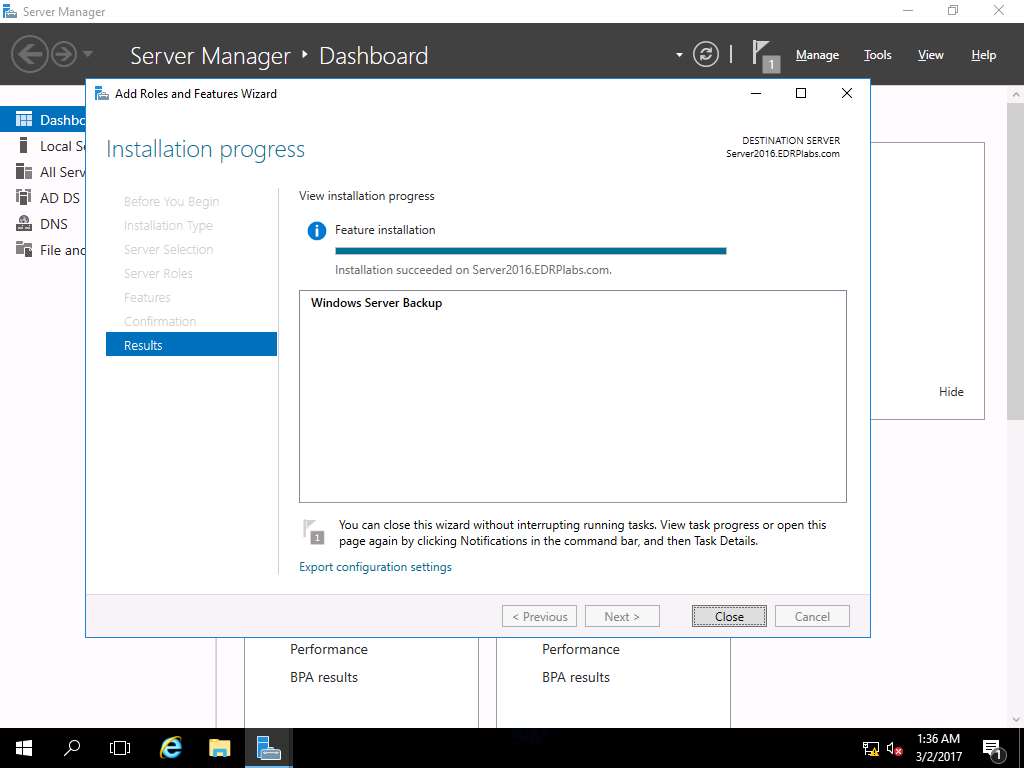
Installation progress wizard appears. After the completion of installation of the Windows Server Backup feature, click Close to close the Add Roles and Features Wizard.
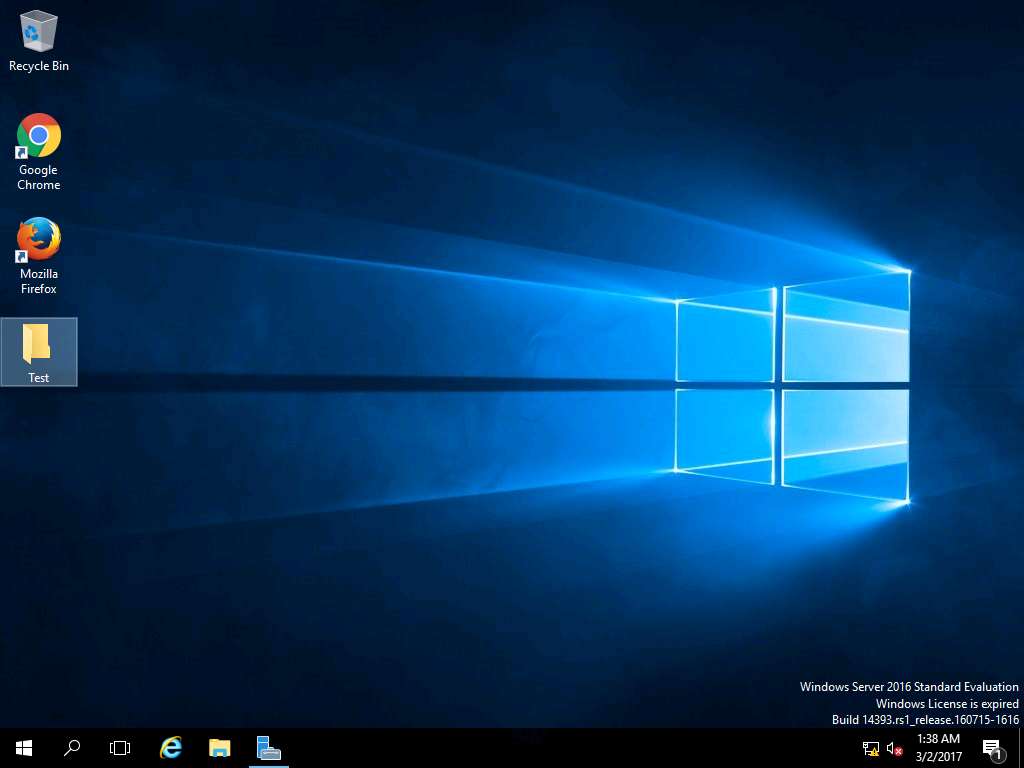
To create a new folder, right-click on the Desktop and click New and select Folder from the context menu. After new folder is created on desktop rename the folder as Test.
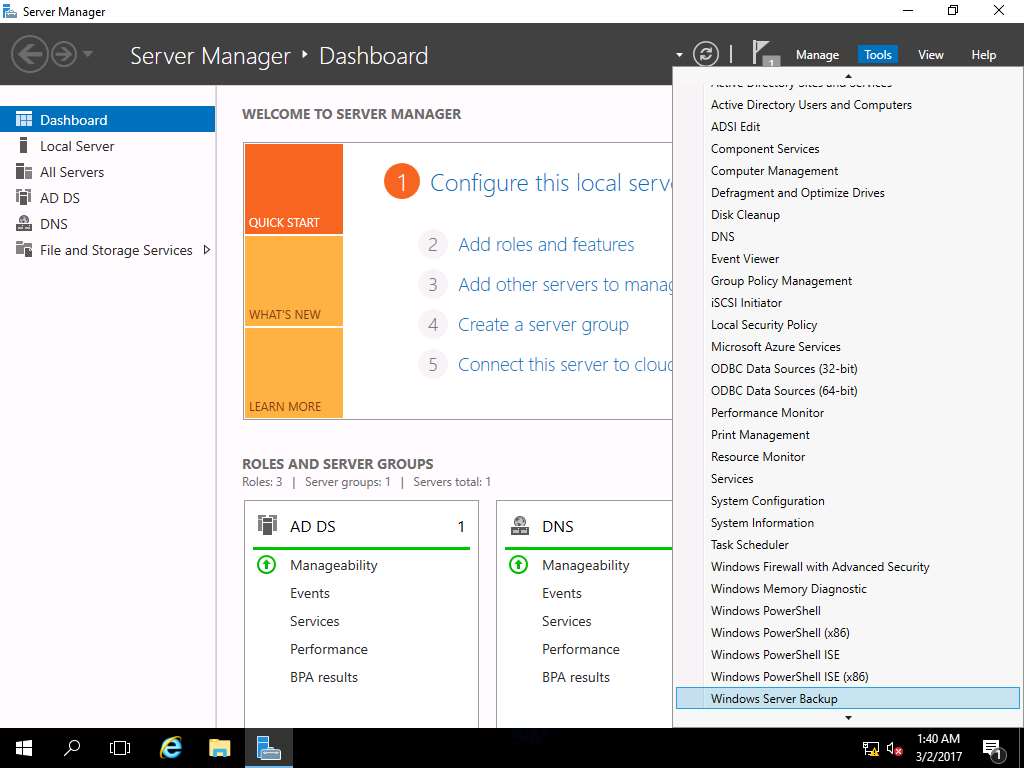
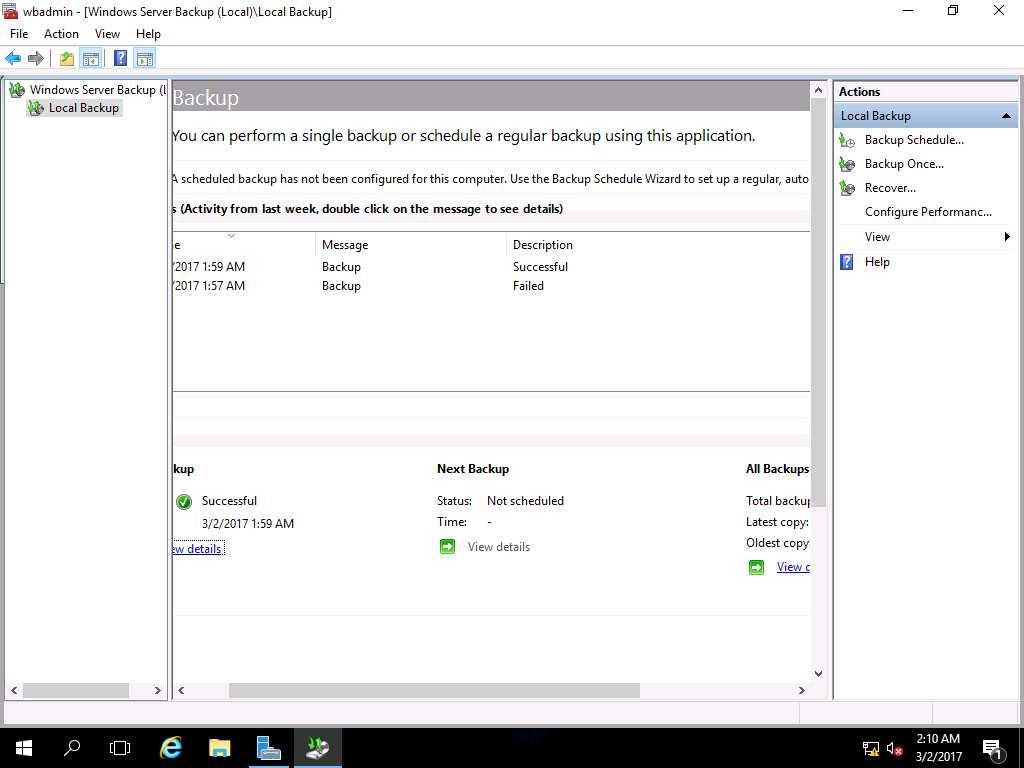
Again navigate to Server Manager, click Tools present on menu-bar and select Windows Server Backup from the drop-down menu.
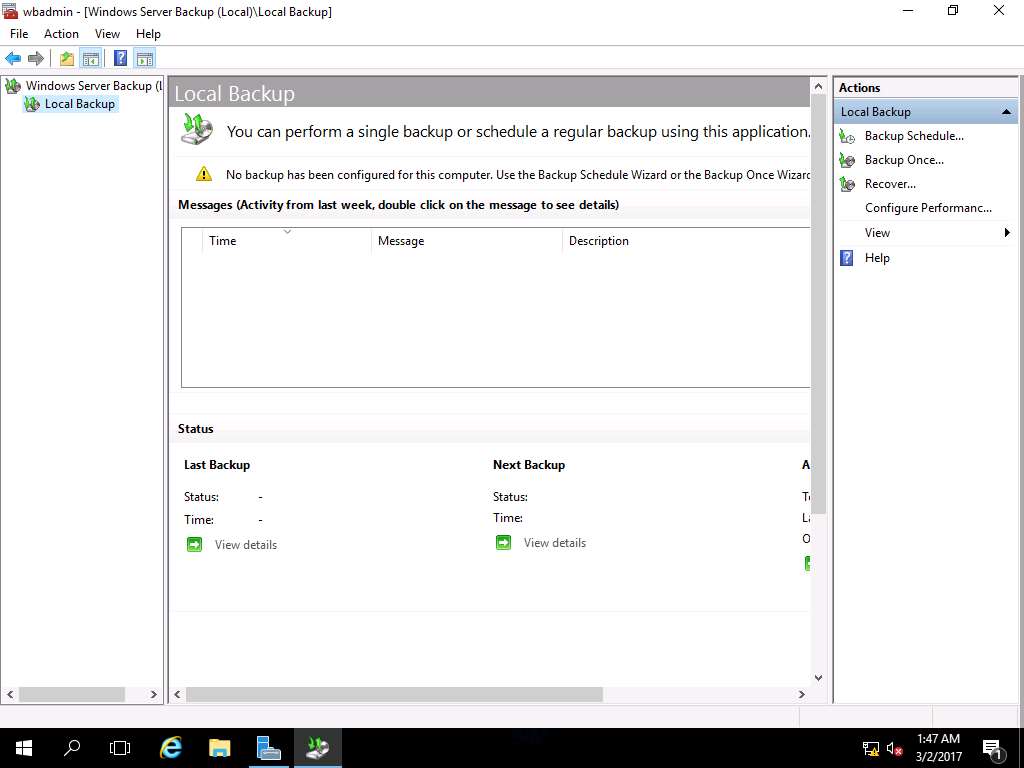
wbadmin - [Windows Server Backup (Local)\Local Backup] window appears, in left pane click Local Backup and select Backup Once… option present on Actions pane on the right side of the window.
Alternatively, you can click Action on menu bar and select Backup Once… option from the drop-down menu.
Backup Once Wizard appears, Different options radio button is selected by default, click Next button.
Select Backup Configuration wizard appears, select Full server (recommended) radio button and click Next to continue
Full server option back up all volumes that contain your files, data, applications, and operating system state. Using Custom option you can backup selected volumes or files.
Specify Destination Type window will appear, select Local drives radio button to save the backup image on the local drives. Click Next button.
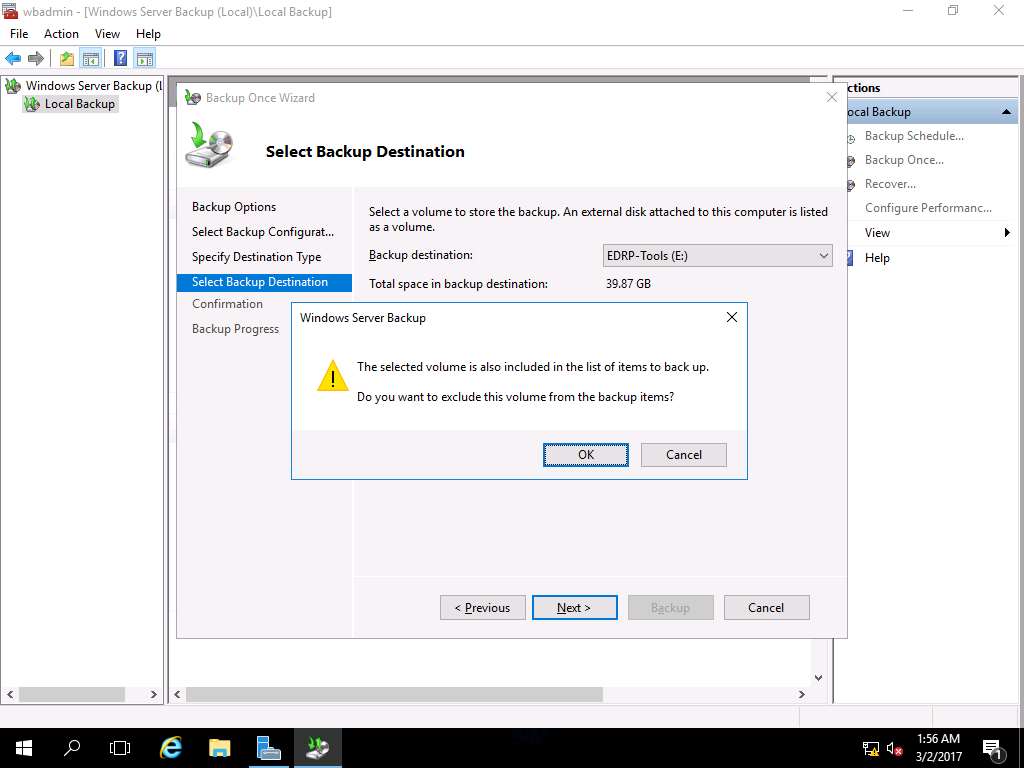
Select Backup Destination wizard appears, Backup destination: is selected as EDRP-Tool (E:) which is a local hard drive volume and click Next button.
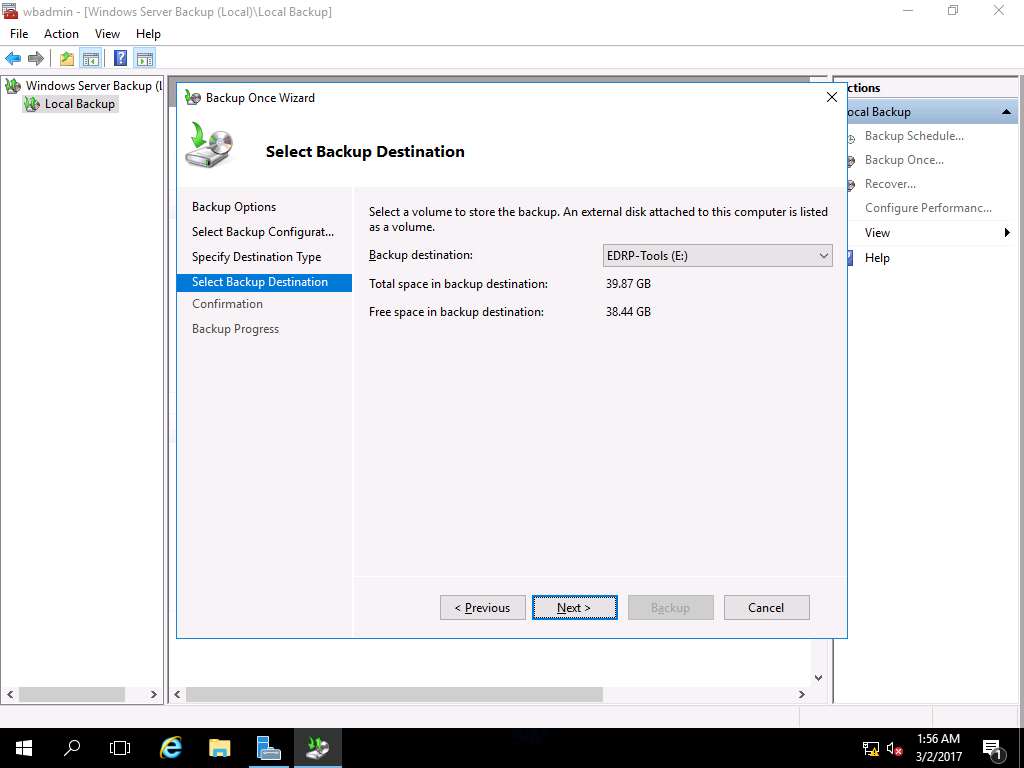
Windows Server Backup warning window appears, click OK to continue.
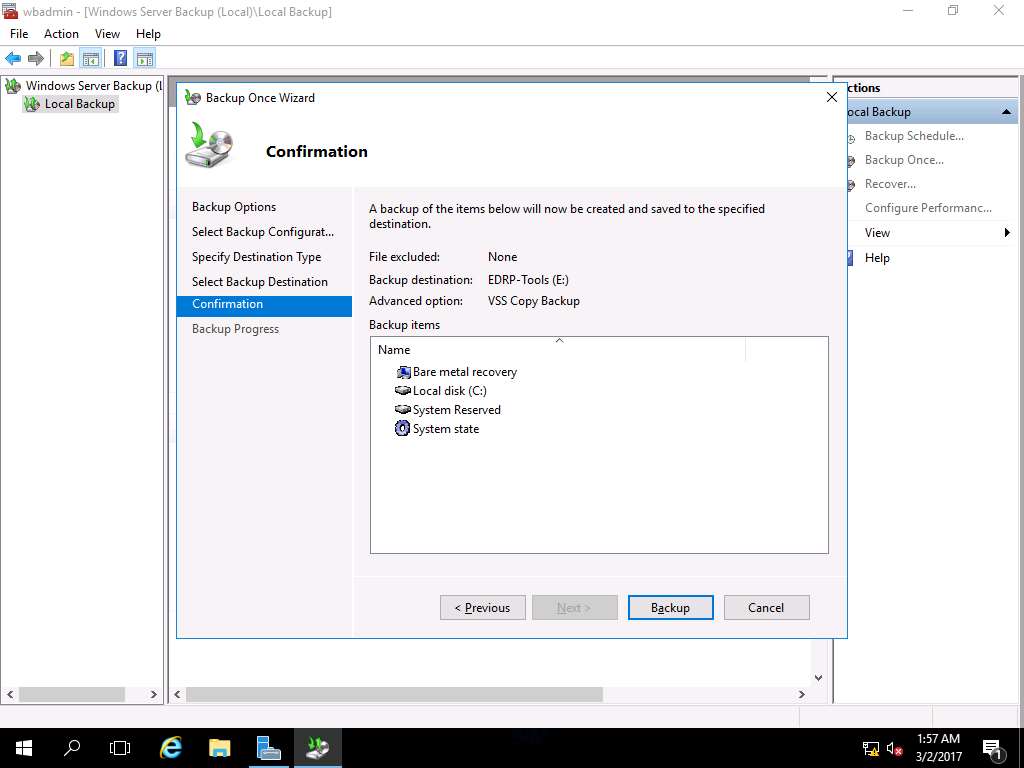
Confirmation wizard appears, click Backup button to start the backup process.
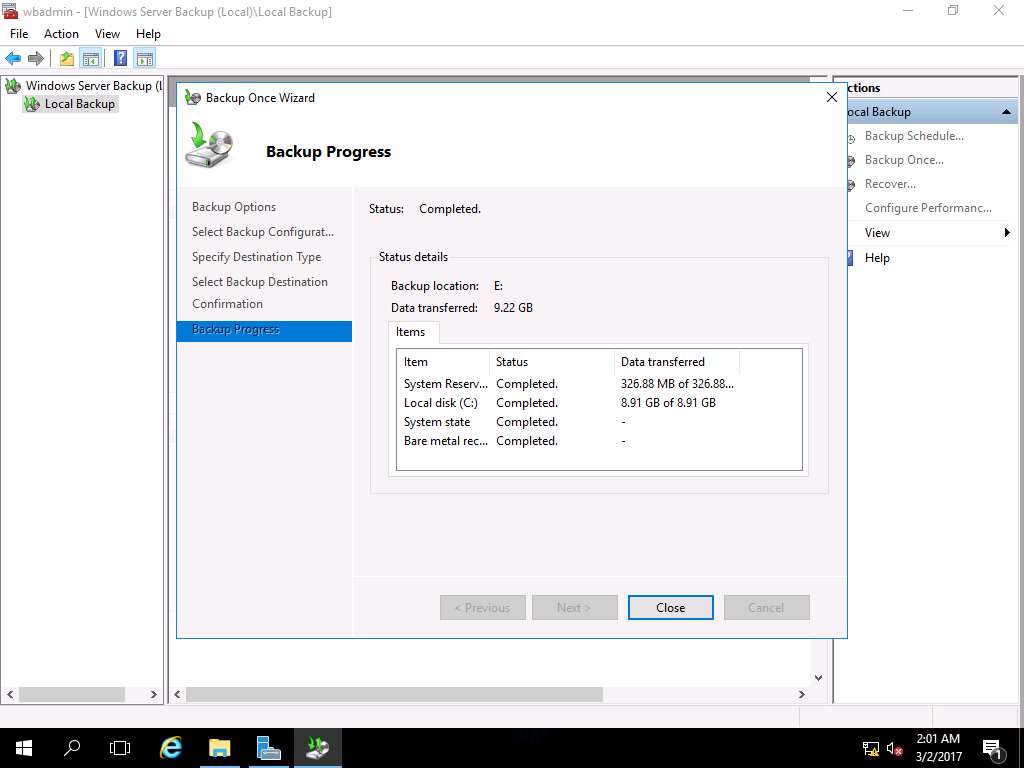
Backup Progress wizard appears showing status of the backup progress. After completion of backup process click Close to close Backup Once Wizard.
Backup process may take 2 to 5 minutes to complete.
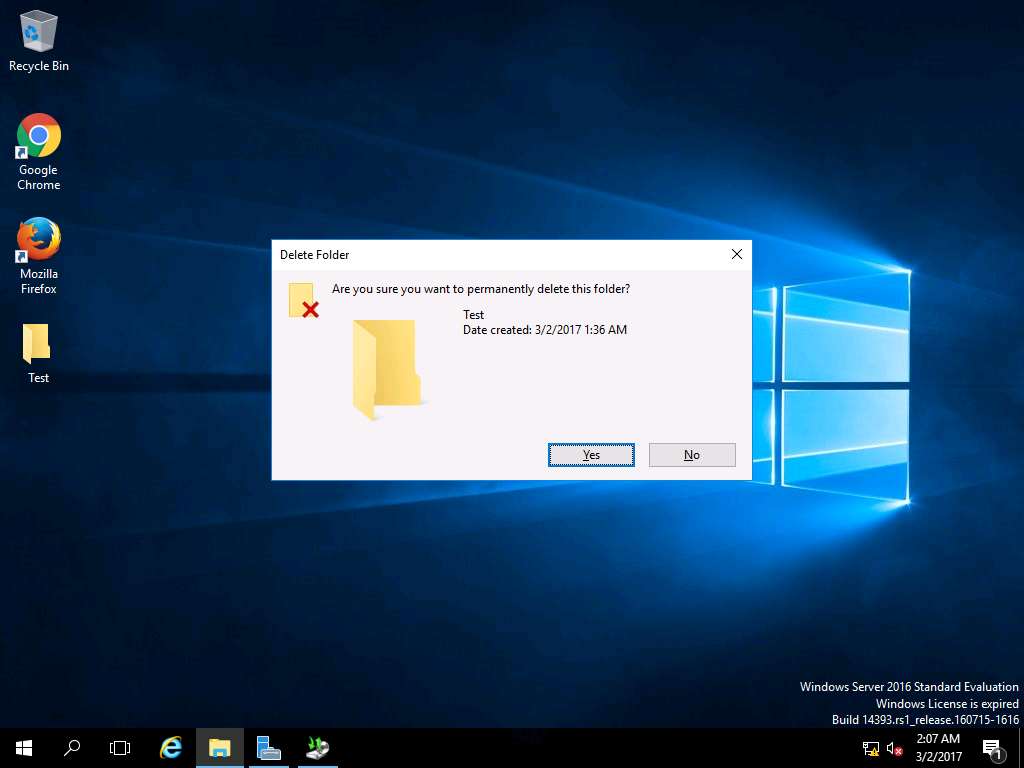
Navigate to desktop and permanently delete folder Test by using Shift+Delete keyboard shortcut. Delete Folder window appears. Click Yes to permanently delete folder Test.
Again navigate to wbadmin - [Windows Server Backup (Local)\Local Backup] window, in left pane click Local Backup and select Recover… option present on Actions pane on the right side of the window.
Alternatively, you can click Action on menu bar and select Recover… option from the drop-down menu.
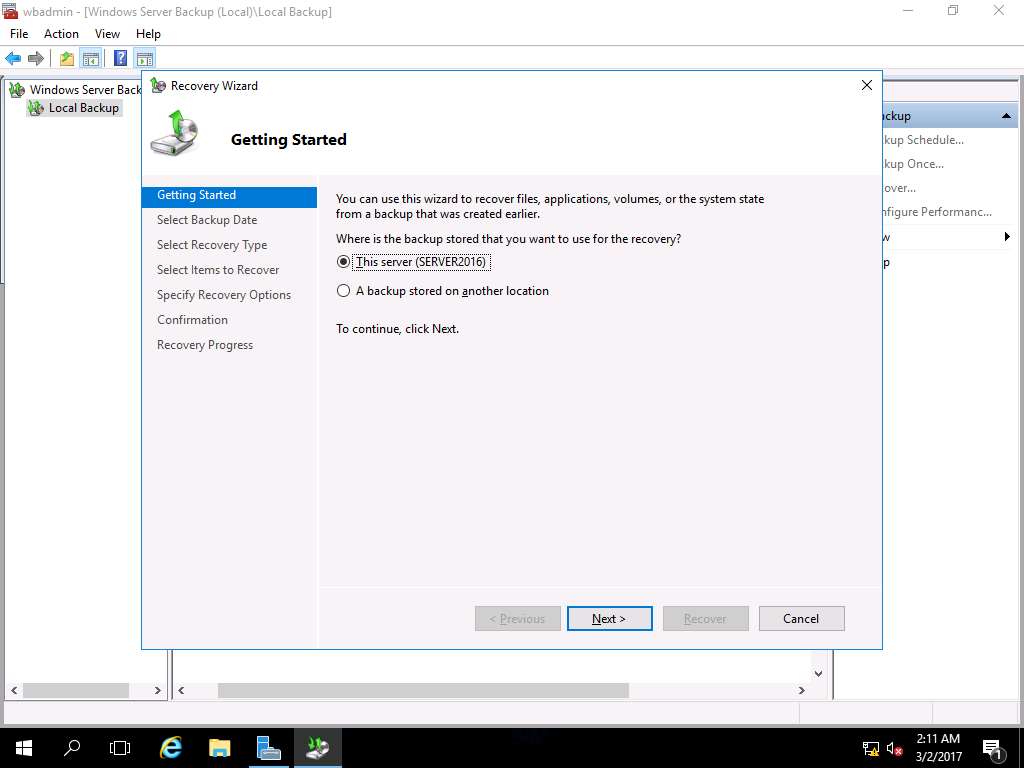
Recovery Wizard appears with Getting Started page, This server (SERVER2016) is selected by default as backup storage location. Click Next.
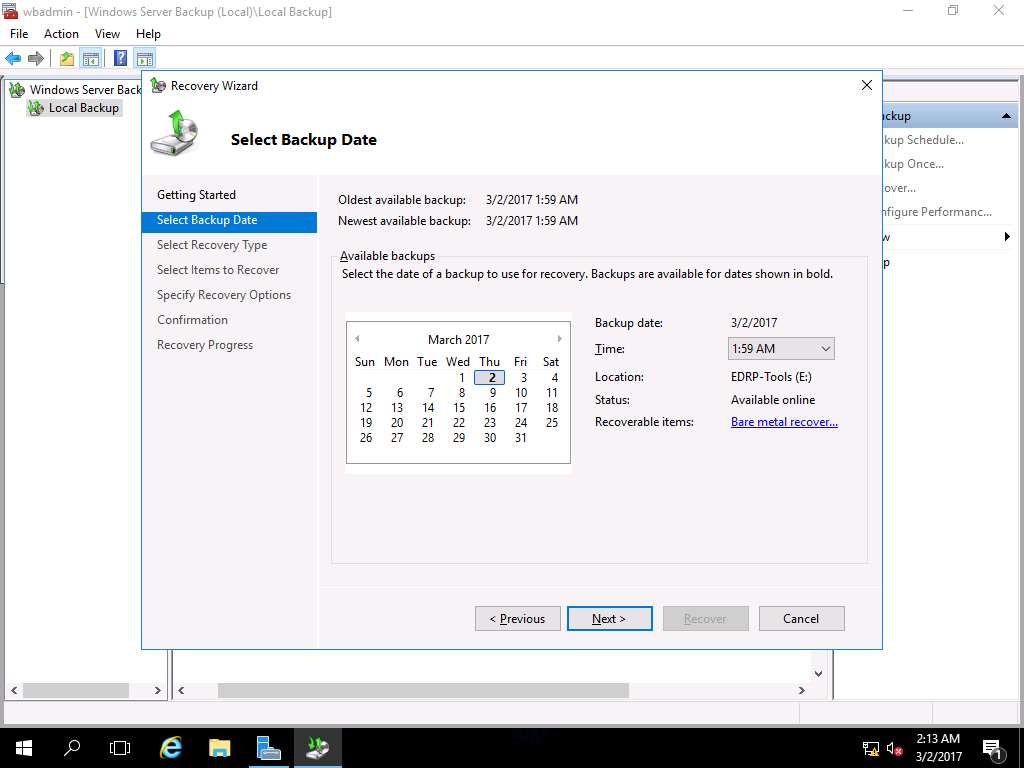
Select Backup Date wizard appears, select the date of a backup to use for recovery. Recently taken backup is selected by default. Click Next to continue.
In case of multiple available backups, use can select the date of a backup to use for recovery. Backups are available for dates are shown in bold.
Select Recovery Type wizard appears, select Files and folder radio button and click Next.
File and folder recovery provides the option to browse the volumes included in the backup and select the files and folders to recovery.

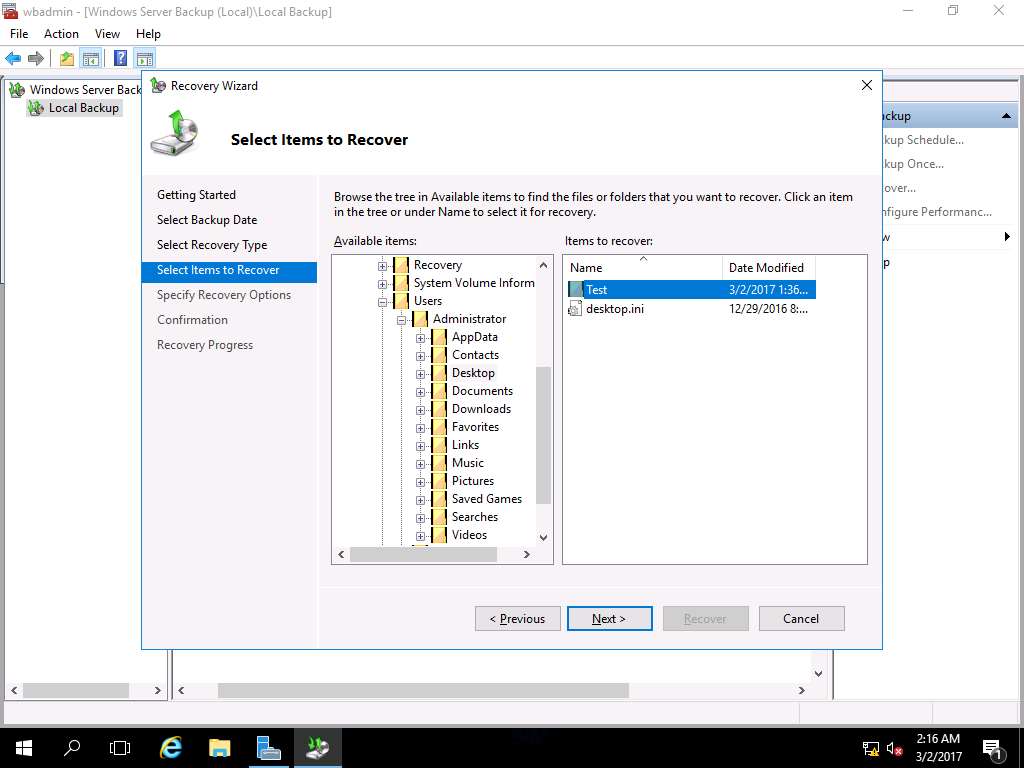
Select Items to Recover wizard appears, in Available items: pane navigate to Server2016 --> Local disk (C:) --> Users --> Administrator --> Desktop and select Test in Items to recover: pane. Click Next to continue.
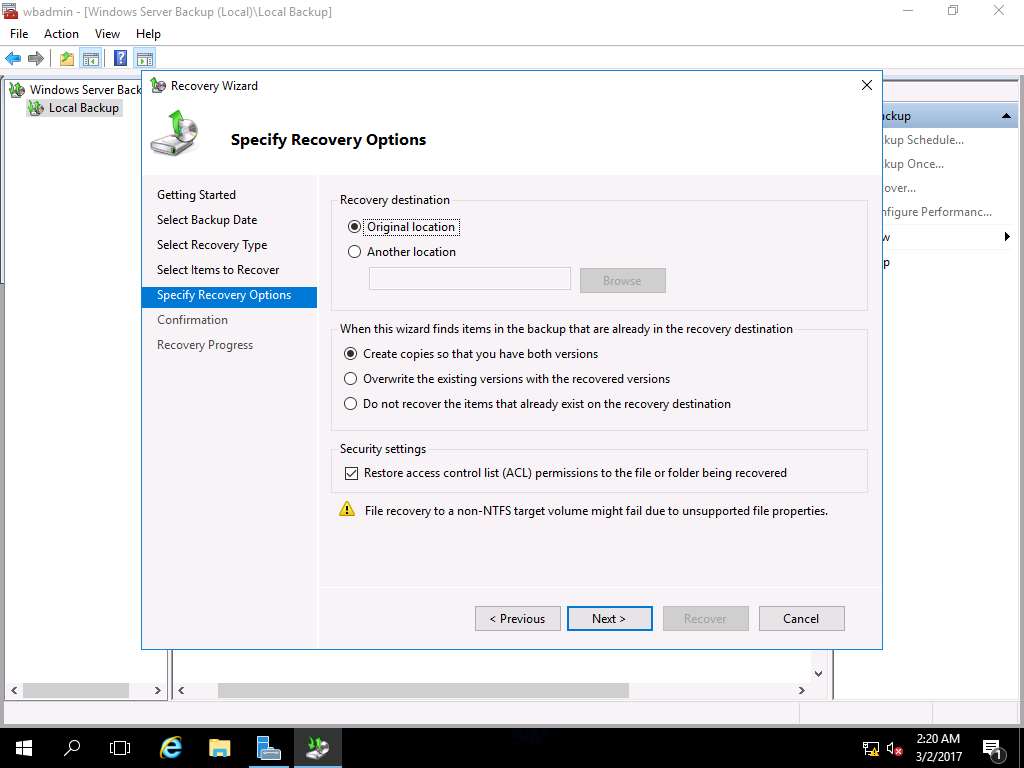
Specify Recovery Option wizard appears. In Recovery destination section, Original location radio button is selected by default. We will use default settings for other options. Click Next.
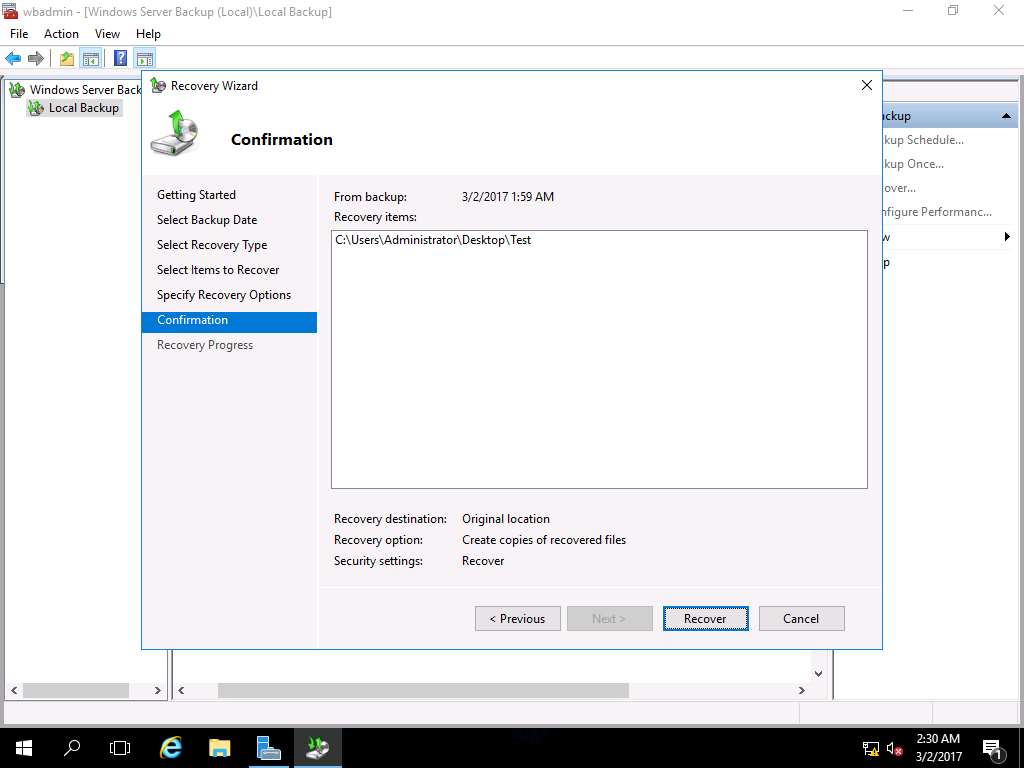
Confirmation wizard appears, click Recover to recover the lost folder Test in the location C:\Users\Administrator\Desktop\Test.
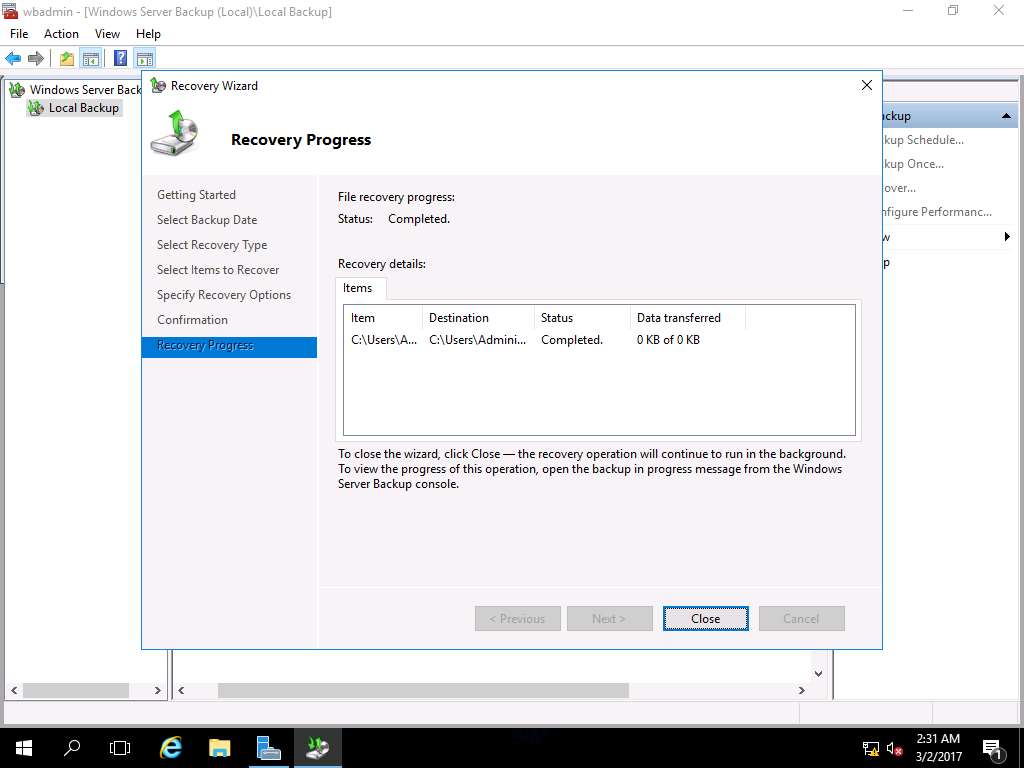
Recovery Progress wizard appears showing the progress of the recovery. After completion of recovery, click Close to close the Recovery Wizard.
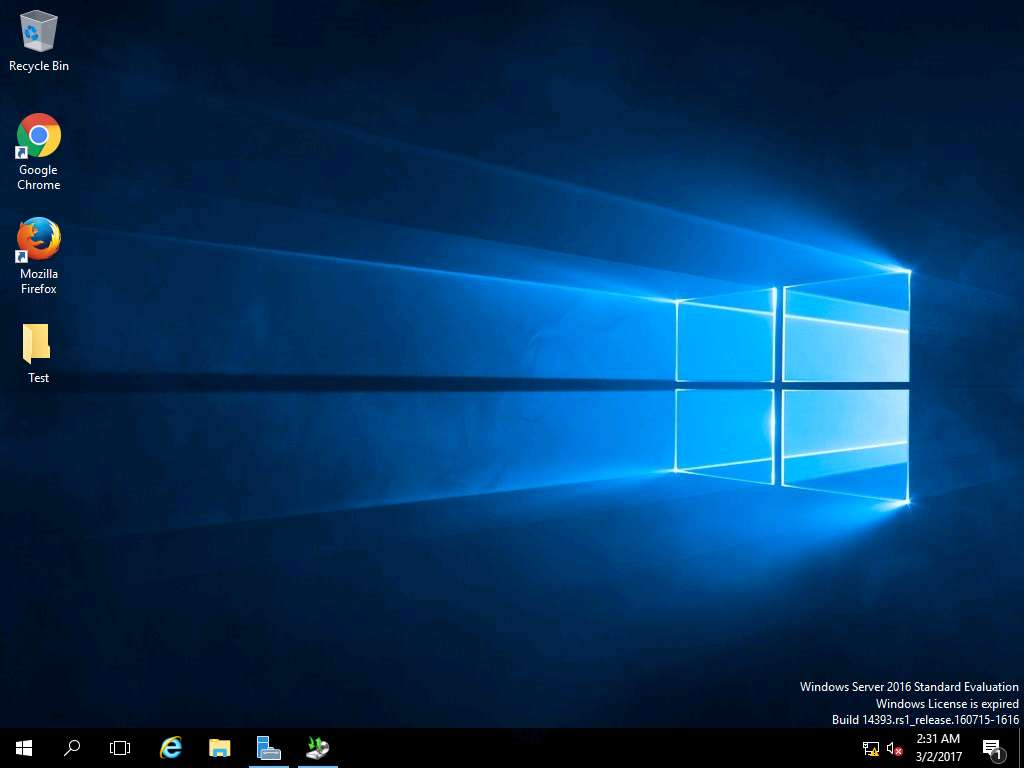
Navigate to desktop, permanently deleted folder Test is restored. This demonstrate the successful restoration using System Image Backup.
Assessment 5:
After launching Server Manager, navigate to Add roles and features. Select the installation type and the destination server for the Windows Server 2016 restoration. What is the name of the destination server selected in the Server Selection section of the wizard?
Step 7: Select destination server wizard appears, select Select a server from the server pool radio button. In Server Pool section, select Server2016.EDRPlabs.com and click Next.
Answer: Server2016.EDRPlabs.com