Vicky's PageVicky's Page
Vivian
Recipe
Tools
English
Semester 3
Vivian
Recipe
Tools
English
Semester 3
  • Main Pages

    • Basic
    • General
    • Block Chain
  • CyberDefense Pro - 1.0 Introduction

    • 1.1 Introduction to TestOut CyberDefense Pro
  • CyberDefense Pro - 2.0 Vulnerability Response, Handling, and Management

    • 2.1 Regulations and Standards
    • 2.2 Risk Management
    • 2.3 Security Controls
    • 2.4 Attack Surfaces
    • 2.5 Patch Management
    • 2.6 Security Testing
  • CyberDefense Pro - 3.0 Threat Intelligence and Threat Hunting

    • 3.1 Threat Actors
    • 3.2 Threat Intelligence
    • 3.3 Threat Hunting
    • 3.4 Honeypots
  • CyberDefense Pro - 4.0 System and Network Architecture

    • 2.1 Regulations and Standards
    • 4.2 Network Architecture
    • Section 4.3 Identity and Access Management (IAM)
    • 4.4 Data Protection
    • 4.5 Logging
  • CyberDefense Pro - 5.0 Vulnerability Assessments

    • 5.1 Reconnaissance
    • 2.1 Regulations and Standards
    • 5.3 Enumeration
    • 5.4 Vulnerability Assessments
    • 5.5 Vulnerability Scoring Systems
    • 5.6 Classifying Vulnerability Information
  • CyberDefense Pro - 6.0 Network Security

    • 2.1 Regulations and Standards
    • 6.2 Wireless Security
    • 6.3 Web Server Security
    • 2.1 Regulations and Standards
    • 6.5 Sniffing
    • 6.6 Authentication Attacks
    • 6.7 Cloud Security
    • 6.8 Email Security
    • 2.1 Regulations and Standards
    • 6.10 Industrial Computer Systems
  • CyberDefense Pro - 7.0 Host-Based Attacks

    • 7.1 Device Security
    • 7.2 Unauthorized Changes
    • 27.3 Malware
    • 7.4 Command and Control
    • 2.1 Regulations and Standards
    • 7.6 Scripting and Programming
    • 2.1 Regulations and Standards
  • CyberDefense Pro - 8.0 Security Management

    • 8.1 Security Information and Event Management (SIEM)
    • 8.2 Security Orchestration, Automation, and Response (SOAR)
    • 8.3 Exploring Abnormal Activity
  • CyberDefense Pro - 9.0 Post-Attack

    • 9.1 Containment
    • 2.1 Regulations and Standards
    • 9.3 Post-Incident Activities
  • A.0 CompTIA CySA+ CS0-003 - Practice Exams

    • A.1 Prepare for CompTIA CySA+ Certification
    • A.2 CompTIA CySA+ CS0-003 Domain Review (20 Questions)
    • A.3 CompTIA CySA+ CS0-003 Practice Exams (All Questions)
  • B.0 TestOut CyberDefense Pro - Practice Exams

    • Section B.1 Prepare for TestOut CyberDefense Pro Certification
    • B.2 TestOut CyberDefense Pro Exam Domain Review
  • Glossary

    • Glossary
  • CYB400

    • Chapter 01
    • Chapter 02
    • Chapter 03
    • Chapter 04
    • Project 01
  • CYB402

    • lab
    • essay
  • CYB406

    • lab 01
    • lab 02
    • lab 03
    • lab 04
    • lab 05
    • lab 06
  • CYB300 Automobility Cybersecurity Engineering Standards

    • Schedule
    • Tara PPT
    • MidTerm Notes
    • Questions
  • ISO 21434

    • Introduction
    • Forward
    • Introduction
    • Content
  • CYB302 Automobility Cybersecurity

    • Week 01
    • Week 02
    • Week 03
    • Week 04
    • Chapter 5 - AUTOSAR Embedded Security in Vehicles
    • Chapter 6
    • Chapter 7
    • Chapter 8
    • How to Write
    • Review 5
  • CYB304 Project Management For Cybersecurity In Automobility

    • Unit 1 Introduction
    • Unit 1 Frameworks
    • Unit 1 Methodologies
    • Unit 1 Standards
    • Unit 1 Reqirements
    • Unit 2 Scheduling
    • Unit 2 Scheduling 2
    • Unit 2 Trends
    • Unit 2 Risk
    • Unit 2 Project Monitoring & Controlling
    • Unit 2 Budgeting
    • Unit 2 Closure
  • Project Manager

    • Resource
    • Gantt Charts
    • Intrduction
    • First Things
    • Project Plan
    • Project Schedule
    • Agile
    • Resource
  • CYB306 Cyber-Physical Vehicle System Security

    • Chapter 1
    • Chapter 2
    • Chapter 3
    • Chapter 4
    • Chapter 5
    • Chapter 6 - Infrastructure for Transportation Cyber-Physical Systems
    • Chapter 7
    • Chapter 8
    • Chapter 9
    • Chapter 10
    • Chapter 11
    • Case 3
    • Case 4
    • Discussion 4
    • Discussion 5
  • CYB308 Cybersecurity System Audits

    • Week 01
    • Week 02
    • Week 03
    • Week 04
    • Week 05
    • C 4
    • C 5
    • C 5 Business Resilience
    • C 6
    • C 6-2
    • Review
    • Questions
  • CYB308 TextBook

    • CHAPTER 1 Becoming a CISA
    • CHAPTER 2 IT Governance and Management
    • CHAPTER 3 The Audit Process
    • CHAPTER 4 IT Life Cycle Management
    • Input Controls
    • CHAPTER 5 IT Service Management and Continuity
    • Business Resilience
    • CHAPTER 6 Information Asset Protection
    • Encryption
    • Appendix A
    • Appendix B
    • Appendix C

Module 07: Data Recovery Strategies

Objective

EaseUS Data Recovery Wizard solves all data loss problems – from recovering files emptied from the Recycle Bin or lost due to a software crash, a formatted or damaged hard drive, virus attack, lost partition, and other unknown reasons in Windows. It recovers data from formatted partitions with the original file names and storage paths.

Scenario

As a disaster recovery professional, you should know how to recover deleted files and partition, which have been deleted accidently by users or from a catastrophe using recovery techniques or proprietary applications to obtain the critical information.

File Restoration Using EaseUS Data Recovery Wizard

Scenario

EaseUS Data Recovery Wizard is recovery software for Windows that supports files, partitions, and the complete recovery of data.

Lab Objectives

The objective of this lab is to demonstrate the use of EaseUS Data Recovery Wizard, by intentionally deleting a few files and then recovering them in Windows 10 system.

Lab Scenario

As a disaster recovery professional, you should know how to recover deleted files and partitions which have been deleted accidently by users or from a catastrophe using recovery techniques or proprietary applications to obtain the critical information.

  1. To login Windows 10 machine, navigate to Resources pane and click Windows 10. Click Ctrl+Alt+Delete button under the Windows 10 machine thumbnail.

    Alternatively you can navigate to Commands menu and click Ctrl+Alt+Delete to login.

    Screenshot

  2. Type Pa$$w0rd in the Password field and press Enter to login.

    Alternatively click Paste Password from Commands --> Paste options or click clipboard icon under Windows 10 from Machines pane.

    Screenshot

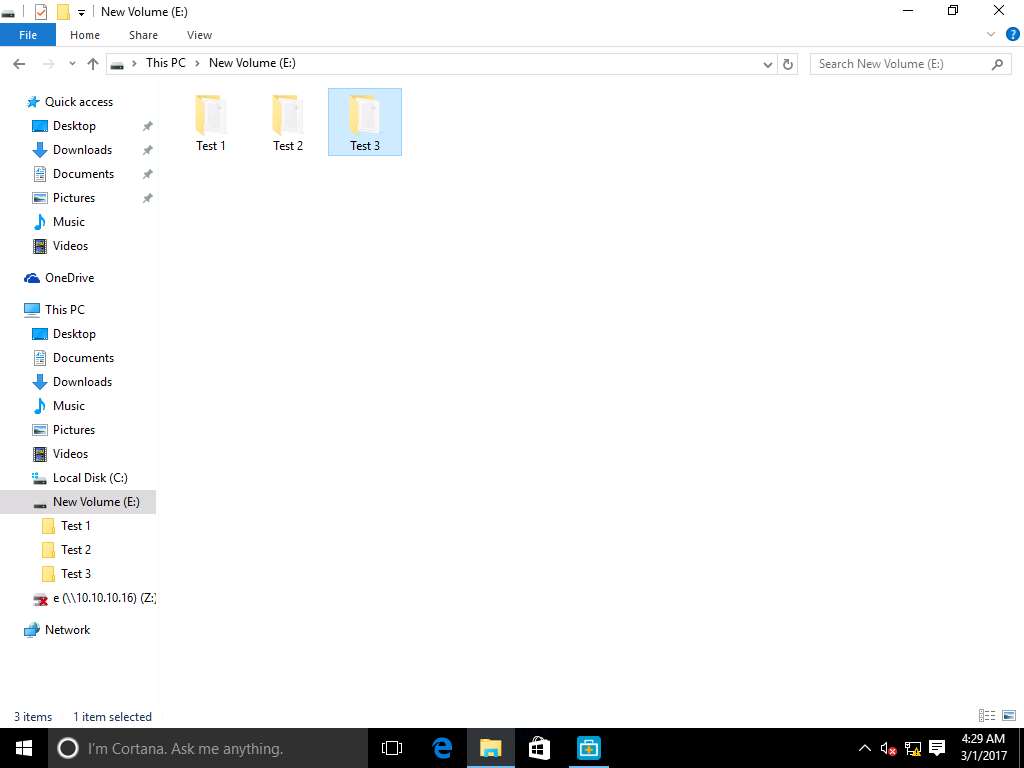
  3. Navigate to This PC-->New Volume Disk (E:) and check folders: Test 1, Test 2 and Test 3. For the demonstration of permanent data loss scenario, we will permanently delete folder Test 3.

    Screenshot

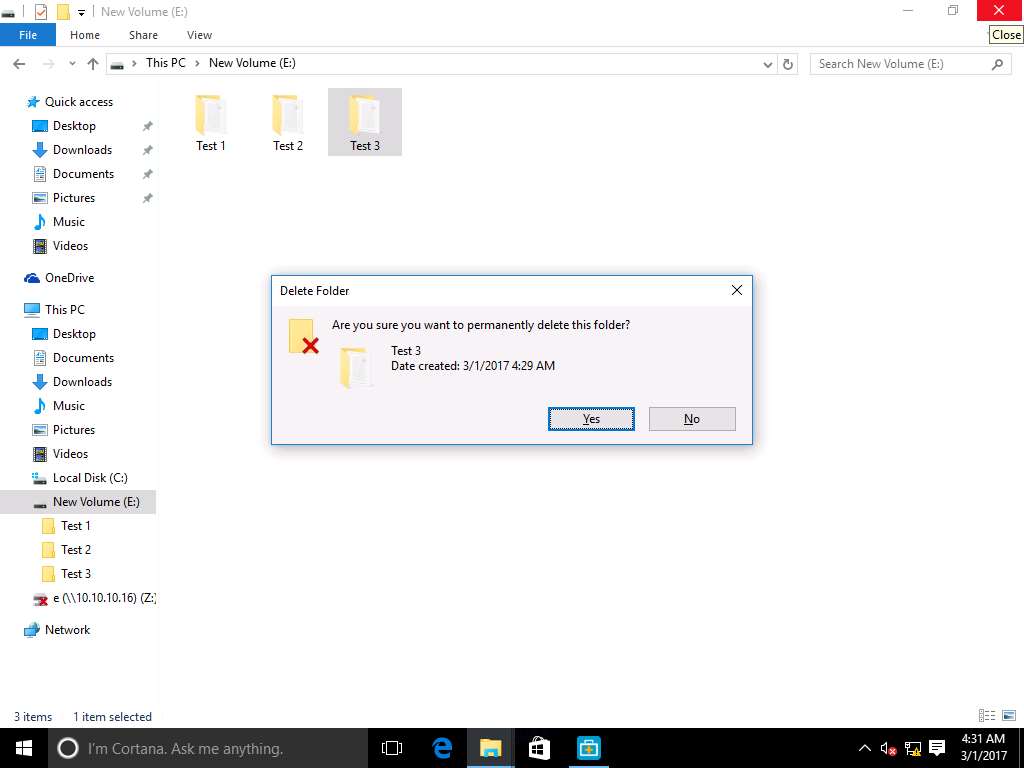
  4. Use Shift+Delete keyboard shortcut key to permanently delete the folder Test 3. Delete Folder window appears, click Yes to permanently delete folder Test 3.

    Screenshot

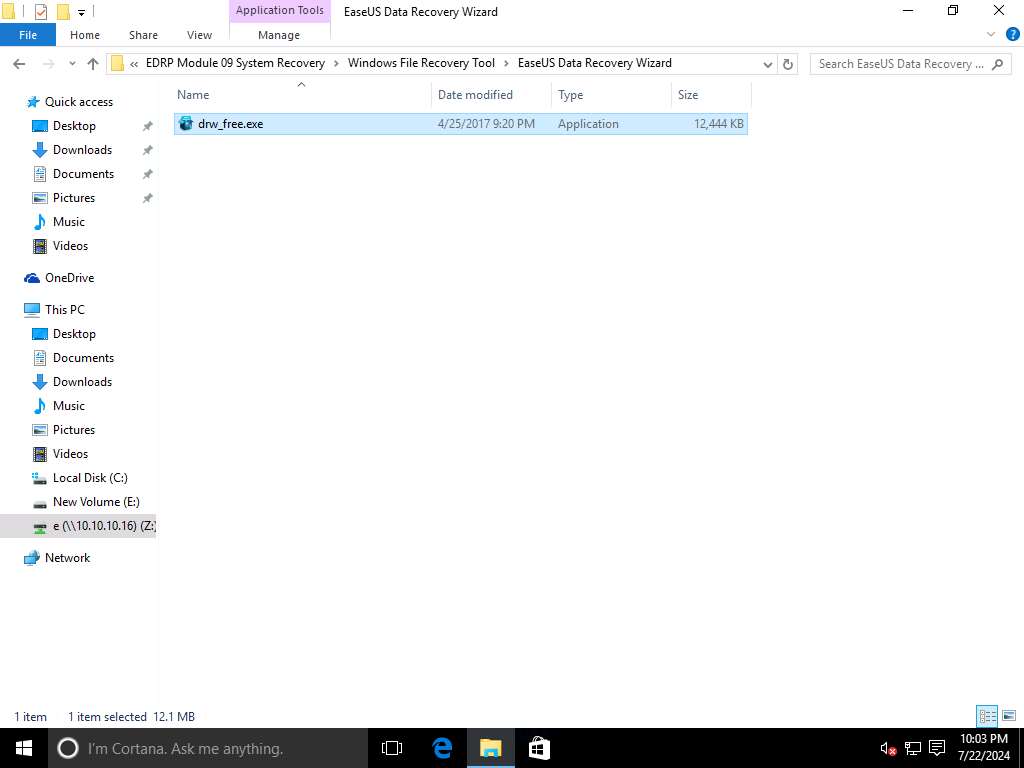
  5. To install EaseUS Data Recovery tool, navigate to Z:\EDRP Module 09 System Recovery\Windows File Recovery Tool\EaseUS Data Recovery Wizard and double-click drw_free.exe to install.

    Screenshot

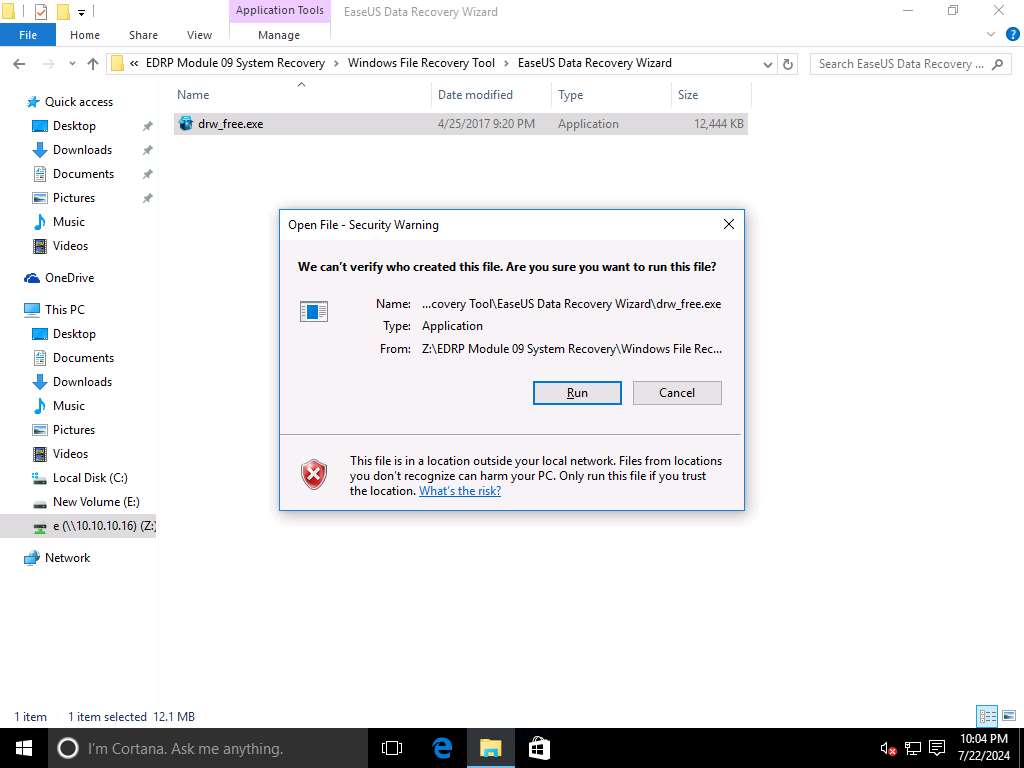
  6. Open File - Security Warning window appears click Run to continue.

    Screenshot

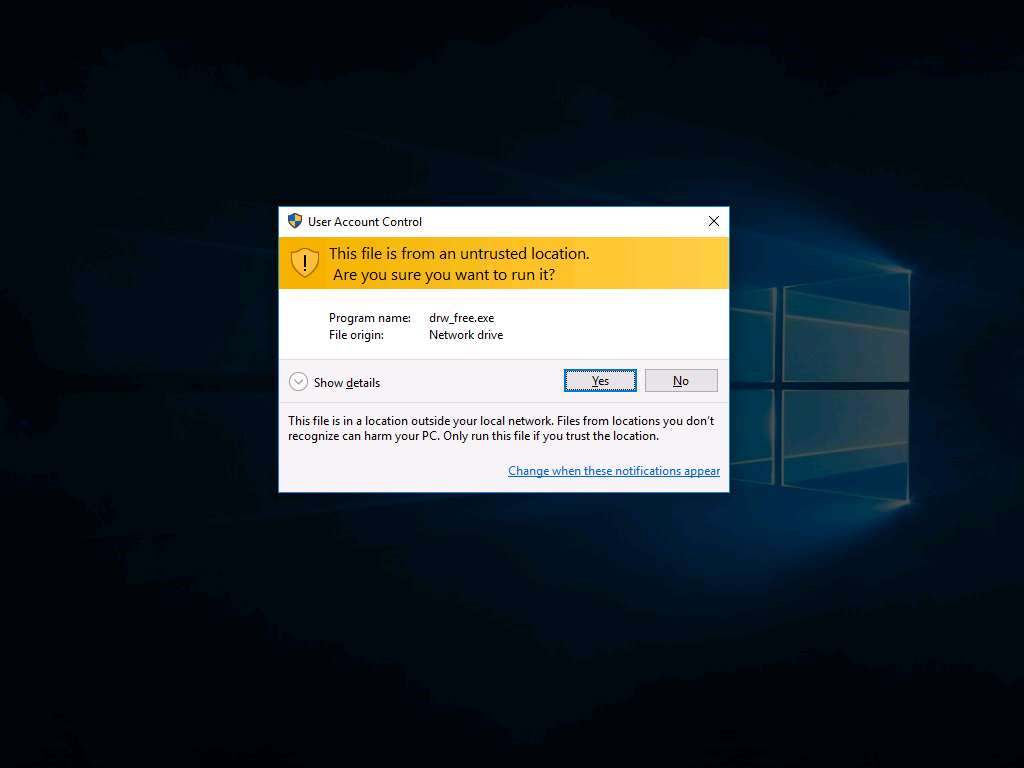
  7. User Account Control window appears as the file is in location outside of local network. Click Yes.

    Screenshot

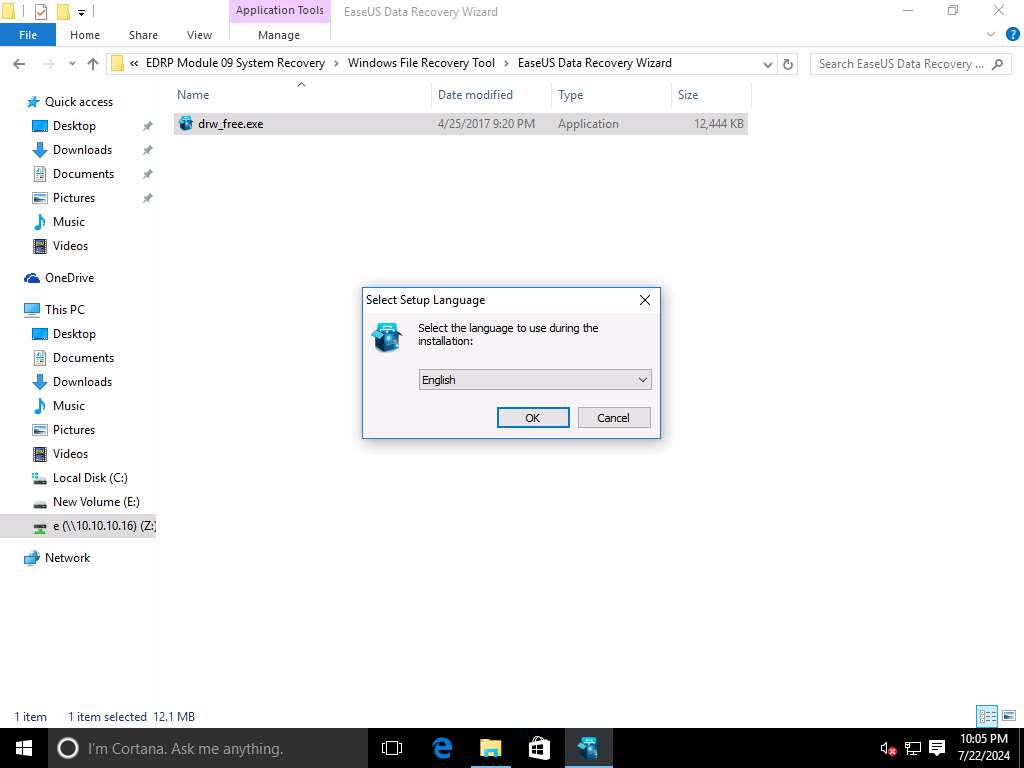
  8. Select Setup Language window appears, English is selected as default language. Click OK.

    Screenshot

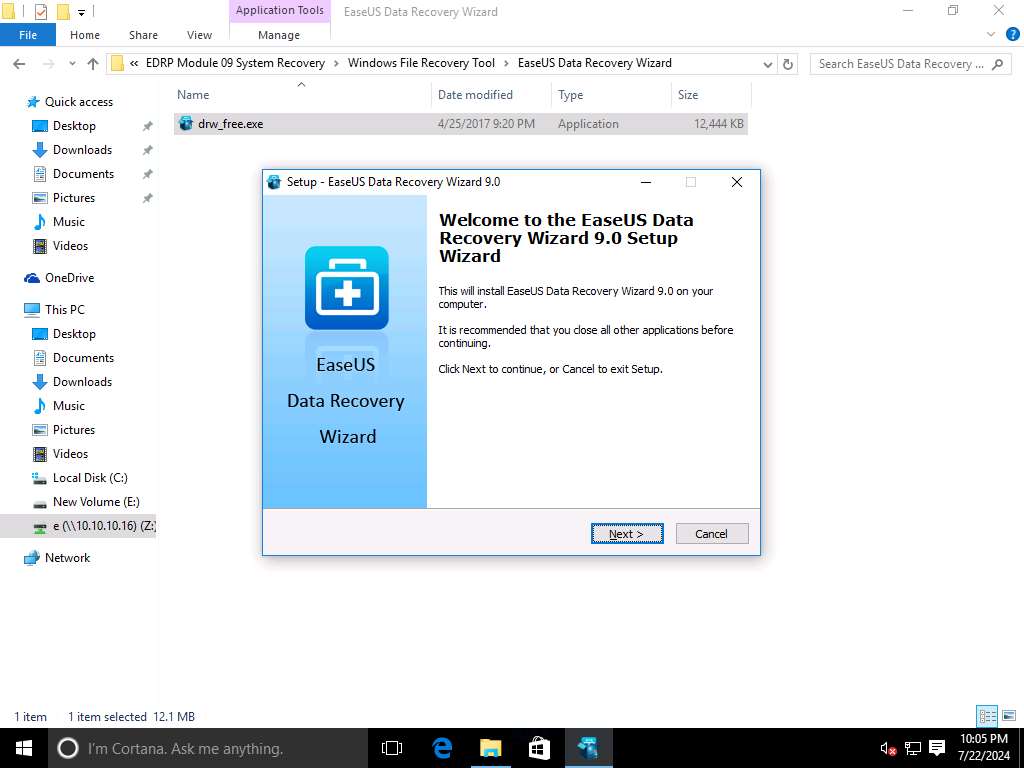
  9. EaseUS Data Recovery setup wizard appears, click Next button to continue the installation process.

    Screenshot

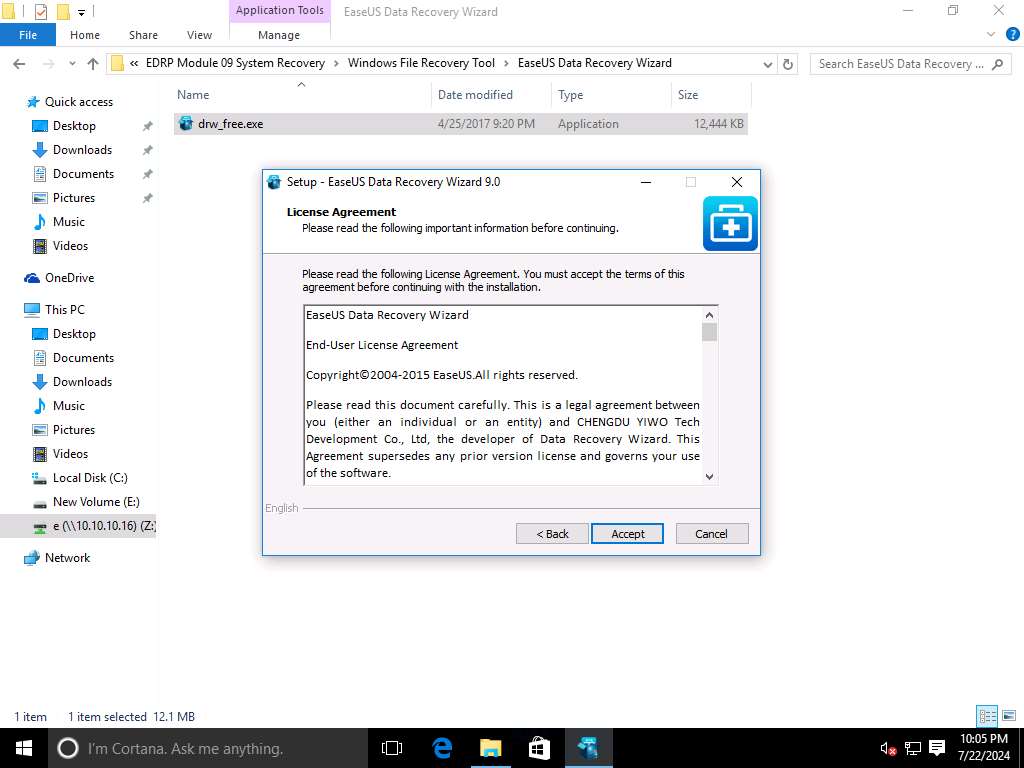
  10. License Agreement wizard appears, click Accept button to accept the terms of the installation agreement.

    Screenshot

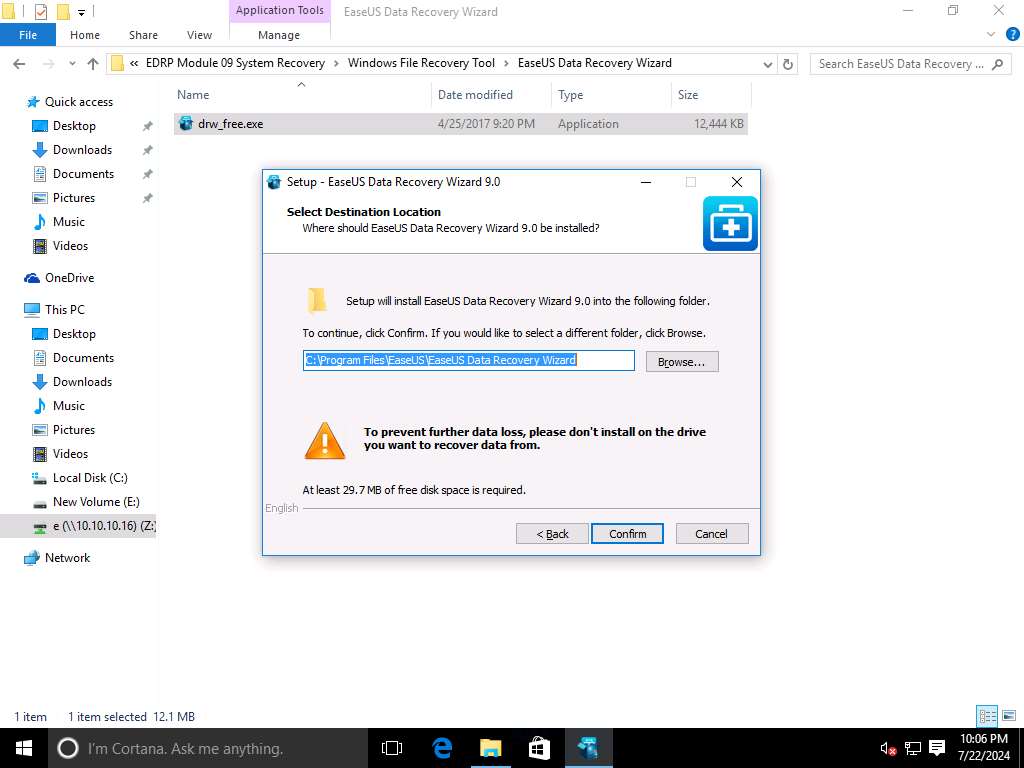
  11. Select Destination Folder wizard appears, leave the destination to default and click Confirm.

    You can change the location of install folder by clicking the Browse… button and selecting the desired folder location.

    Screenshot

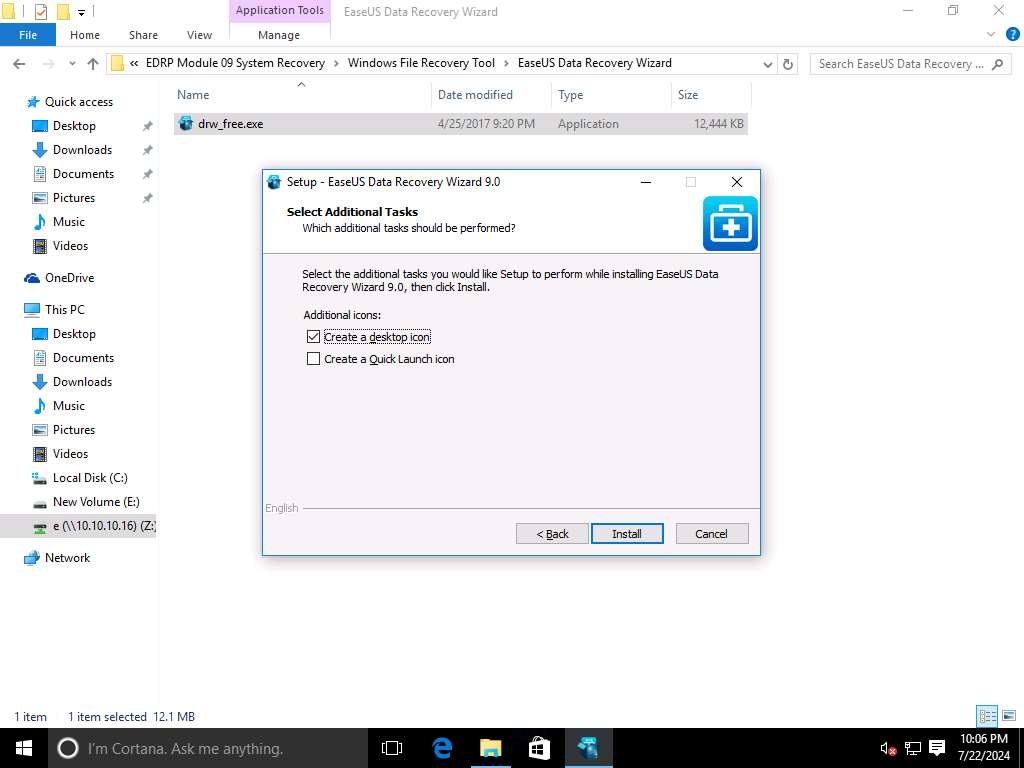
  12. Select Additional Tasks wizard appears, Create a desktop icon radio button is selected by default. Click Install.

    Additional task option includes the option to create desktop icon and to create a quick launch icon.

    Screenshot

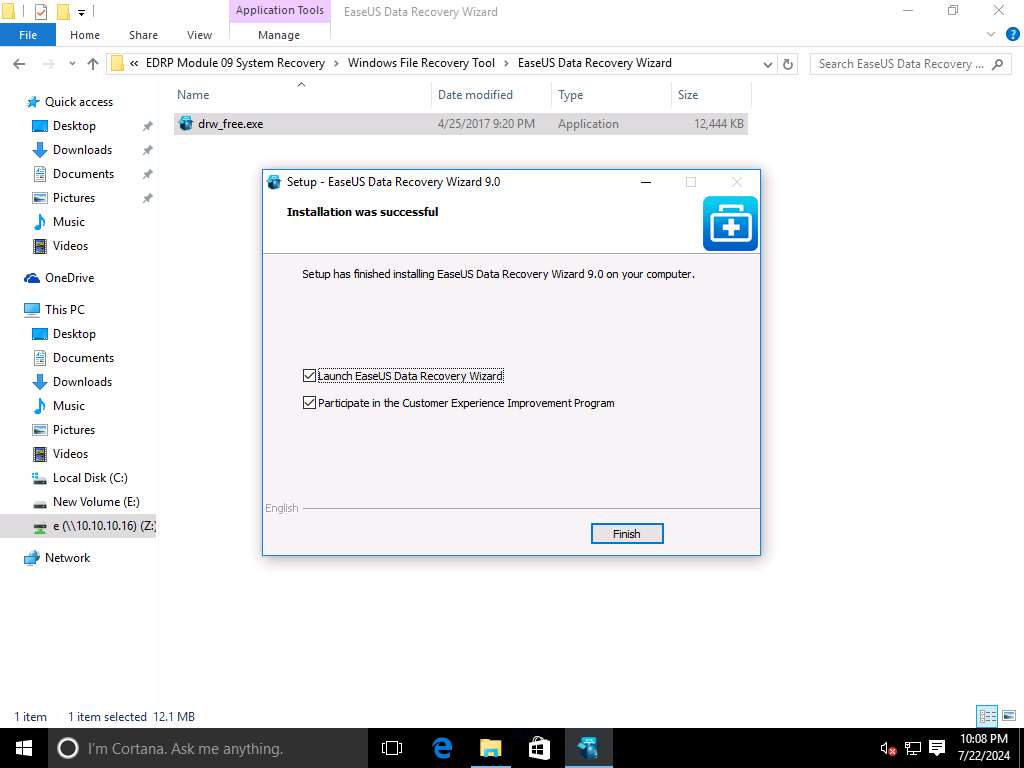
  13. Installation was successful window appears after the completion of installation. Click Finish.

    As Launch EaseUS Data Recovery Wizard radio button is selected by default, it will launch the EaseUS Data Recovery Wizard immediately after clicking Finish.

    Screenshot

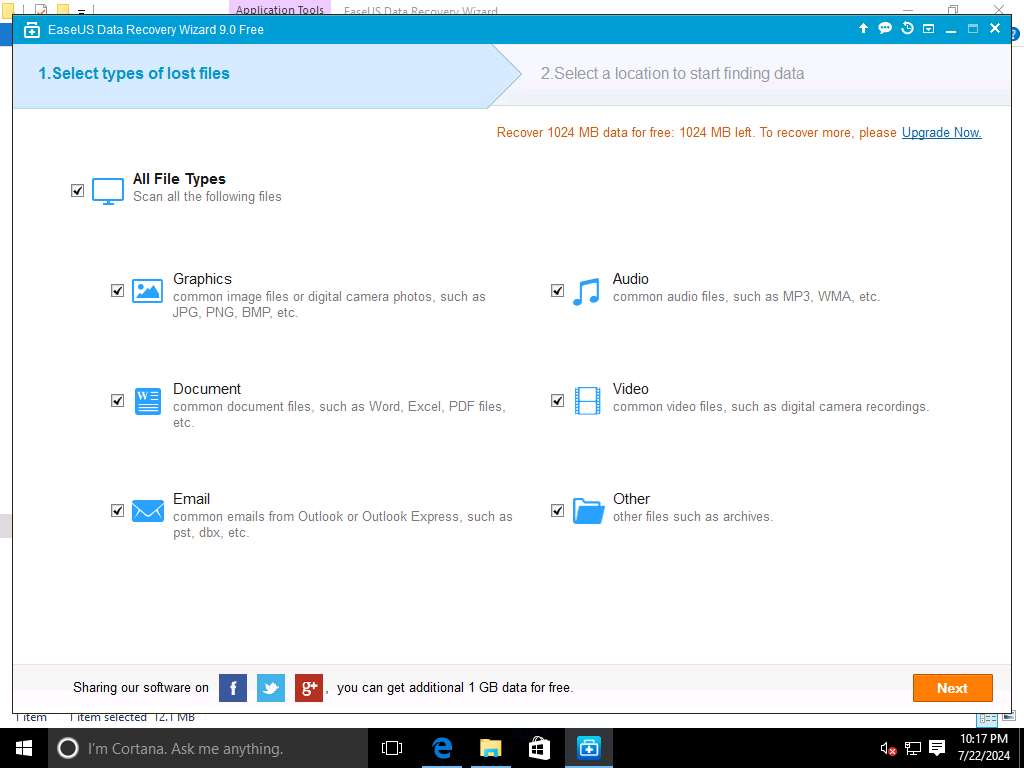
  14. EaseUS Data Recovery Wizard Free 9.0 Free window appears with Select types of lost files page, select All File Types and click Next.

    If a browser window opens, close it.

    Screenshot

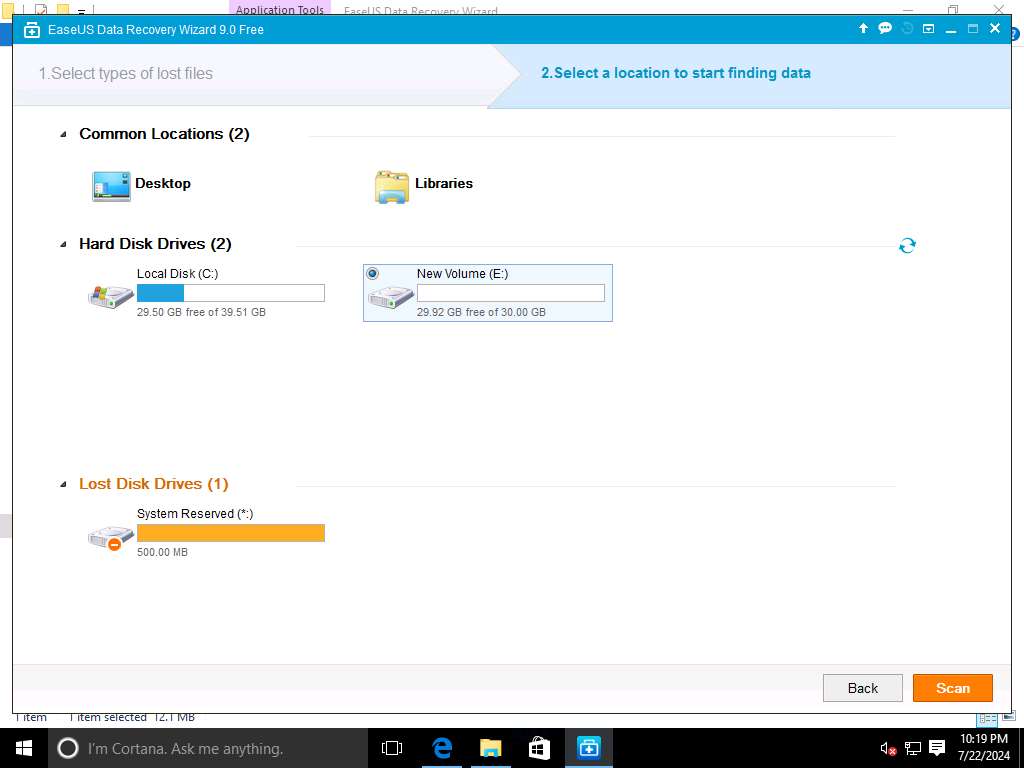
  15. In the Select a location to start finding data page, select New Volume (E:) radio button present in the Hard Disk Drives section. Click Scan button to start the scanning of lost data.

    It may take 5 to 10 minutes to complete the scanning process.

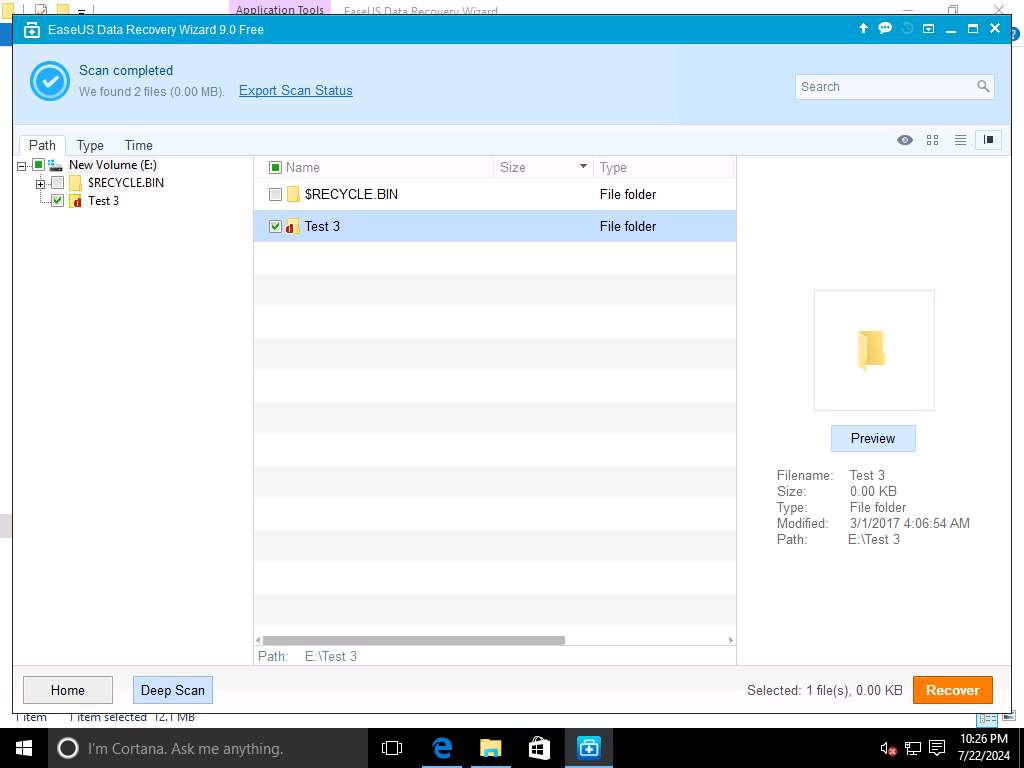
    If a EaseUS Data Recovery Wizard Free 9.0 Free pop-up appears, click OK.

    Screenshot

  16. After completion of scanning process, list of lost data appears in left pane. Select New Volume (E:) drive and select Test 3 check-box, click Recover button to restore it.

    Screenshot

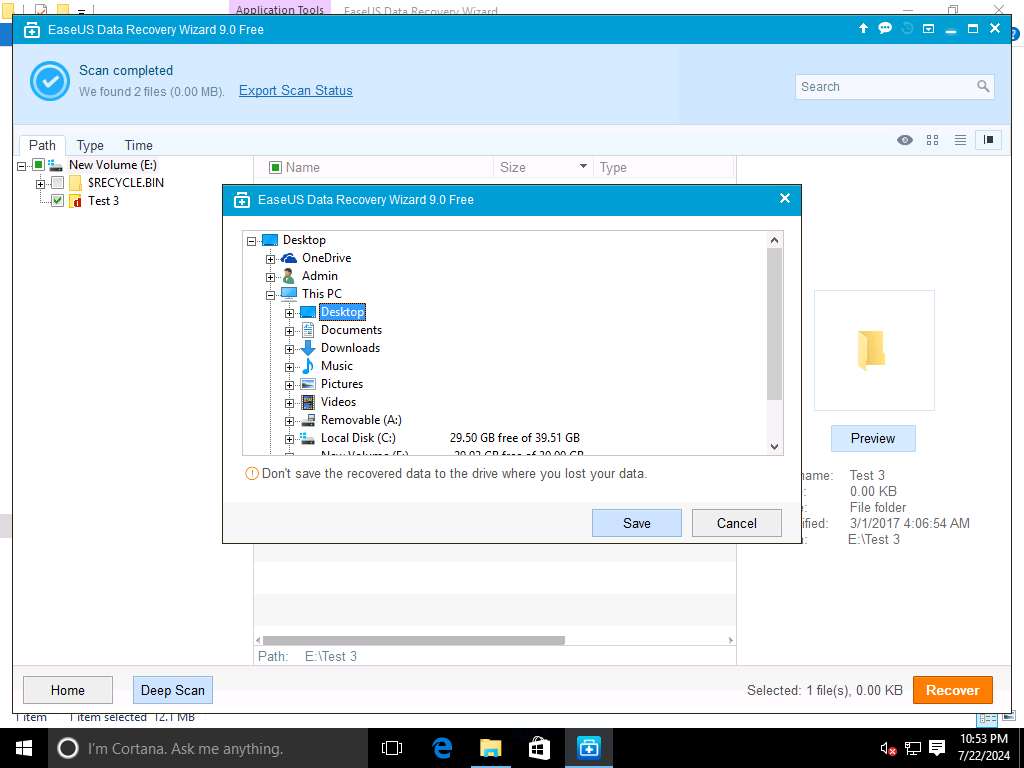
  17. EaseUS Data Recovery Wizard Free 9.0 Free window will pop-up, select the location where you wish to recover the lost files. In this scenario, we will select Desktop. Click Save to restore the lost folder Test 3 on Desktop.

    Screenshot

  18. Recovery completed! pop-up appears after the recovery of lost folder Test 3. Click OK.

    Screenshot

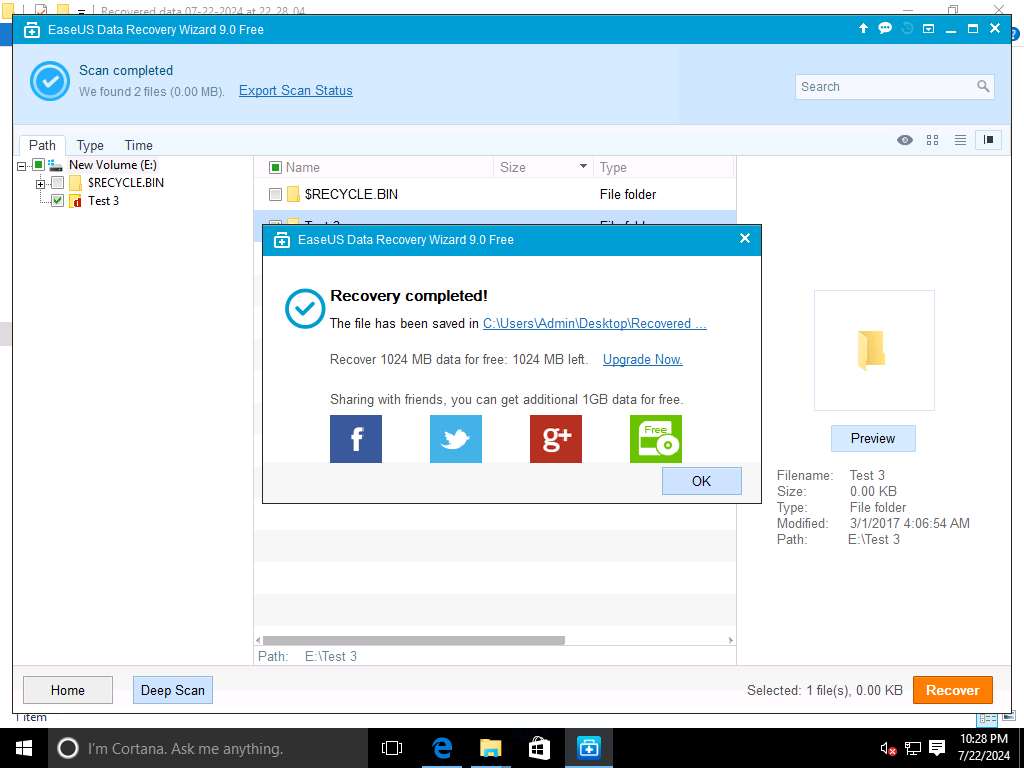
  19. Data Security Tips pop-up appears, check Don't show this again check-box and click Close icon.

    Screenshot

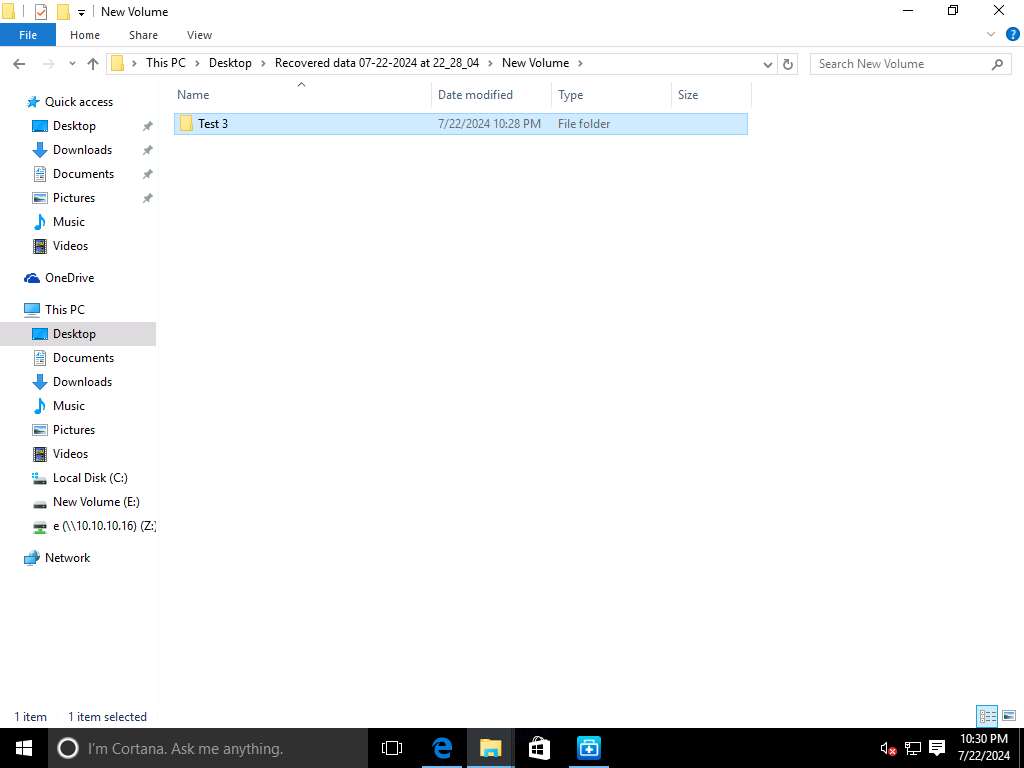
  20. Navigate to Desktop, folder name Recovered data (dates will vary). Double-click the Recovered data folder and navigate to New Volume folder Test 3 appears.

    Screenshot

Assessment 1:

Launch EaseUS Data Recovery, navigate to the location where you want to recover data, and click "Scan" to start the recovery process. Enter the name of the folder that is recovered in the lab.

Step 15 - Test 3

Assessment 2:

During the lab exercise, the deleted data was recovered from what drive?

Step 15 and Step 16

New Volume (E:)

Last Updated:
Prev
lab 02
Next
lab 04