Module 08: Virtualization Based Disaster Recovery
Objective
Labs in this module demonstrate various techniques for backup and restoration techniques for systems running in a virtual environment. Virtualization based disaster recovery helps in better protection of critical data stored in virtual machines. A disaster recovery professional should know how to quickly recover virtual machines using techniques such as: Checkpoint Restore and various VM recovery tools.
Scenario
What if a virtual machine running on virtualization platform such as: Hyper-V; starts crashes? In this scenario, we can restore the state of the virtual machine with the help of Hyper-V checkpoints. Furthermore, we can also perform backup and recovery of the entire data stored in virtual machines by using various software tools. It helps in better protection of critical data stored in virtual machines in case of occurrence of any disaster.
Backup and Restoration of the Virtual Machines using Hyper-V Checkpoint
Scenario
Checkpoints are a feature of Windows Hyper-V which allows the restoration of a virtual machine back to a previous state. Creating a checkpoint is very helpful in quick recovery of a virtual machine.
Lab Objectives
This lab demonstrates how to conduct backup and recovery of a virtual machines using Hyper-V’s native Checkpoint feature.
Lab Scenario
The backup and restoration of the virtual machine is very much needed to protect the important data stored in the virtual machines and servers. It helps in better protection of critical data in case of occurrence of any disaster like scenario. Checkpoint is a native snapshot restoration option available for Windows Hyper-V platform. Checkpoints can preserve the state of the Virtual Machine running inside the Hyper-V. As a network administrator, you should be able to perform the task of data backup and restoration of the virtual machines using Checkpoints.
Click Machines pane, and click Ctrl+Alt+Delete under Windows Server 2016 thumbnail.
Alternatively, you can navigate to Commands menu and click Ctrl+Alt+Delete to login.

Type Pa$$w0rd in the Password field and press Enter.
Alternatively, you can click Paste Password from Commands --> Paste options or click clipboard icon under Windows Server 2016 from Machines pane.
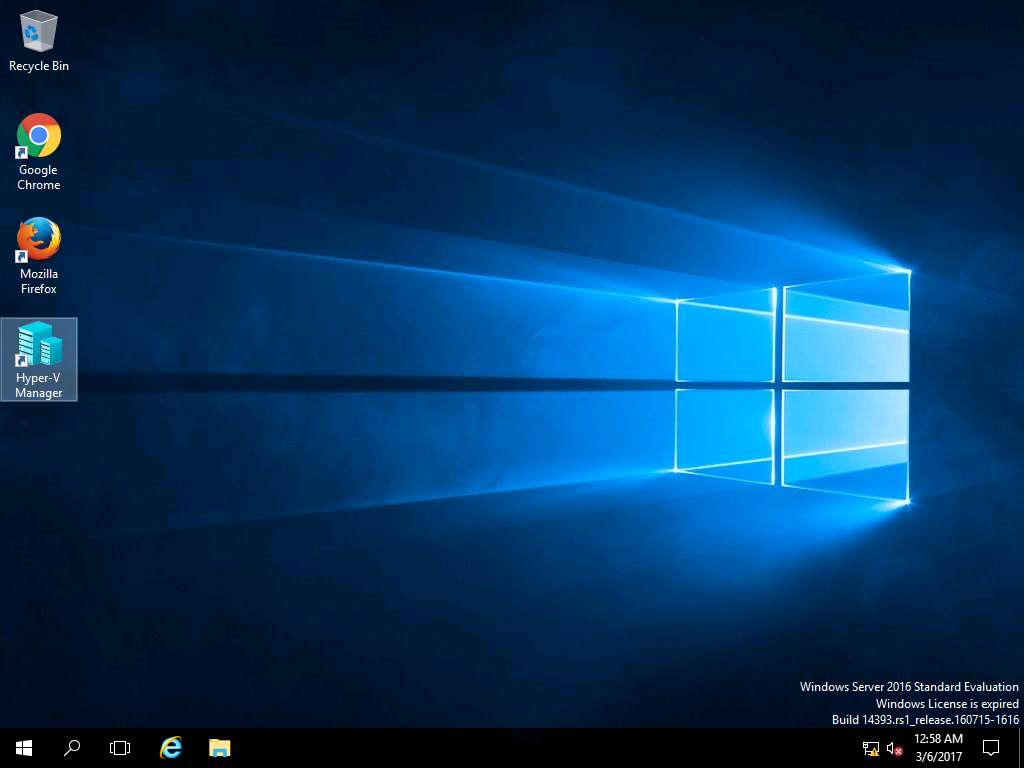
Launch Hyper-V Manager by clicking the Hyper-V Manager shortcut icon on the desktop as shown in the screenshot.
Alternatively, you can launch the Hyper-V Manager by navigating to Administrative Tools --> Hyper-V Manager.
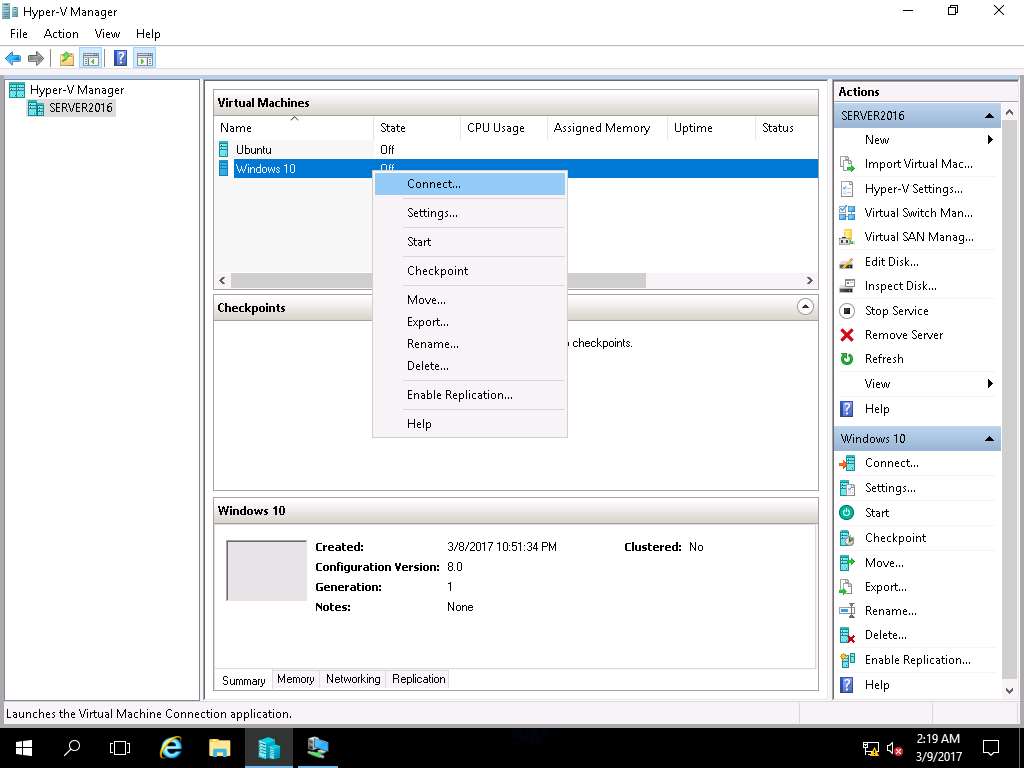
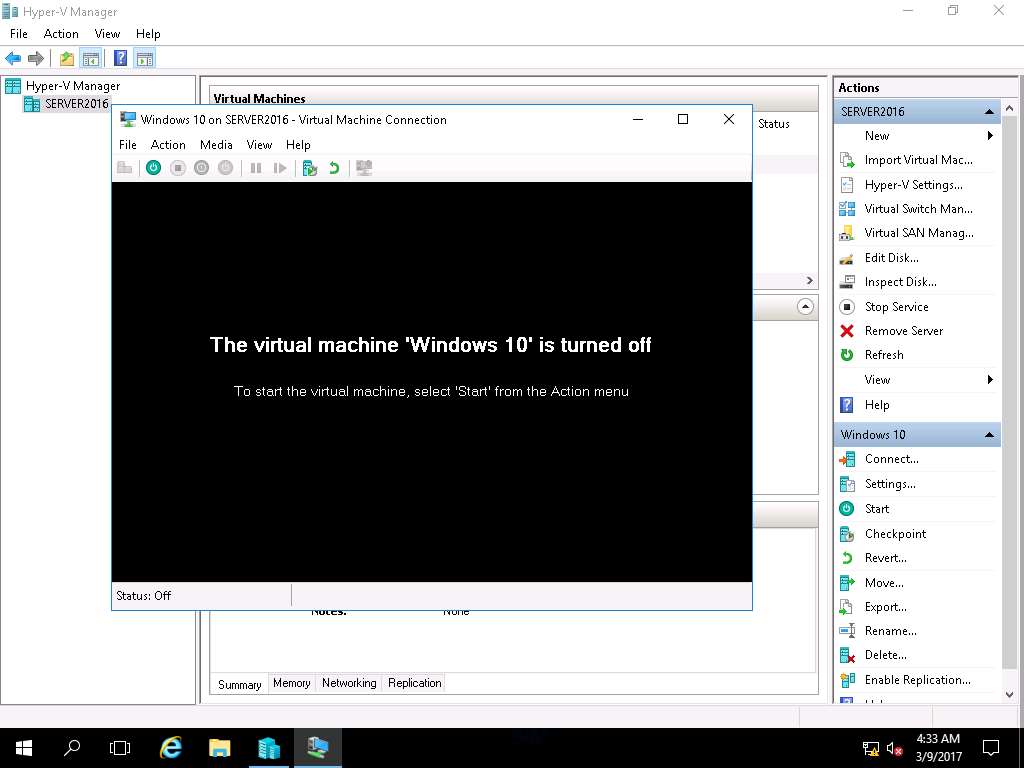
Hyper-V Manager window appears, right-click Windows 10 in the Virtual Machines pane and select Connect… from the context menu.
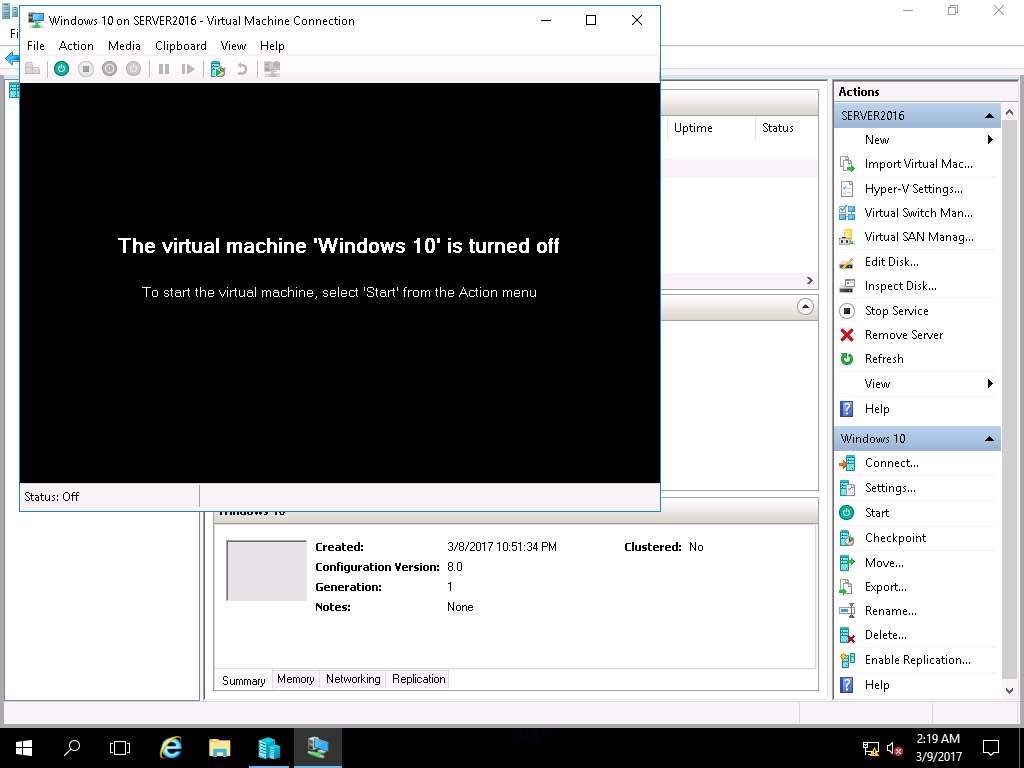
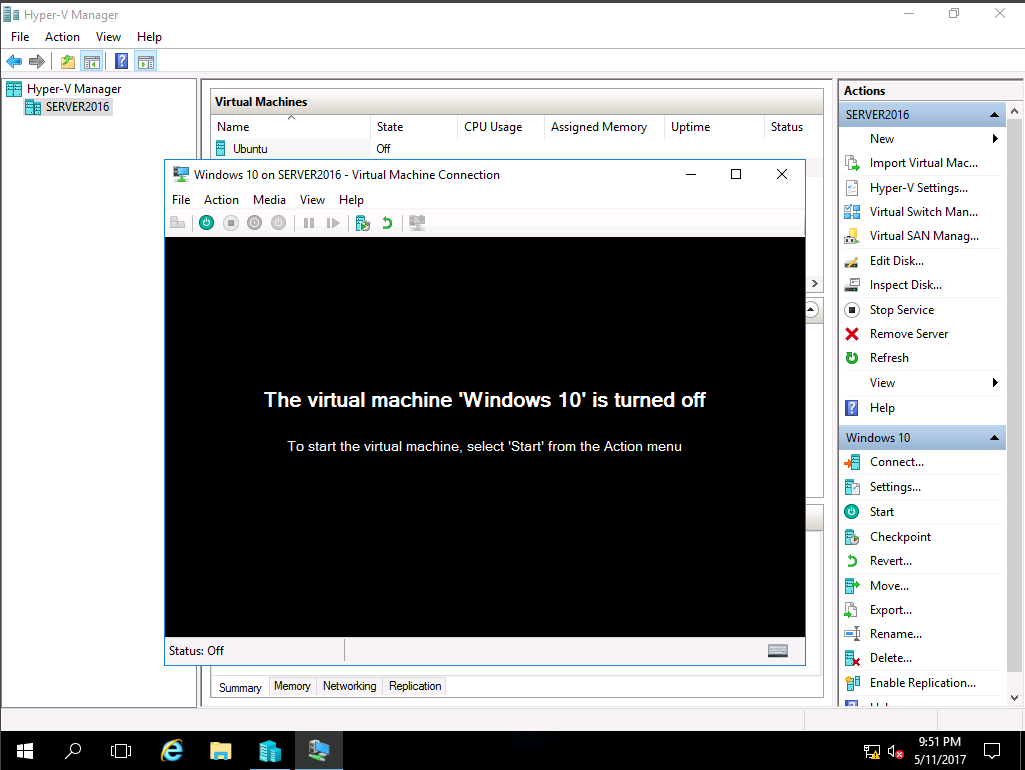
Windows 10 on SERVER2016 window appears, click Start button to start Windows 10 VM.
Alternatively, click Action on the menu-bar and select Start from the drop-down menu.
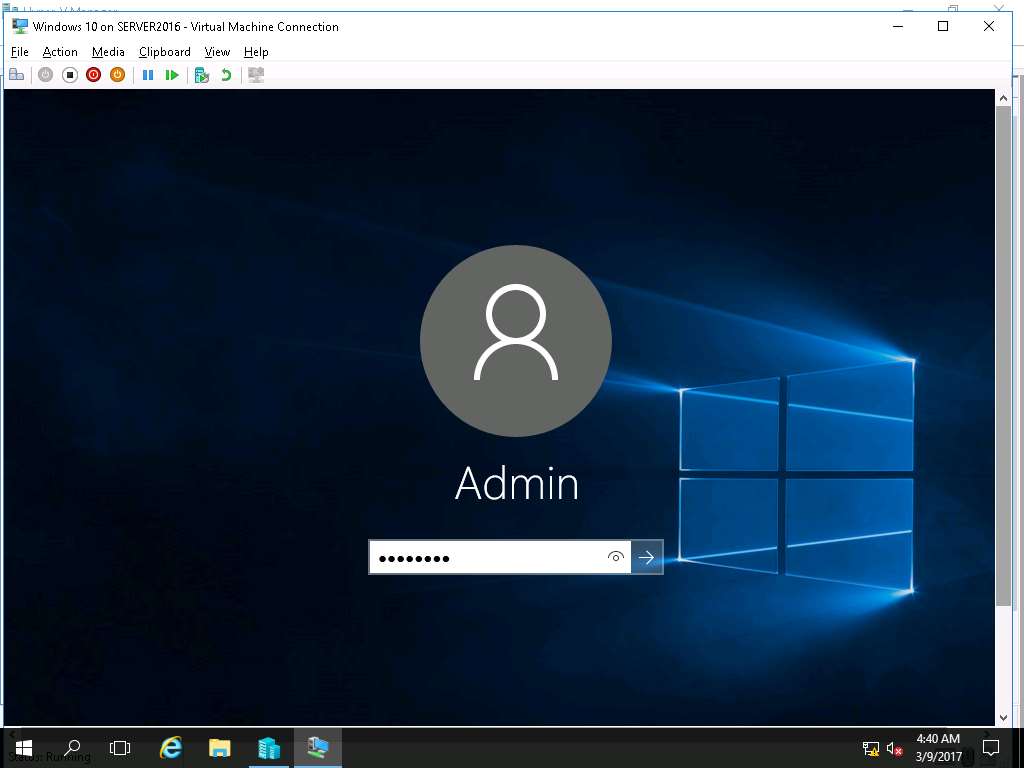
Windows 10 lock-screen page appears, double-click on the lock-screen and enter Pa$$w0rd in the password field and press Enter.
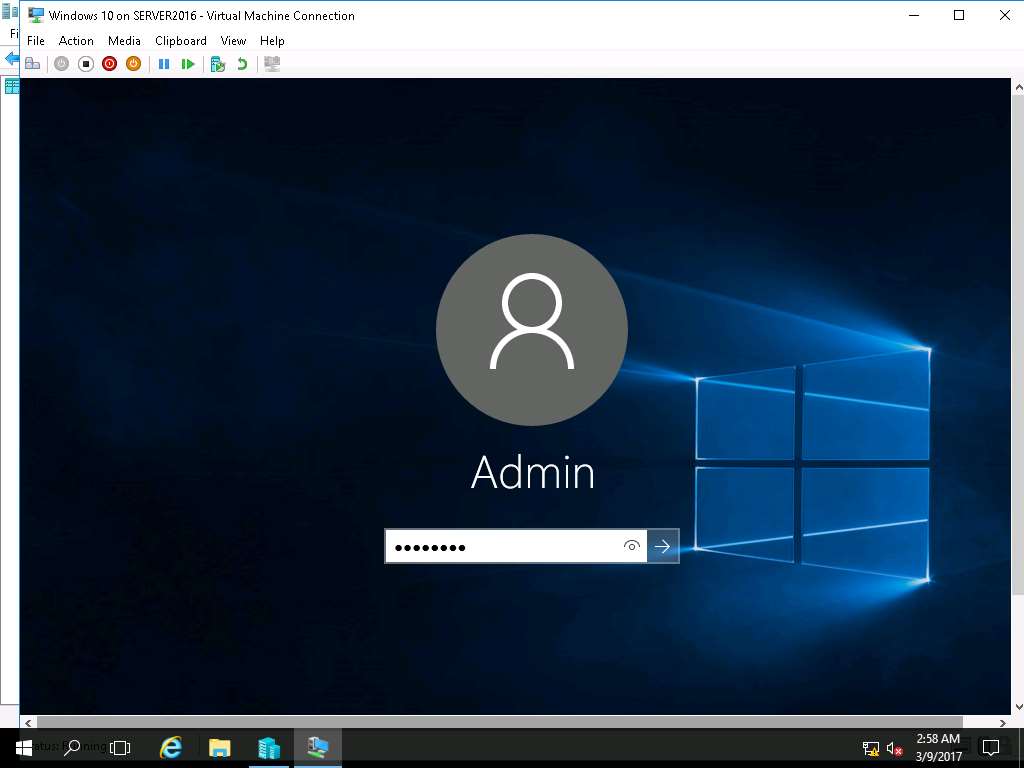
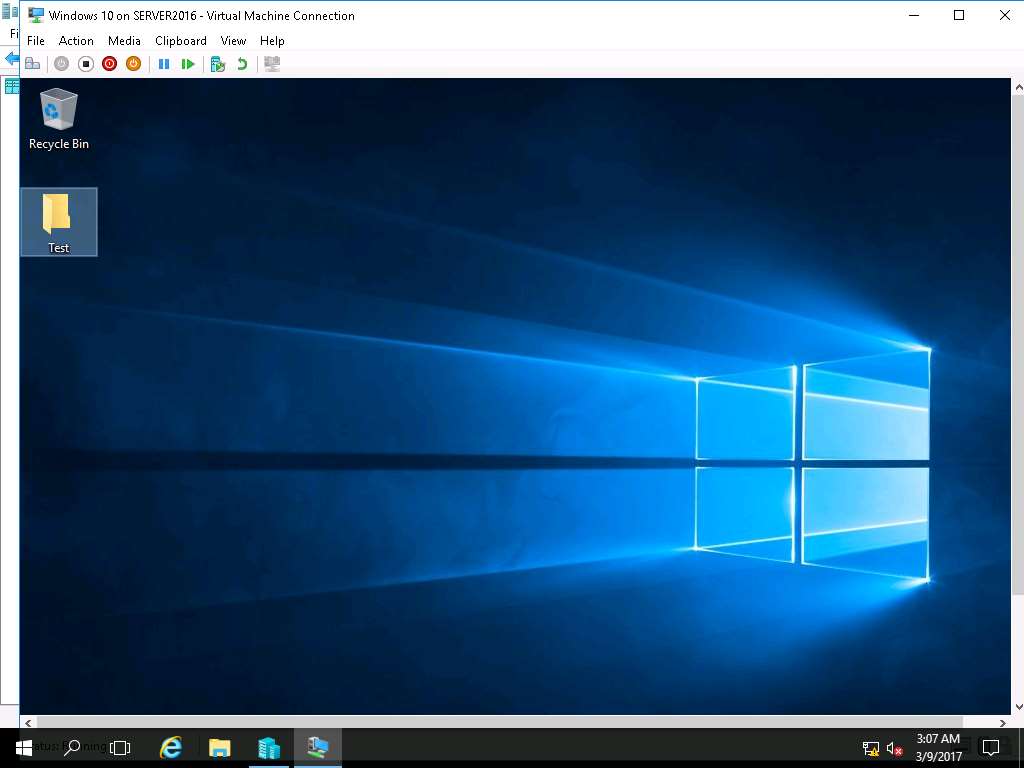
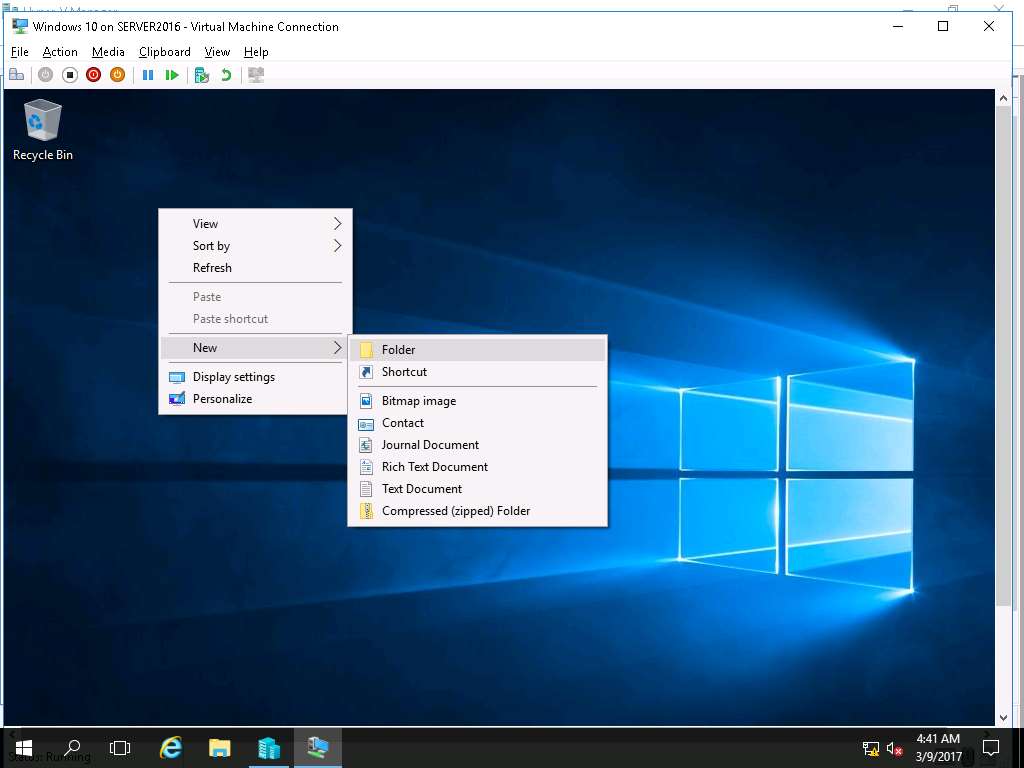
Right-click on the Desktop of Windows 10 VM and select New and select Folder from the context menu.
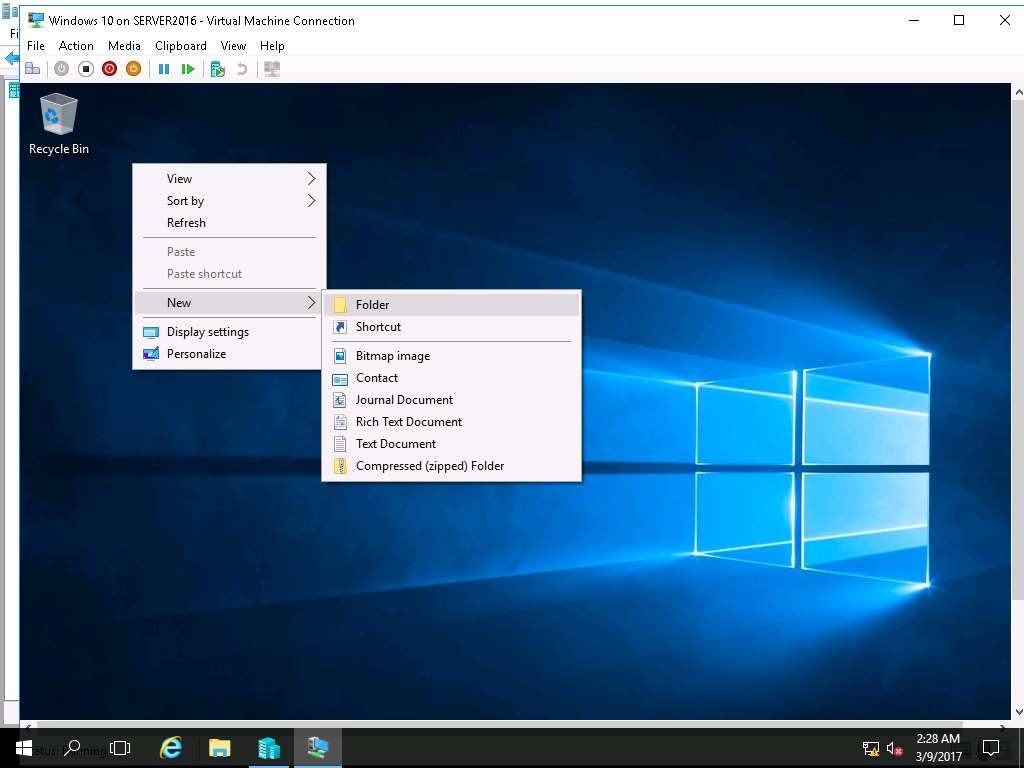
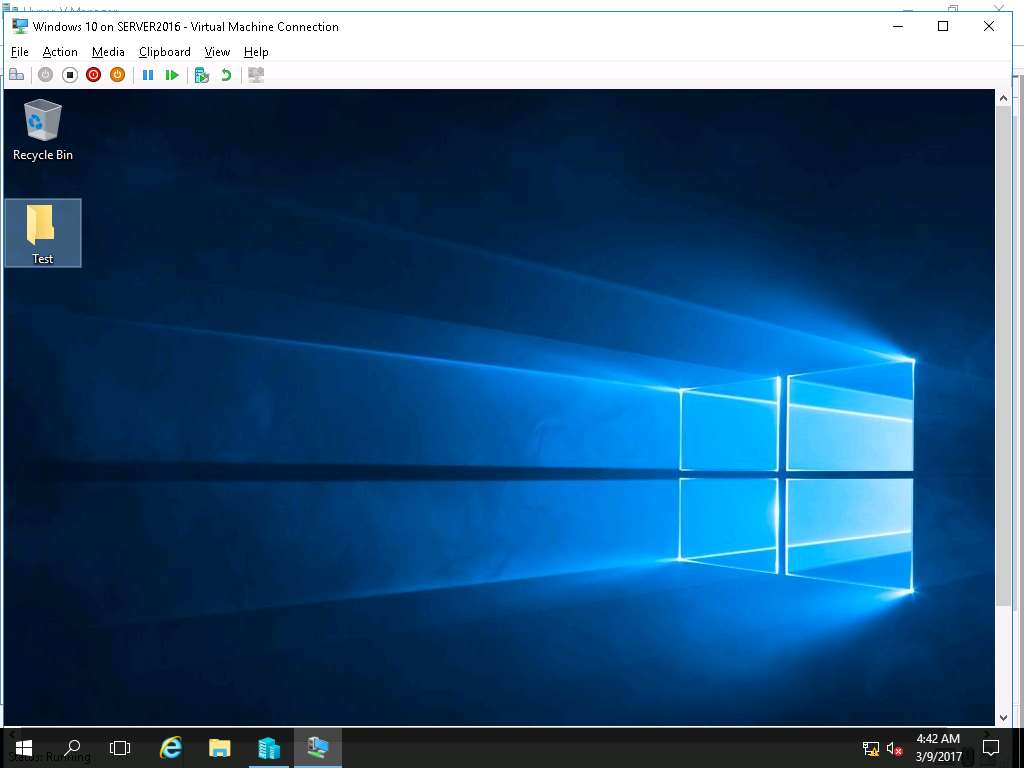
Rename the New Folder as Test.
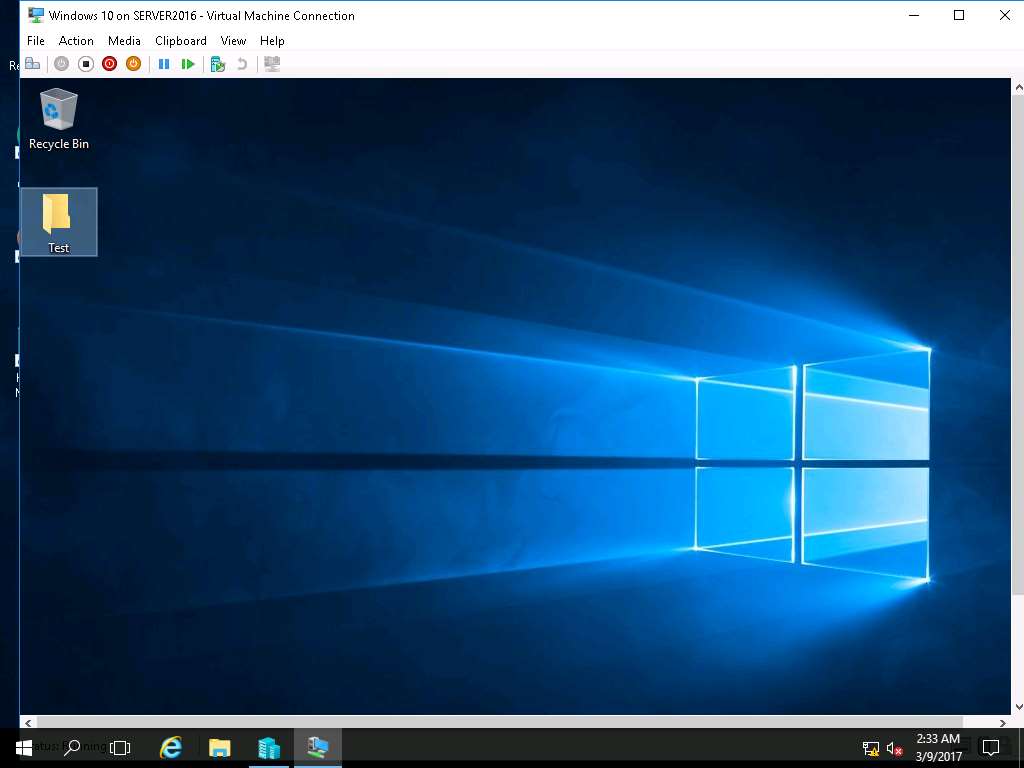
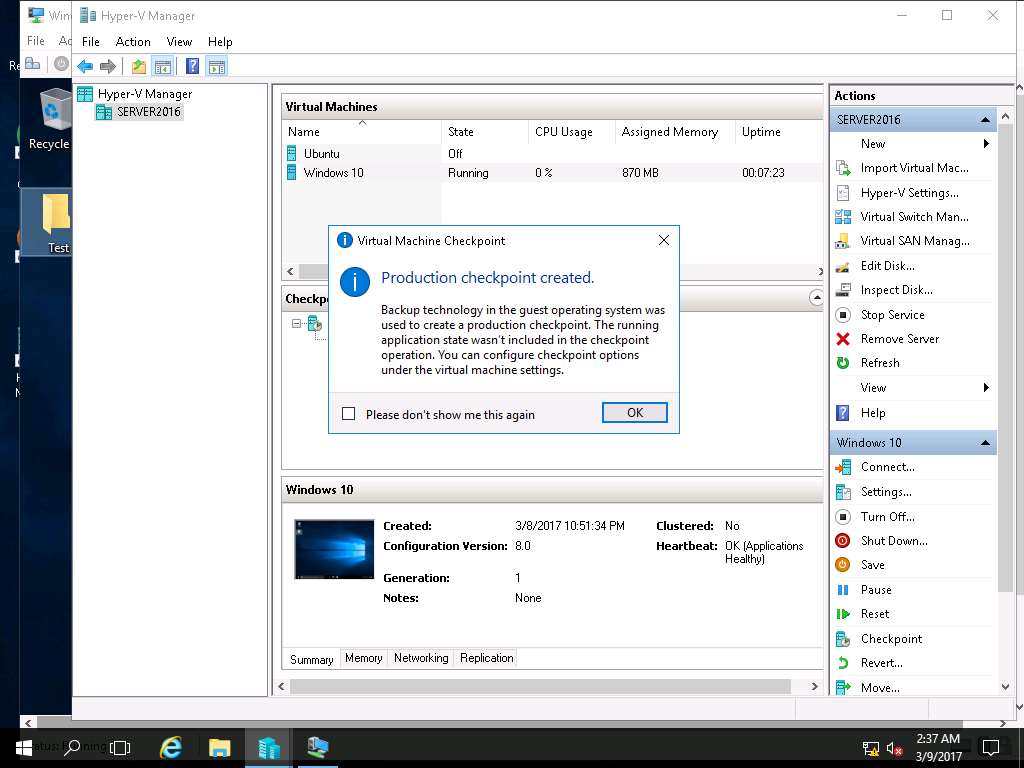
Navigate to Hyper-V Manager and right-click Windows 10 VM and select Checkpoint from the context menu.
Alternatively, you can click Checkpoint button present on the Windows 10 pane in the left side of the window.

Production checkpoint created window pops up, click OK to close the window.
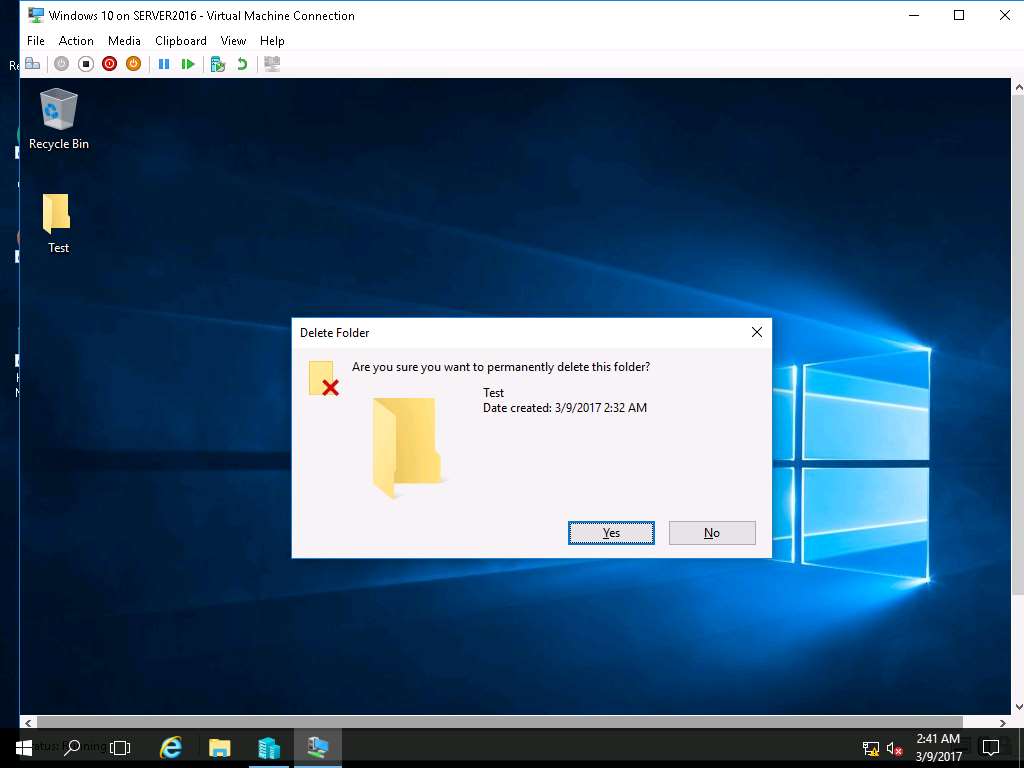
Navigate to Windows 10 VM window and permanently delete Test folder by clicking Shift+Delete button. Delete Folder window appears, click Yes.
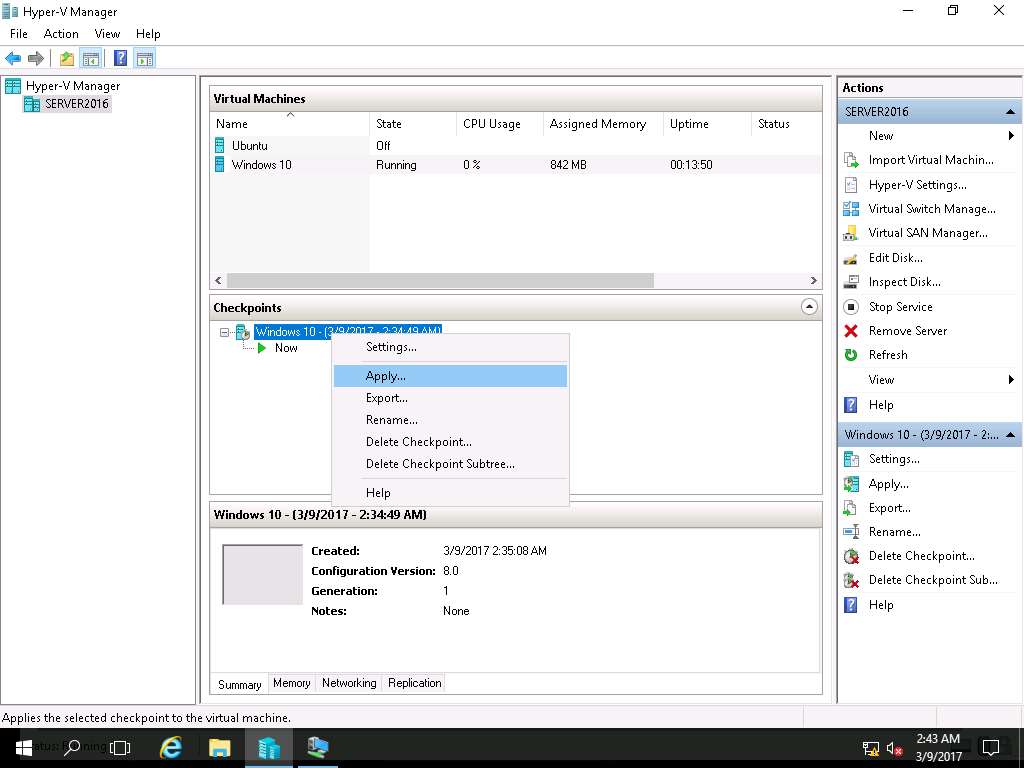
Again, navigate to Hyper-V Manager window. On Checkpoints pane, right-click Windows 10 and select Apply… from the context menu as shown in the screenshot.
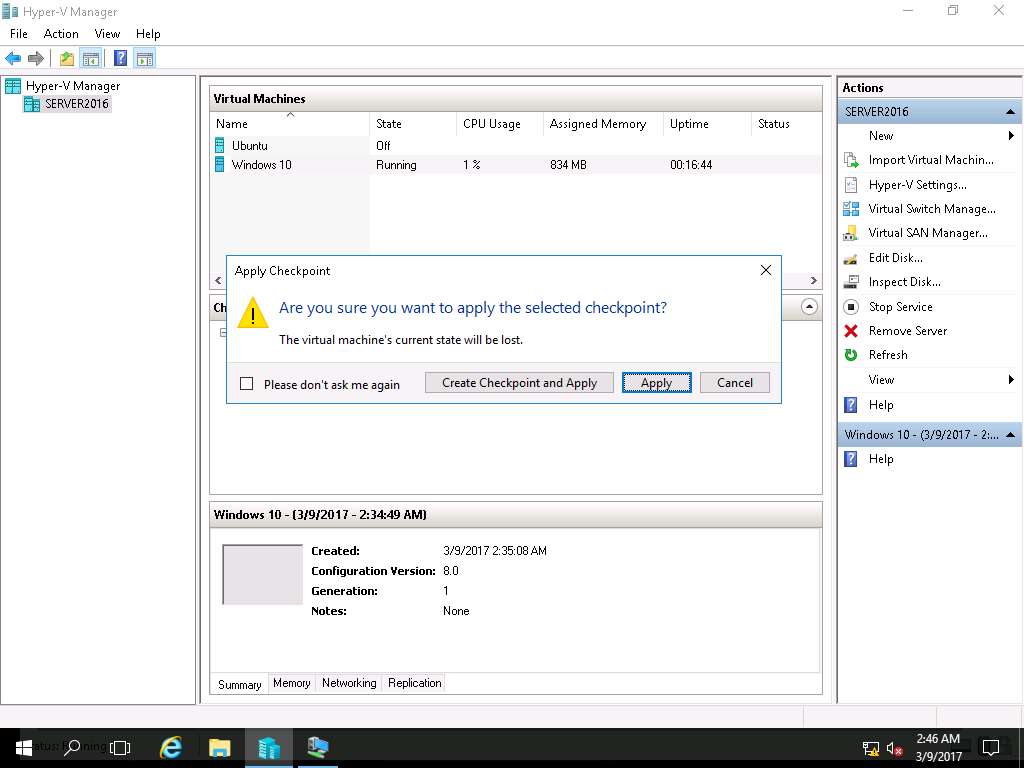
Apply Checkpoints warning window appears, click Apply button to apply the selected checkpoint.
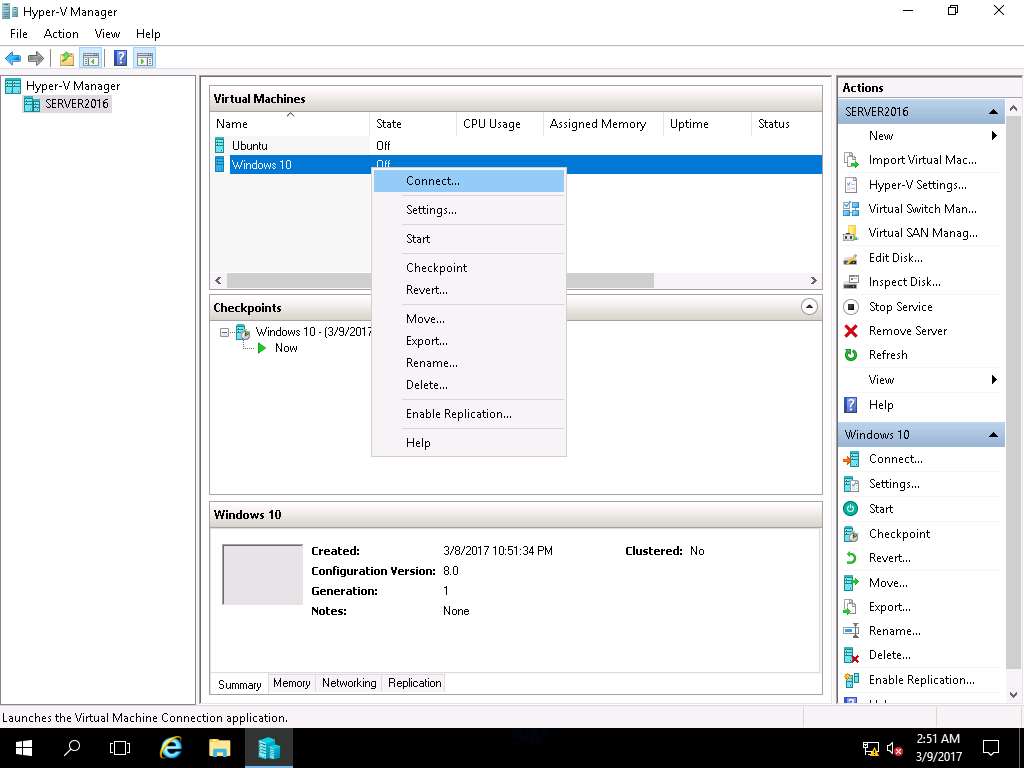
Again right-click Windows 10 in Virtual Machines pane and select Connect… from the context menu.
Windows 10 on SERVER2016 window appears, click Start button to start Windows 10 VM.
Alternatively, click Action on the menu-bar and select Start from the drop-down menu.
Windows 10 lock-screen page appears, double-click on the lock-screen and enter Pa$$w0rd in the password field and press Enter.

Permanently deleted folder Test appears on the desktop screen which demonstrates the successful Checkpoint Restoration of Windows 10 VM.
Backup and Restoration of the Virtual Machines Altaro VM Backup tool
Scenario
Altaro VM Backup is a popular tool to do the backup and restoration of virtual machines running on various virtualization platforms like Hyper-V and VSphere. Taking backup of the virtual machine is a very important task as it is very helpful during the restoration process of the lost data of the virtual machines affected by any disaster.
Lab ObjectivesThis lab demonstrates how to conduct backup and recovery of a virtual machines in a controlled environment using Altaro VM Backup tool.
Lab Scenario
The backup and restoration of the virtual machine is very much needed to protect the important data of the virtual machines and servers. It helps in better protection of critical data in case of occurrence of any disaster like scenario. If all the important data is already backed up, then it increases the level of preparedness of any organization to tackle the situation which arises after any disaster or data loss. As a network administrator, you should be able to conduct the regular task of data backup and restoration of the virtual machines.
Click Machines pane, and click Ctrl+Alt+Delete under Windows Server 2016 thumbnail.
Alternatively you can navigate to Commands menu and click Ctrl+Alt+Delete to login.

Type Pa$$w0rd in the Password field and press Enter.
Alternatively you can click Paste Password from Commands --> Paste options or click clipboard icon under Windows Server 2016 from Machines pane.

Launch Hyper-V Manager by clicking the Hyper-V Manager shortcut icon on the desktop as shown in the screenshot.
Alternatively, you can launch the Hyper-V Manager by navigating to Administrative Tools --> Hyper-V Manager.

Hyper-V Manager window appears, right-click Windows 10 in the Virtual Machines pane and select Connect… from the context menu.

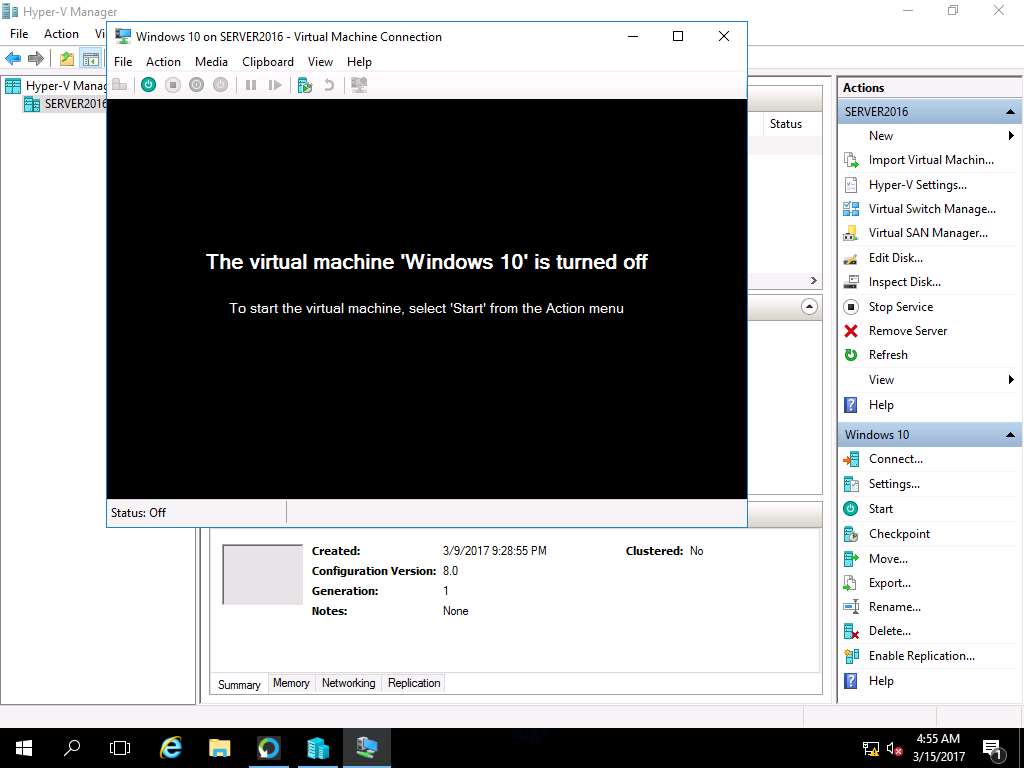
Windows 10 on SERVER2016 window appears, click Start button to start Windows 10 VM.
Alternatively, click Action on the menu-bar and select Start from the drop-down menu.
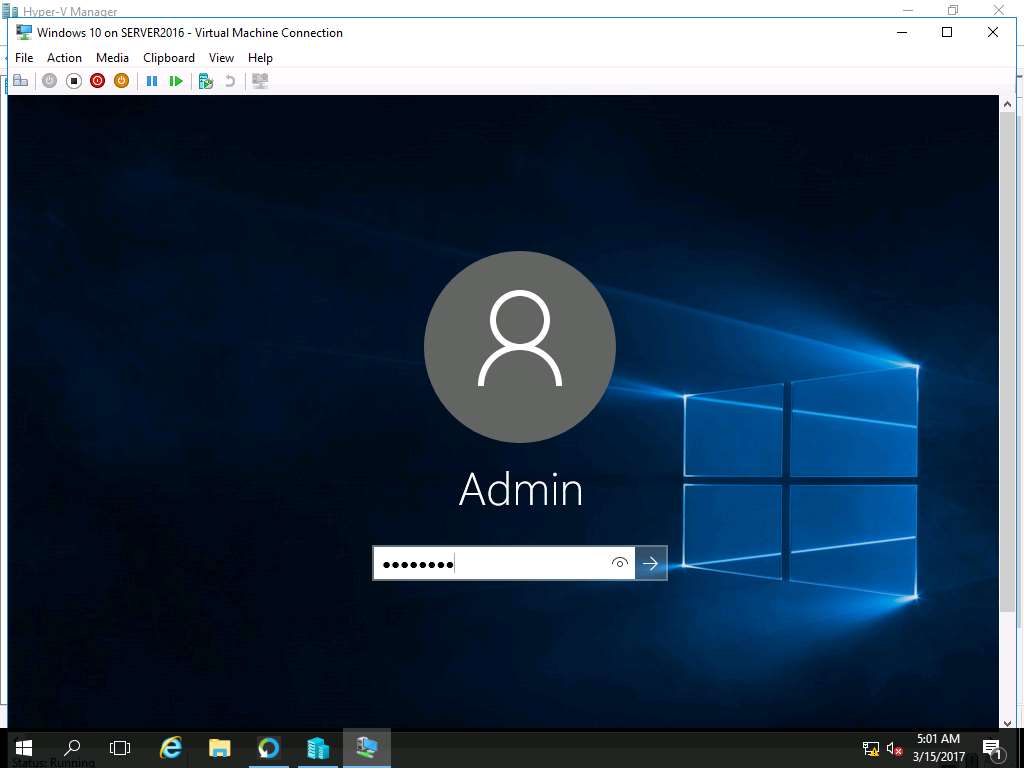
Windows 10 lock-screen page appears, double-click on the lock-screen and enter Pa$$w0rd in the password field and press Enter.
Right-click on the Desktop of Windows 10 VM and select New and select Folder from the context menu.
Rename the New Folder as Test.
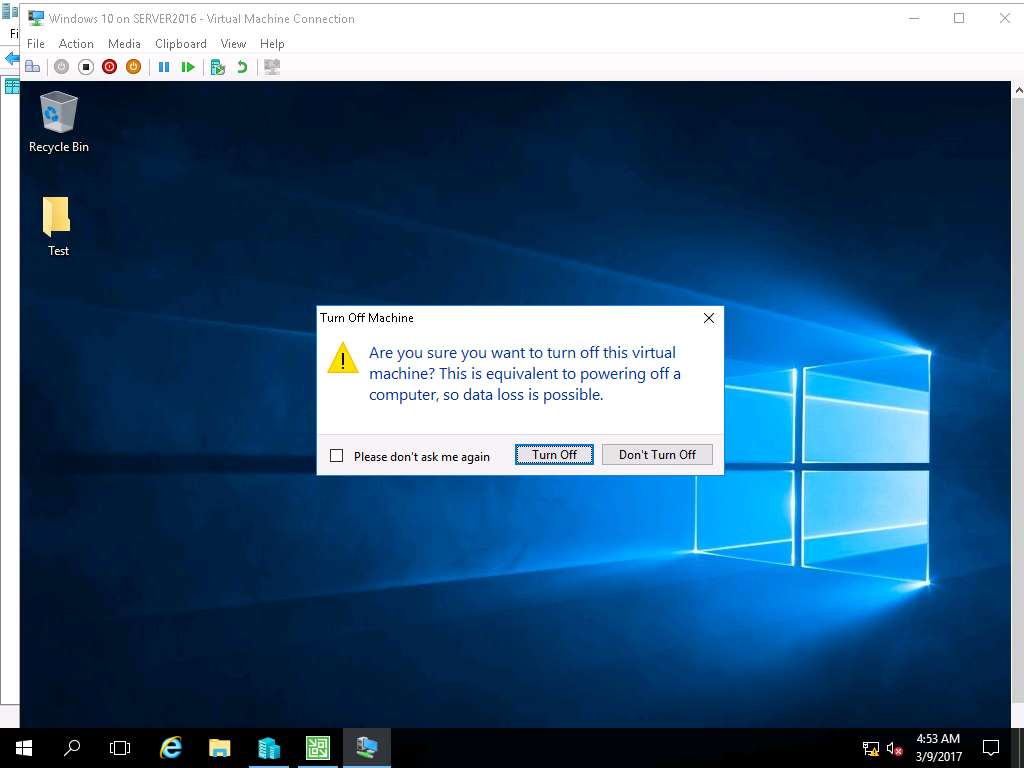
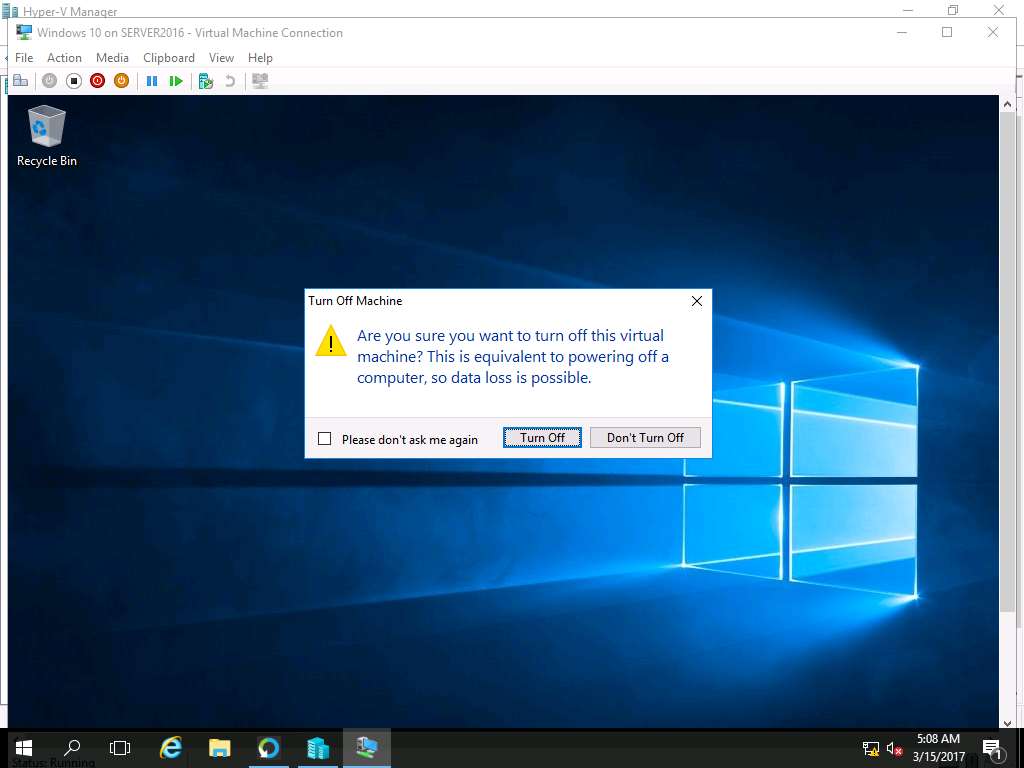
Click Turn-off button on the menu-bar to shut down Windows 10 VM. Warning window appears, click Turn Off button.
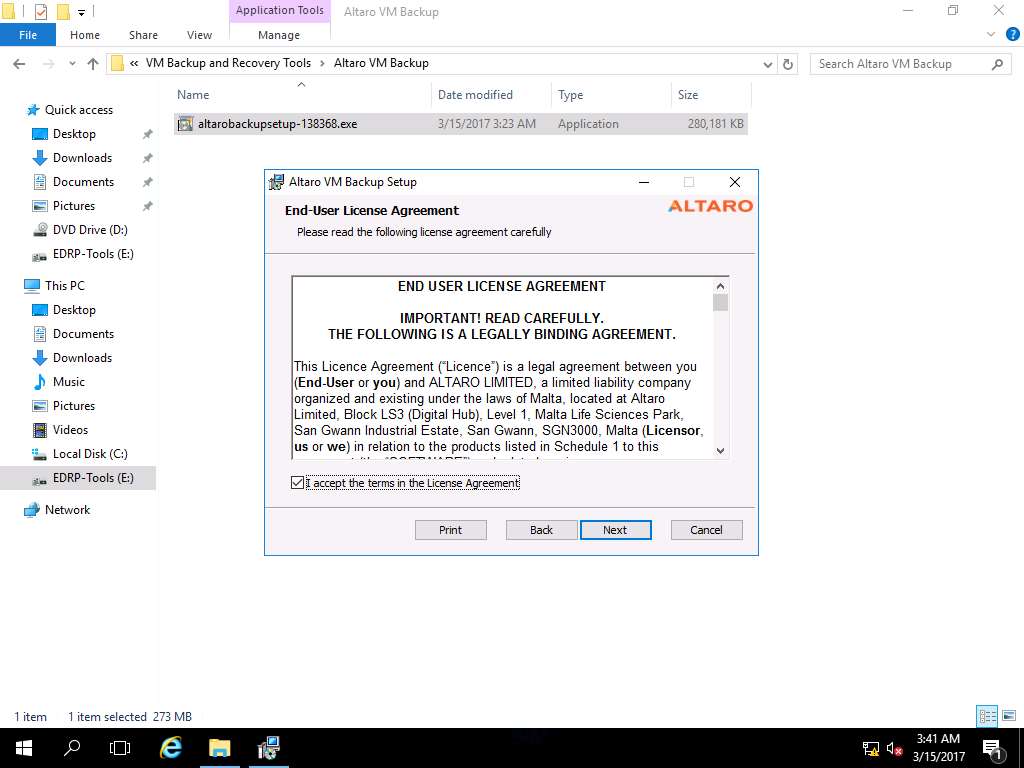
To install Altaro VM Backup tool, navigate to E:\EDRP Module 08 Virtualization Based Disaster Recovery\VM Backup and Recovery Tools\Altaro VM Backup and double-click altarobackupsetup-138368.exe to install.

Altaro VM Backup Setup Wizard appears, click Next to continue.

End-User License Agreement wizard appears, click I accept the terms in the License Agreement check-box and click Next.
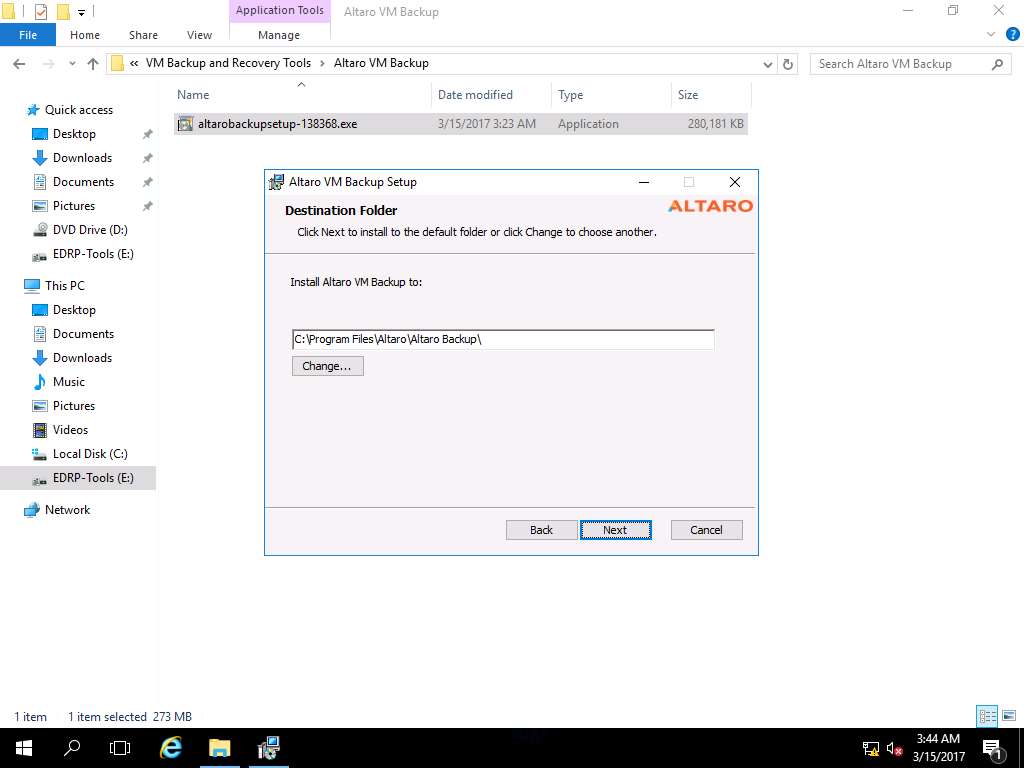
Destination Folder wizard appears, click Next to use default destination folder.
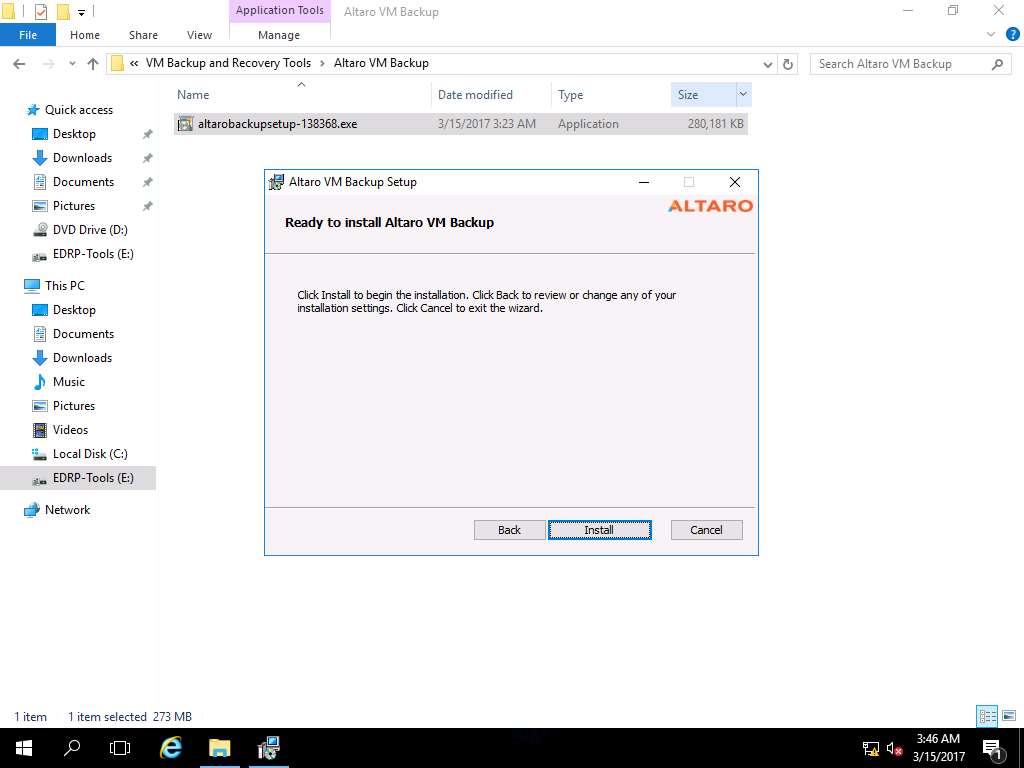
Ready to install Altaro VM Backup wizard appears, click Install to start the installation.
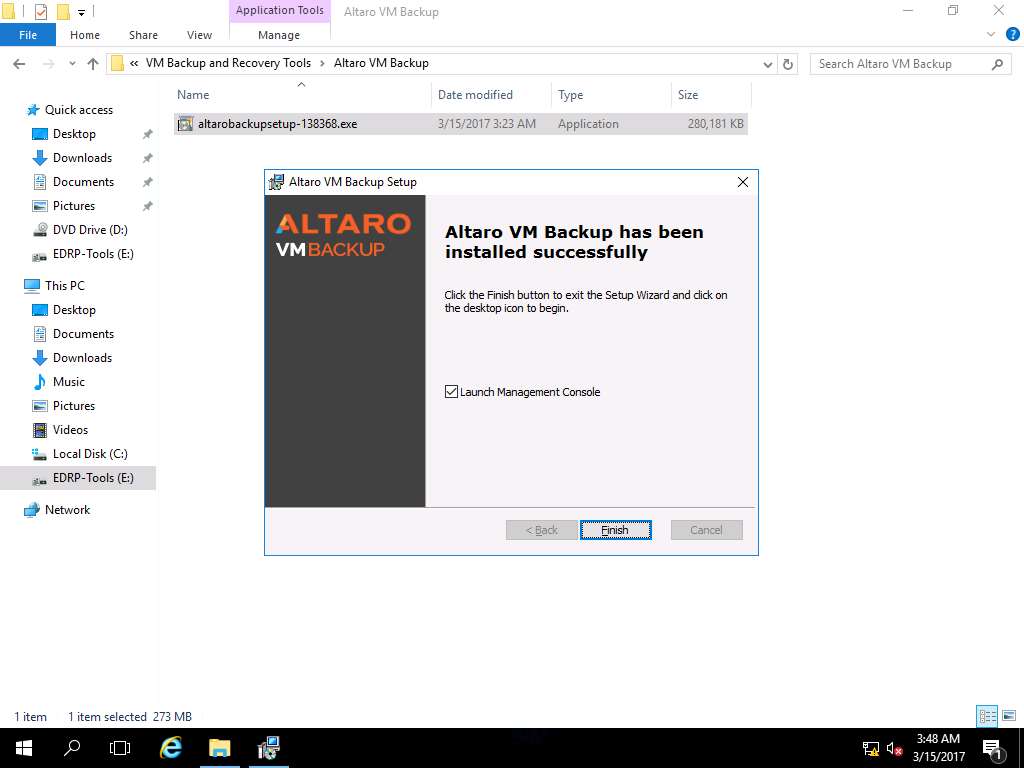
After successful installation, Altaro VM Backup Setup Wizard appears, Launch Management Console radio button is selected by default. Click Finish to continue.
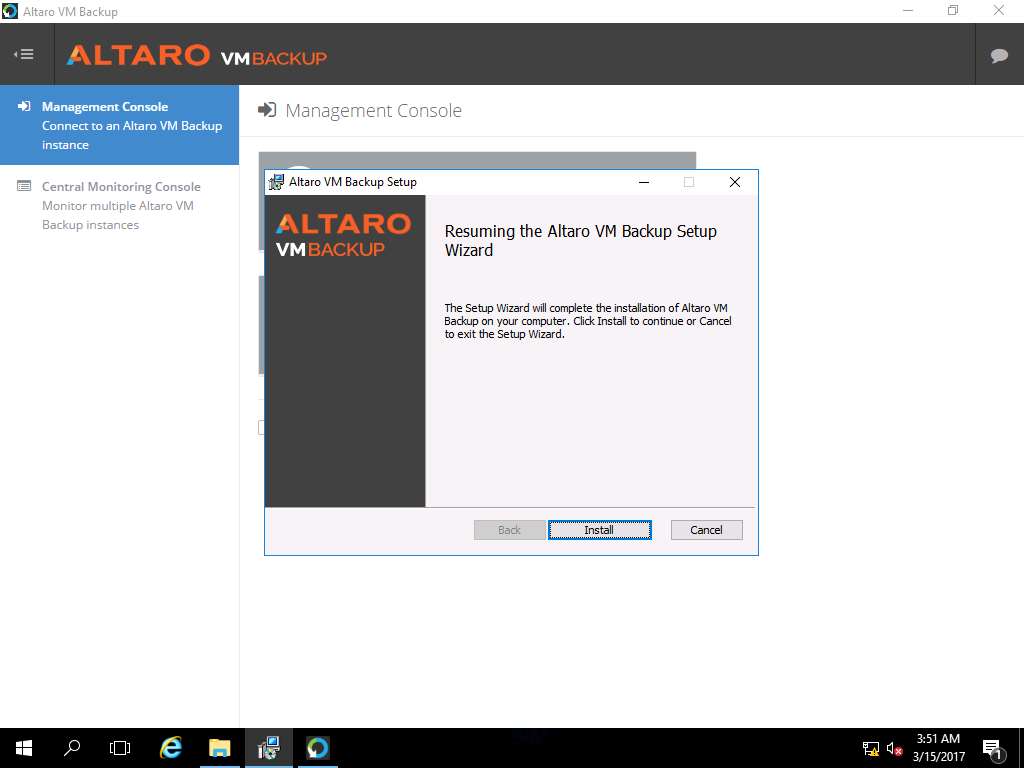
Again navigate to Altaro VM Backup Setup Wizard, click Install to continue.
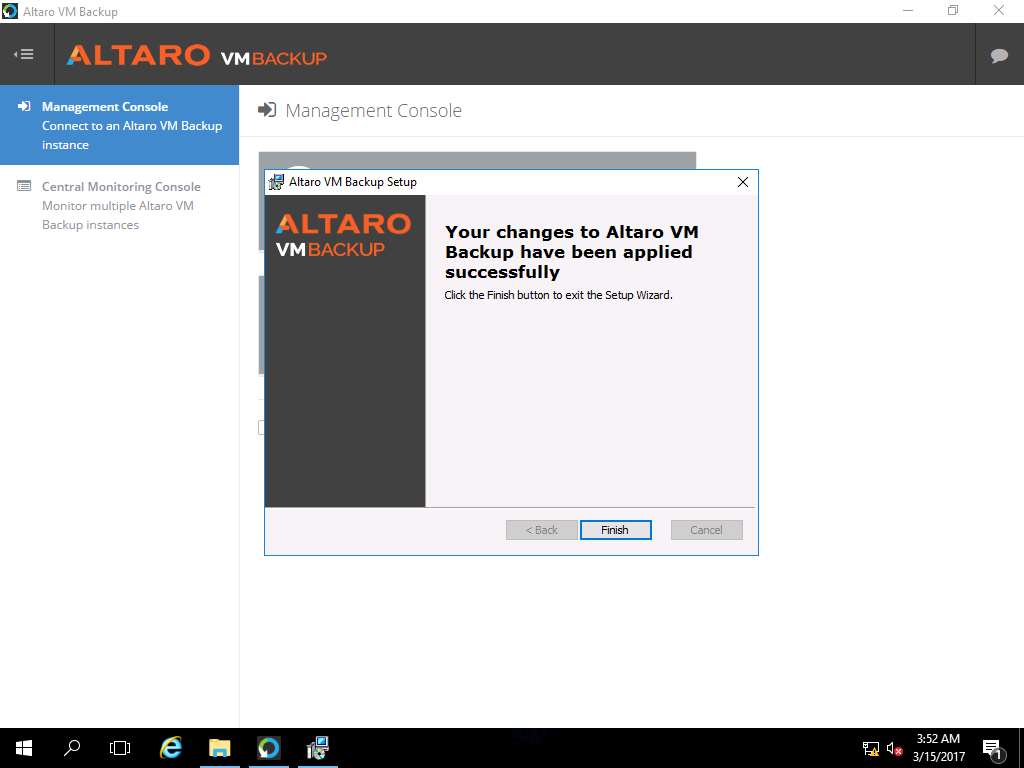
Altaro VM Backup Setup Wizard appears, click Finish to close the setup wizard.
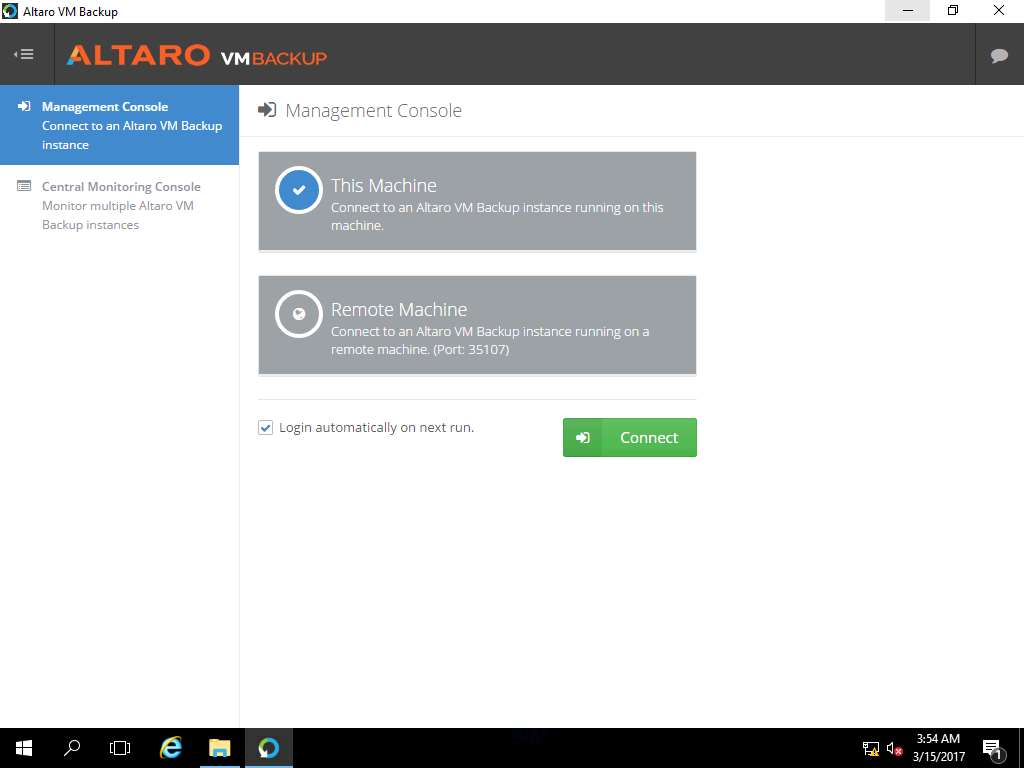
Altaro VM Backup window appears, in Management Console pane click This Machine option. Click Login automatically on next run radio button and click Connect.
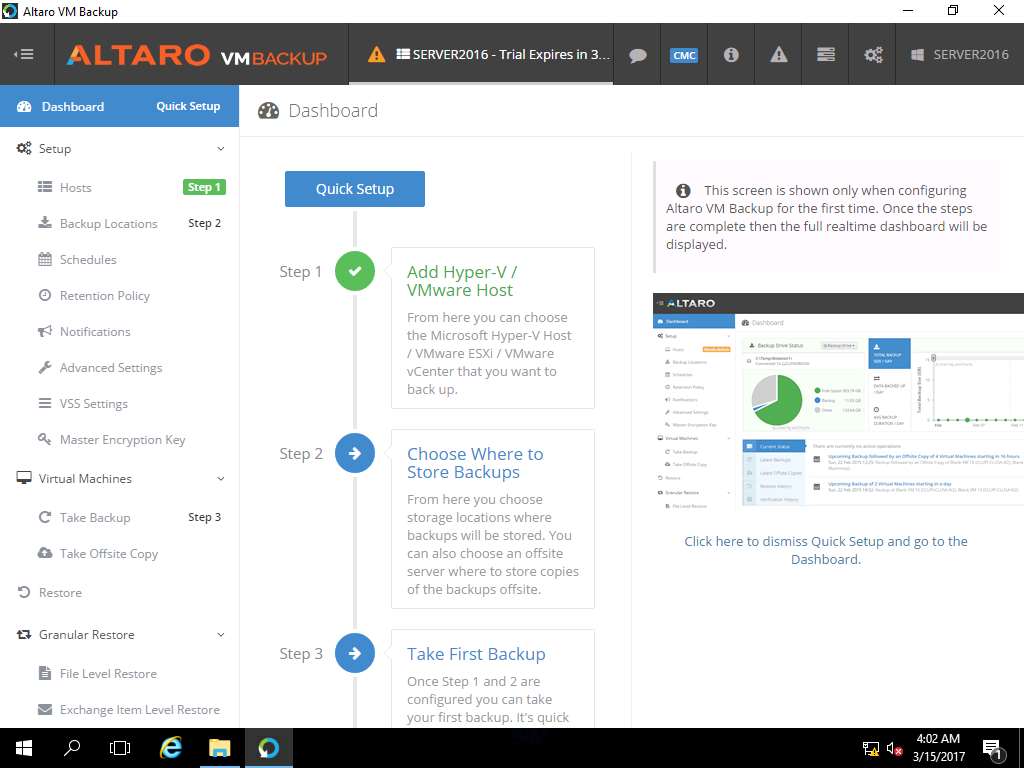
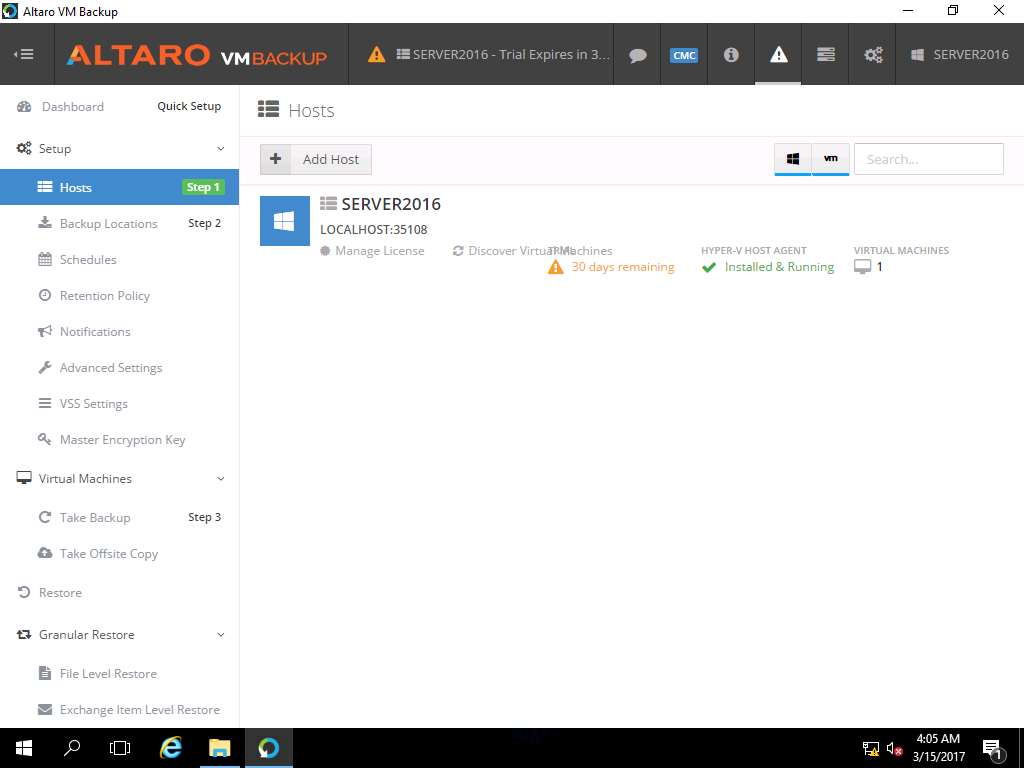
Dashboard page appears, click Hosts option present on the Setup pane in the left side of the window.
This action will help Altaro VM Backup tool to detect the number of Guest Machines available in the Hyper-V of the Guest Machine.
Again in Setup pane, click Backup Locations in order to specify the destination folder for the storage of backups.
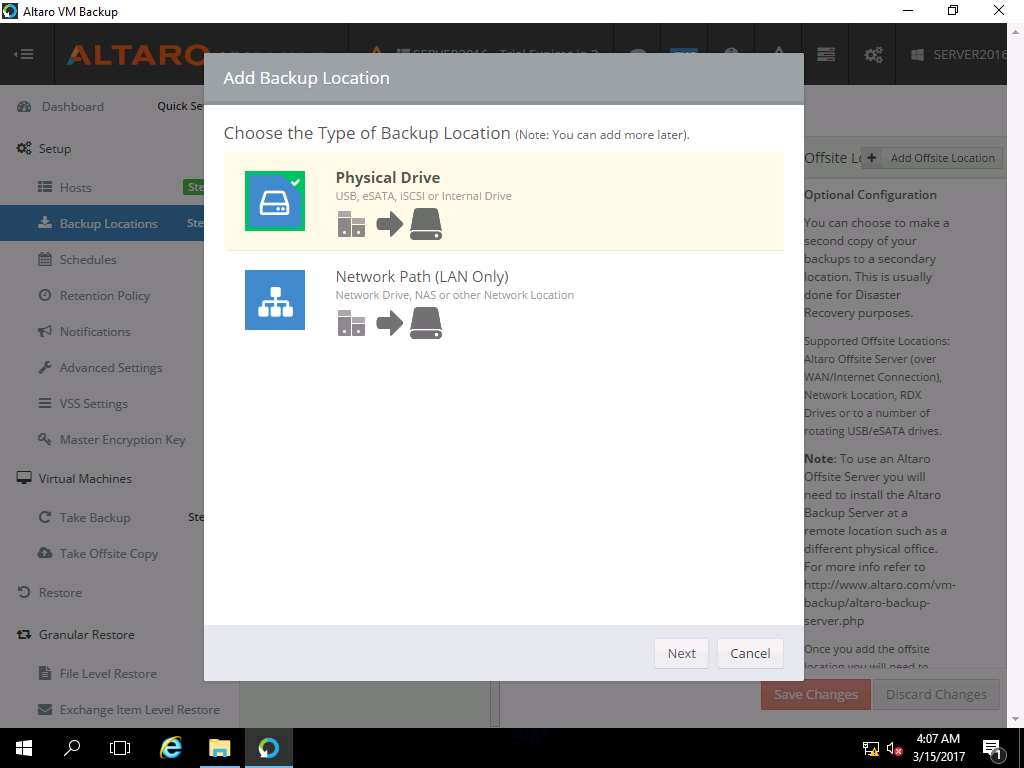
Add Backup Location pop up window appears to select the type of the backup location. Click Physical Drive option and click Next.
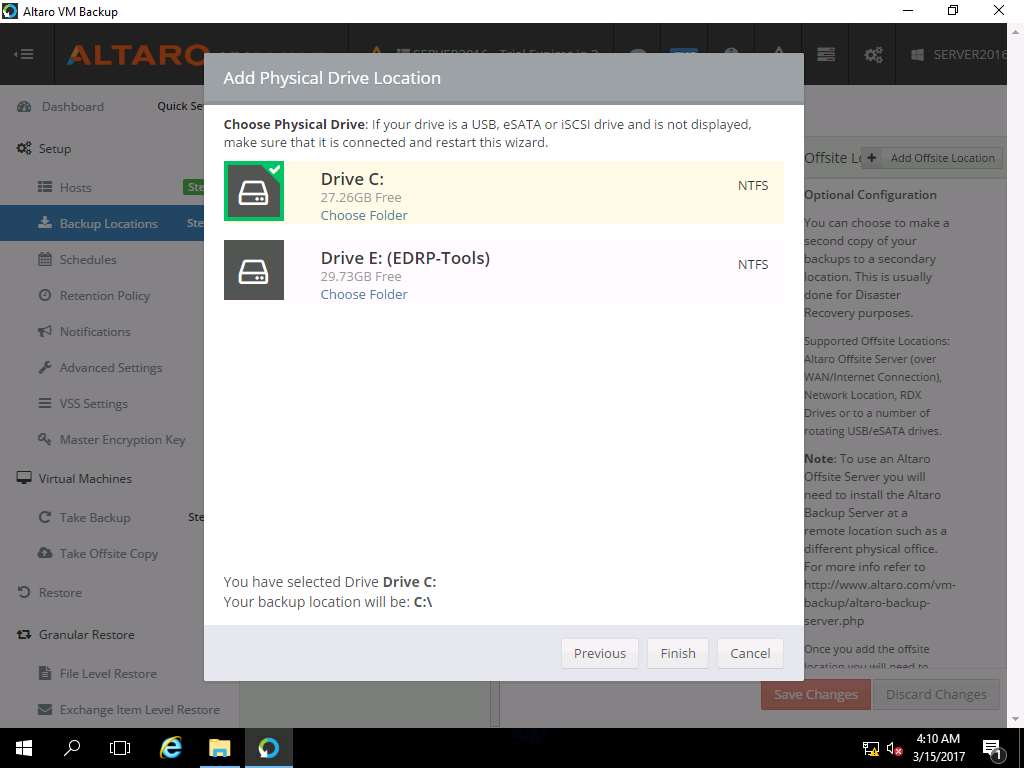
Add Physical Drive Location window appears, select Drive C: and click Finish as shown in the screenshot.
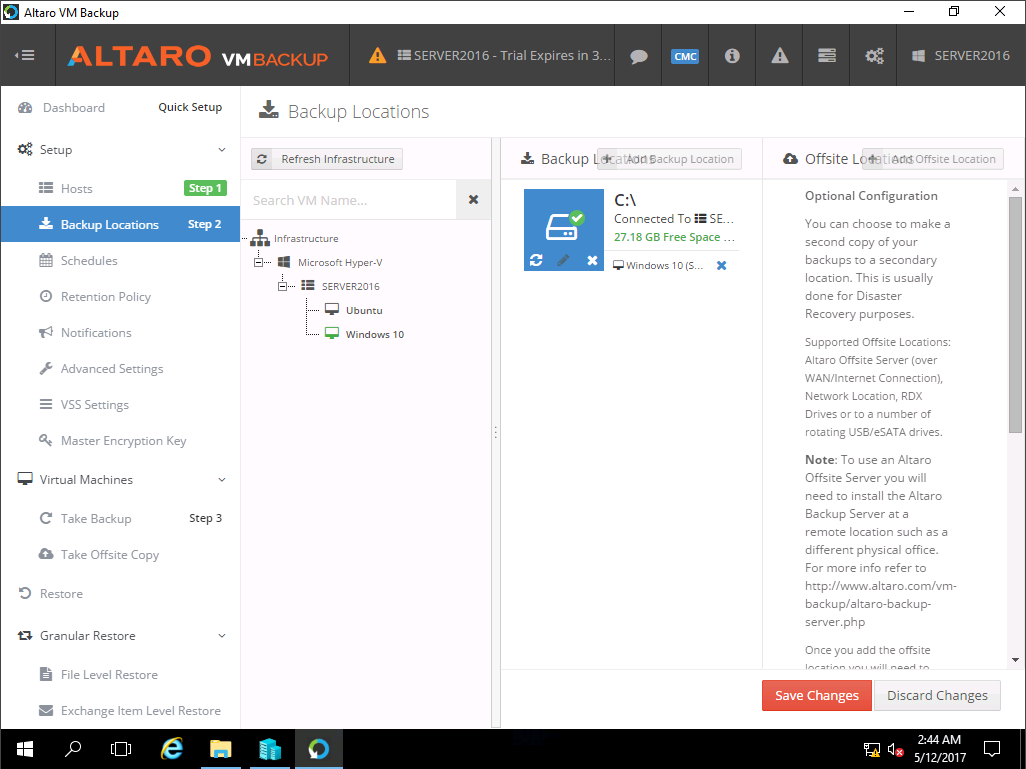
Backup Locations page appears, Drag and Drop the Windows 10 VM to the assigned location *C:* and click Save Changes button present on the bottom of the window.
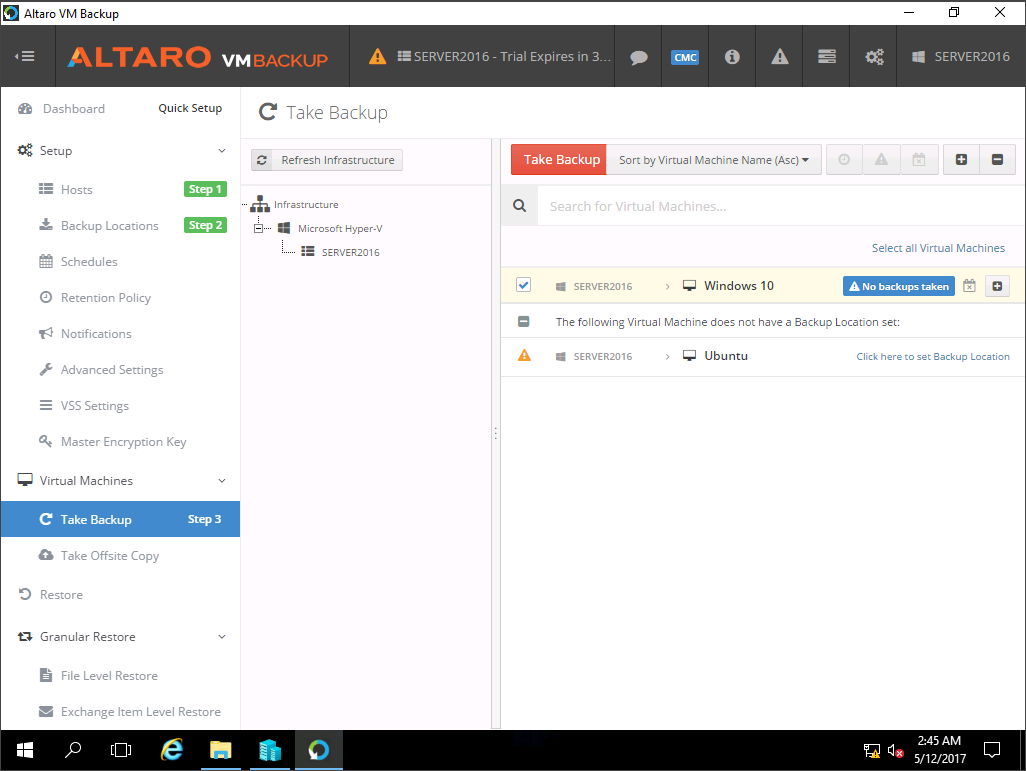
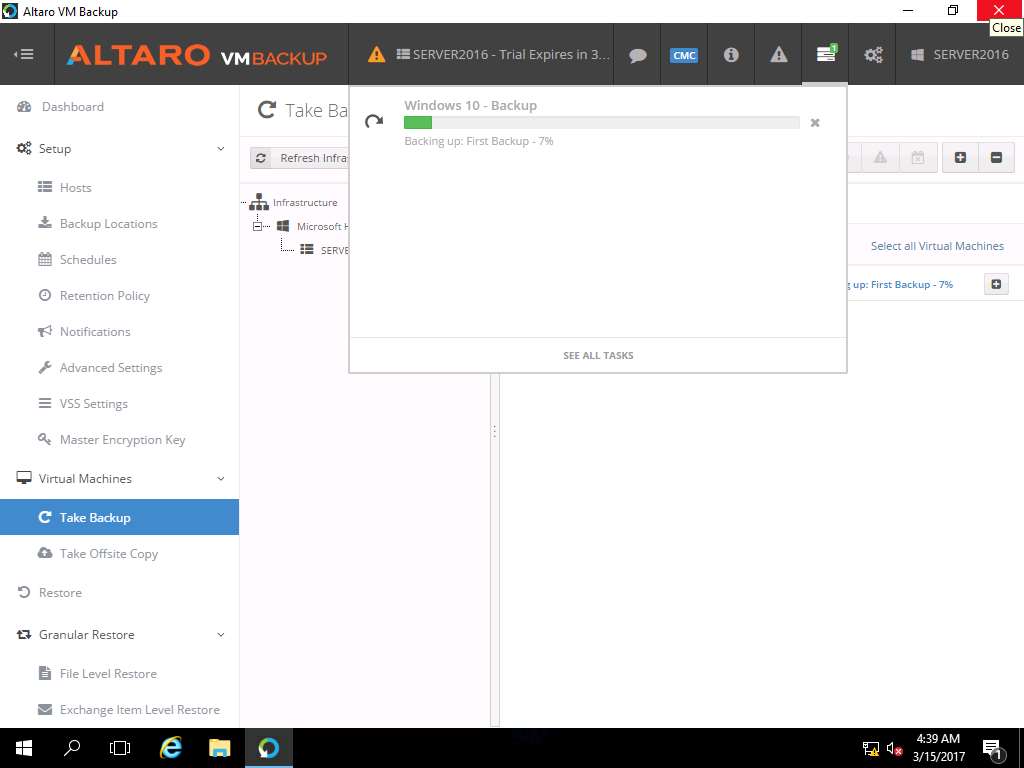
Click Take Backup option in Virtual Machines pane present on the left side of the window. Select Windows 10 check-box and click Take Backup on the right pane. This will start the backup process.
To see the backup progress of Windows 10 VM, click on the notification icon present in the menu-bar as shown in the screenshot.
After completion of backup, navigate to the Windows 10 Hyper-V window and click Start button.
Windows 10 lock-screen page appears, double-click on the lock-screen and enter Pa$$w0rd in the password field and hit Enter.
Windows 10 desktop appears, permanently delete folder: Test by using Shift+Delete keyboard shortcut key. Delete Folder window appears, click Yes.
This action will demonstrate the permanent data loss in the virtual machines.

Click Turn-off button to shut down Windows 10 VM. Warning window appears, click Turn Off button.
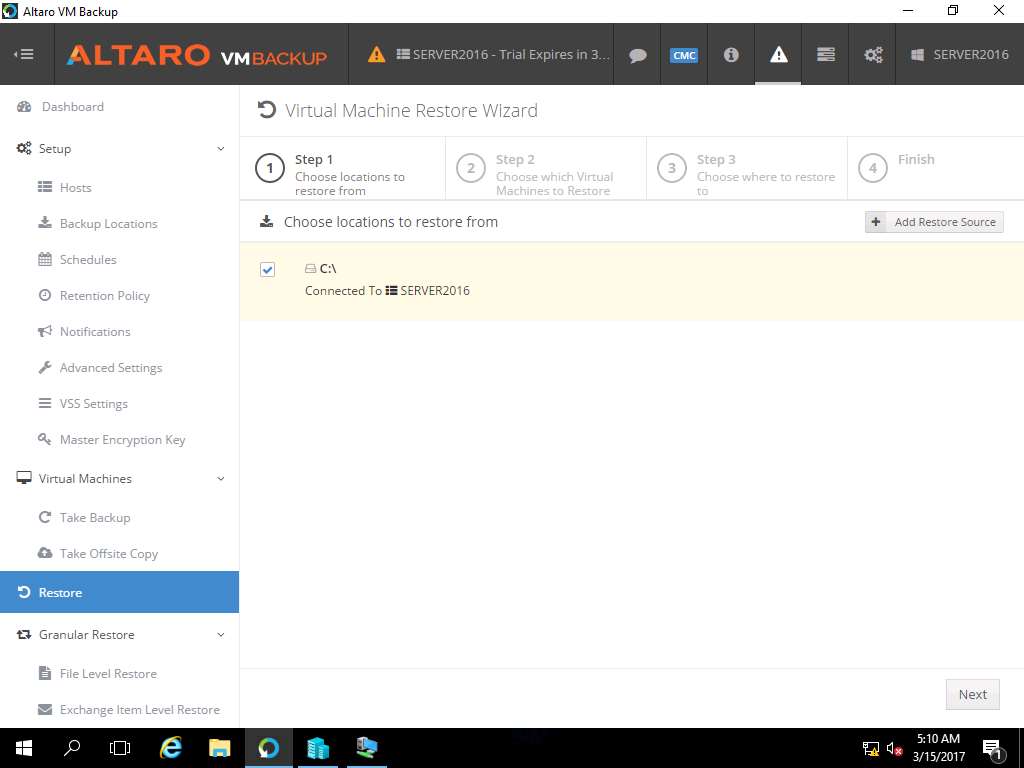
Again, navigate to Altaro VM Backup window. In left pane, select Restore. In left pane of the Virtual Machine Restore Wizard, select *C:* checkbox and click Next as shown in the screenshot.
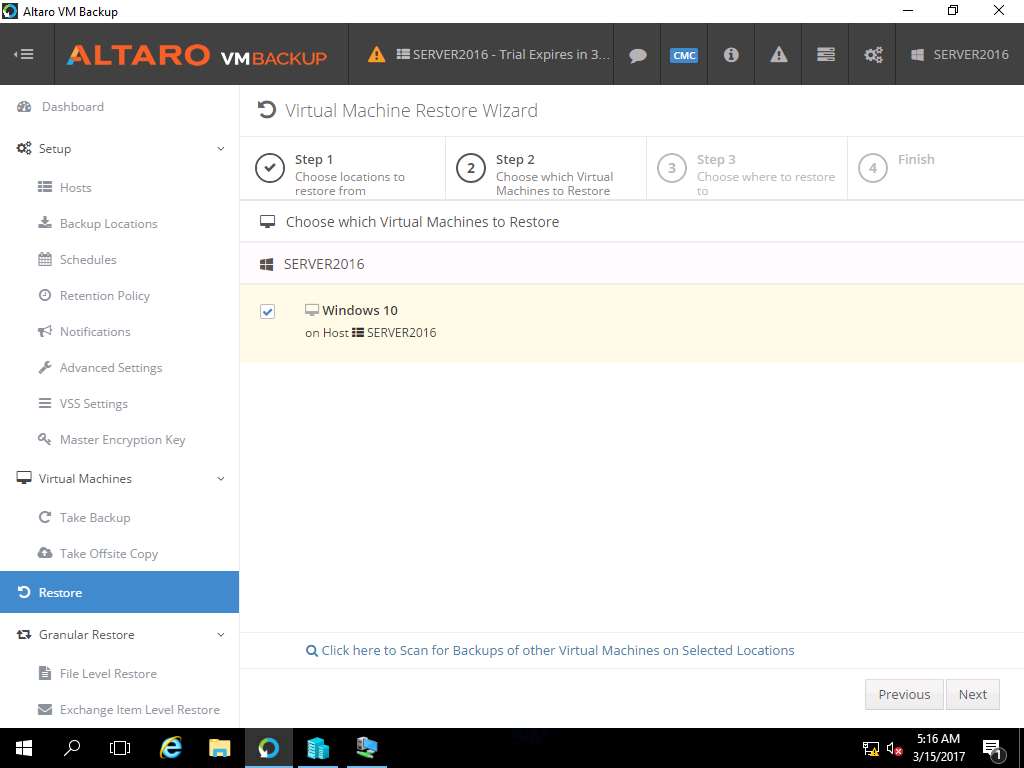
Choose Which Virtual Machine to Restore page appears, select Windows 10 checkbox and click Next.
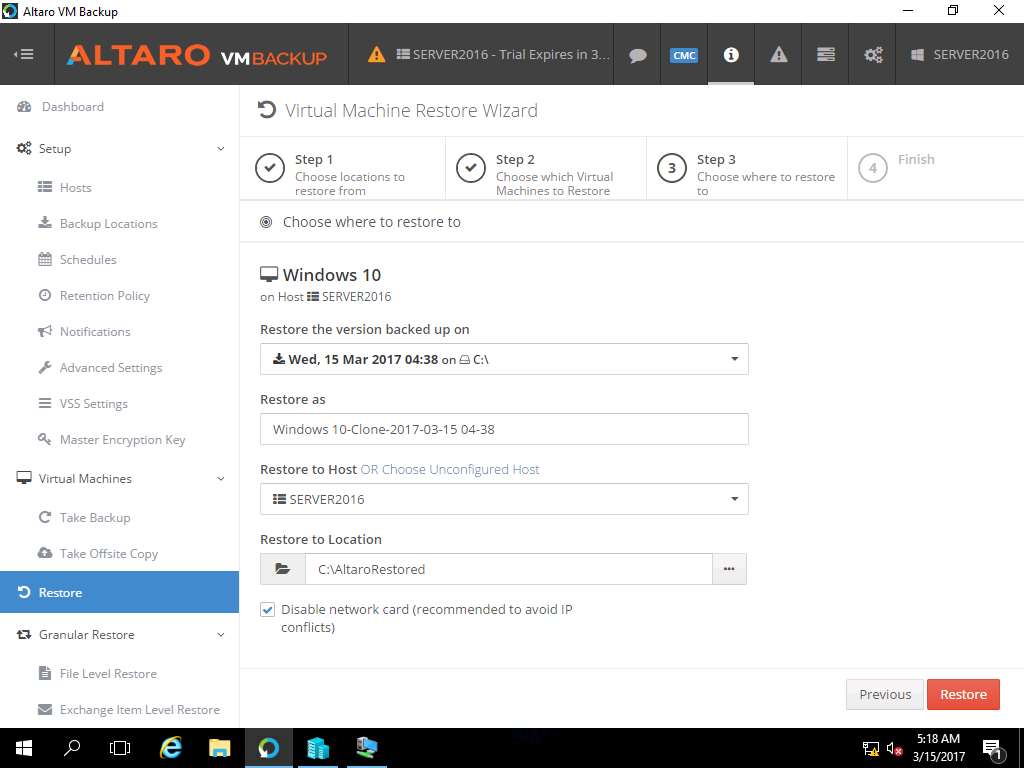
Choose Where to Restore to page appears, leave the settings to default and click Restore to start the restoration process.
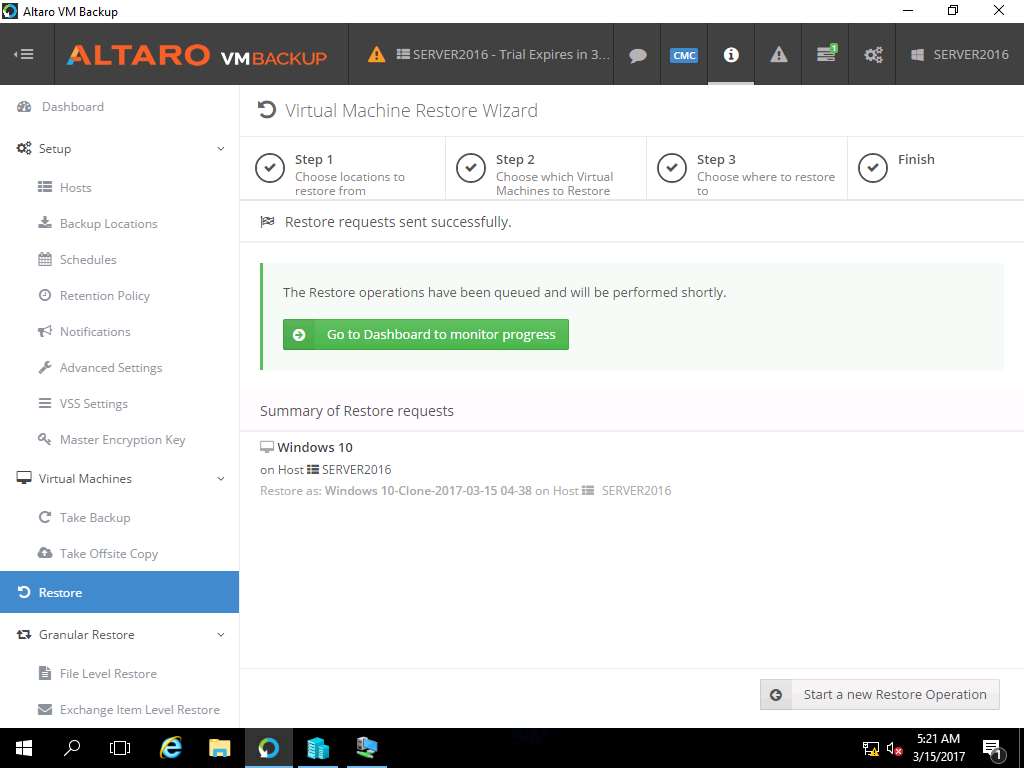
Restore request sent successfully page appears, click Go to Dashboard to monitor progress to see the restoration progress.
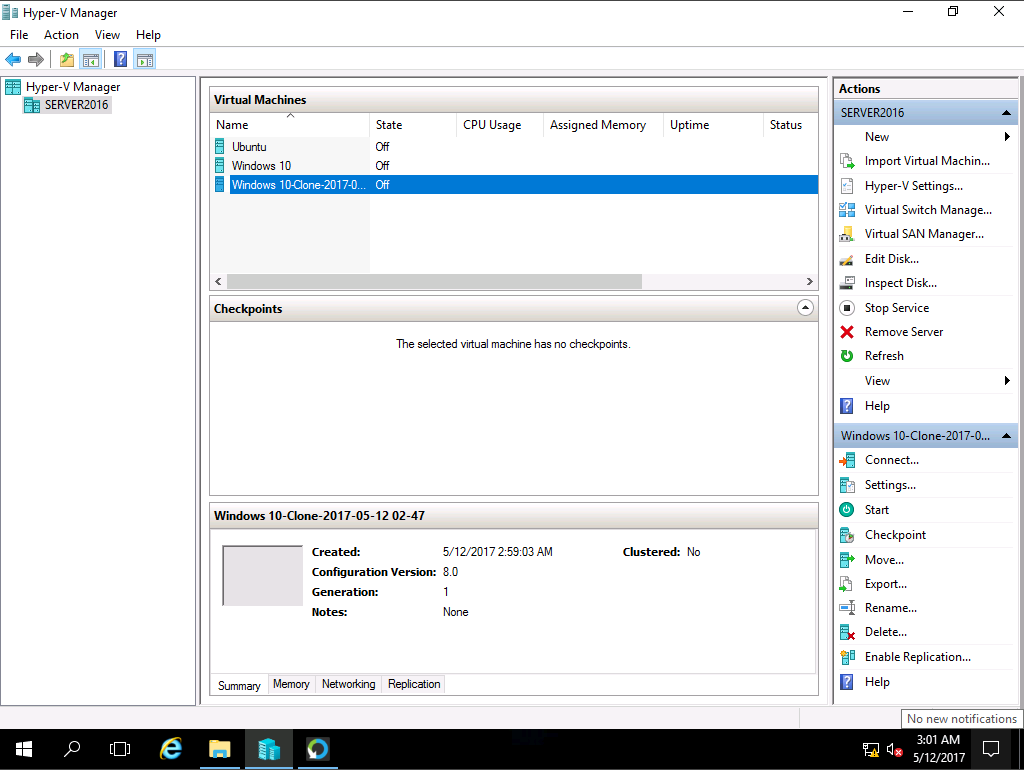
After successful restoration of the Windows 10 VM, navigate to Hyper-V Manager. Windows 10-Clone-2017-30-15 04-38 named new virtual machine appears in the Hyper-V Manager as shown in the screenshot
The name of the cloned VM may change in different lab scenarios.
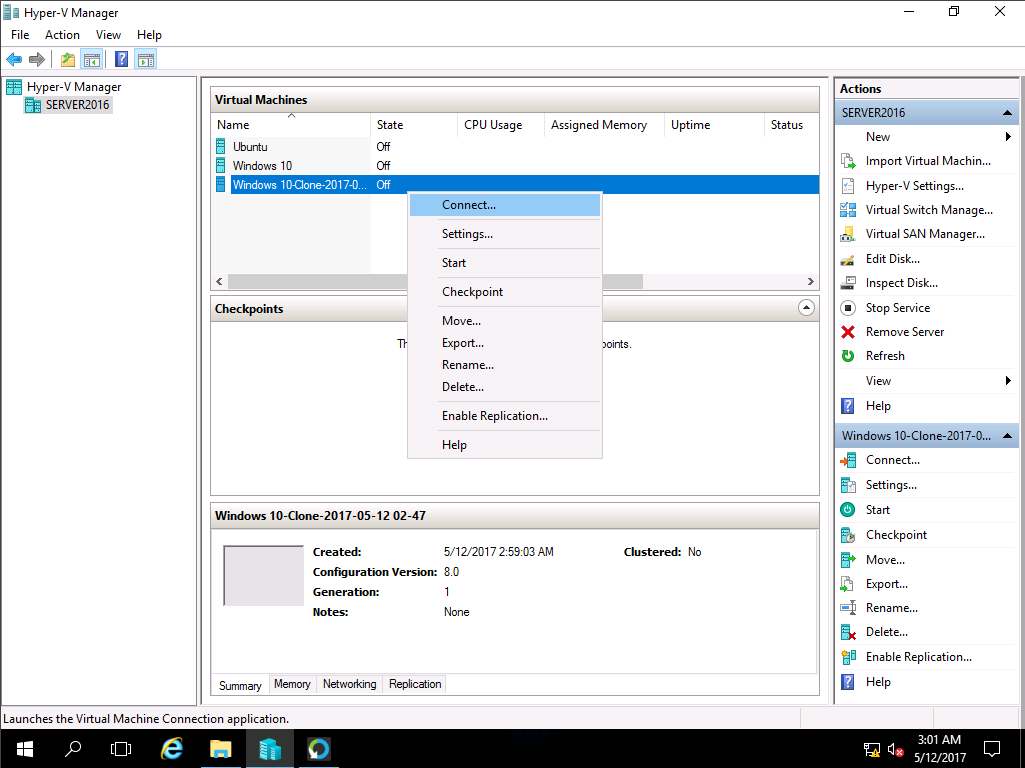
Right-click Windows 10-Clone-2017-30-15 04-38 in the Virtual Machines pane and select Connect… from the context menu.
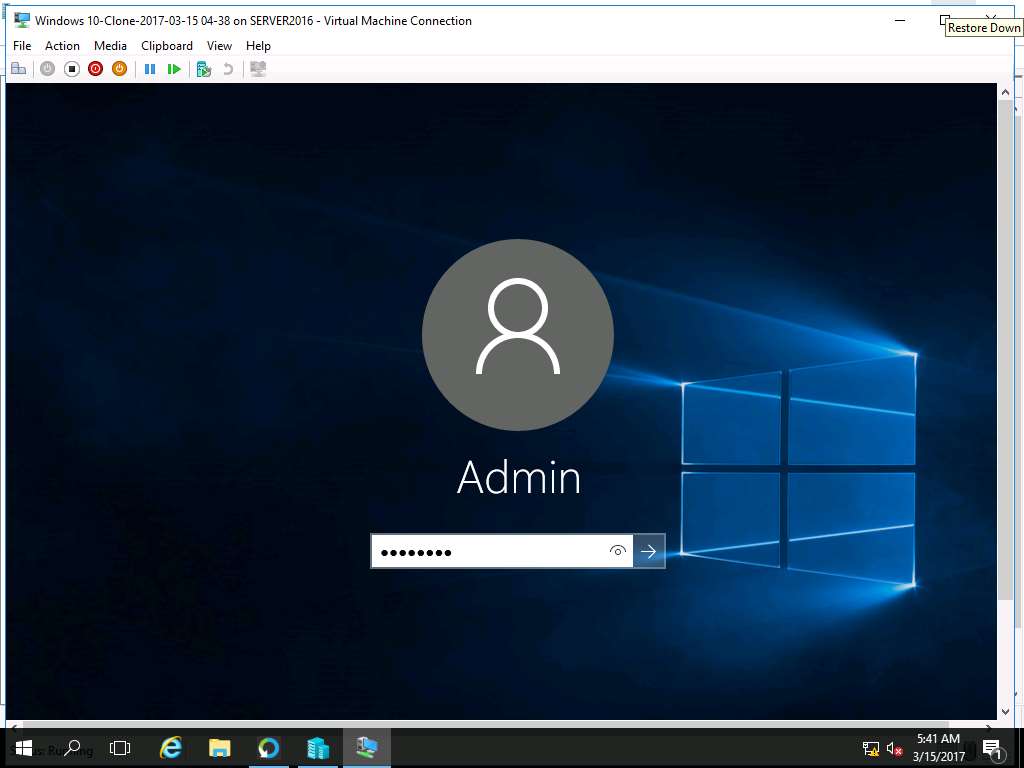
Windows 10-Clone-2017-30-15 04-38 on SERVER2016 window appears, click Start button to start Windows 10 VM.
Alternatively, click Action on the menu-bar and select Start from the drop-down menu.

Windows 10 lock-screen page appears, double-click on the lock-screen and enter Pa$$w0rd in the password field and press Enter.
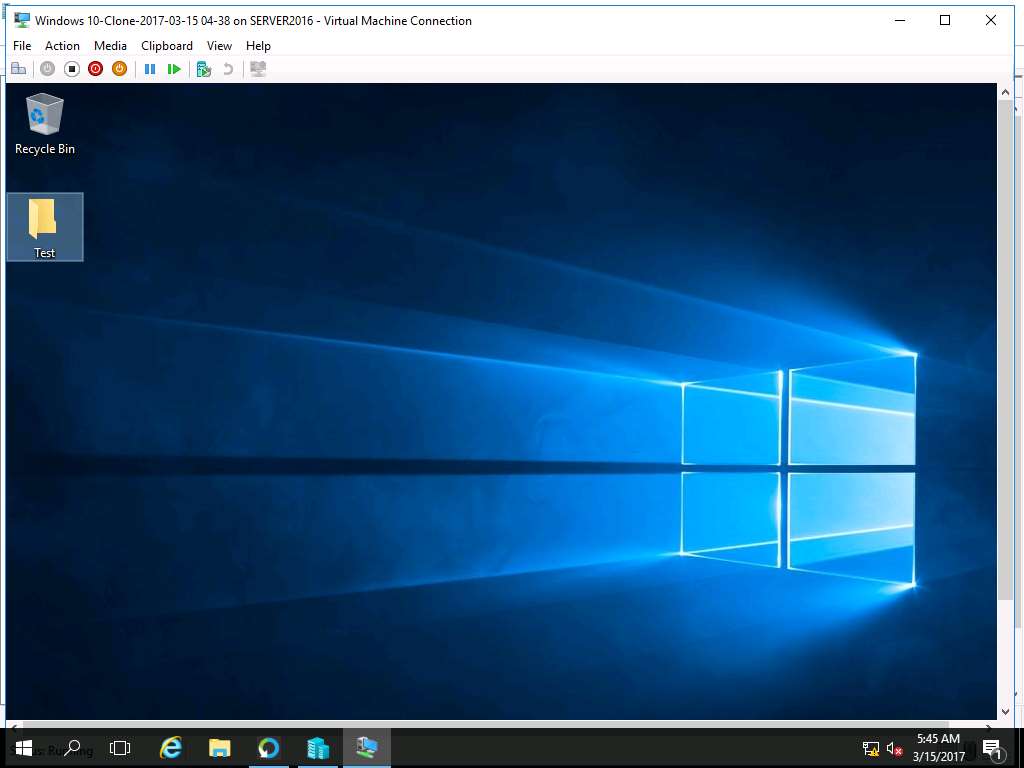
After login, the permanently deleted folder Test appears on the desktop, which demonstrates the successful restoration of Windows 10 VM using Altaro VM Backup tool.
In this lab you will learn how to conduct backup and recovery of a virtual machines in a controlled environment using Altaro VM Backup tool.