Module 03: Risk Assessment
Objective
Labs in this module demonstrate Qualitative Risk Assessment. Risk assessment is a structured process by which risks are identified and evaluated. In the context of Business Continuity Planning (BCP), it enables an organization to understand the potential threats to its most critical resources and processes. By anticipating the potential impacts that risks can have, an organization can manage and mitigate the risks. As a disaster recovery professional you should know how to perform risk analysis using various tools like PILAR Basic.
Scenario
In any organization, it is very important to perform a Qualitative Risk Assessment to identify and analyze the possible risk event and its impact if and when it occurs. Qualitative Risk Assessment works on relative or descriptive measures to analyze the probability of the risk occurring. In a qualitative analysis, likelihood or probability is measured using a relative scale using terms such as low, moderate, high. Risk assessment gives an insight towards security and integrity of different aspects of IT infrastructure of an organization.
Qualitative Risk Assessment using PILAR Risk Management Tool
Scenario
Qualitative risk assessment is the process of using non-numerical based methods to identify and analyze the risk event and its impact if and when it occurs. It works on relative or descriptive measures to analyze the probability of the risk occurring.
Lab Objectives
This lab demonstrates how to perform a Qualitative Risk Assessment using PILAR Risk Management Tool.
Lab Scenario
This lab focuses on performing a Qualitative Risk Assessment using PILAR Risk Management Tool. Qualitative Risk Assessment is the process of using non-numerical based methods to identify and analyze the risk event and its impact if and when it occurs. It works on relative or descriptive measures to analyze the probability of the risk occurring. In a qualitative analysis, likelihood or probability is measured using a relative scale using terms such as low, moderate, high, and so on. As a disaster recovery professional, you must know how to perform Qualitative Risk Assessment in order to understand the potential threats to most critical aspects, supports resources and their potential impact if any disaster happens.
Click Machines pane, and click Ctrl+Alt+Delete under Windows Server 2016 thumbnail.
Alternatively you can navigate to Commands menu and click Ctrl+Alt+Delete to login.

Type Pa$$w0rd in the Password field and press Enter.
Alternatively you can click Paste Password from Commands --> Paste options or click clipboard icon under Windows Server 2016 from Machines pane.
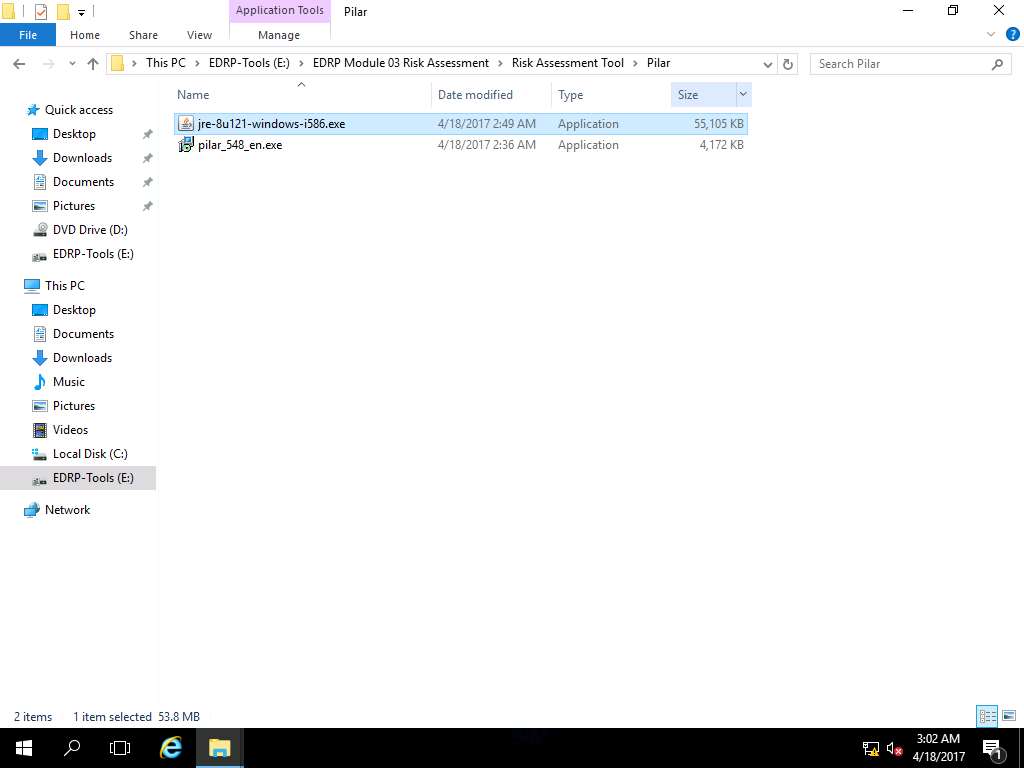
Navigate to E:\EDRP Module 03 Risk Assessment\Risk Assessment Tool\Pilar and double-click jre-8u121-windows-i586.exe to install Java as shown in the screenshot.
To install PILAR Basic tool, it is required that the system must be installed with the latest version of Java.
Java Setup - Welcome wizard appears, click Install to continue with the installation process.

Java Setup Complete wizard appears after the completion of installation process. Click Close as shown in screenshot.
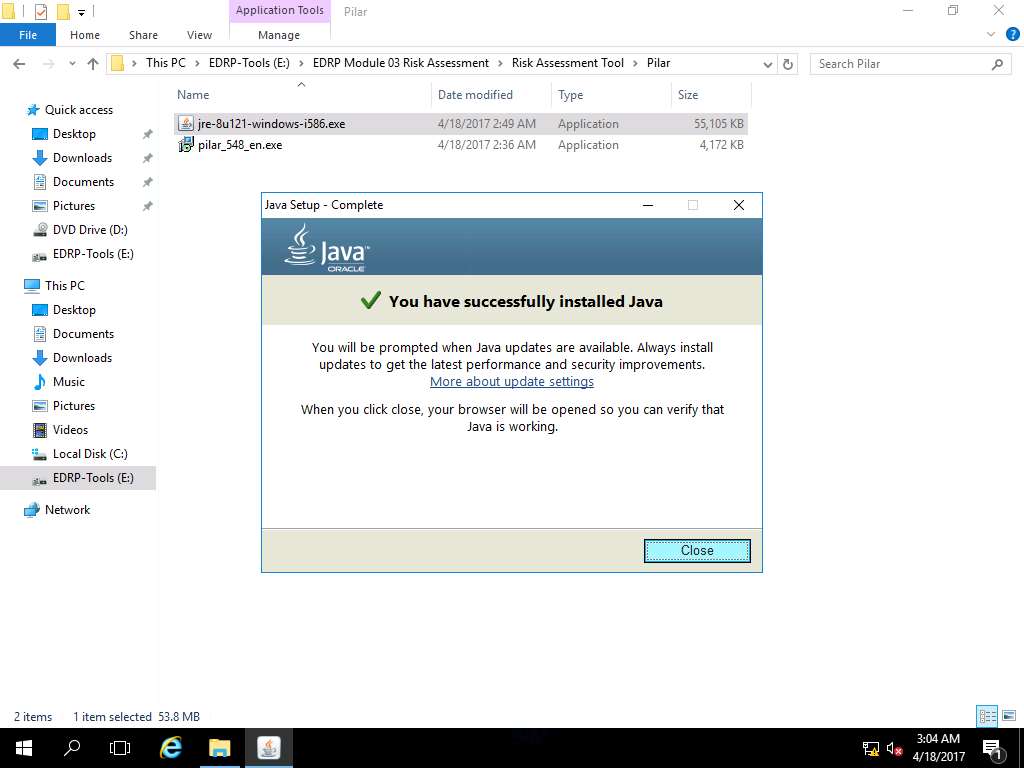
After clicking Close button, Internet Explorer 11 window appears. Click Ask me later.
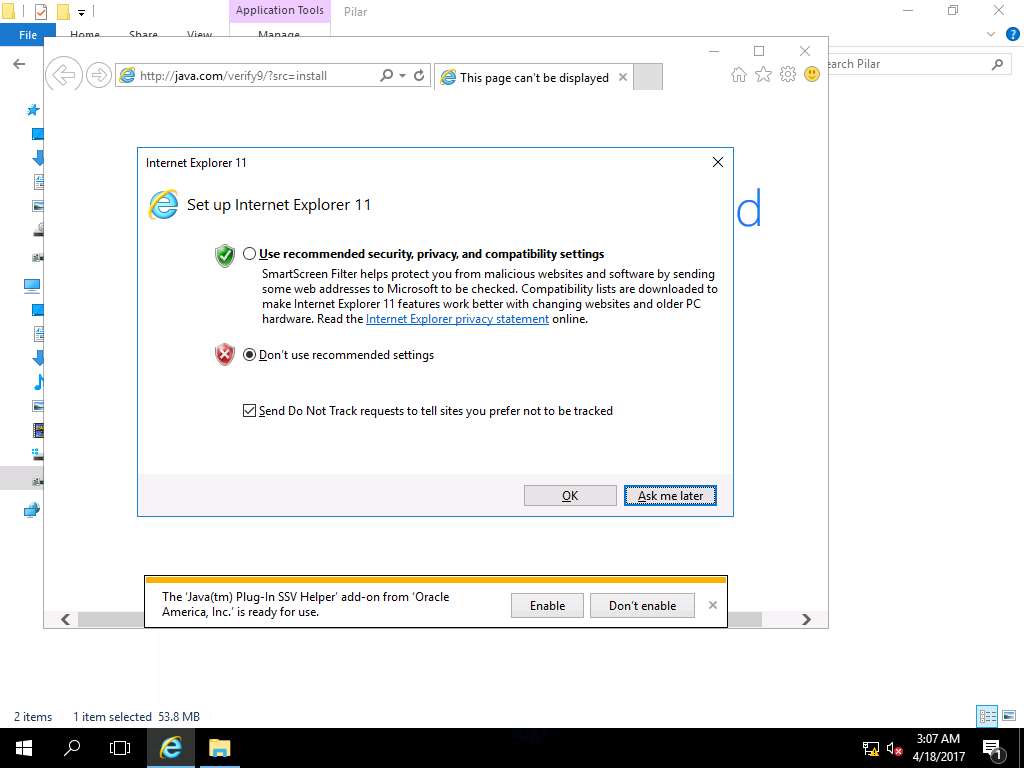
Click Close button to close Internet Explorer.
Internet Explorer pop up appears, click Close all tab.
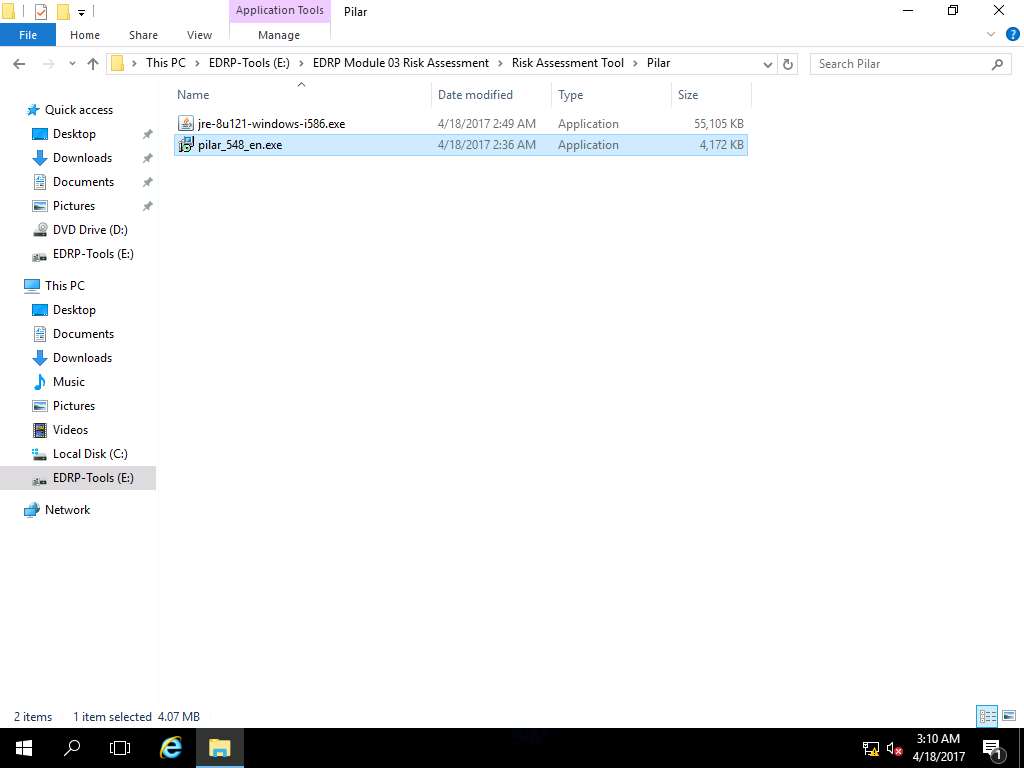
To install PILAR tool, navigate to E:\EDRP Module 03 Risk Assessment\Risk Assessment Tool\Pilar and double-click pilar_548_en.exe to install PILAR as shown in the screenshot.
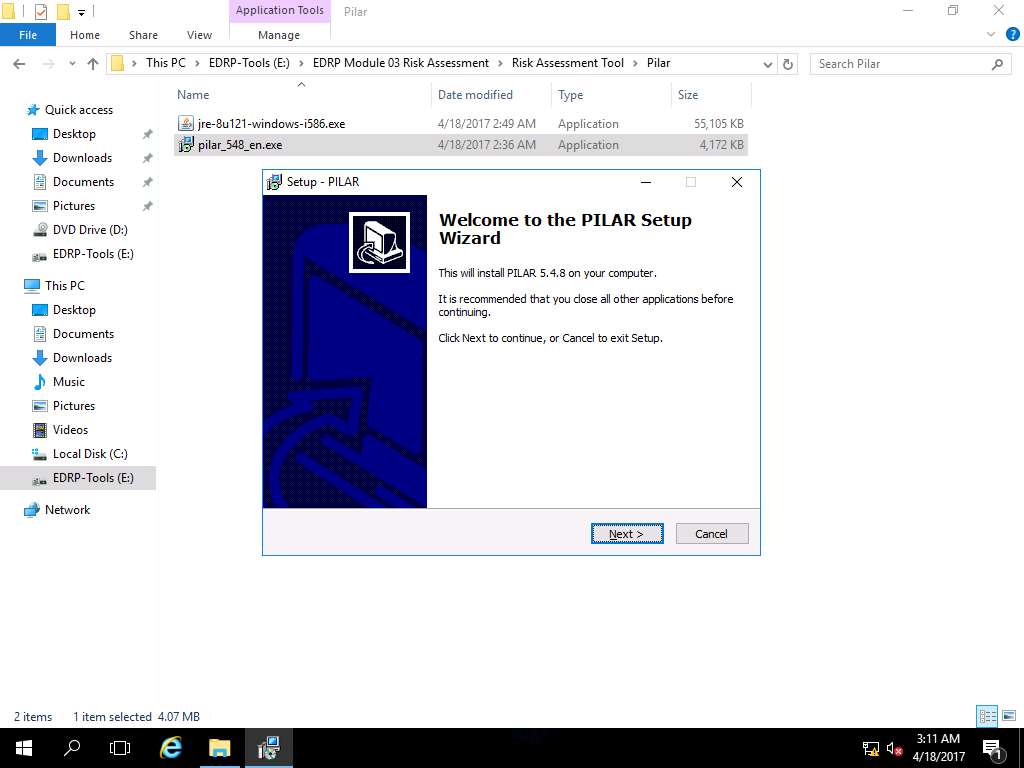
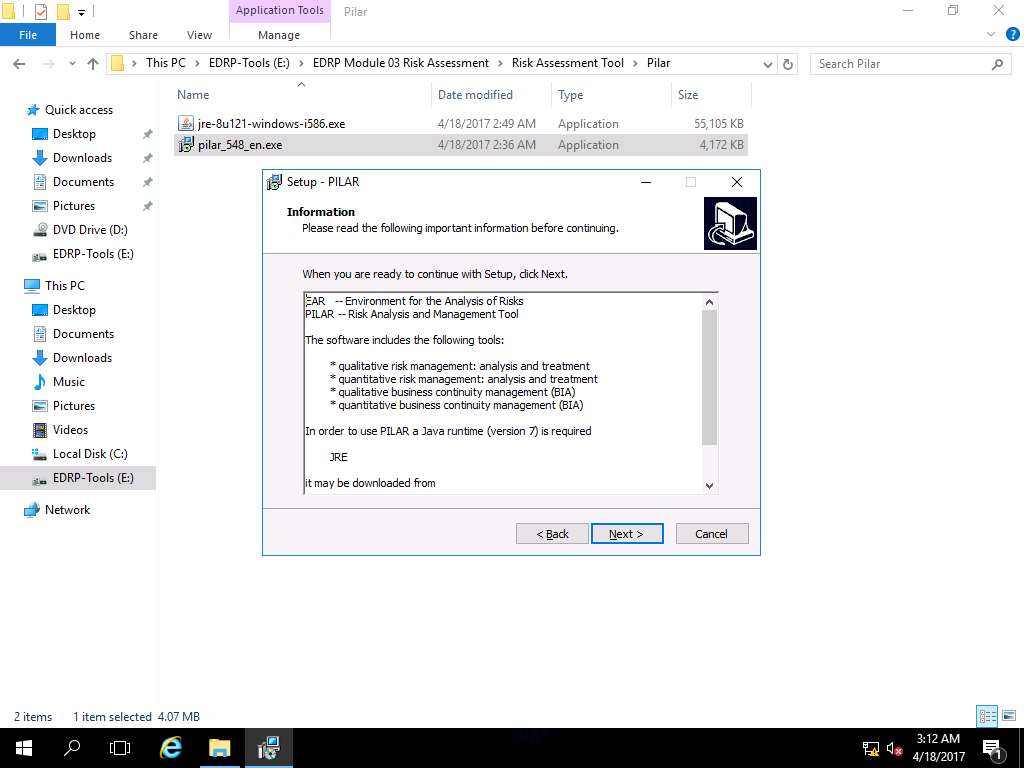
Setup - PILAR window appears, click Next to continue.
PILAR Setup Information wizard appears, click Next.
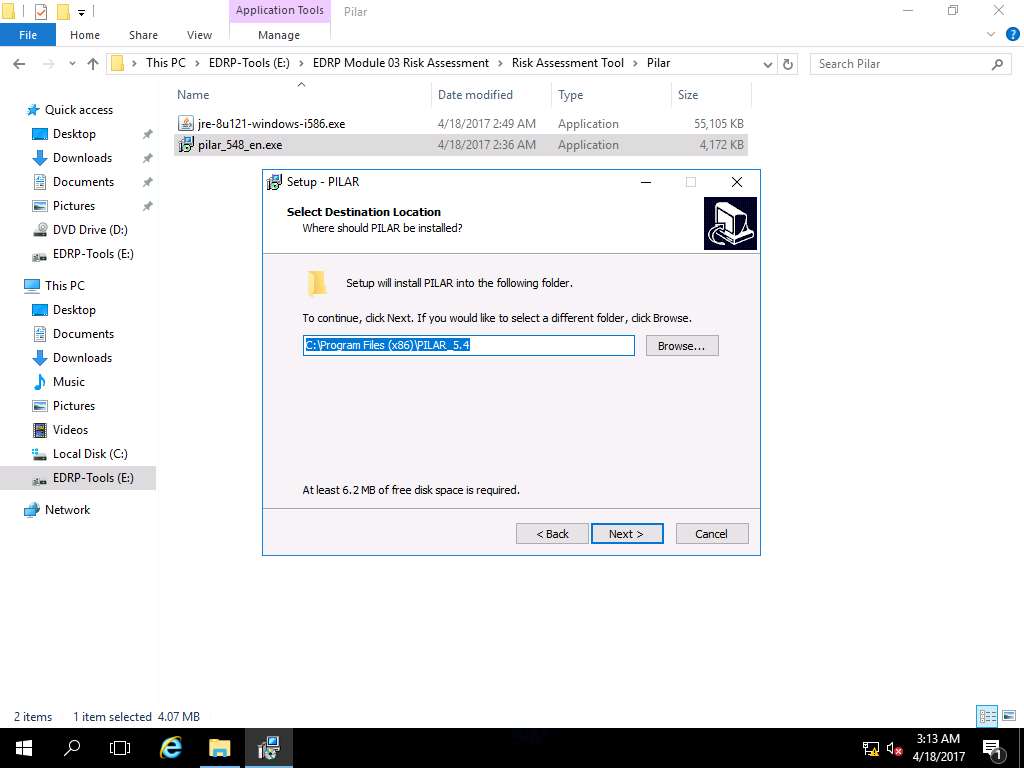
Select Destination Location wizard appears, click Next to select the default destination location as shown in screenshot.
Select Start Menu Folder wizard appears, click Next.

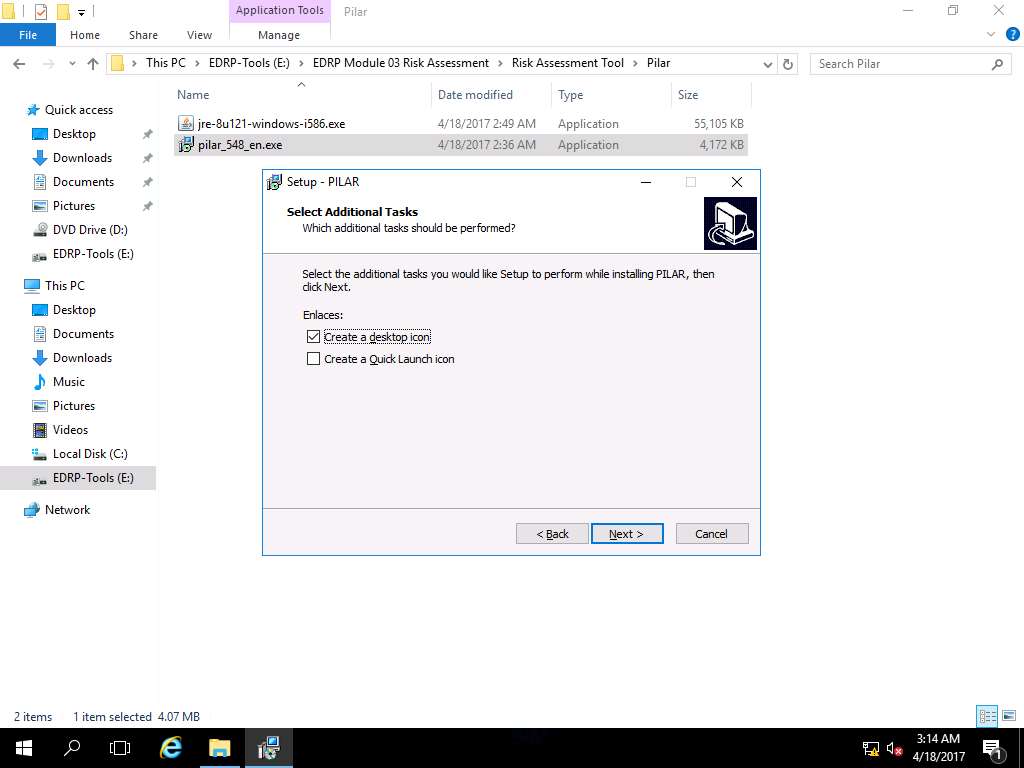
Select Additional Tasks wizard appears, Create a desktop shortcut check-box is ticked by default. Click Next to continue.
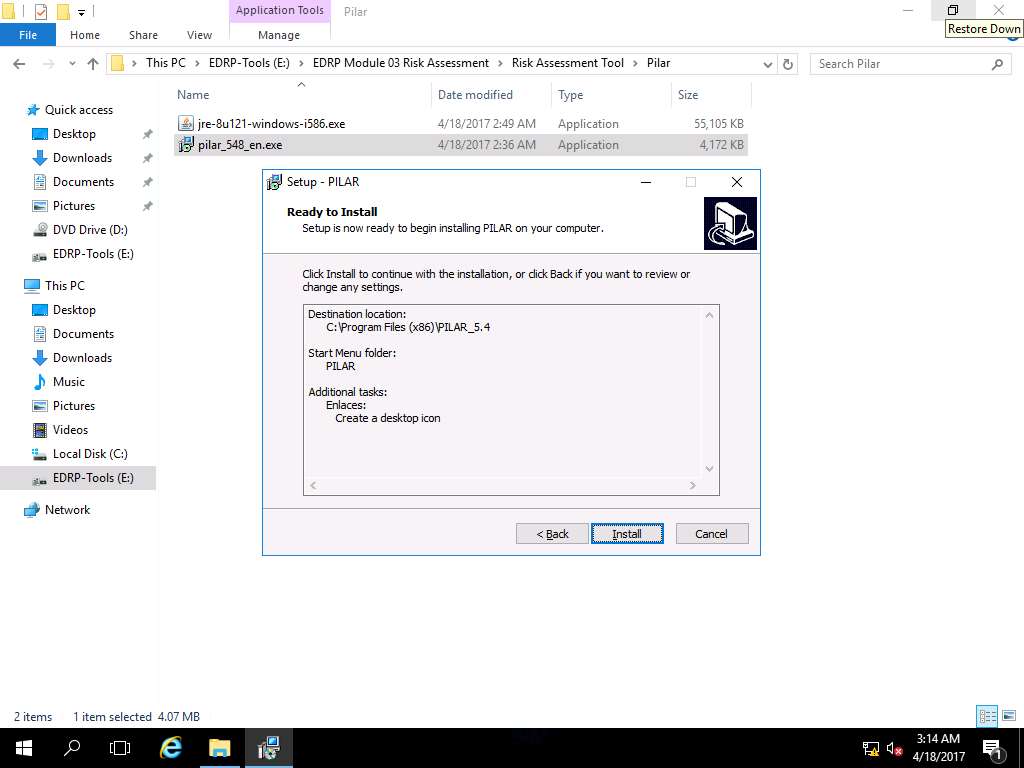
Ready to Install wizard appears, click Install to start the installation process.
After installation of PILAR, Completing the PilarBasic Setup Wizard appears. Launch PILAR option is selected by default, click Finish to launch PILAR.

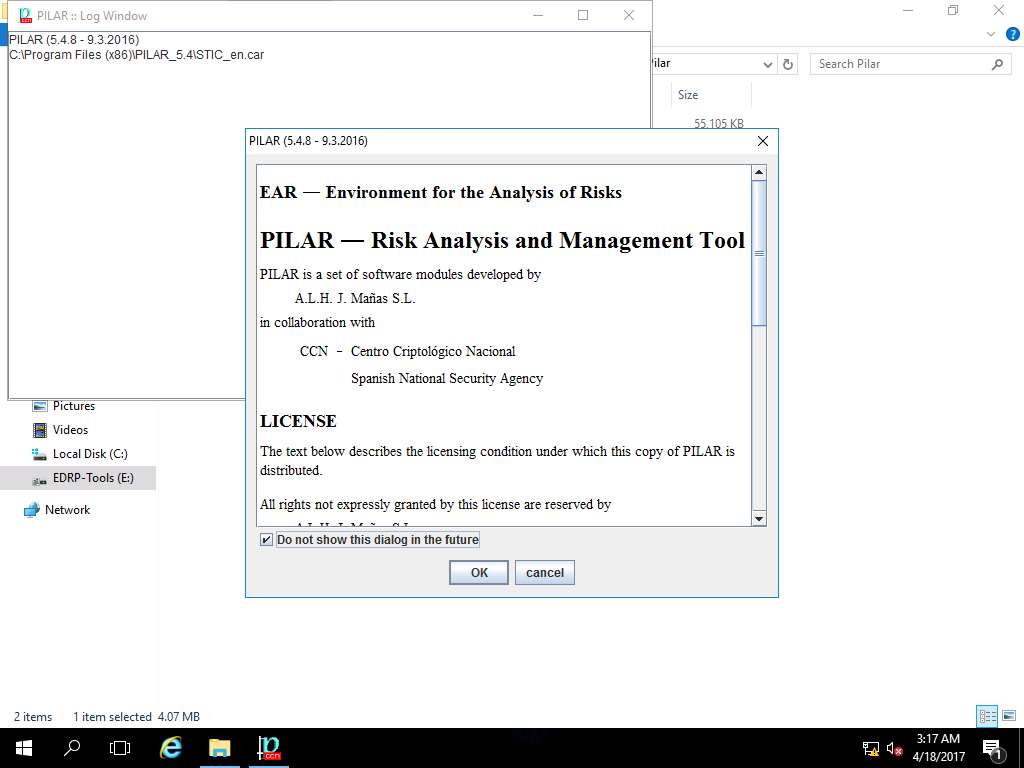
PILAR (5.4.8 - 9.3.2016) window appears, click Do not show this dialog in the future check-box and click OK.
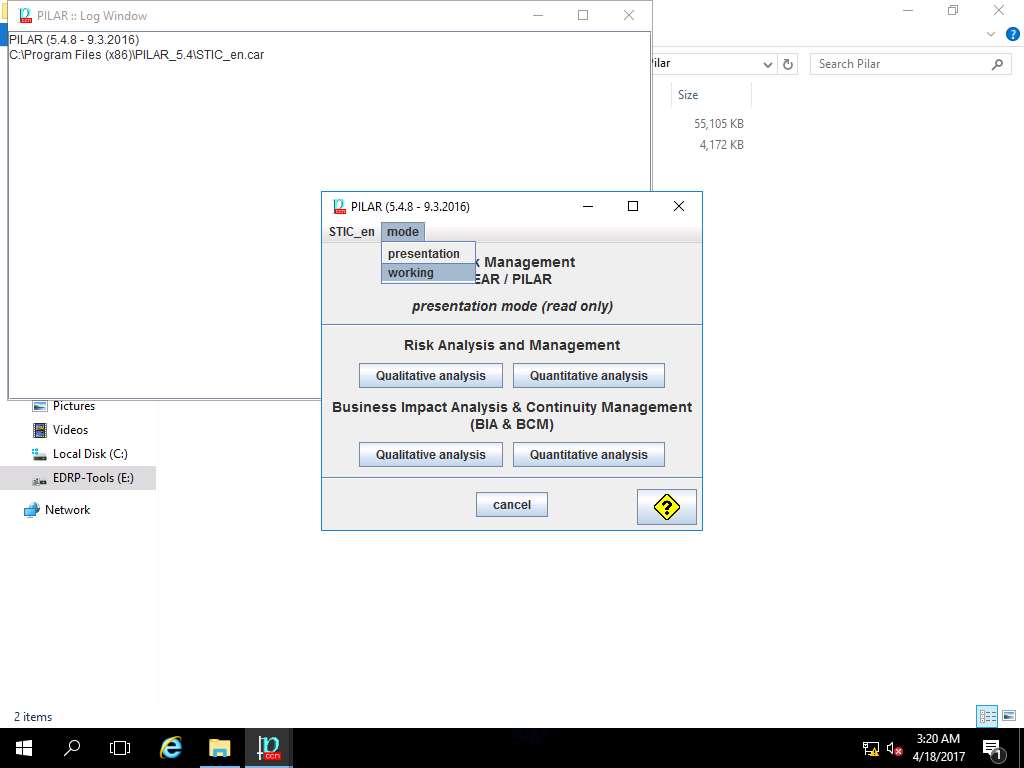
PILAR window appears, from mode drop-down menu select working option as shown in the screenshot.
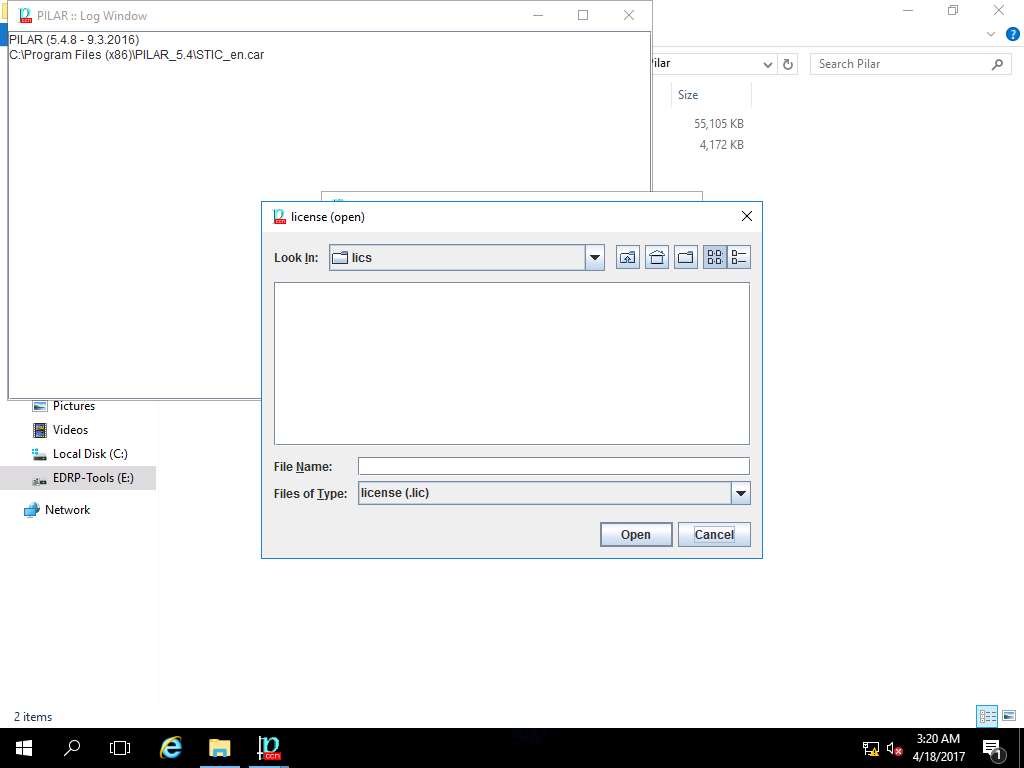
license (open) window appears, click Cancel to close the window.
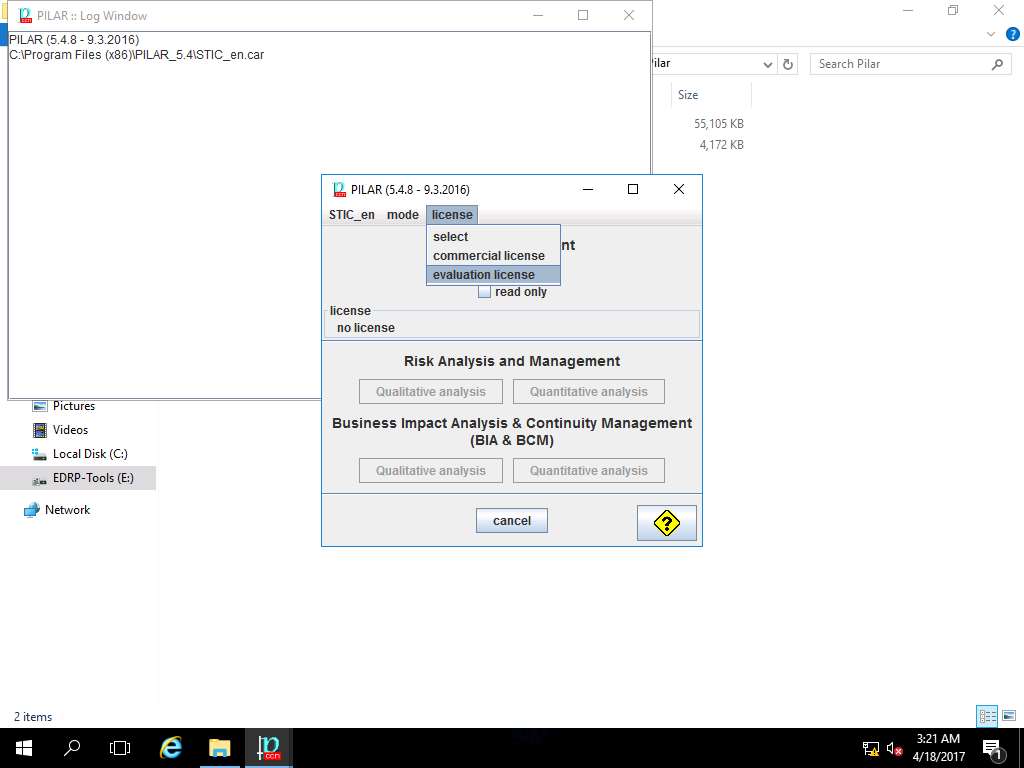
PILAR window appears again, click license menu and select evaluation license option from the drop-down menu as shown in the screenshot.
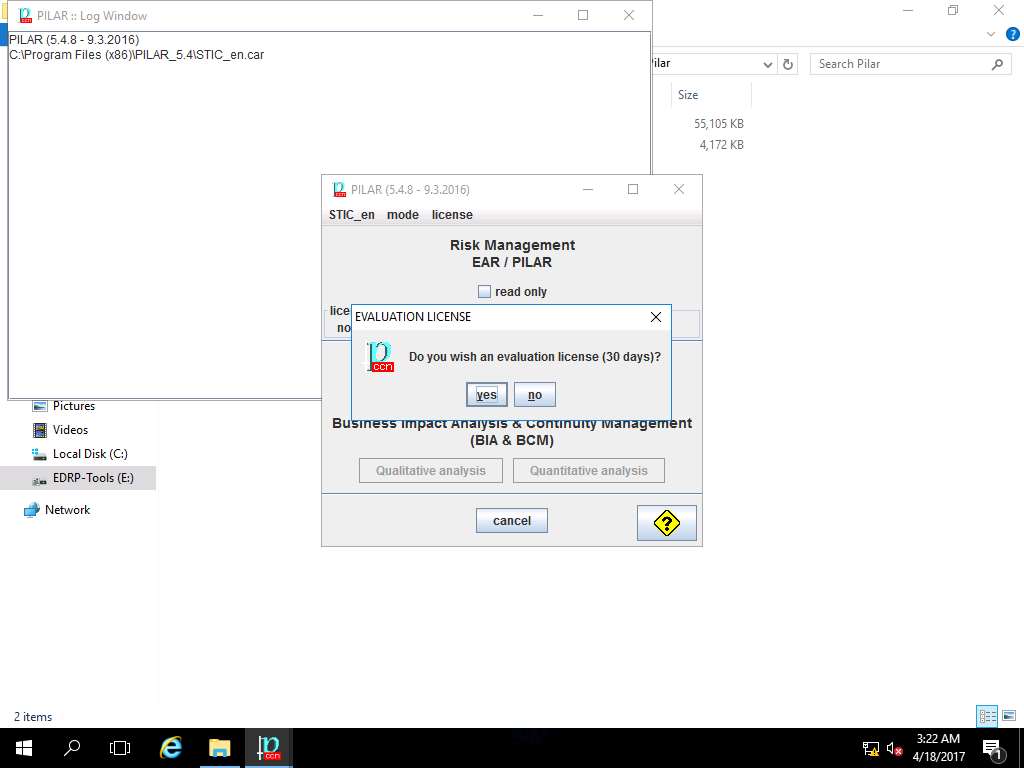
EVALUATION LICENSE window pop ups, click Yes to apply 30-day evaluation license.
In order to use PILAR tool, you need to activate 30-days trail evaluation mode.
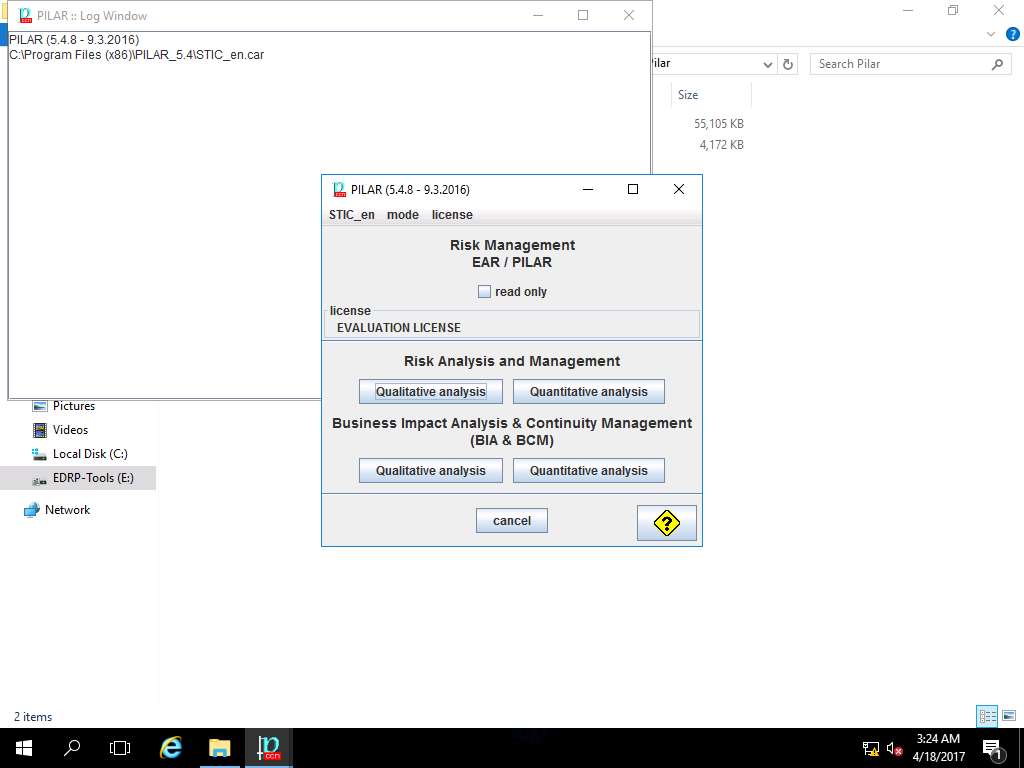
PILAR tool is now activated with 30-days evaluation license, click Qualitative analysis button under Risk Analysis and Management section as shown in the screenshot.
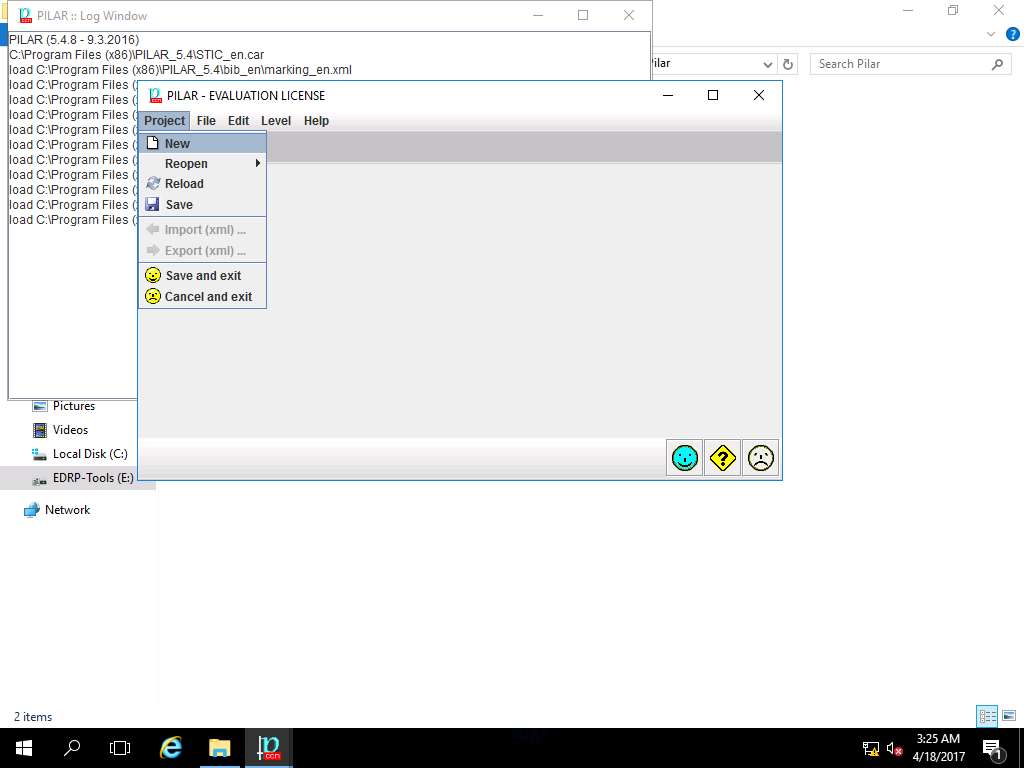
PILAR window appears, click Project and select New from the drop-down menu as shown in the screenshot
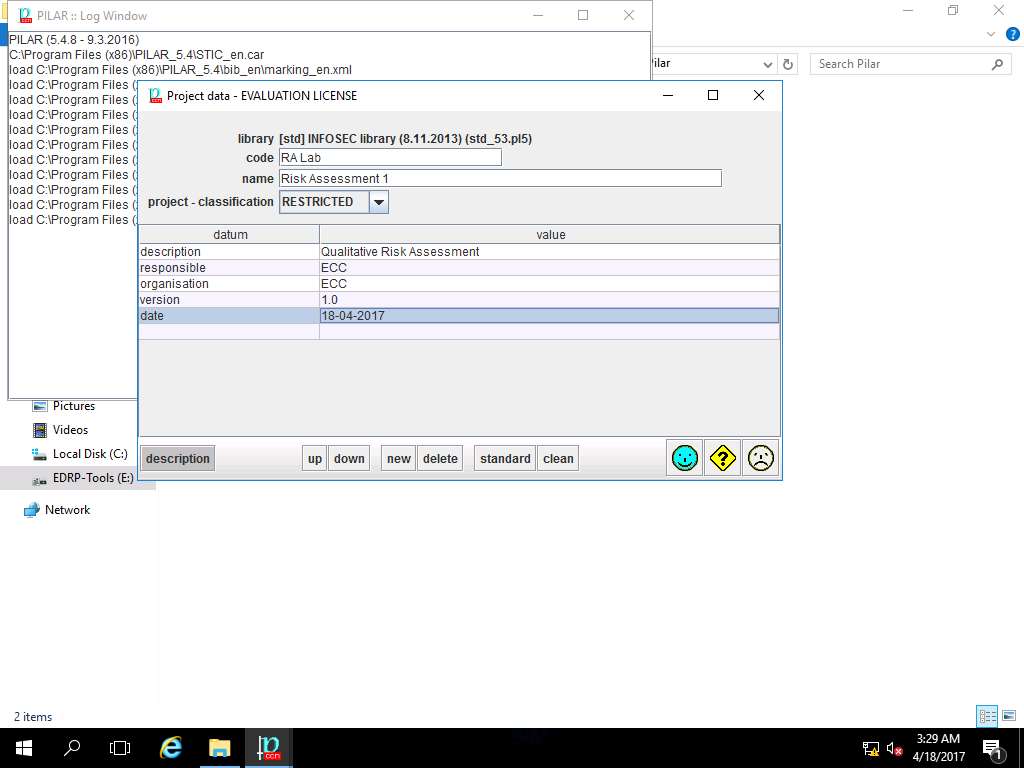
Project data window appears. In code field; enter RA Lab, in name field; enter Risk Assessment 1, select RESTRICTED from the project – classification drop-down menu. In description field enter Qualitative Risk Assessment, in responsible field enter ECC, in organization field enter ECC, in version field enter 1.0 and in date field enter the current date of the lab (in this scenario, the date mentioned is 18-04-2017) as shown in the screenshot. Click Save and Close (happy smiley icon).
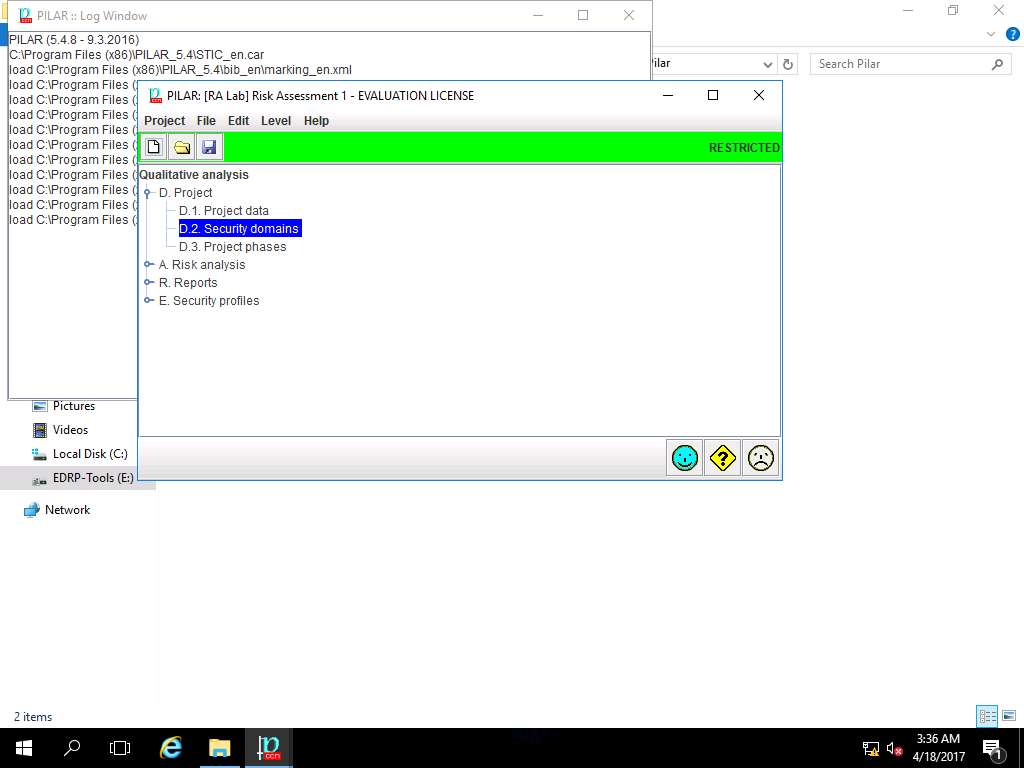
PILAR: [RA Lab] Risk Assessment 1 window appears, in Qualitative analysis pane double-click D. Project and select Security domains from the sub-tree as shown in the screenshot.
Each security domain may have a specific attack profile, and specific security measures.
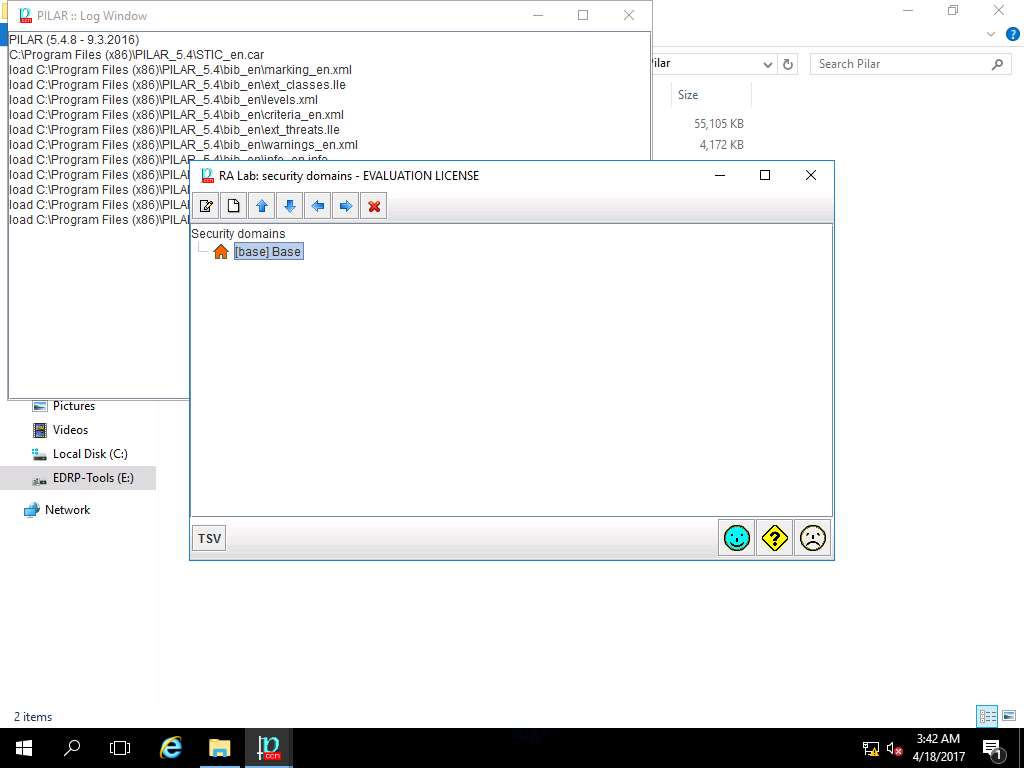
RA Lab: security domains window appears, click new domain icon present in the menu-bar as shown in screenshot.
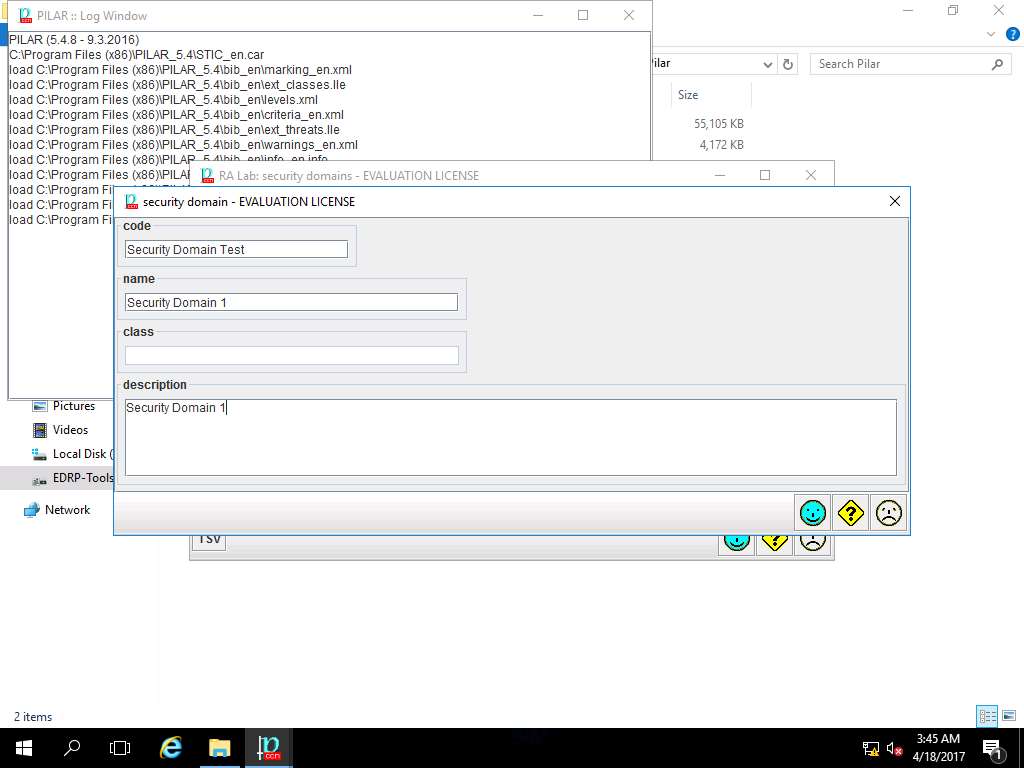
security domain window appears. In code field enter Security Domain Test, in name field enter Security Domain 1 and in description field enter Security Domain 1 as shown in the screenshot. Click save and close to continue.
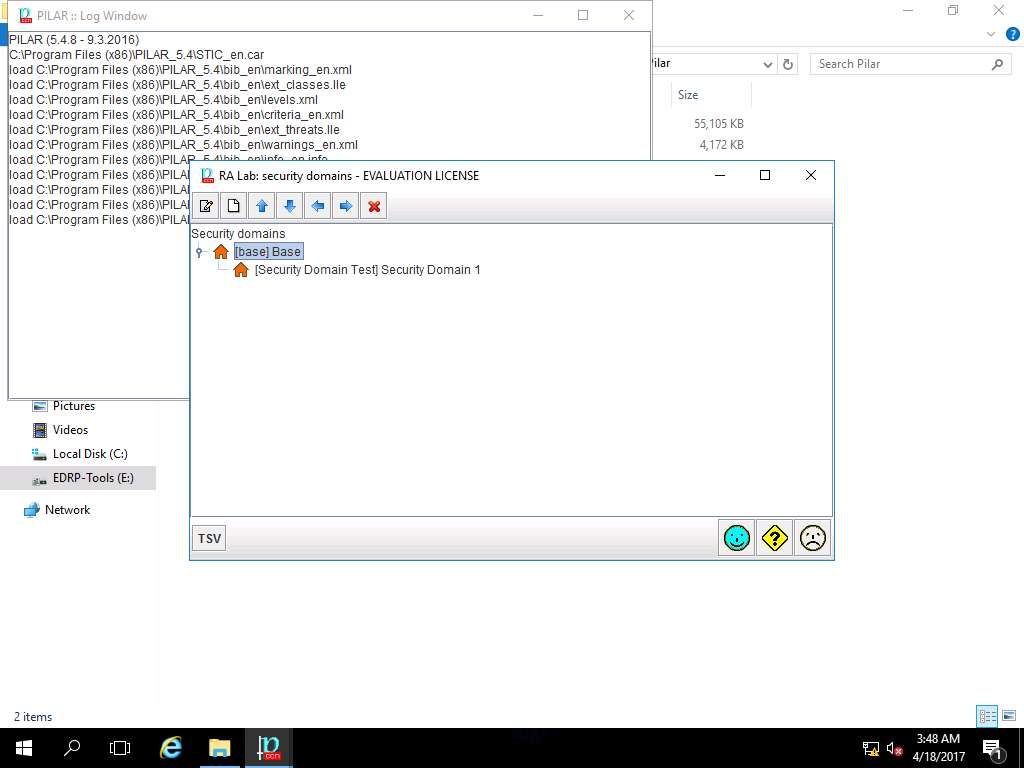
RA Lab: security domains window appears. Double-click [base] Base, [Security Domain Test] Security Domain 1 is created. Click save and close.
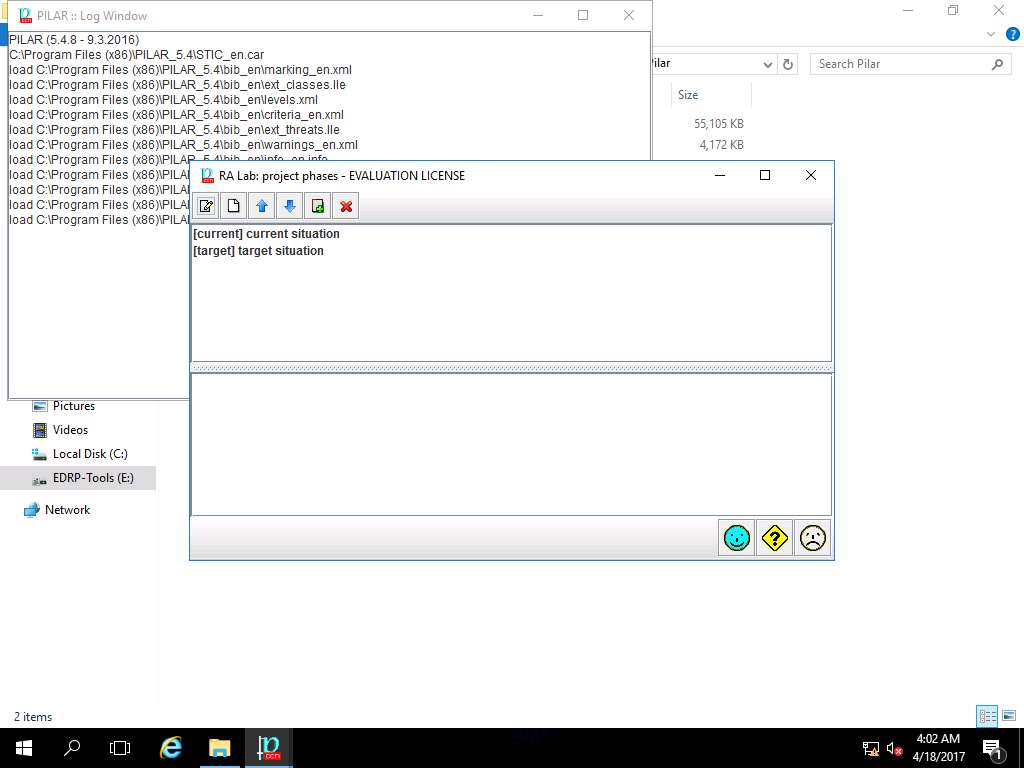
PILAR: [RA Lab] Risk Assessment 1 window appears, in Qualitative analysis pane select Project phases from the Project sub-tree as shown in the screenshot.

RA Labs: project phases window appears, [current] current situation and [target] target situation project phases are created by default. Click save and close.
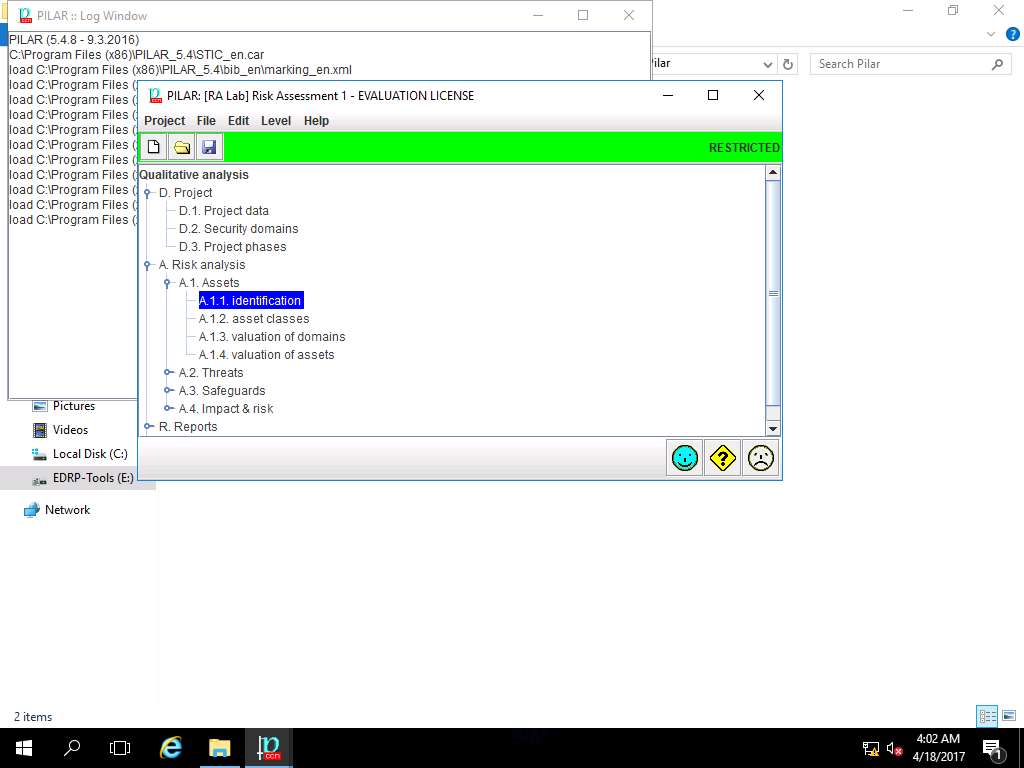
PILAR: [RA Lab] Risk Assessment 1 window appears, in Qualitative analysis pane double-click A. Risk analysis. Double-click A.1 Assets and select A.1.1. identification from the sub-tree as shown in the screenshot.
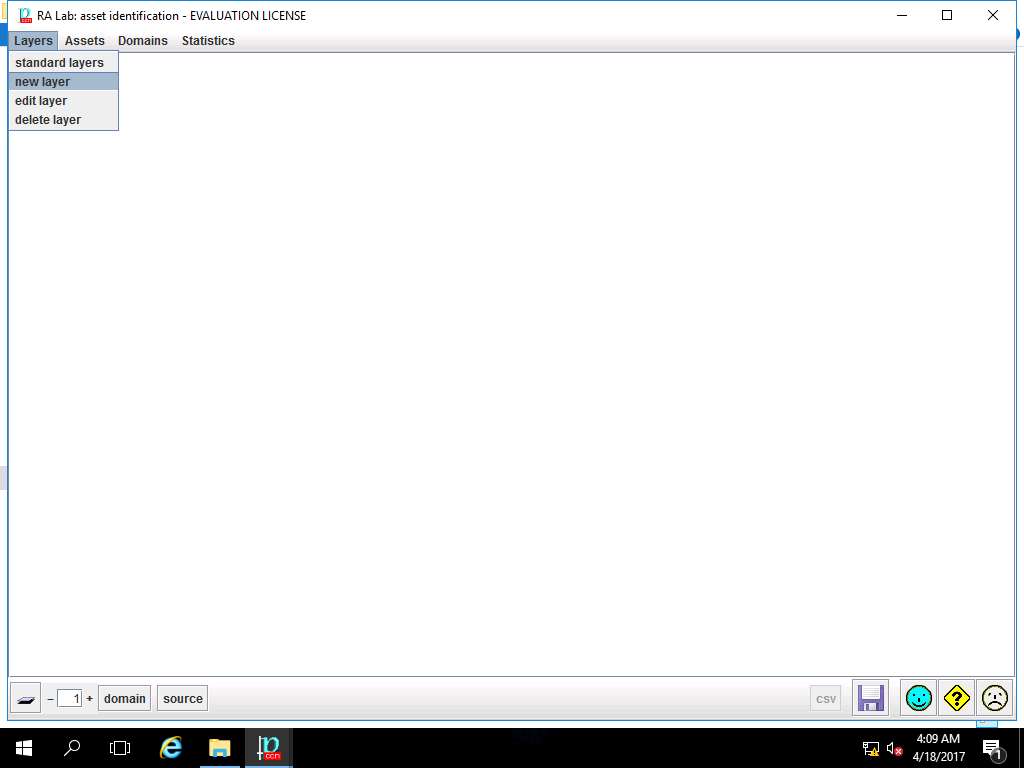
RA Lab: asset identification window appears, click Layers and select new layer from the drop-down menu as shown in screenshot.
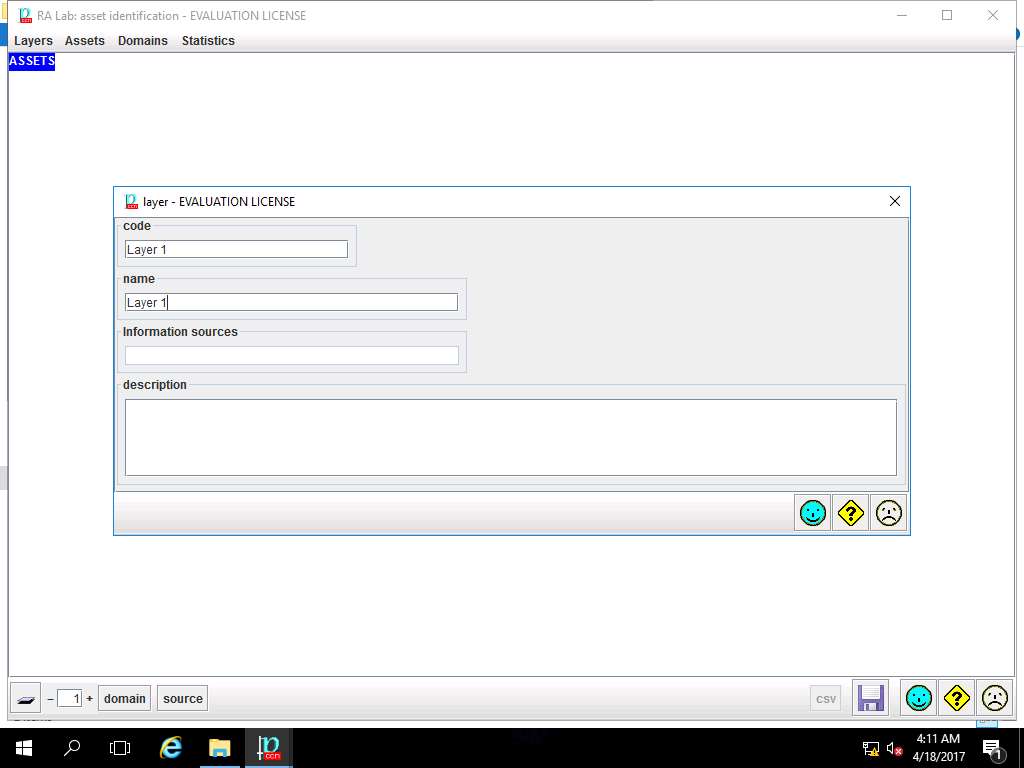
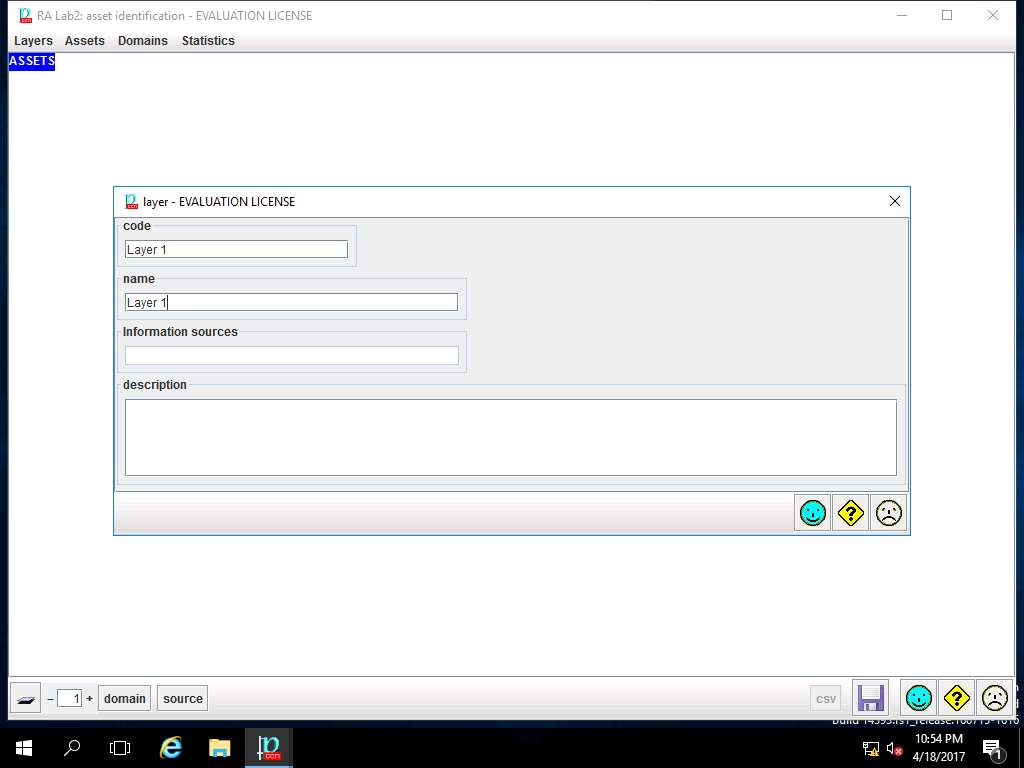
layer window appears, in code field enter Layer 1 and in name field enter Layer 1. Click save and close to continue
Asset is something of either tangible or intangible value that is worth protecting, including people, information, infrastructure finances and reputation [ISACA, Cybersecurity Fundamentals Glossary, 2014].
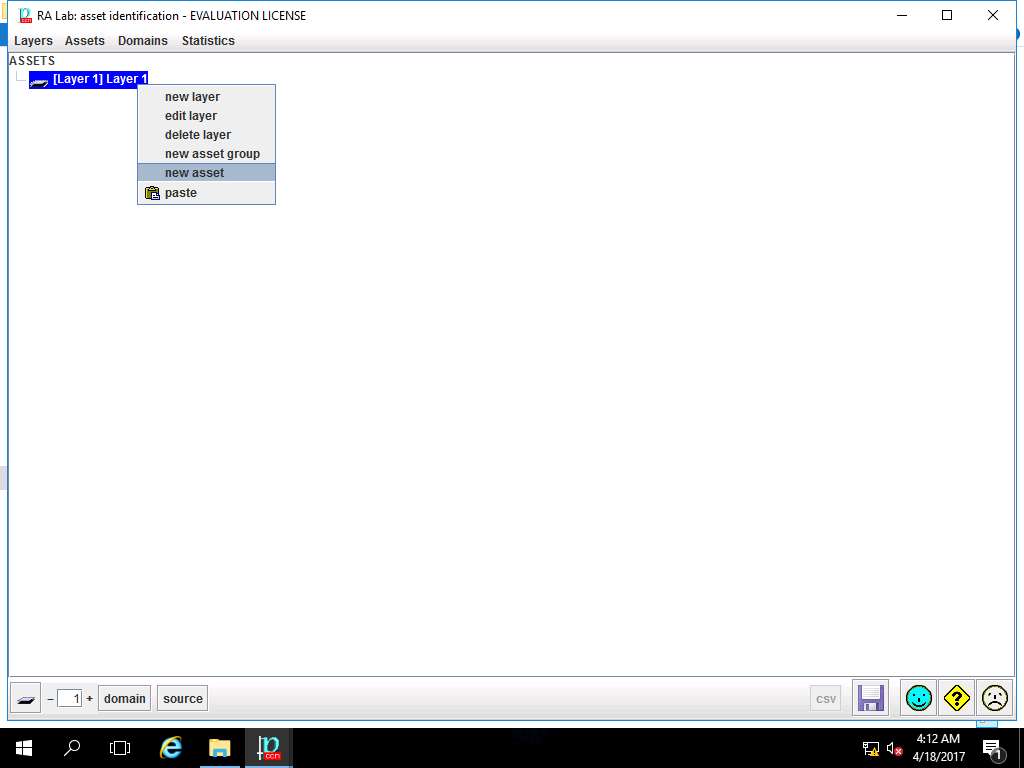
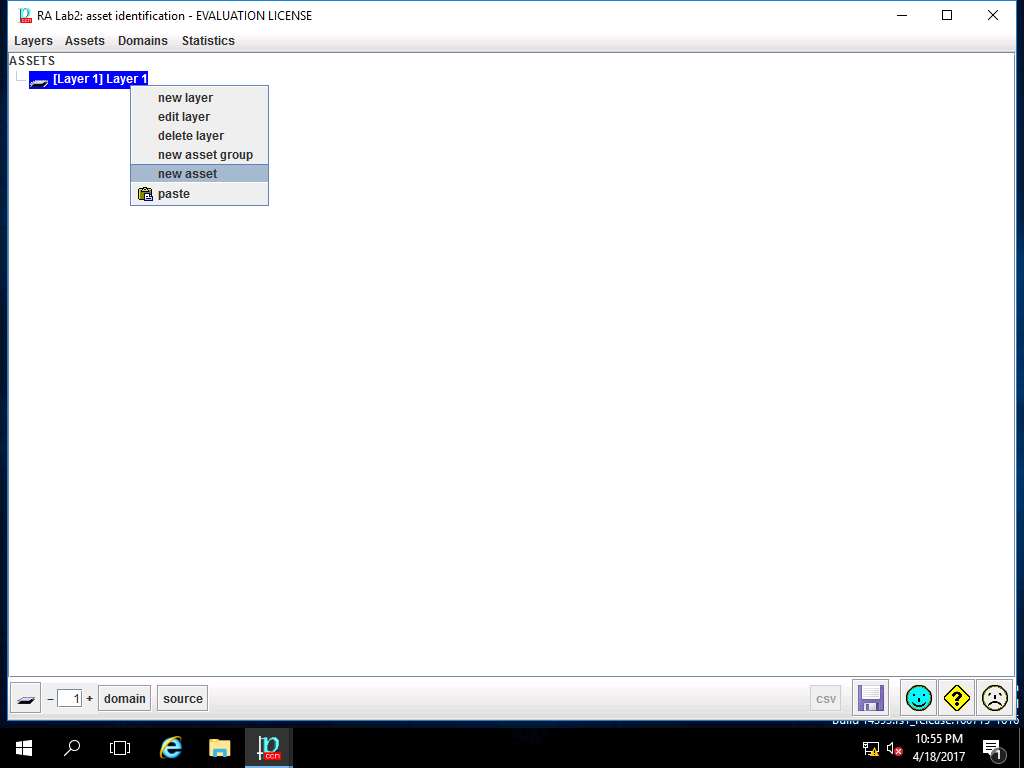
RA Lab: asset identification window appears and Layer 1 is added. Right-click [Layer1] Layer 1 and select new asset from the context menu.
We can add other assets, either material or intangible, which make up the information system. We can organize into layers and groups for clarity, but PILAR only cares about the assets.
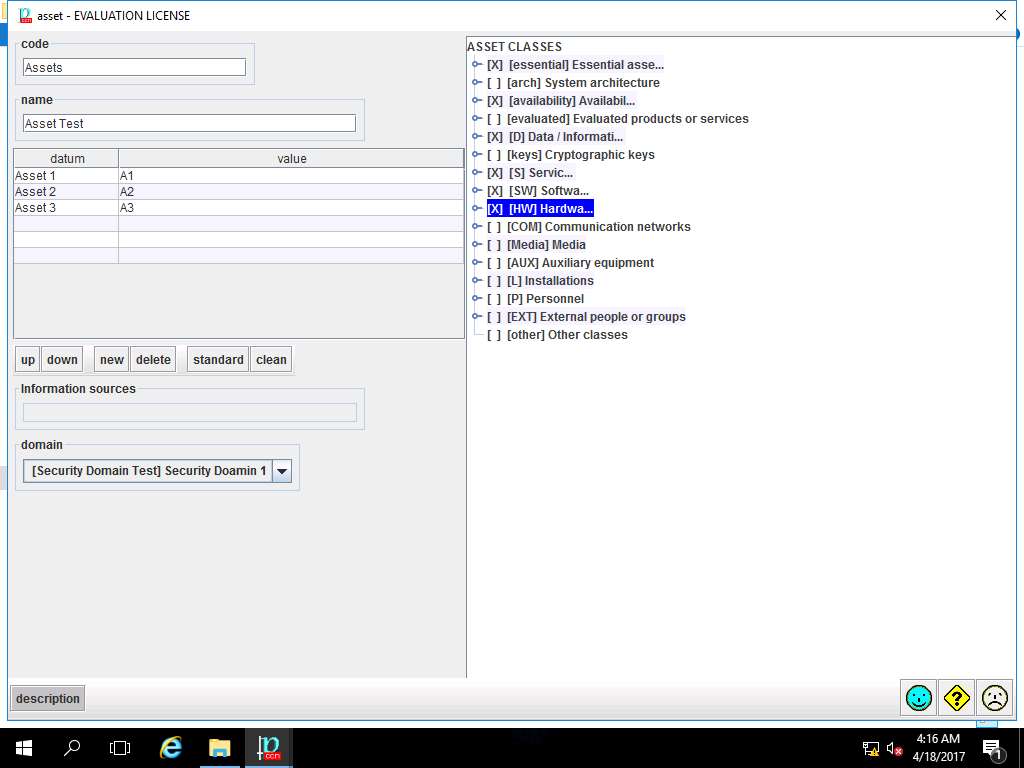
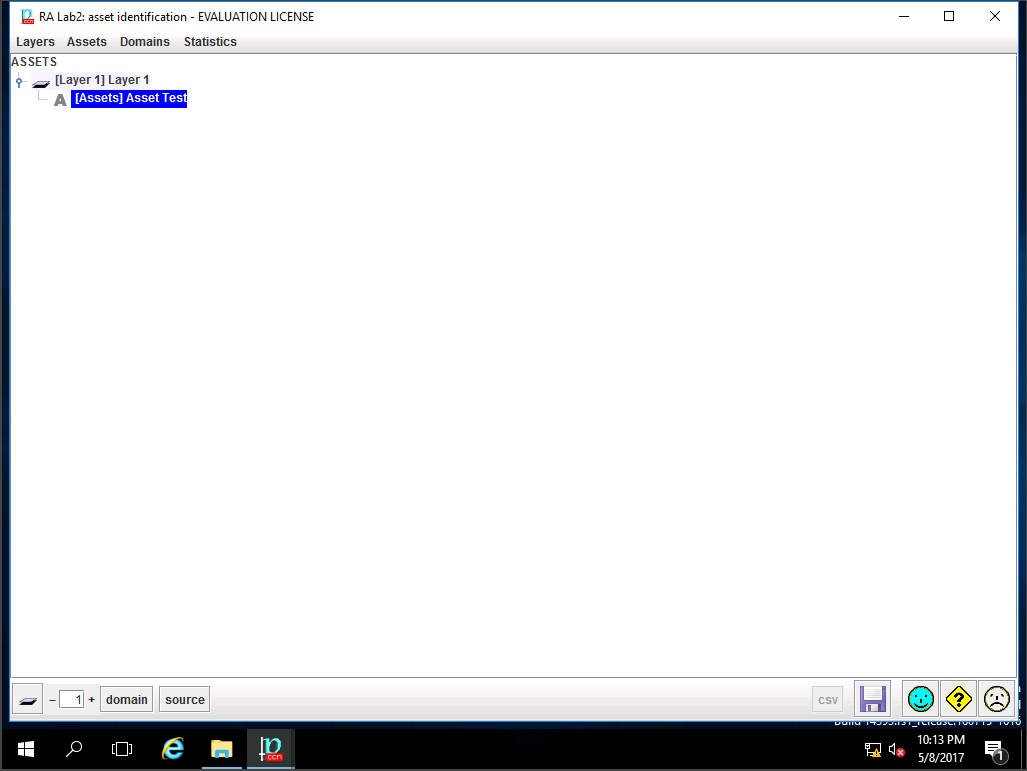
asset window appears. In code field enter Assets, in name field enter Asset Test. In datum row, enter Asset 1, Asset 2, Asset 3 and in value row enter A1, A2, A3. Select [Security Domain Test] Security Domain 1 from the domain drop-down menu. In ASSET CLASSES select check-box of: [essential] Essential assets, [availability] Availability, [D] Data/Information, [S] Services, [SW] Software and [HW] Hardware option as shown in the screenshot. Click save and close button to continue
Essential assets are those information and services managed by the information system. They represent the requirements of the risk owners, the security requirements. Essential assets exist before any implementation is detailed
RA Lab: asset identification window appears, click save and close.
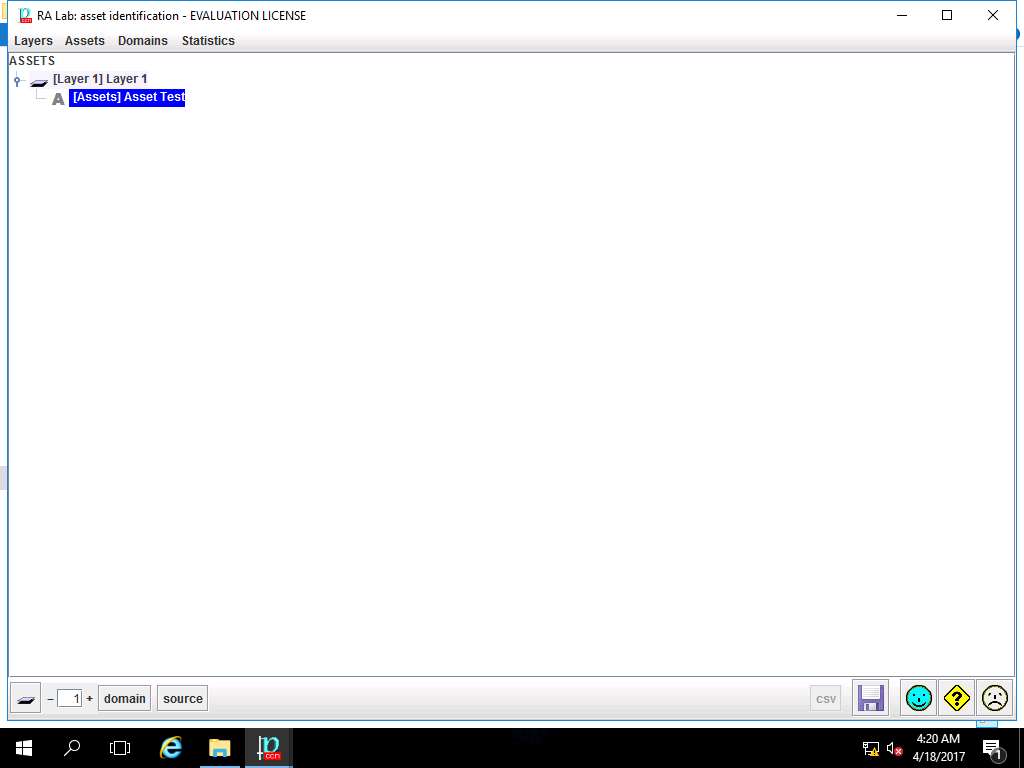
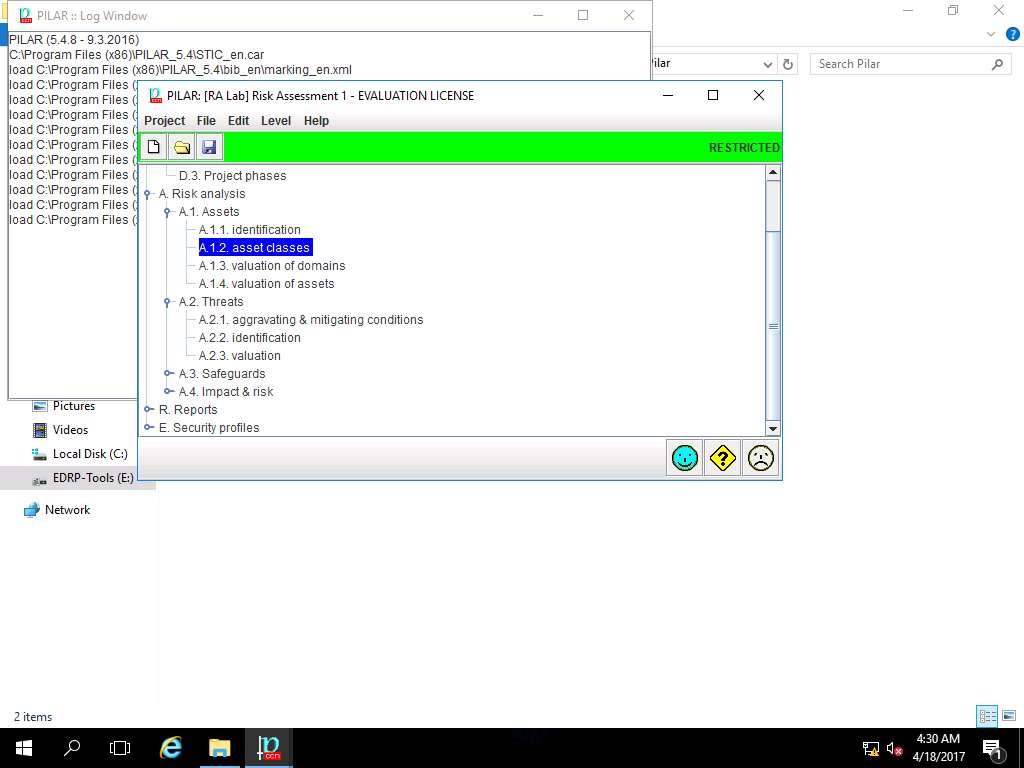
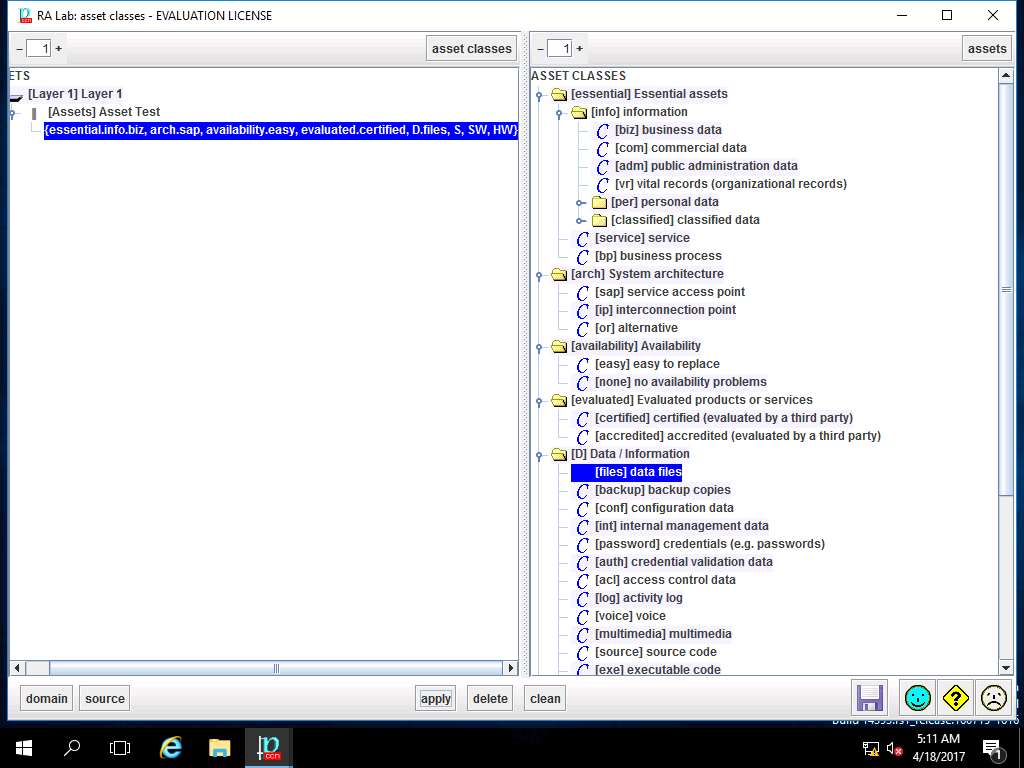
PILAR: [RA Lab] Risk Assessment 1 window appears, in Qualitative analysis pane double-click A. Risk analysis. Double-click A.1 Assets and select A.1.2. asset classes from the sub-tree as shown in the screenshot.
RA Labs: asset classes window appears. In ASSETS pane, navigate to [Layer 1] Layer 1 --> [Assets] Asset Test and select {essential,availability,D,S,SW,HW}. In ASSET CLASSES pane navigate to [essential] Essential assets --> [info] information and select [biz] business data. Click Apply.

In ASSETS sub-tree, {essential.info.biz} is added, repeat step 38 to add ASSET CLASSES like arch.sap, availability.easy, evaluated.certified, D.files from [info], [arch], [availability], [evaluated] and [D] ASSET CLASSES respectively as shown in screenshot. Click save and close.
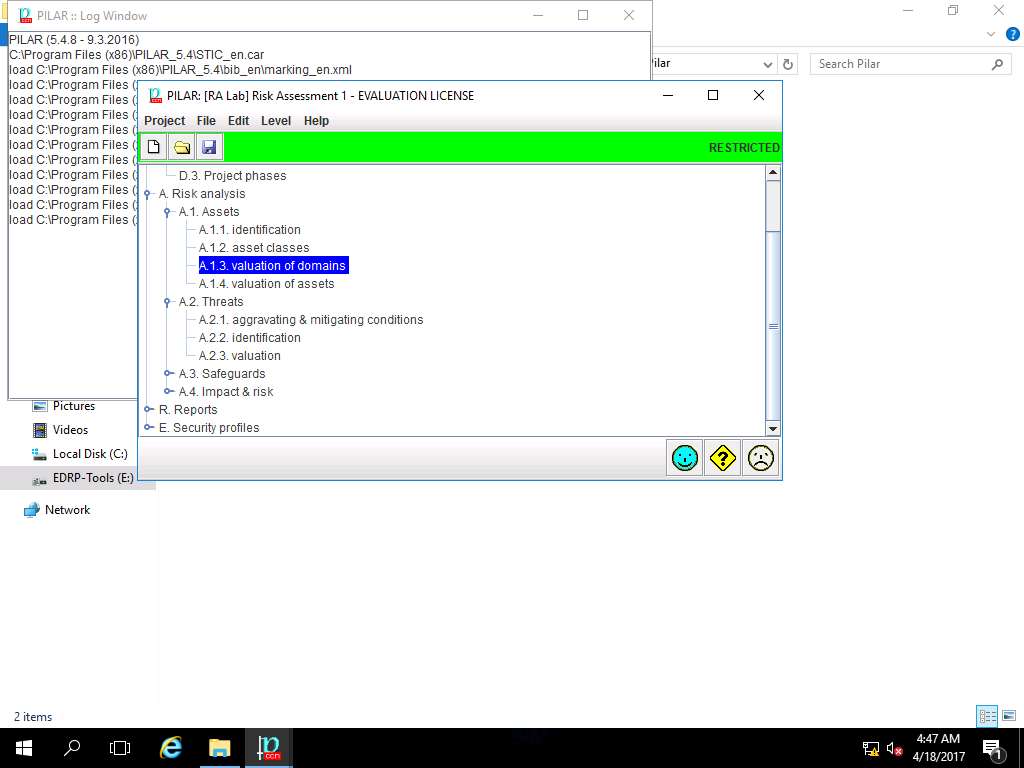
PILAR: [RA Lab] Risk Assessment 1 window appears, in Qualitative analysis pane double-click A. Risk analysis. Double-click A.1 Assets and select A.1.3. valuation of domains from the sub-tree as shown in the screenshot.
Valuation of domain provides a quick but imprecise assessment common for all the assets in each domain. Using this method, all assets in the domain receive the same values assigned to the established domain. The value is assigned to the essential assets (information and services) and transferred to the domain that hosts it, and to the domains that are associated to the essential asset
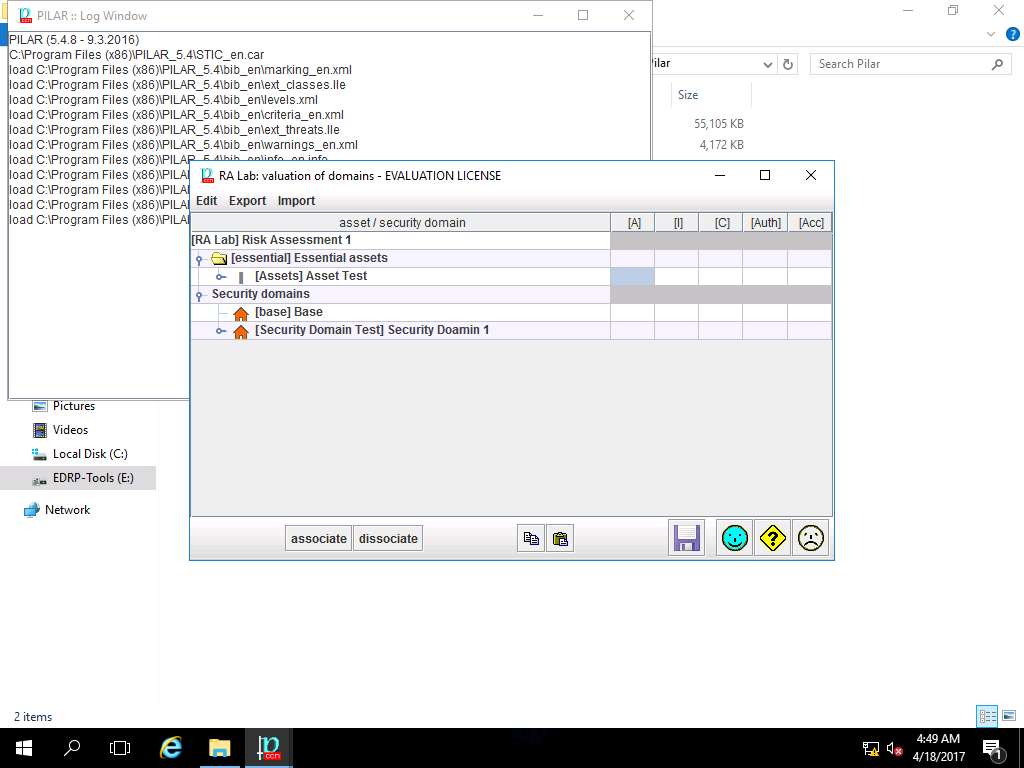
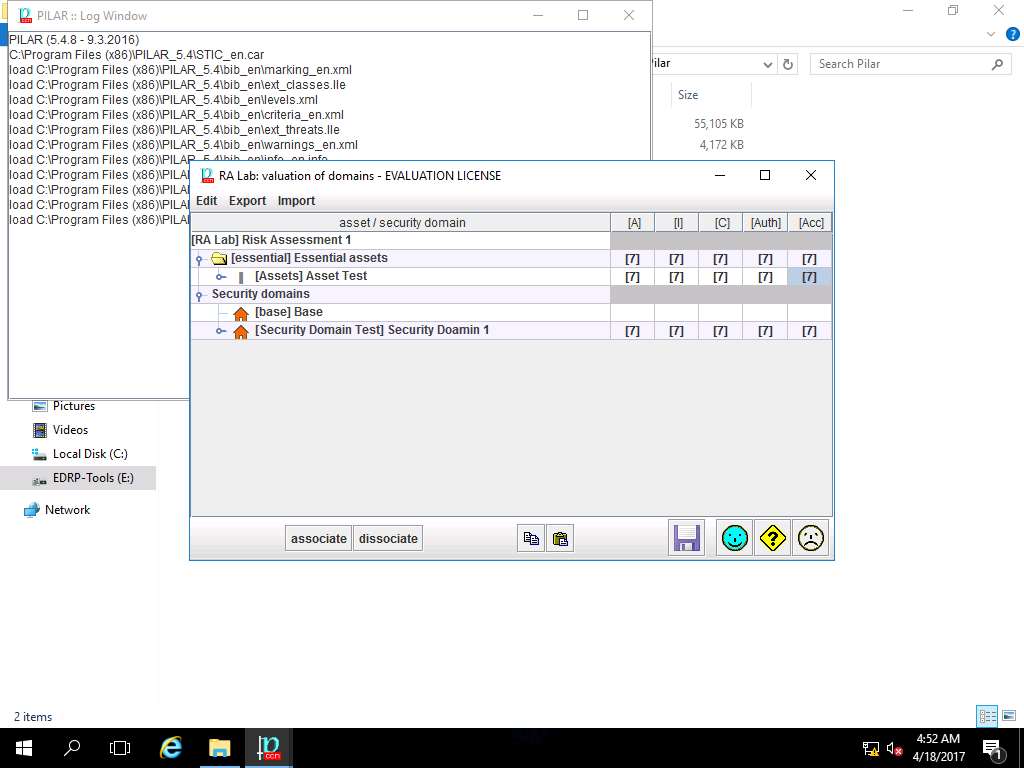
RA Labs: valuation of domain window appears, select and double-click the box in [A] row and [Assets] Asset Test column (highlighted box) as shown in the screenshot.
Valuation of domains implies to the rating of security level for the domain where 0 is negligible and 10 is top. Assets are valued to establish the security requirements on the asset; that is, the value measures the direct or indirect consequences of threat that succeeds on the asset
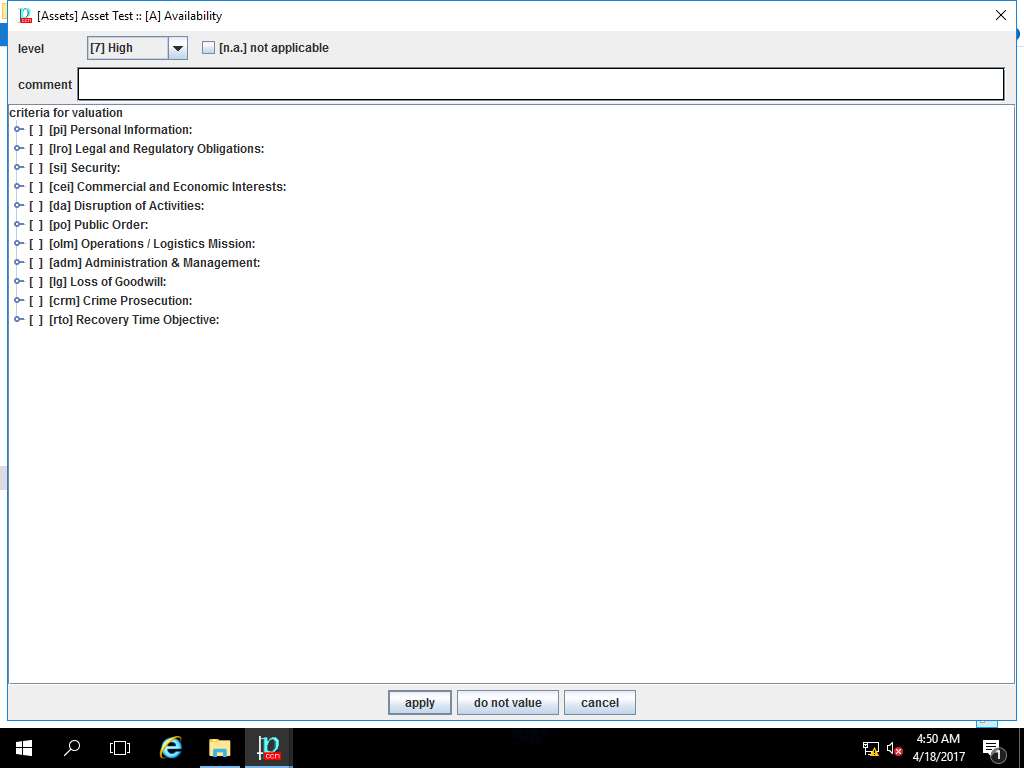
[Assets] Asset Test :: [A] Availability window appears, select [7] High from the level drop-down menu and click apply as shown in the screenshot.
In this scenario, we are assuming that priority of the Availability of the assets is high as continuous availability is required.
RA Lab: valuation of domain window appears again, enter the value [7] High in other boxes by repeating the process mentioned in step 41 and 42 as shown in the screenshot. Click save and close.
In this scenario, we are assuming that the valuation of other domains like Integrity[I], Continuity[C], Authority[A], Accountability[Acc] and Valuation[V] for the given assets are [7] High.
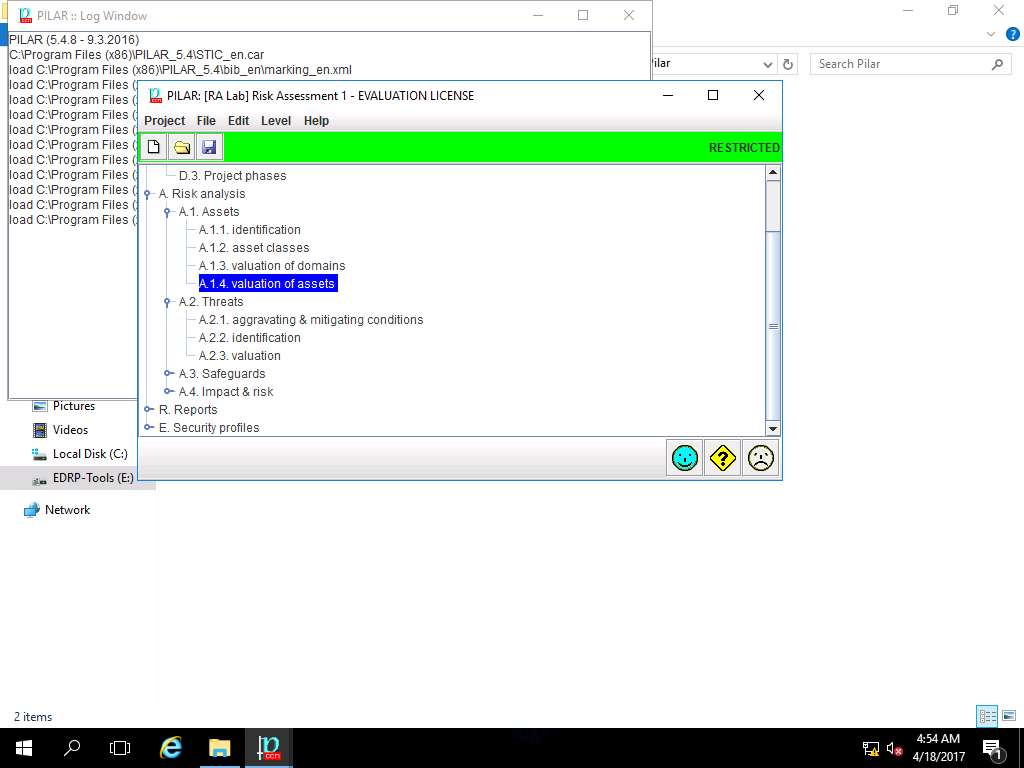
PILAR: [RA Lab] Risk Assessment 1 window appears, in Qualitative analysis pane double-click A. Risk analysis. Double-click A.1 Assets and select A.1.4. valuation of assets from the sub-tree as shown in the screenshot.
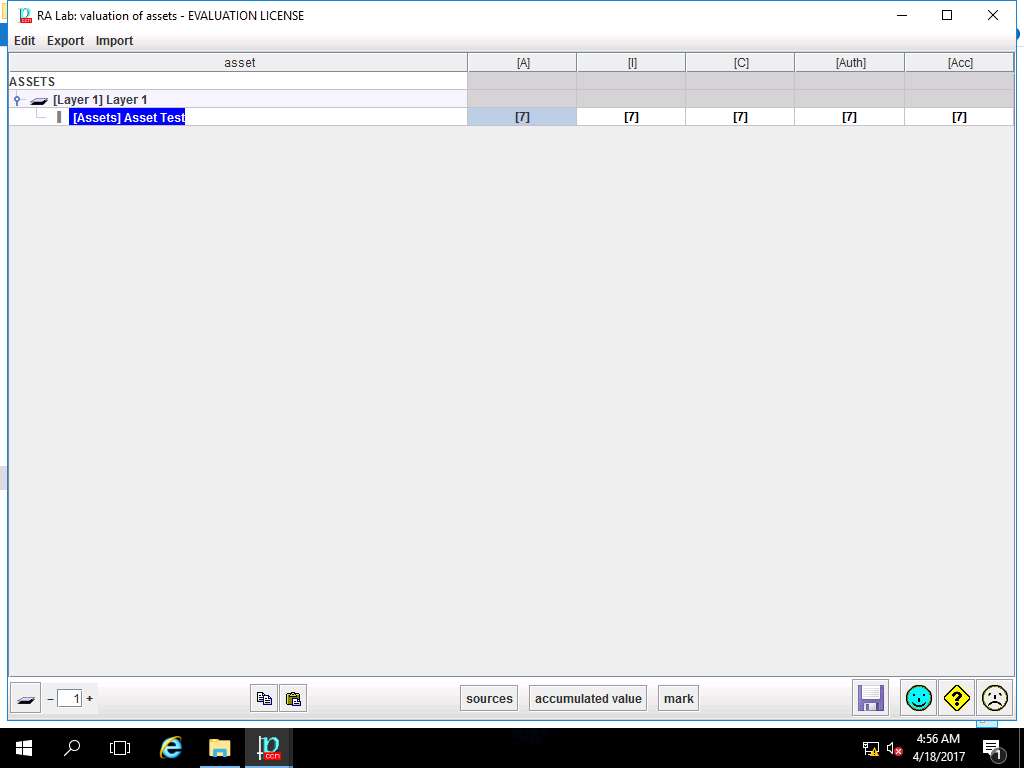
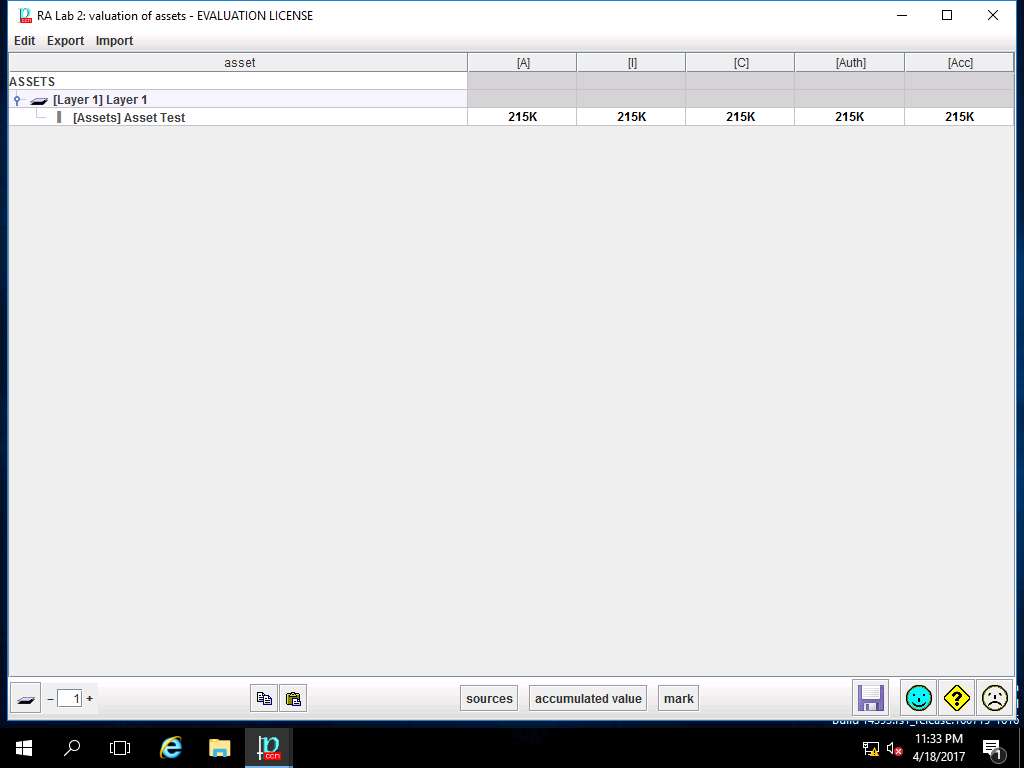
RA Lab: valuation of assets window appears, accumulated value are specified to various field i.e. [A], [I], [C], [Auth] and [Acc]. Click save and close to continue.
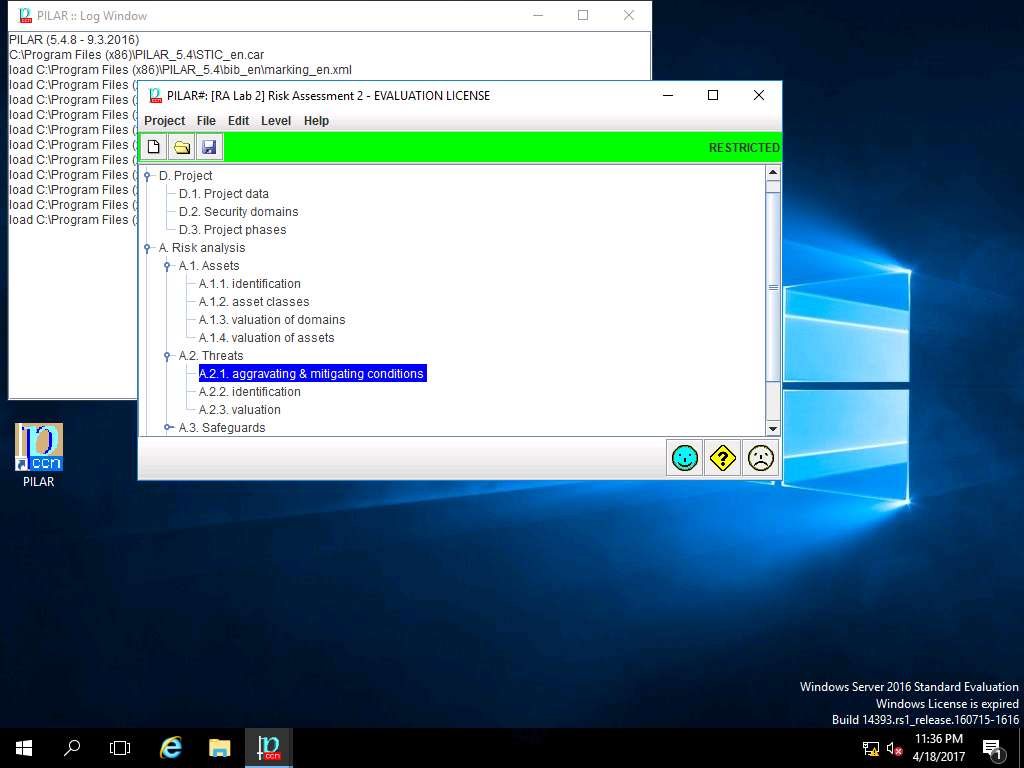
PILAR: [RA Lab] Risk Assessment 1 window appears, in Qualitative analysis pane double-click A. Risk analysis. Double-click A.2 Threats and select A.2.1. aggravating & mitigating conditions from the sub-tree as shown in the screenshot.

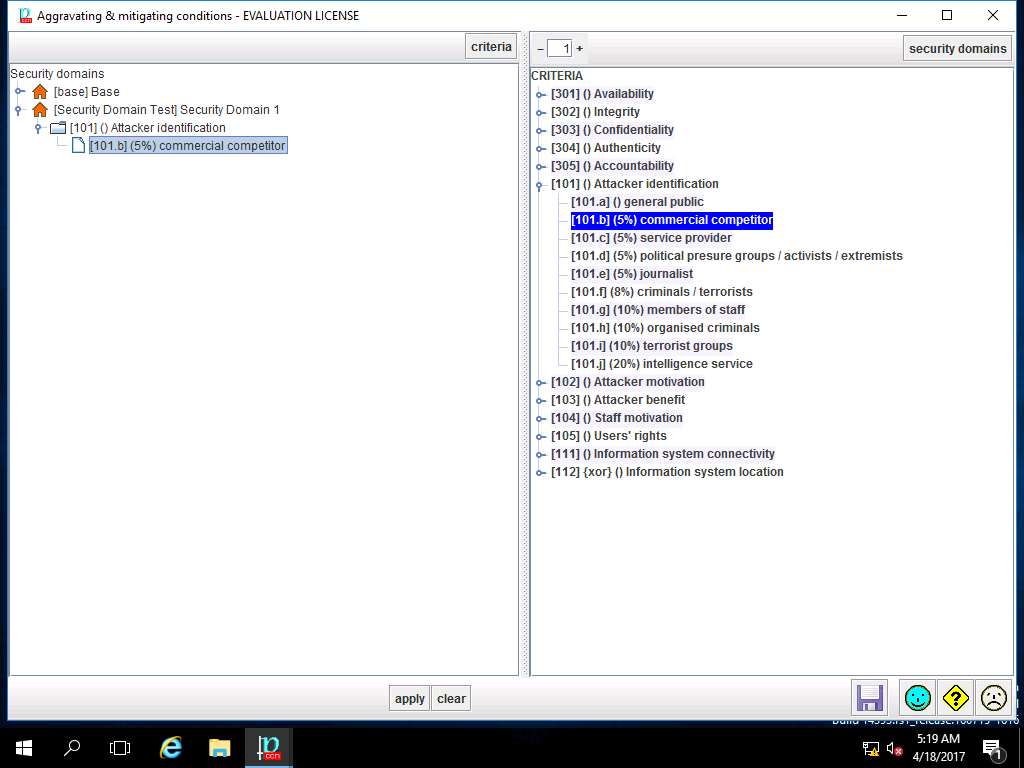
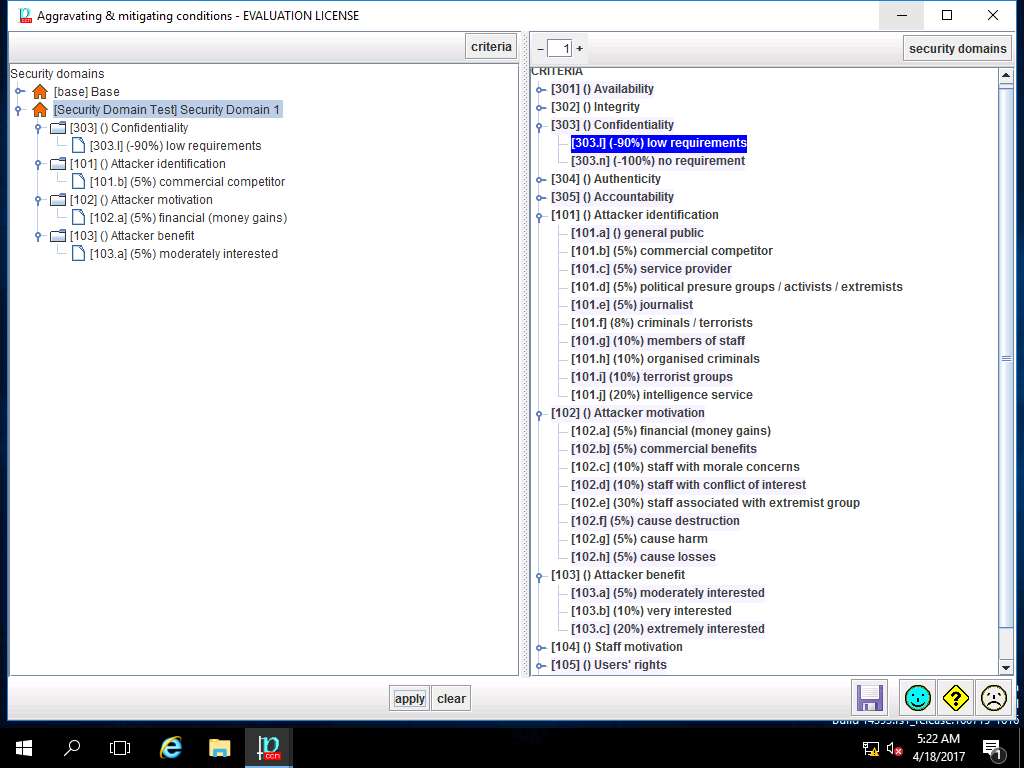
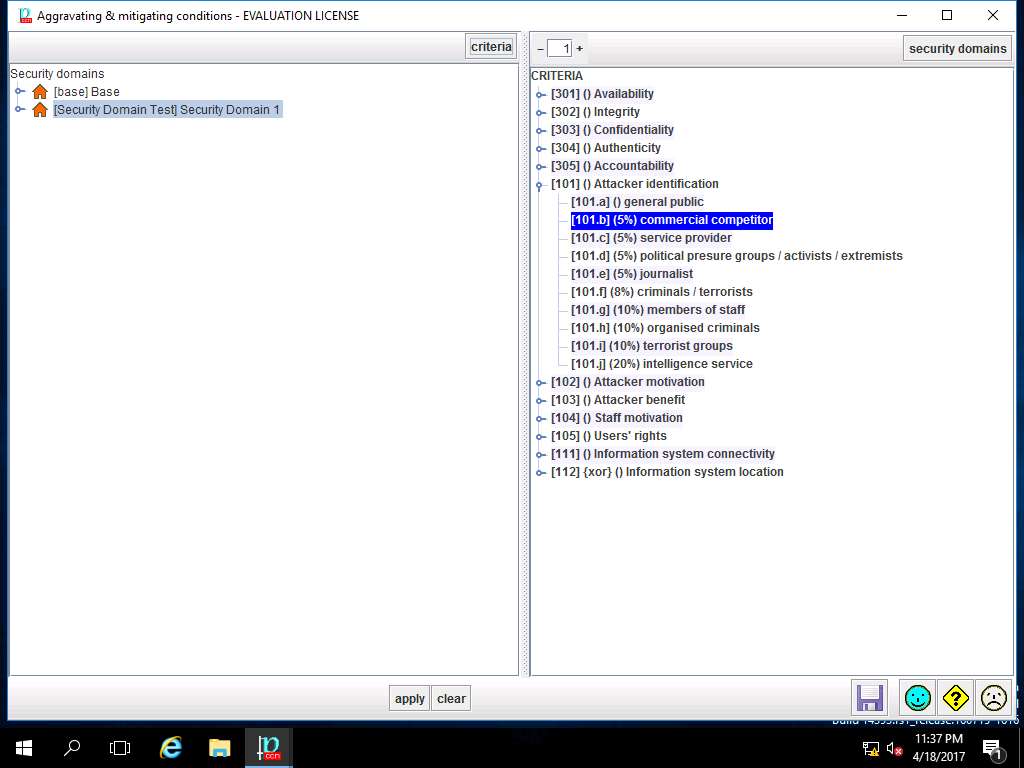
Aggravating & mitigating conditions window appears, select [Security Domain Test] Security Domain 1 in Security domains pane. In CRITERIA pane double-click Attacker Identification option and select [101.b] (5%) commercial competitor subtree for demonstration purpose. Click **apply** as shown in the screenshot.
Aggravating & mitigating conditions in this assessment refers to the different criteria of potential risk factors and its impact on the Security Domain.
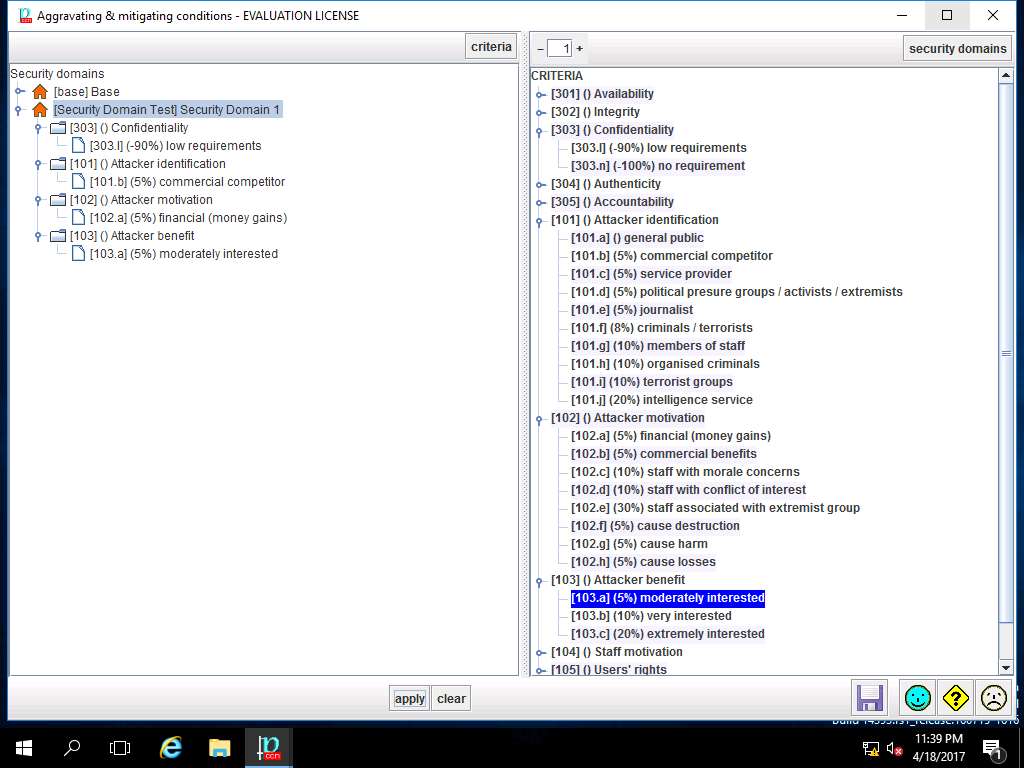
For demonstration of various criteria of aggravating & mitigating conditions, select various criteria subtree like Attacker Motivation, Attacker Benefit, Confidentiality as shown in screenshot. Click save and close to continue.
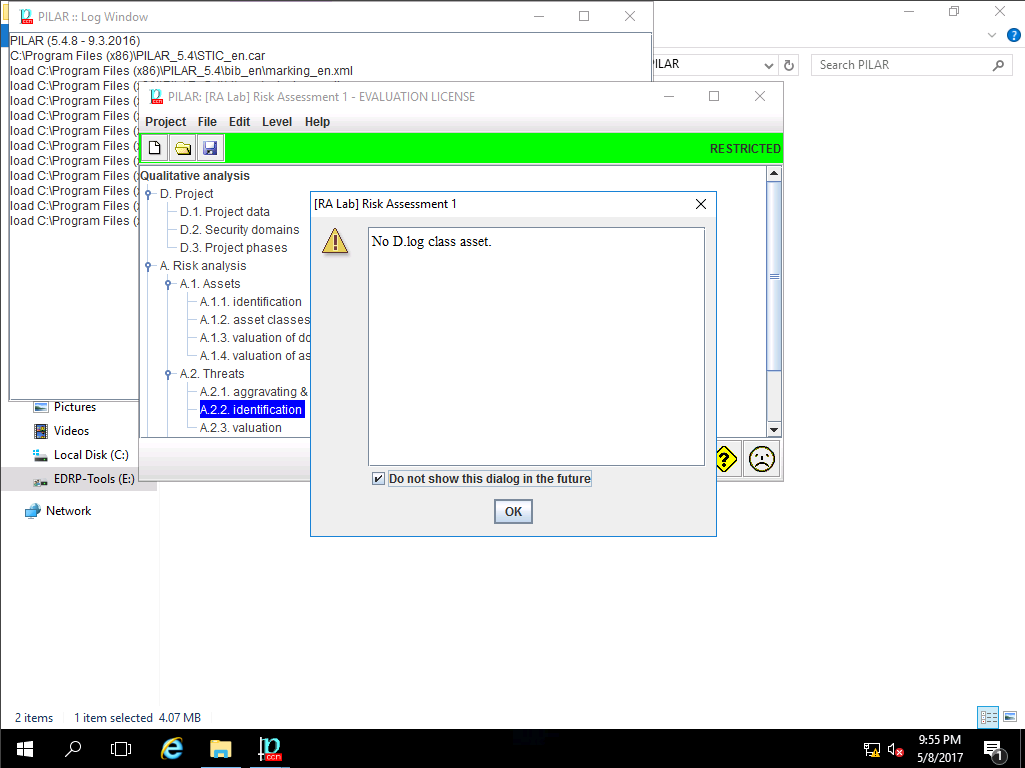
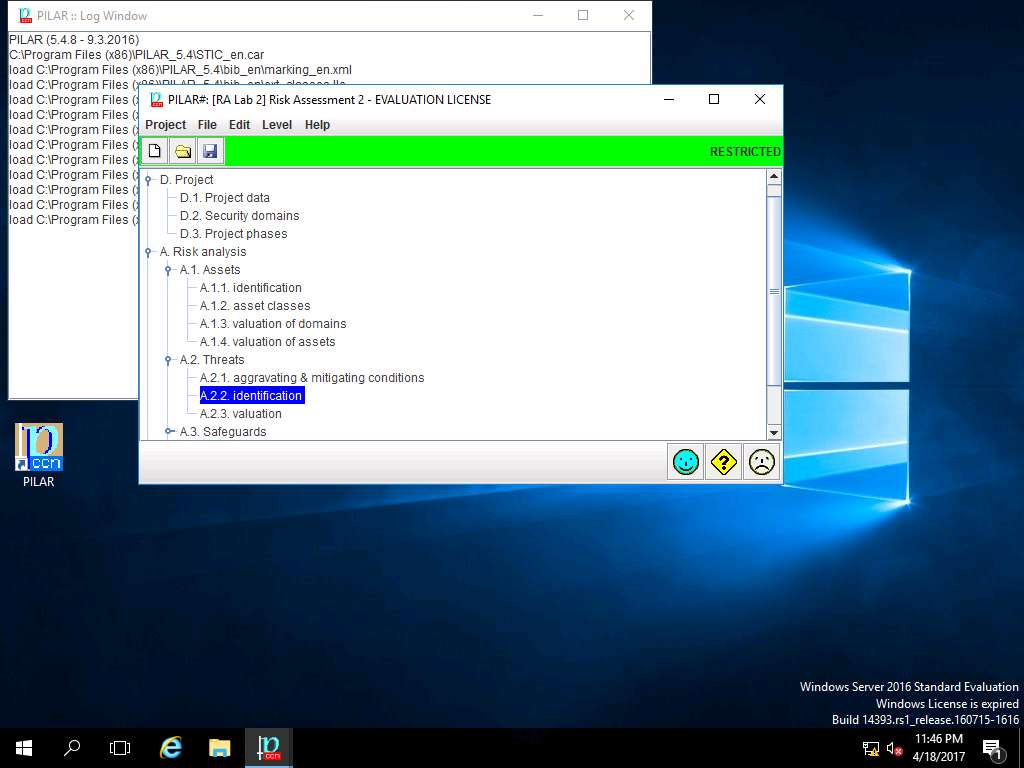
PILAR: [RA Lab] Risk Assessment 1 window appears, in Qualitative analysis pane double-click A. Risk analysis. Double-click A.2 Threats and select A.2.2. identification from the sub-tree as shown in the screenshot.

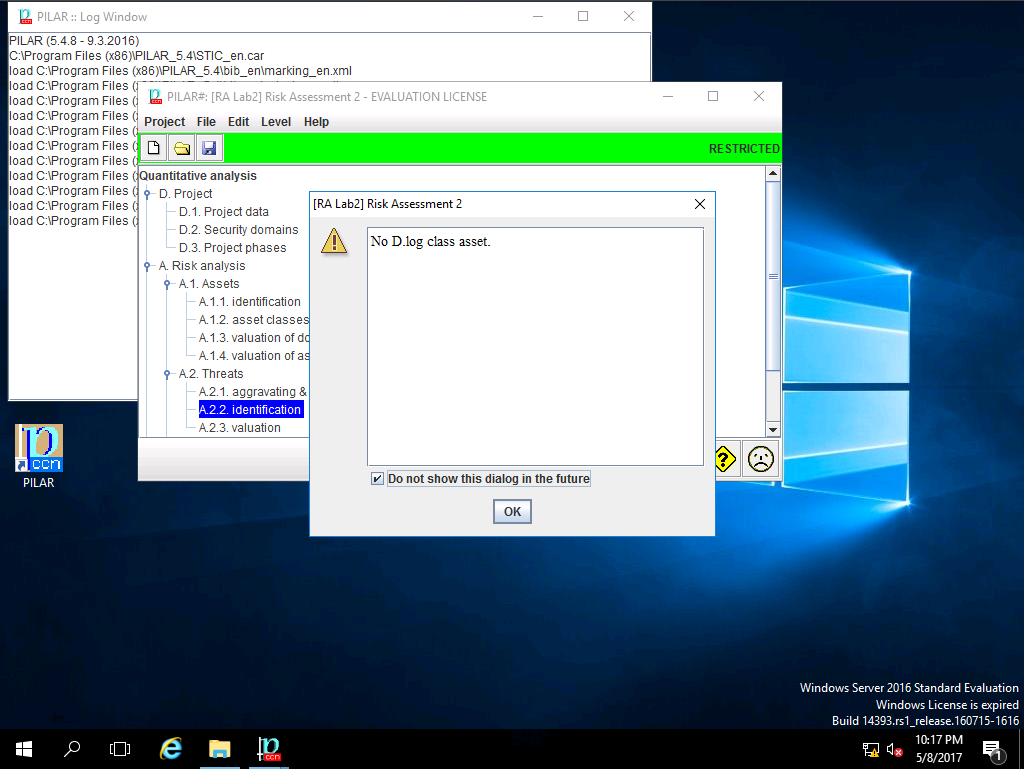
[RA Lab] Risk Assessment warning window appears, click Do not show this dialog in the future check-box and click OK.
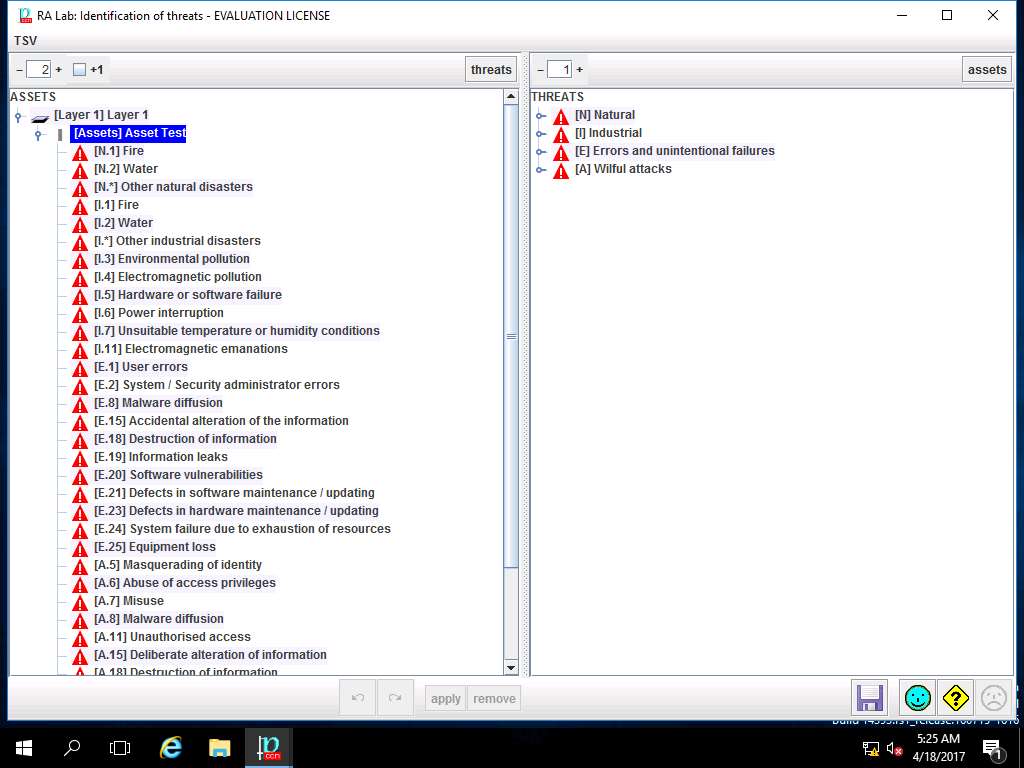
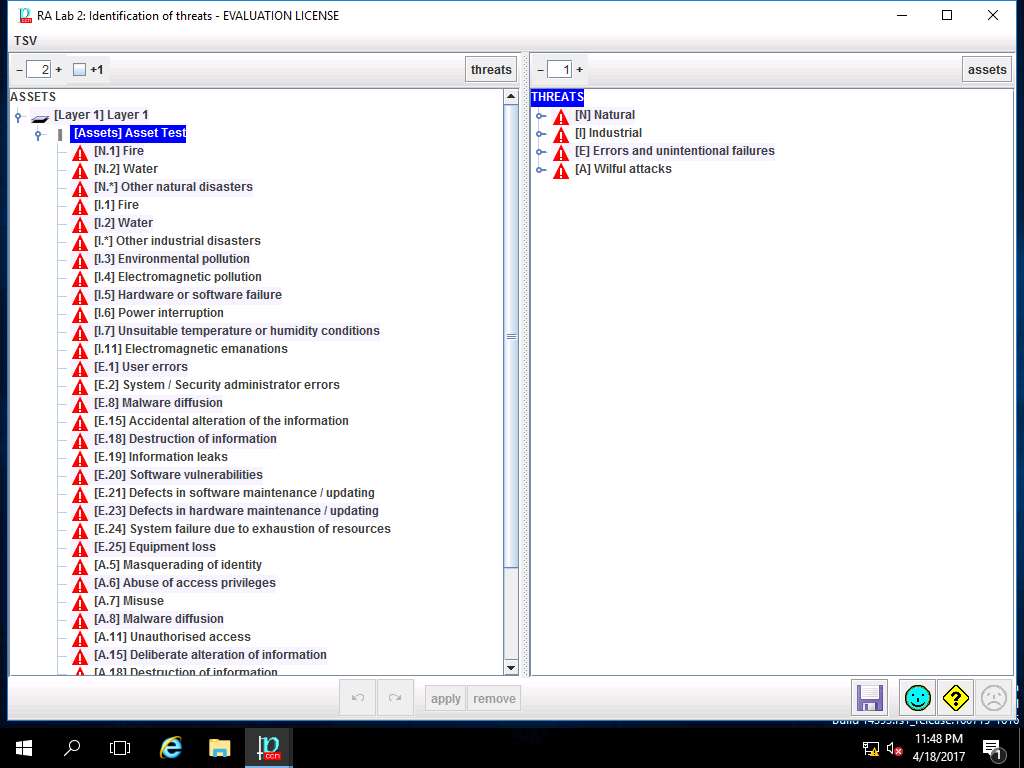
RA Lab: Identification of threats window appears. In left pane navigate to ASSETS --> [Layer 1] Layer 1 --> [ASSETS] Asset Test, all the possible threats in risk assessment are listed. In left pane THREATS scenarios like Natural, Industrial, Errors and unintentional failures and Wilful attacks are selected as shown in the screenshot. Click save and close to continue.
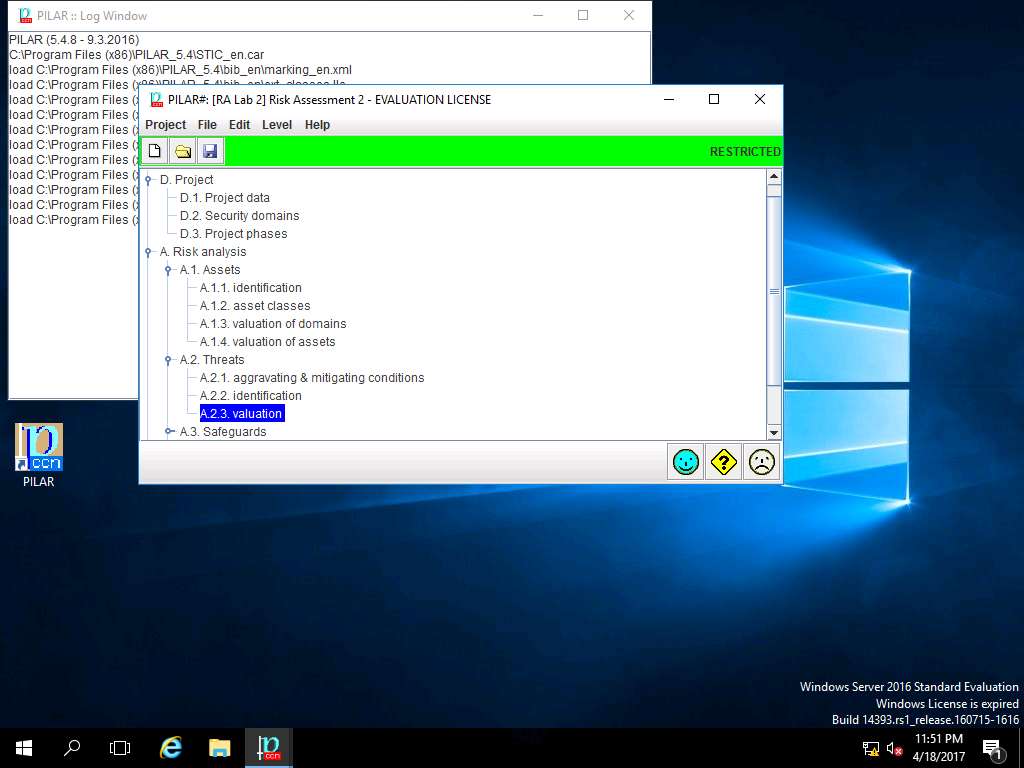
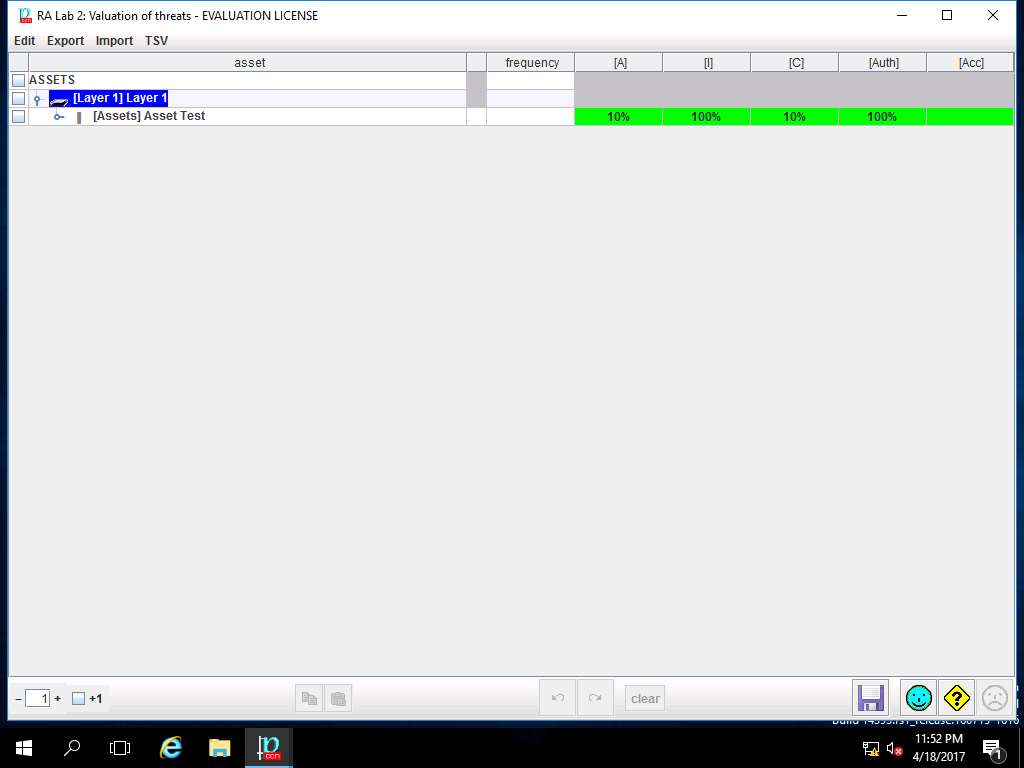
PILAR: [RA Lab] Risk Assessment 1 window appears, in Qualitative analysis pane double-click A. Risk analysis. Double-click A.2 Threats and select A.2.3. valuation from the sub-tree as shown in the screenshot.

RA Lab: Valuation of Threats window appears, double click [Layer 1] Layer 1 in the ASSETS pane. [Assets] Asset Test row appears showing the percentage of threat evaluation for various criteria like [A], [I], [C], [Auth] and [Acc]. Click **save and close** to continue.

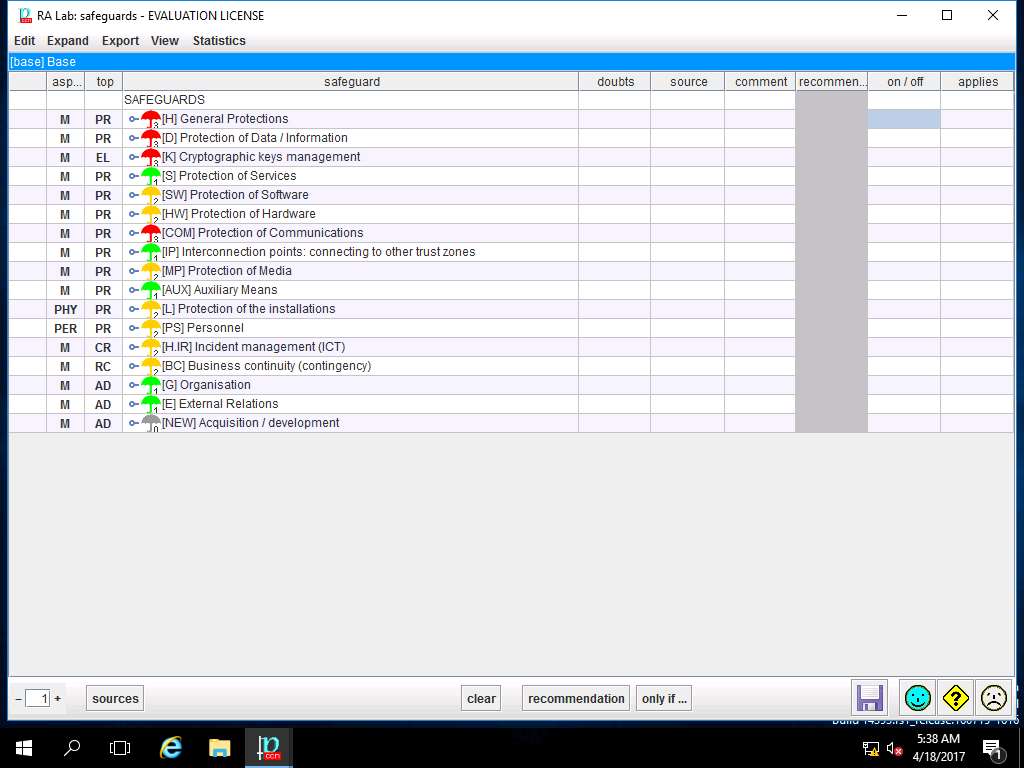
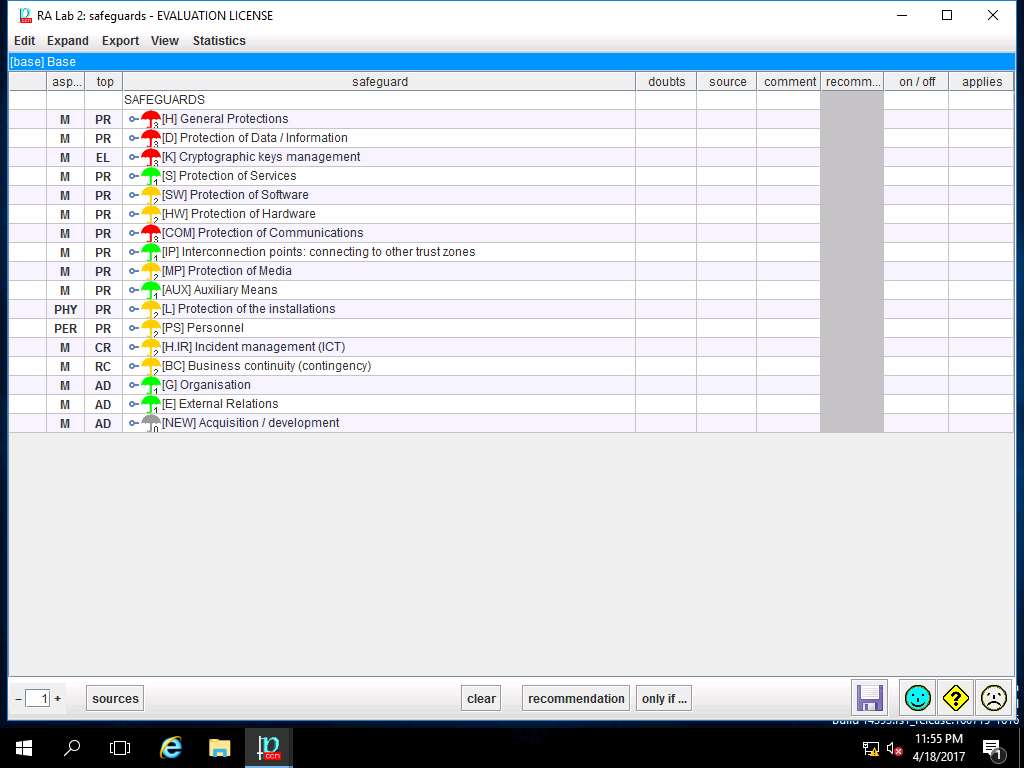
PILAR: [RA Lab] Risk Assessment 1 window appears, in Qualitative analysis pane double-click A. Risk analysis. Double-click A.3 Safeguard and select A.3.1. identification from the sub-tree as shown in the screenshot.

RA Lab: safeguards window appears, click save and close to continue.
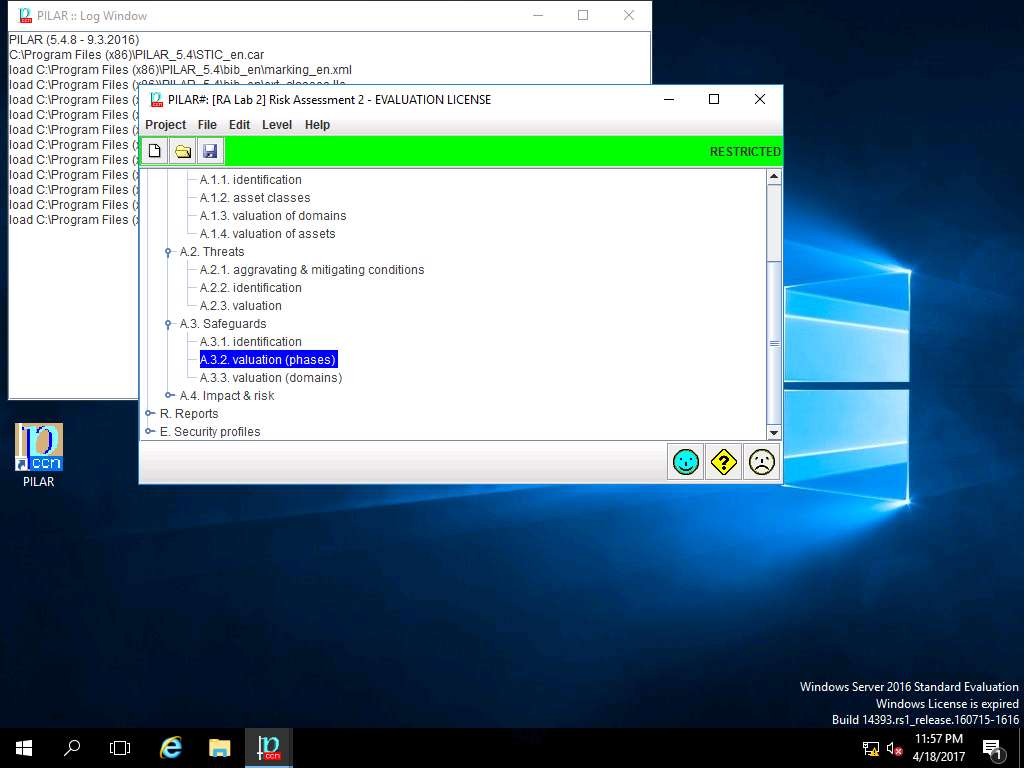
PILAR: [RA Lab] Risk Assessment 1 window appears, in Qualitative analysis pane double-click A. Risk analysis. Double-click A.3 Safeguard and select A.3.2. valuation (phases) from the sub-tree as shown in the screenshot.

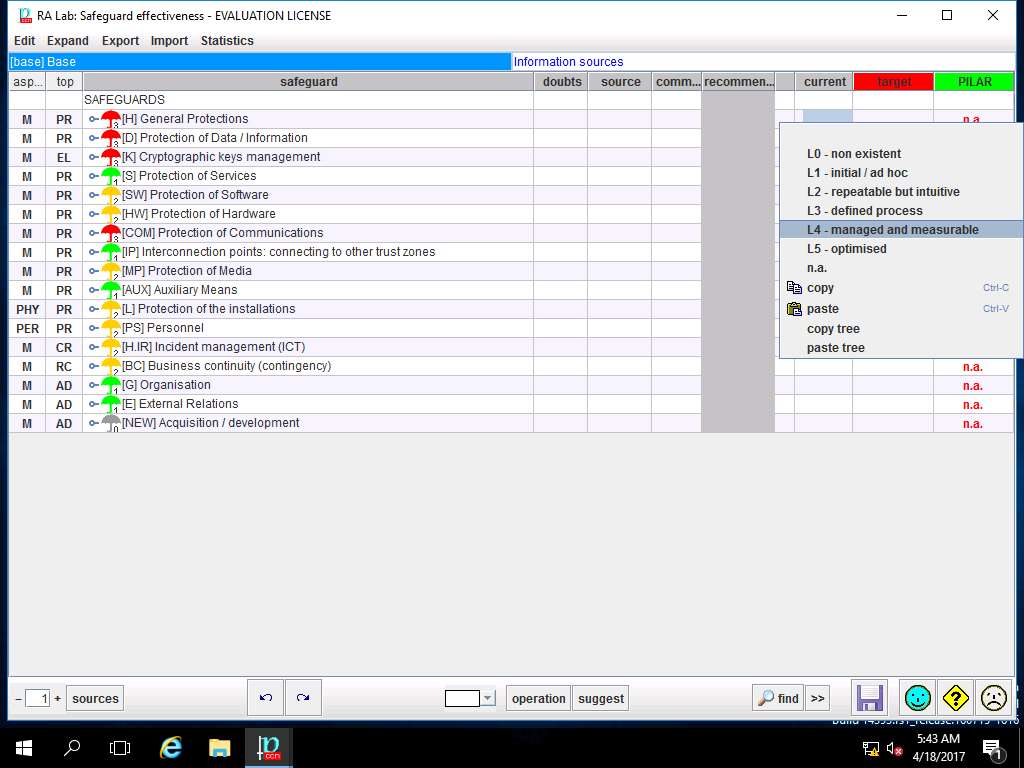
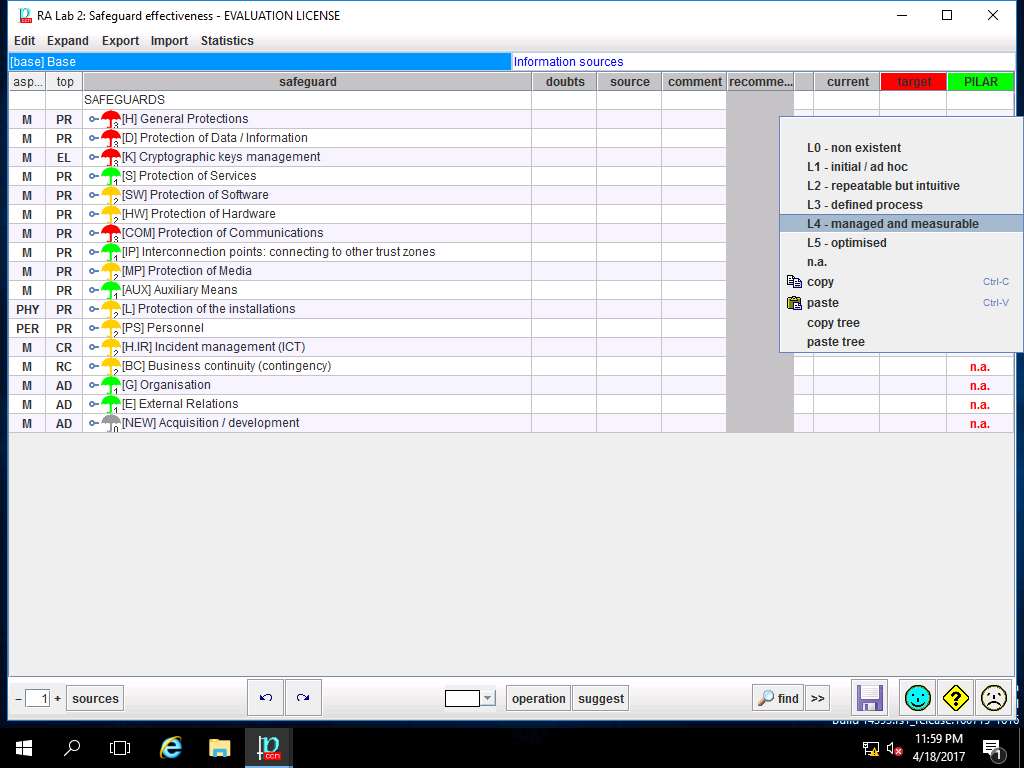
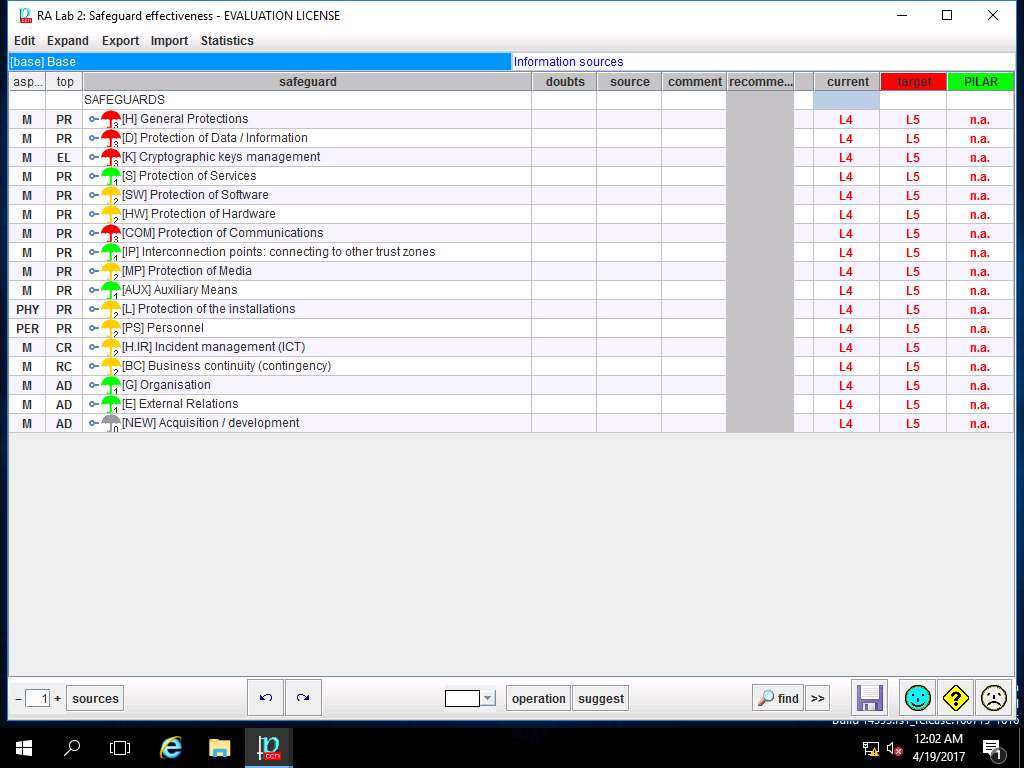
RA Labs: Safeguard effectiveness window appears. Right-click the empty box in current row and [H] General Protections column, select L4 – managed and measurable option from the context menu as shown in the screenshot.
Note: In this scenario we are assuming that safeguard effectiveness in all the fields are managed and measureable i.e. L4.
L4-managed and measurable implies the precise measurements, management can effectively control the effectiveness and efficiency of the safeguards. In particular, management can identify ways to set quantitative quality goals. At maturity level L4, the performance of processes is controlled using statistical and other quantitative techniques, and is quantitatively predictable.
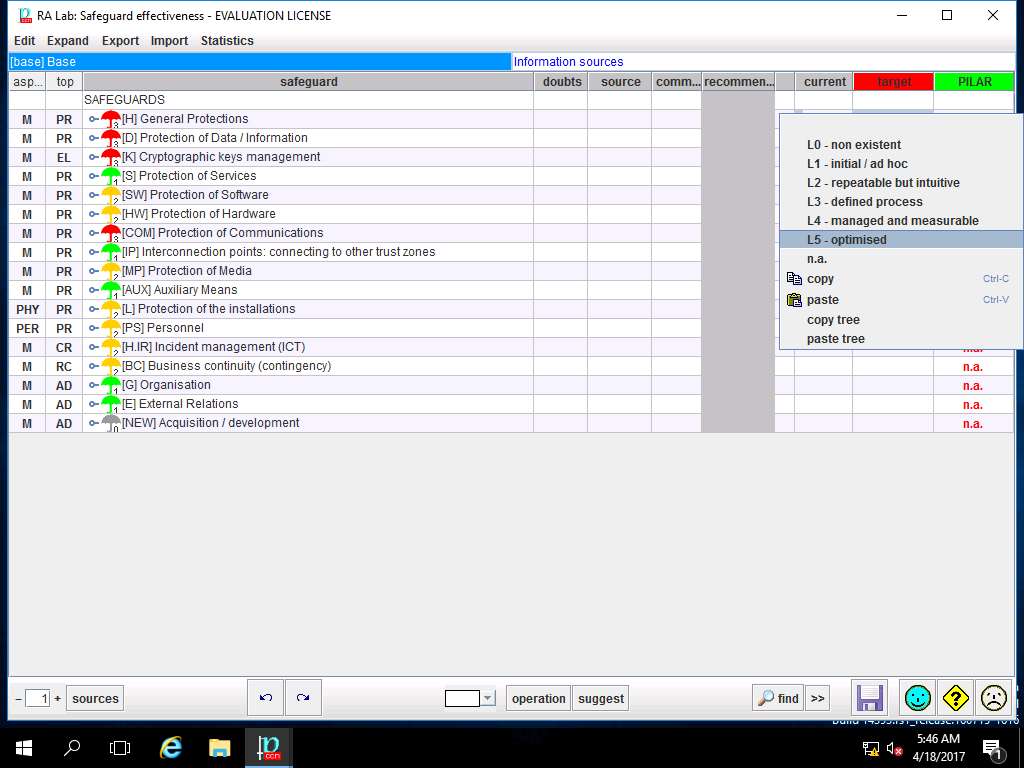
Again Right-click the empty box in target row and [H] General Protections column, select L5 – optimised option from the context menu as shown in the screenshot.
Note: In this scenario, we are setting the Target of the safeguards as level 5 i.e. optimised.
L5 - Optimized implies the precise measurements, management can effectively control the effectiveness and efficiency of the safeguards. In particular, management can identify ways to set quantitative quality goals. At maturity level L4, the performance of processes is controlled using statistical and other quantitative techniques, and is quantitatively predictable.
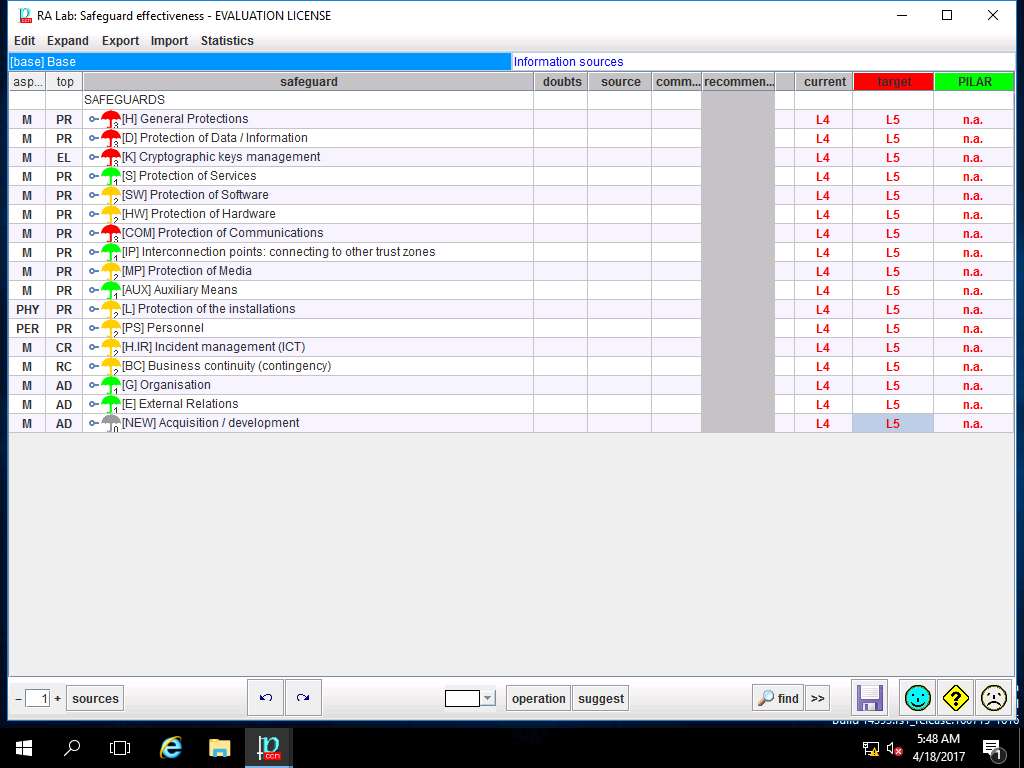
Repeat steps 56 and 57 to assign the values of safeguard effectiveness for current and target to other SAFEGUARDS options as shown in screenshot. Click save and close.
In this senario, we are assuming that all the criteria of the Safeguard effectiveness are currently L4 - managed and measurable and the target is L5 - optimised.
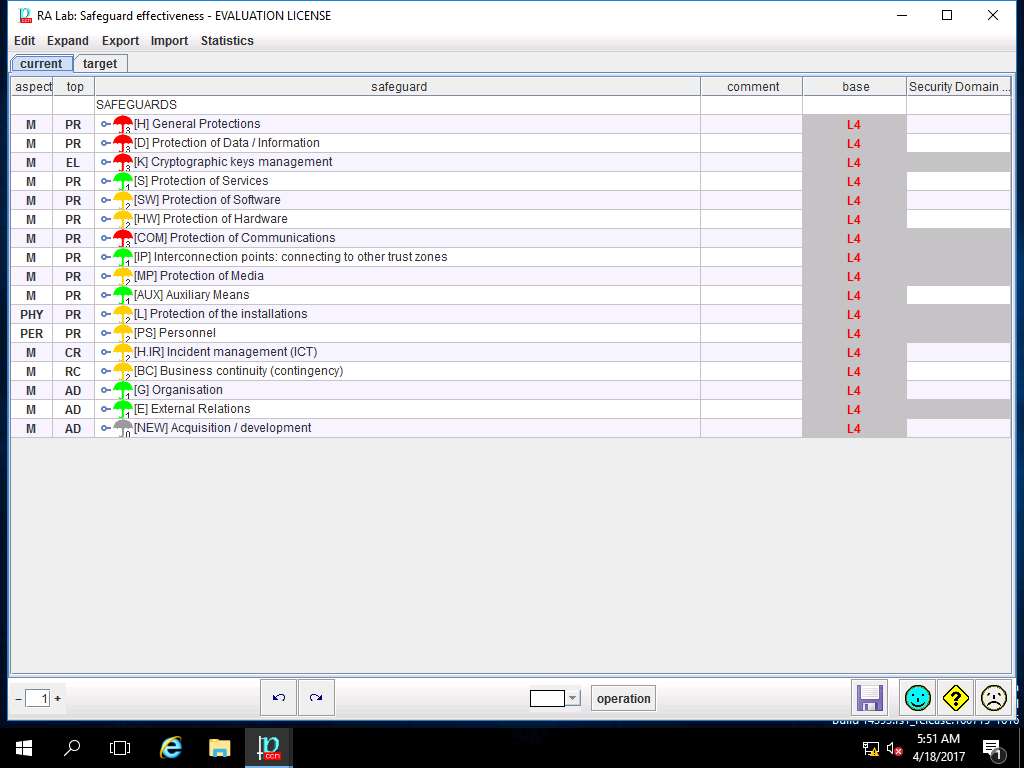
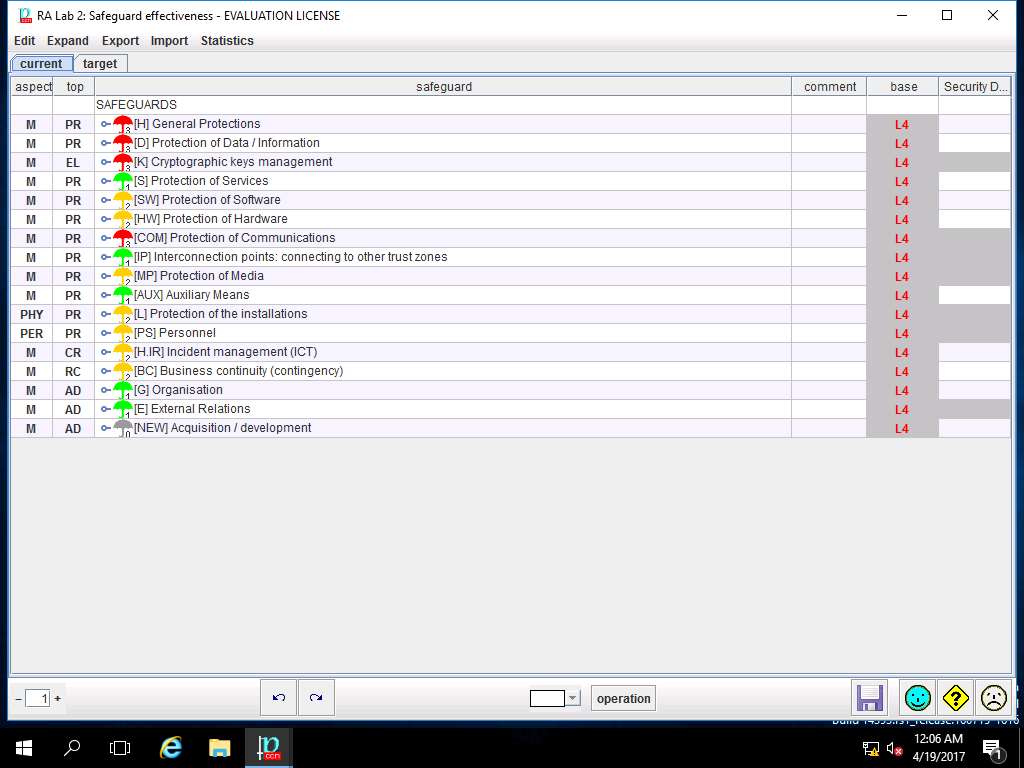
PILAR: [RA Lab] Risk Assessment 1 window appears, in Qualitative analysis pane double-click A. Risk analysis. Double-click A.3 Safeguard and select A.3.3. valuation (domains) from the sub-tree as shown in the screenshot.

RA Lab: Safeguard effectiveness window appears with the assigned value of various SAFEGUARDS. Click save and close to continue.
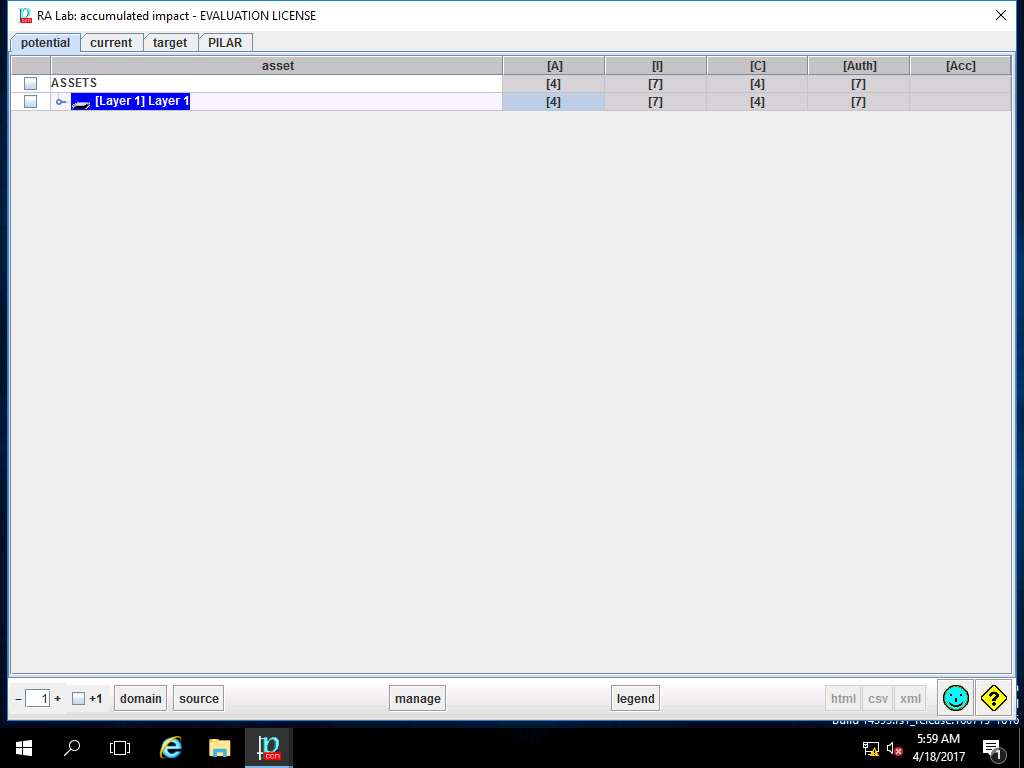
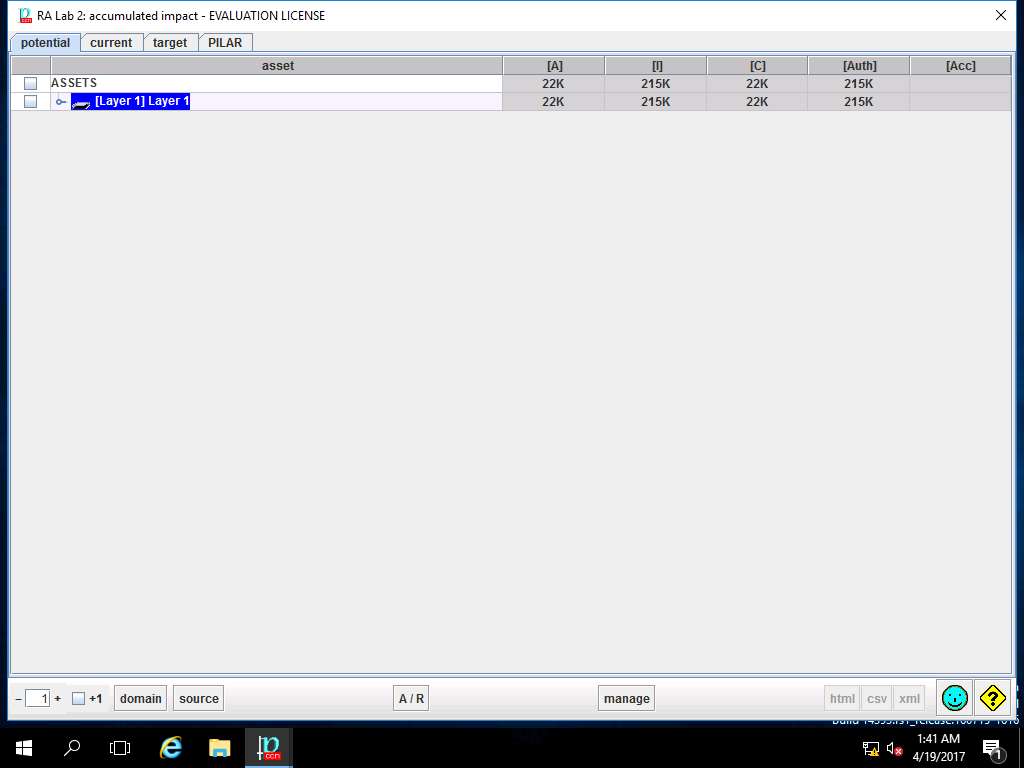
PILAR: [RA Lab] Risk Assessment 1 window appears, in Qualitative analysis pane double-click A. Risk analysis. Double-click A.4 Impact & risk, double-click A.4.1. Accumulated values and select A.4.1.1. impact from the sub-tree as shown in the screenshot.

RA Lab: accumulated impact window appears, accumulated impact ratings are assigned for various criterias for [Layer 1] Layer 1 as shown in screenshot. Click save and close to continue.
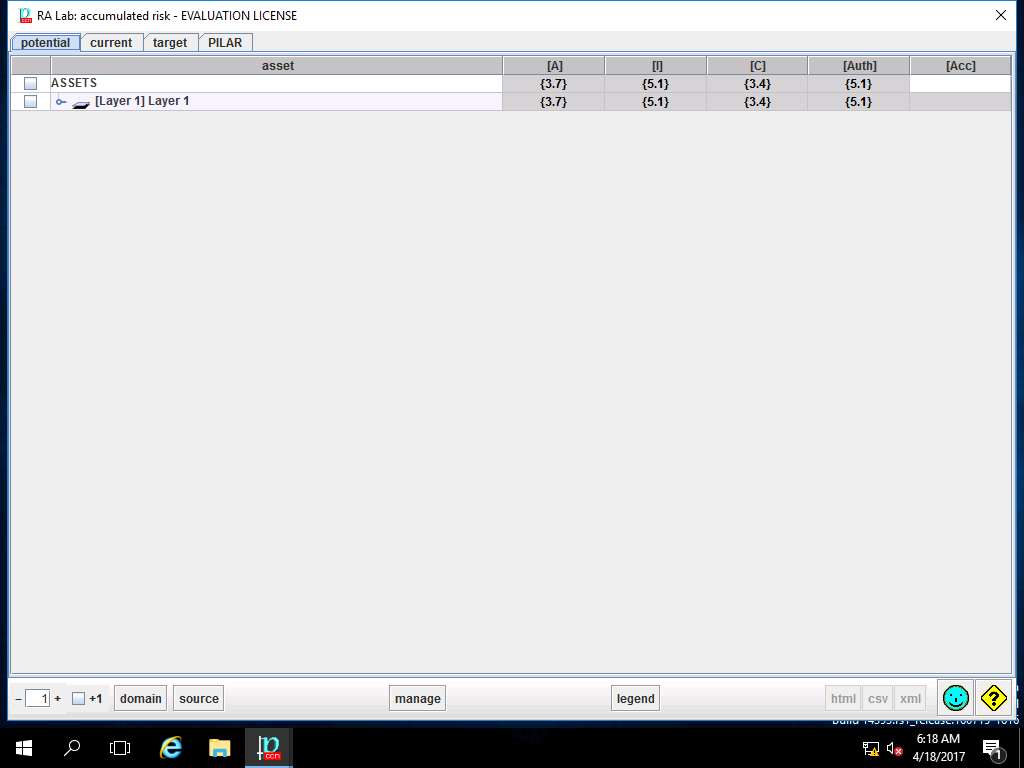
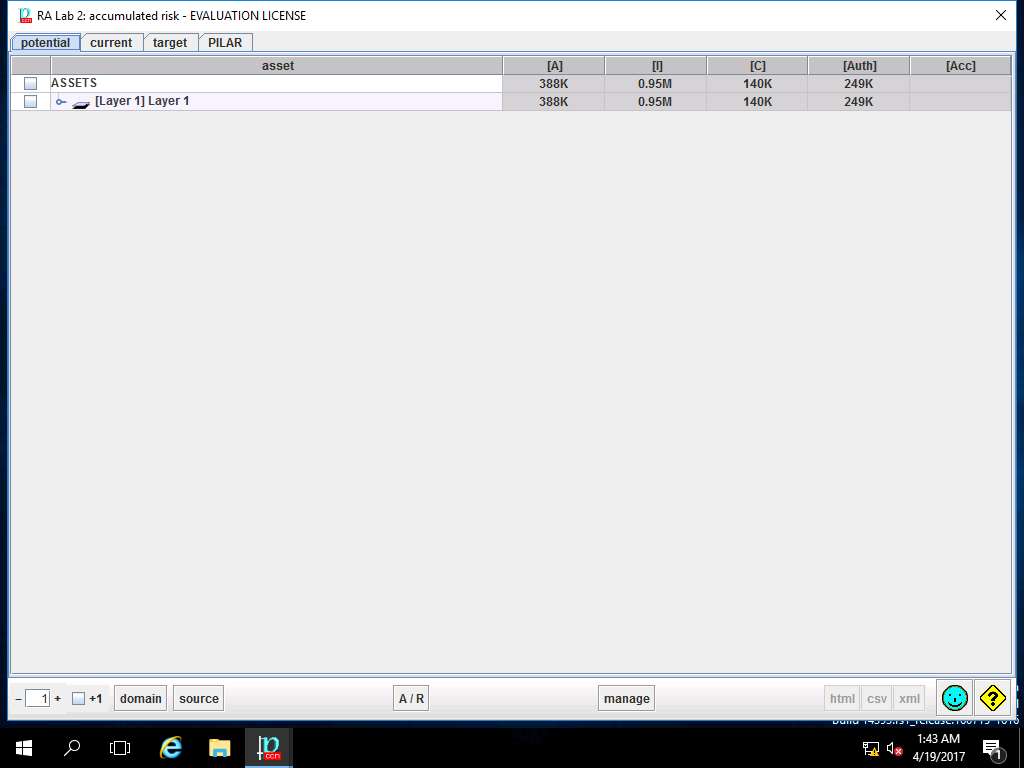
PILAR: [RA Lab] Risk Assessment 1 window appears. In A.4.1. Accumulated values sub-tree select A.4.1.2. risk as shown in the screenshot.

RA Lab: accumulated risk window appears, accumulated risk ratings are assigned for various criterias for [Layer 1] Layer 1 as shown in screenshot. Click save and close to continue.
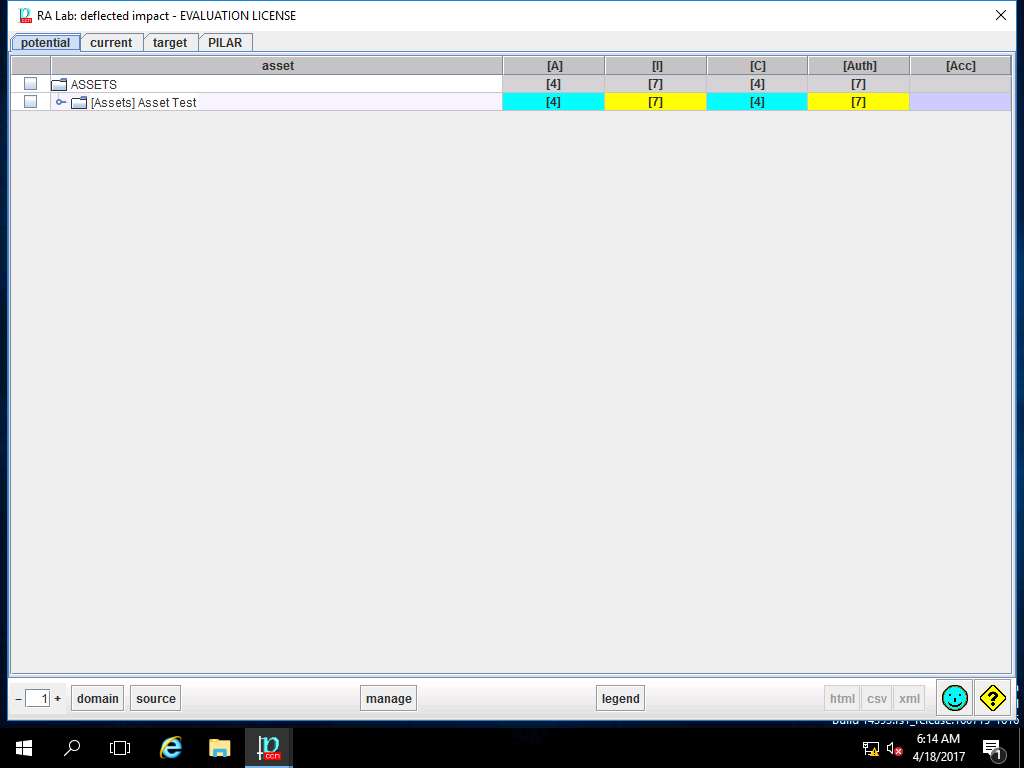
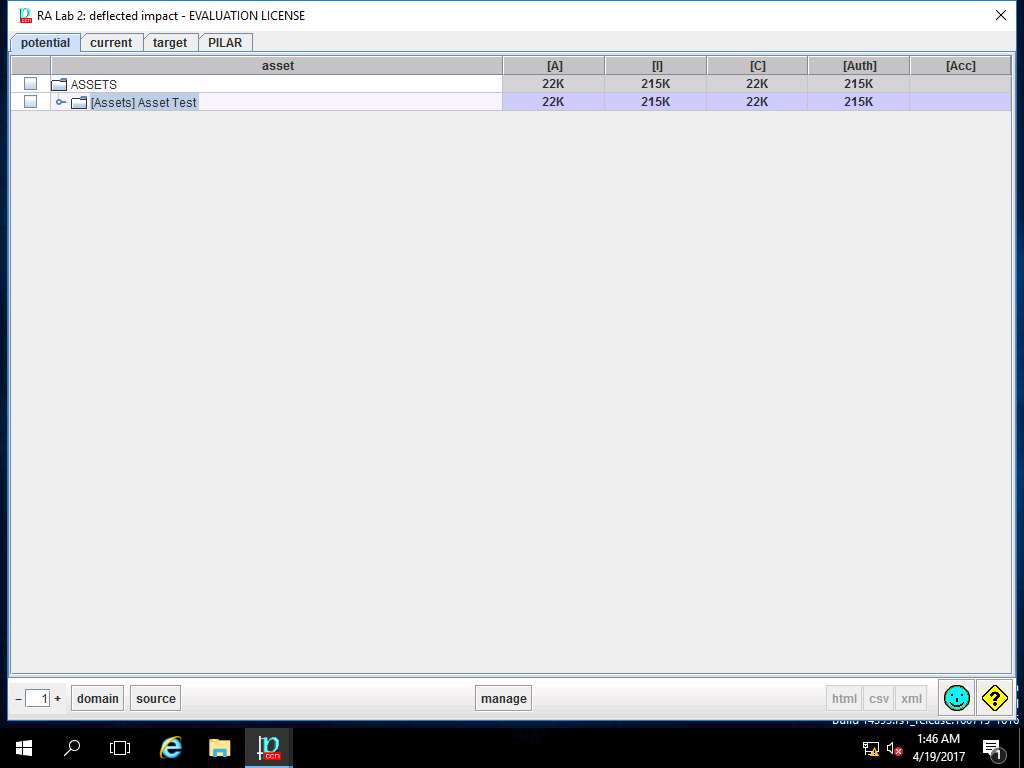
PILAR: [RA Lab] Risk Assessment 1 window appears, double-click A.4.2. Deflected values and select A.4.2.1. impact from the sub-tree as shown in the screenshot.

RA Lab: deflected impact window appears showing the deflected impact assigned values for different criteria of [Assets] Asset Test as shown in screenshot. Click save and close.
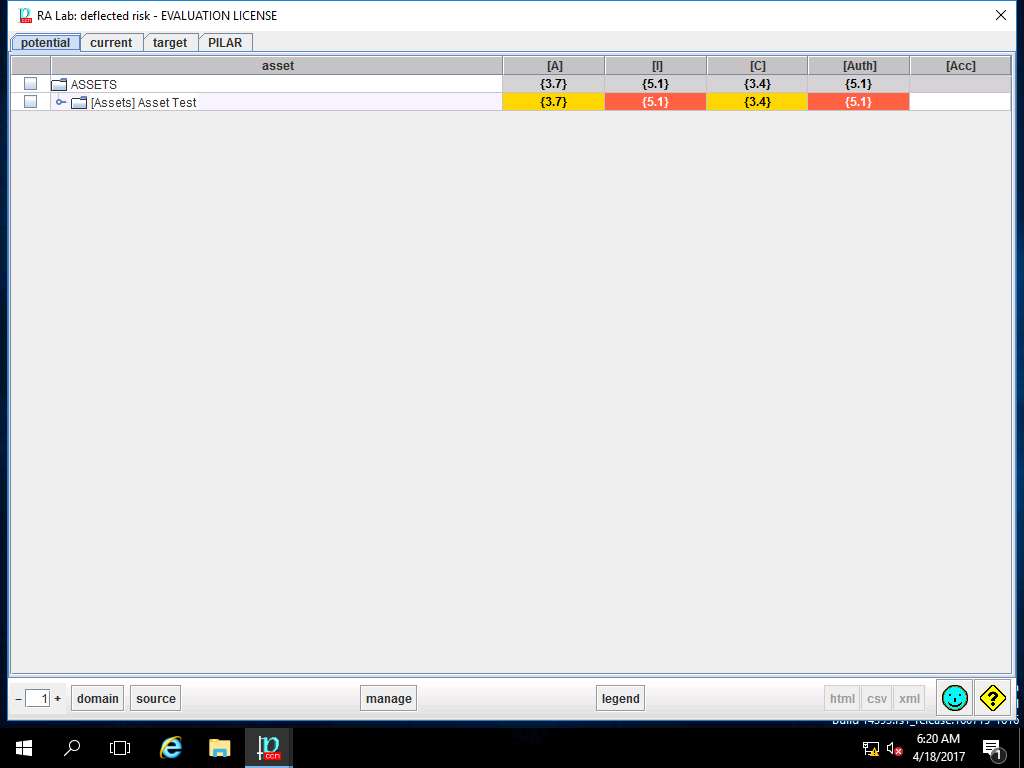
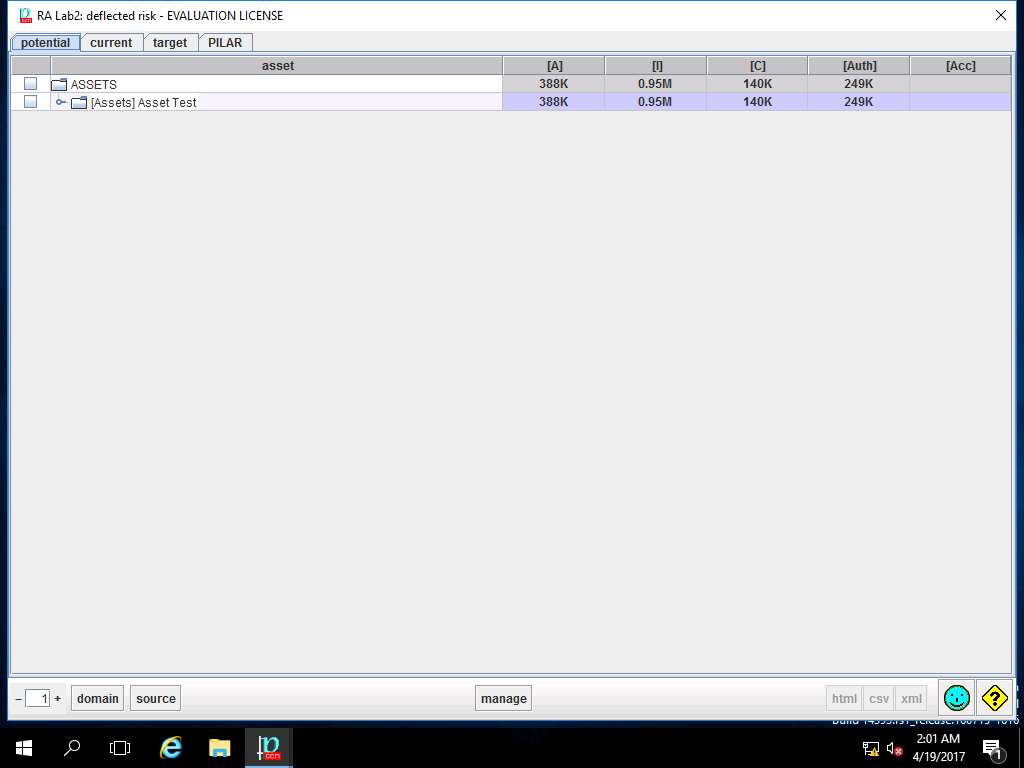
PILAR: [RA Lab] Risk Assessment 1 window appears. In A.4.2. Deflected values sub-tree, select A.4.2.1. risk as shown in the screenshot.

RA Lab: deflected risk window appears showing the deflected risk assigned values for different criteria of [Assets] Asset Test as shown in screenshot. Click save and close.
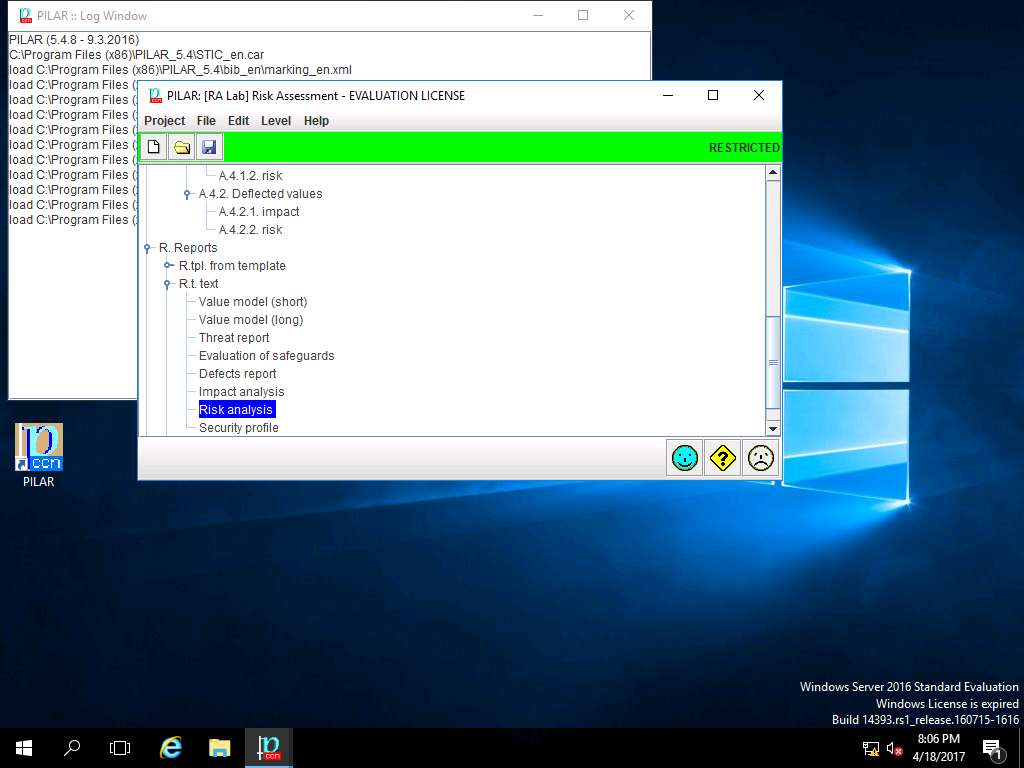
PILAR: [RA Lab] Risk Assessment 1 window appears, in Qualitative analysis pane double-click R. Report. Double-click R.t. text, and select Risk Analysis from the sub-tree as shown in the screenshot.
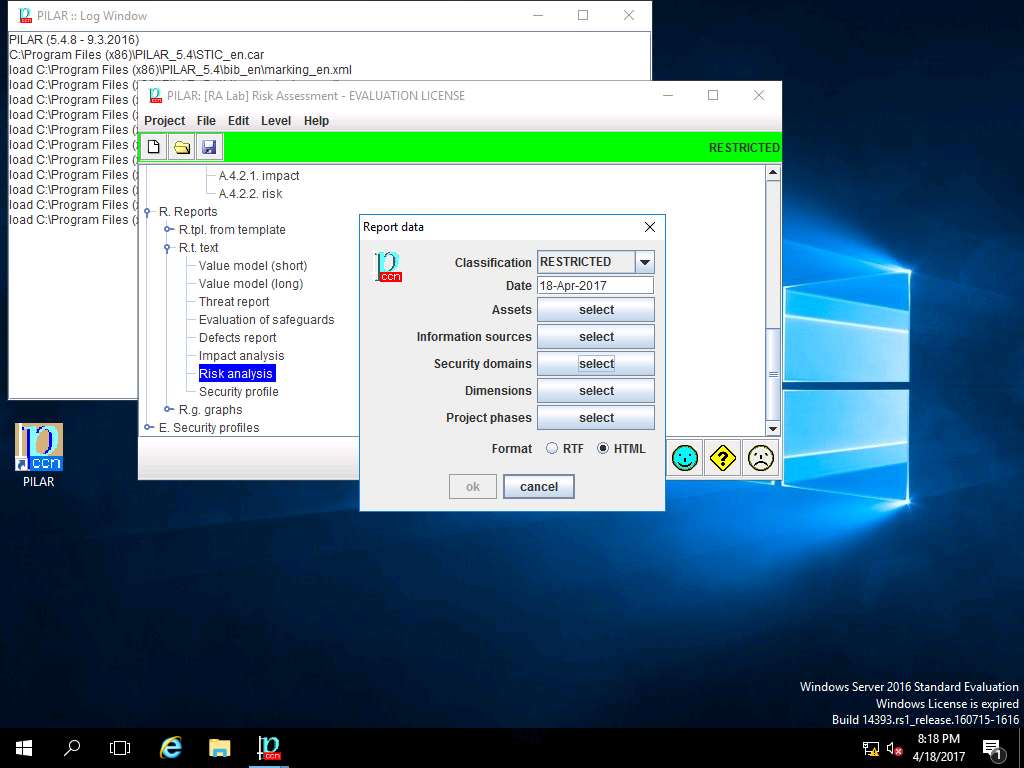
Report data window appears, click select button in Assets field.

assets window appears, under ASSETS sub-tree select [Layer 1] Layer 1 and click save and close.

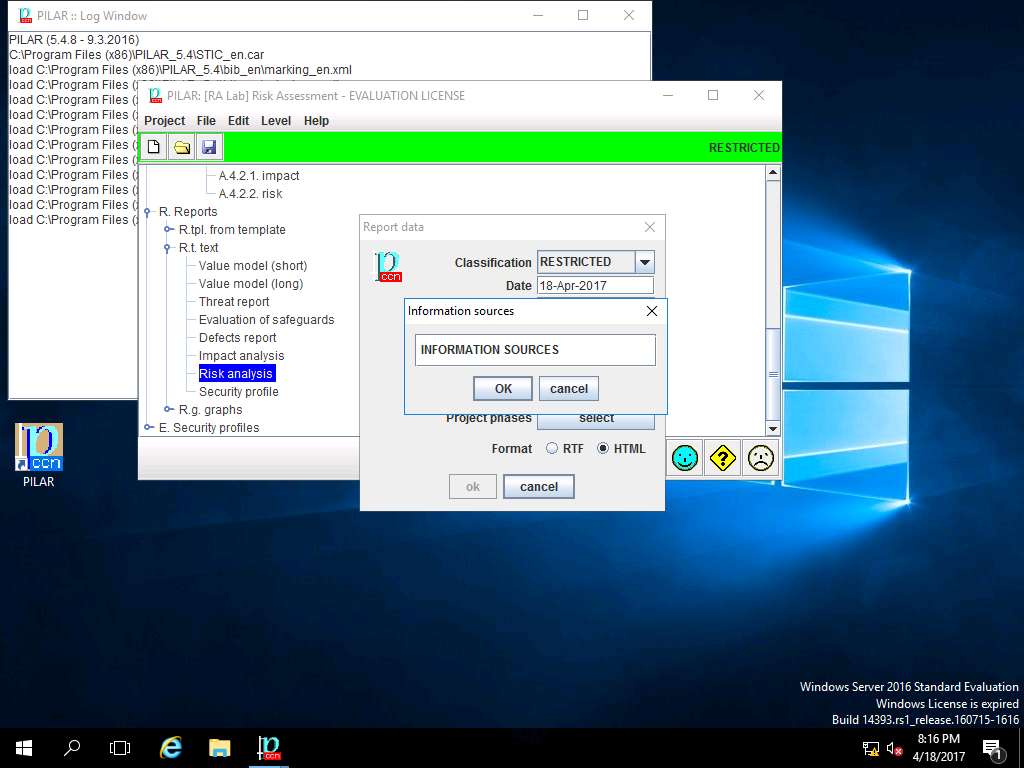
Report data window appears, click select button in Information sources field.

Information sources window appears, INFORMATION SOURCES is selected by default. Click save and close.
Report data window appears, click select button in Security domains field.
security domains window appears, under Security domains sub-tree tick [base] Base and [Security Domain Test] Security Domain 1 check-box as shown in screenshot. Click OK.

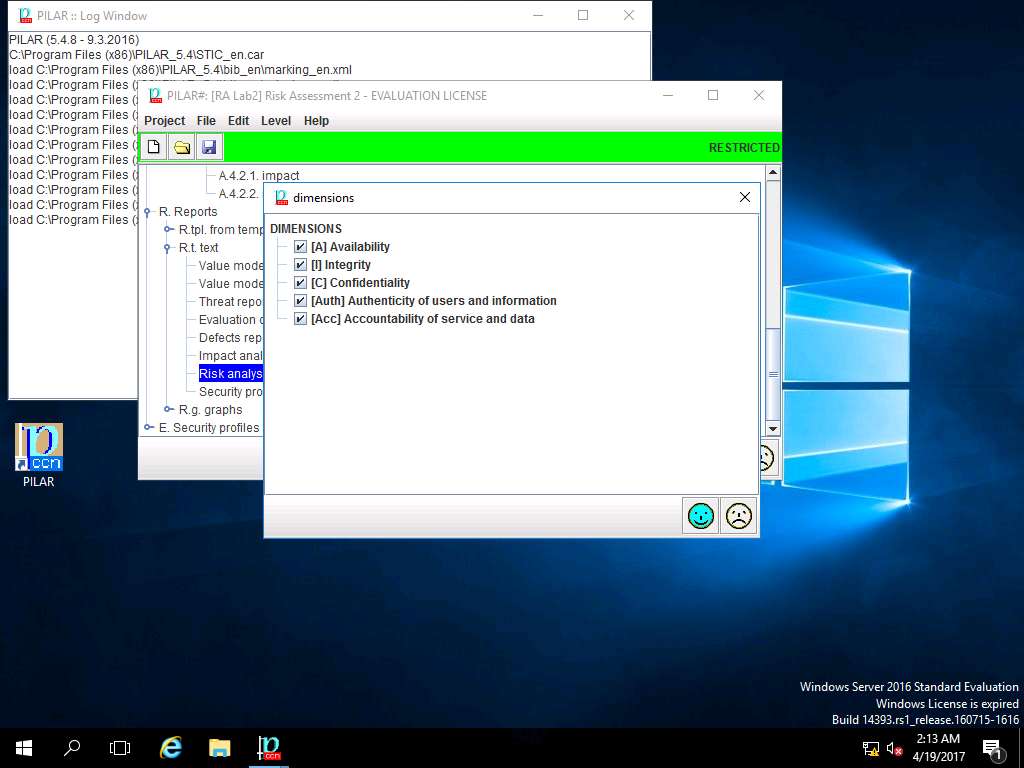
Report data window appears, click select button in Dimensions field.

dimensions window appears, in DIMENSIONS sub-tree tick [A] Availability, [I] Integrity, [C] Confidentiality, [Auth] Authenticity of users and information and [Acc] Accountability of service and data check-box. Click save and close.

Report data window appears, click select button in Project phases field.

project phases window appears, in Project phases sub-tree tick [Potential], [current] current situation and [target] target situation check-box. Click OK to continue. Report Data window appears again, click Close.
Since we are using 30 days Evaluation version of PILAR tool, we will not be able to save and publish the Risk Assessment Report in .RTF or .HTML format.

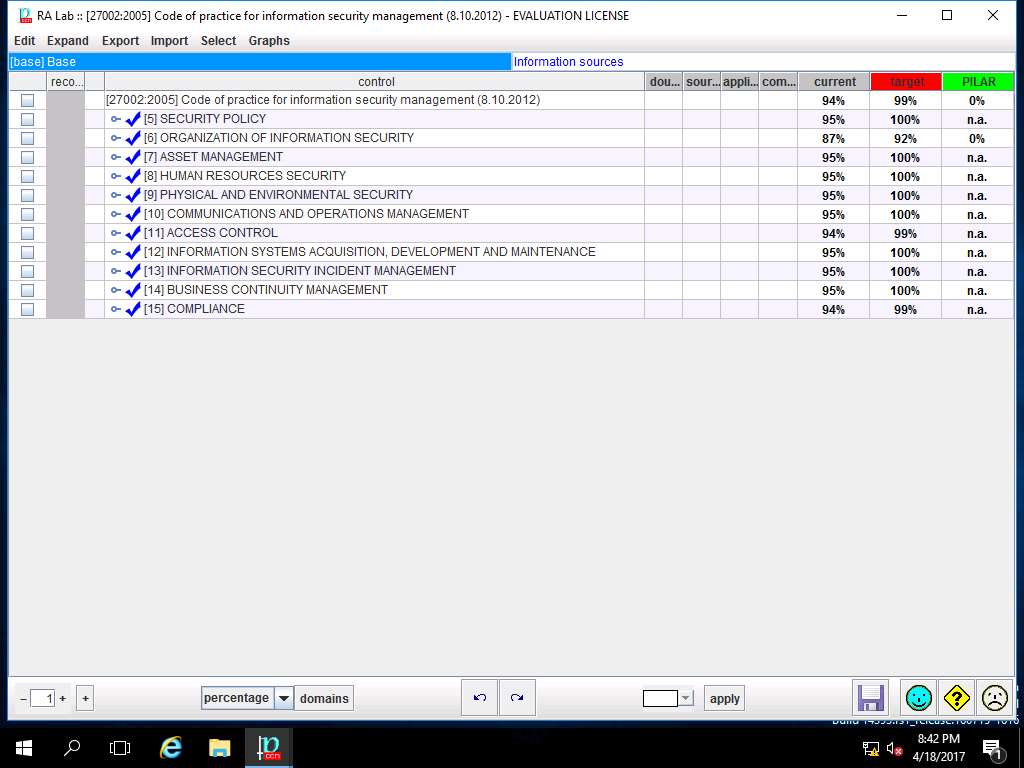
PILAR: [RA Lab] Risk Assessment 1 window appears, in Qualitative analysis pane double-click E. Security profiles. Double-click [27002-2005] Code of practice for information security management (8.10.2012), and select Valuation from the sub-tree as shown in the screenshot.
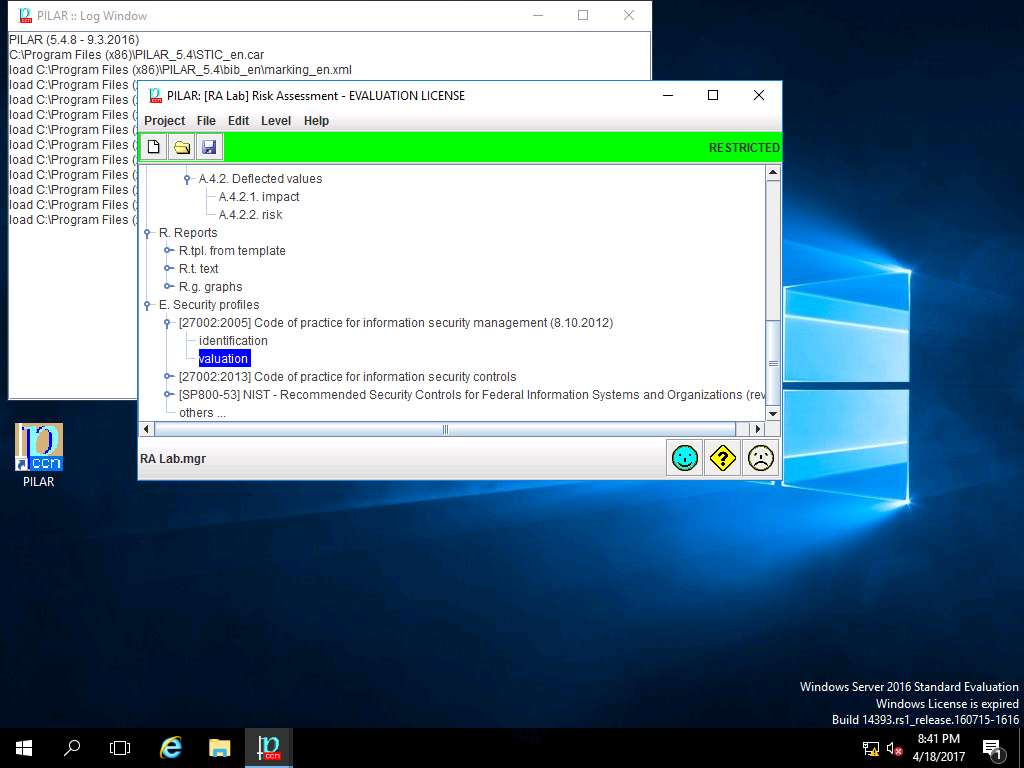
RA Lab :: [27002-2005] Code of practice for information security management (8.10.2012) window appears showing the current and target level of various controls under [27002-2005] Code of practice for information security management (8.10.2012) as shown in the screenshot. Click save and close.
ISO/IEC 27002:2005 establishes guidelines and general principles for initiating, implementing, maintaining, and improving information security management in an organization. The control objectives and controls in ISO/IEC 27002:2005 are intended to be implemented to meet the requirements identified by a risk assessment. ISO/IEC 27002:2005 is intended as a common basis and practical guideline for developing organizational security standards and effective security management practices, and to help build confidence in inter-organizational activities.
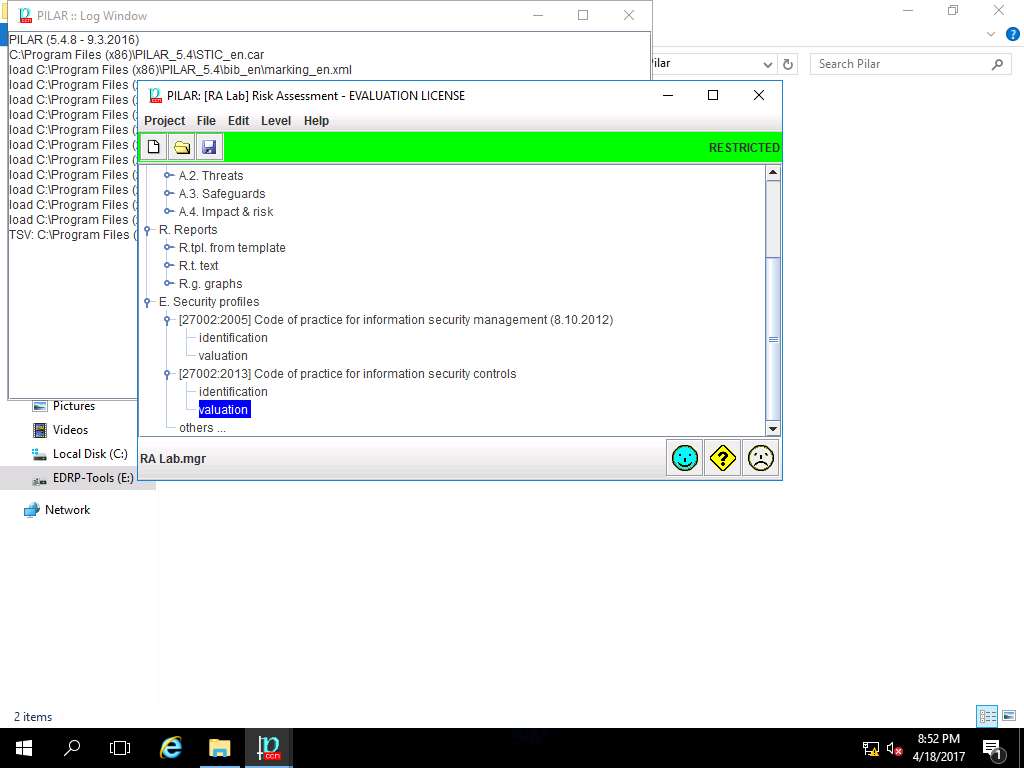
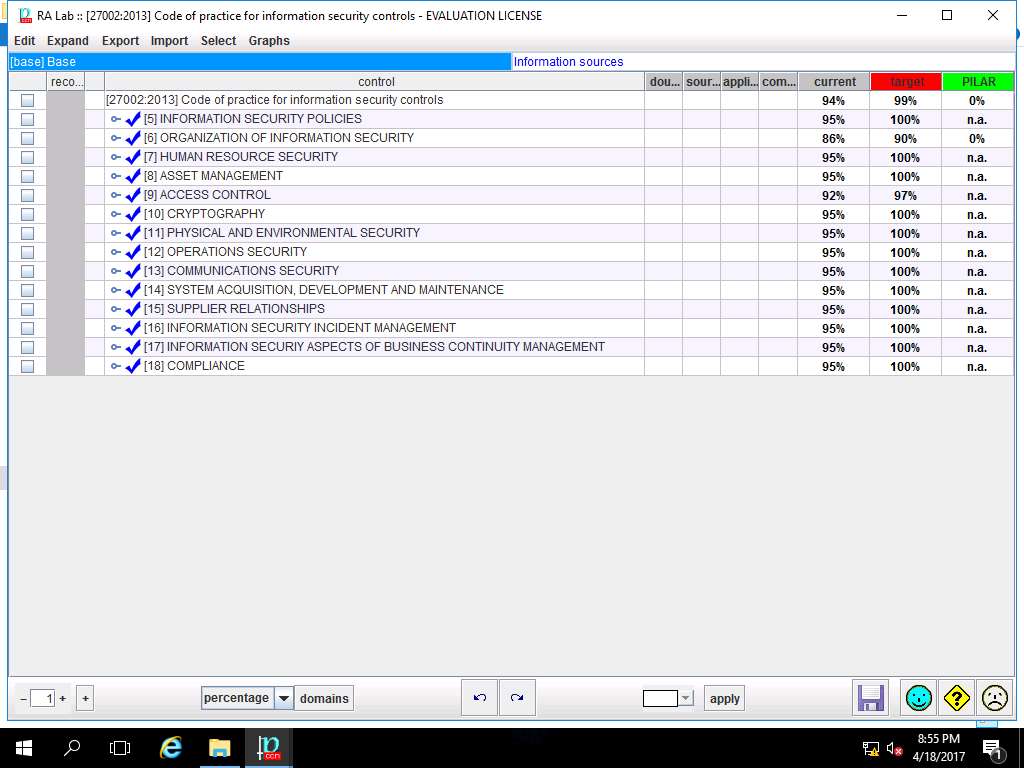
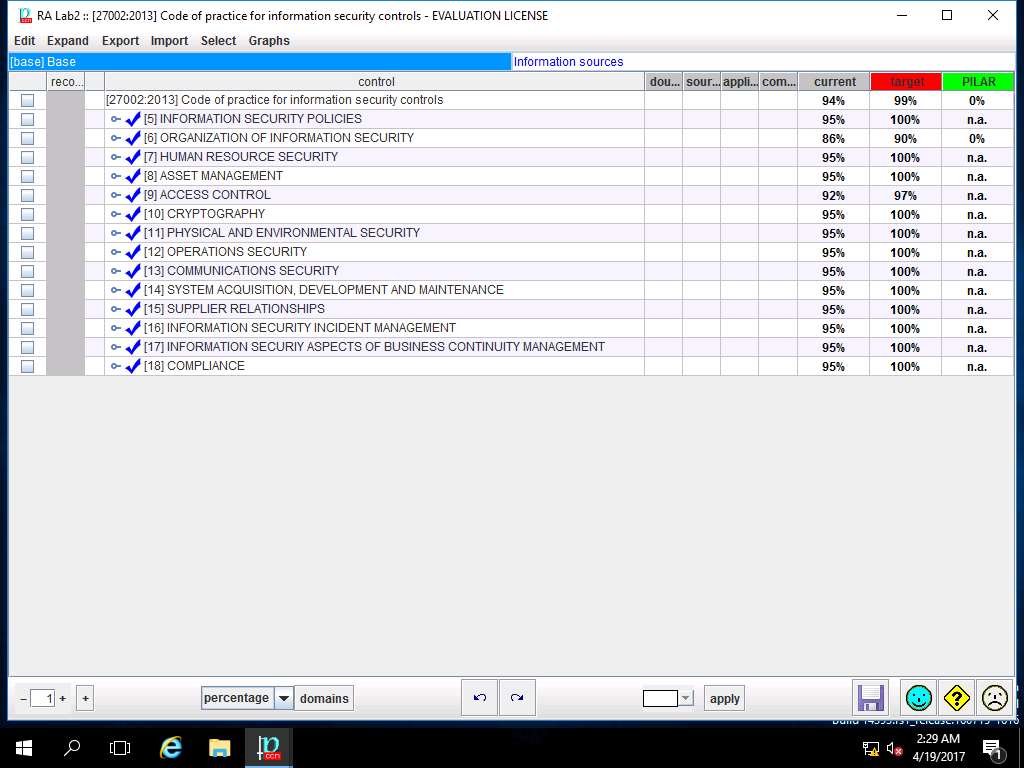
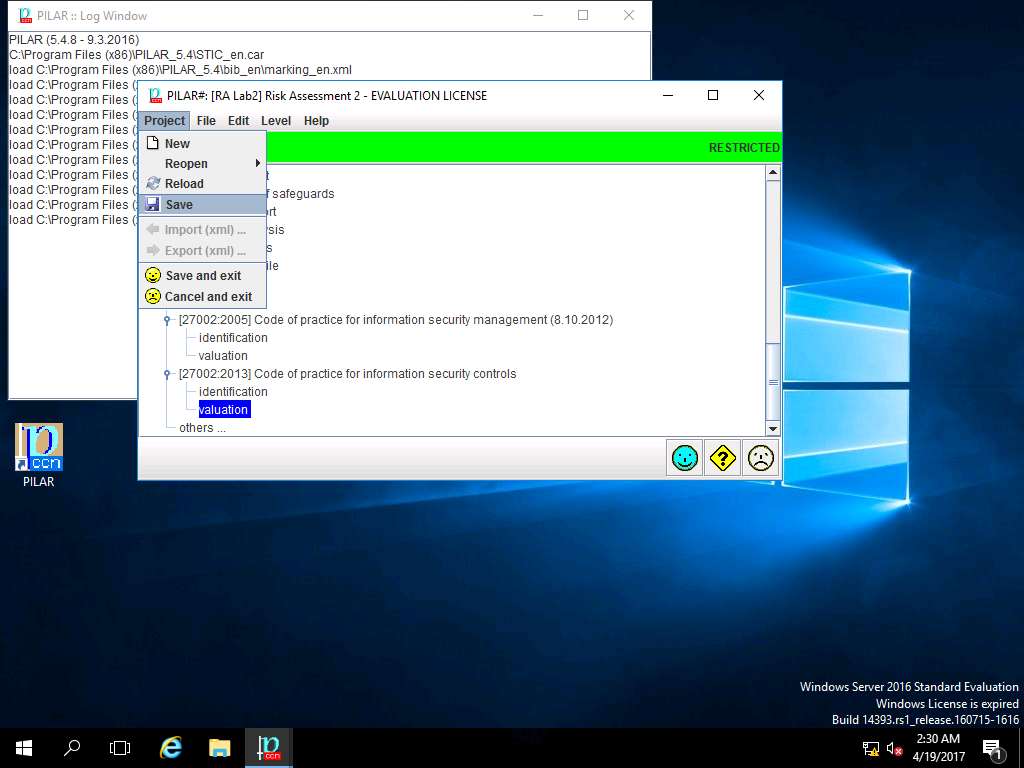
PILAR: [RA Lab] Risk Assessment 1 window appears. Double-click [27002-2013] Code of practice for information security controls, and select Valuation from the sub-tree as shown in the screenshot.
RA Lab :: [27002-2013] Code of practice for information security controls window appears showing the current and target level of various controls under [27002-2013] Code of practice for information security controls as shown in the screenshot. Click save and close.
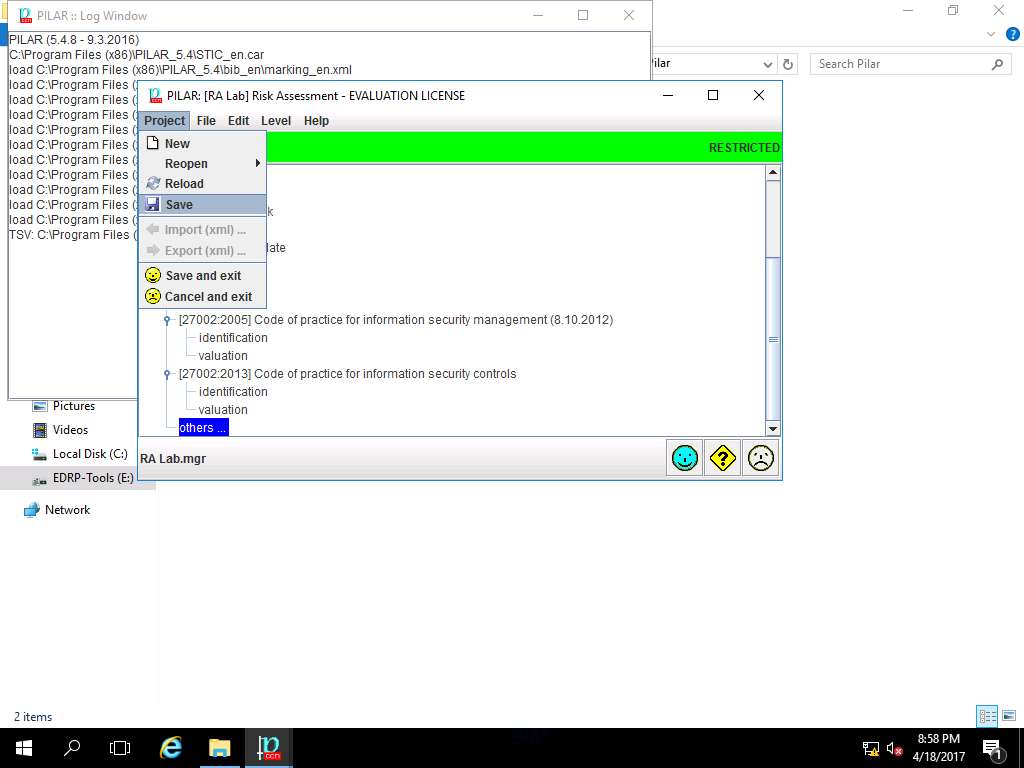
Navigate to the menu-bar of PILAR. Click Project and select Save from the drop-down menu as shown in screenshot.
project (save) window appears, in File Name: field enter RA Lab and click Save to save the PILAR project in default folder.
save RA Lab.mgr window appears, click OK.
We will use the PILAR tool in next lab, do not cancel the current lab.
Assessment 1:
Perform Qualitative Risk Assessment using the PILAR Risk Management tool available at "E:\EDRP Module 03 Risk Assessment\Risk Assessment Tool\Pilar" on the EDRP Windows Server 2016 machine. What is the Safeguard effectiveness rating for the optimized safeguards?
- In Step 58, the target safeguard effectiveness is set to L5 – Optimized. This is done by selecting the L5 – Optimized option for safeguard effectiveness in the [H] General Protections column under the target row in the Safeguard effectiveness window. This indicates that the safeguards are at an optimized level, which implies precise measurements and effective management of the safeguard's effectiveness.
In summary, the safeguard effectiveness rating for the optimized safeguards is L5 – Optimized.
Quantitative Risk Assessment using PILAR Risk Management Tool
Scenario
Quantitative risk assessment is the process of using numerical values and methods within a margin of error to identify and analyze the risk event and its impact if and when it occurs. This method uses deterministic, stochastic, and systematic approach. The results and values are expressed in numerical figures.
Lab Objectives
This lab demonstrates how to perform a Quantitative Risk Assessment using PILAR Risk Management Tool.
Lab Scenario
This lab focuses on performing a Quantitative Risk Assessment using PILAR Risk Management Tool. Quantitative Risk Assessment is the process of using -numerical based methods to identify and analyze the risk event and its impact if and when it occurs. It works on deterministic, stochastic, and systematic approach. The results and values are expressed in numerical figures. In a qualitative analysis, there is a definitive number that gives the probability of the risk occurring. The advantages of quantitative risk assessment are that it provides relatively accurate and replicable results. As a disaster recovery professional, you must know how to perform Quantitative Risk Assessment in order to understand the potential threats to most critical aspects, supports resources and their potential impact if any disaster happens.
Navigate to desktop of Windows Server 2016 and double-click PILAR shortcut icon.
If the previous lab was cancelled, then you need to install the PILAR tool using steps 1 to 21 of Exercise 1. Otherwise if you are continuing the labs then skip to step 2 of Excercise 2.

Click Quantitative analysis button under Risk Analysis and Management section as shown in the screenshot.

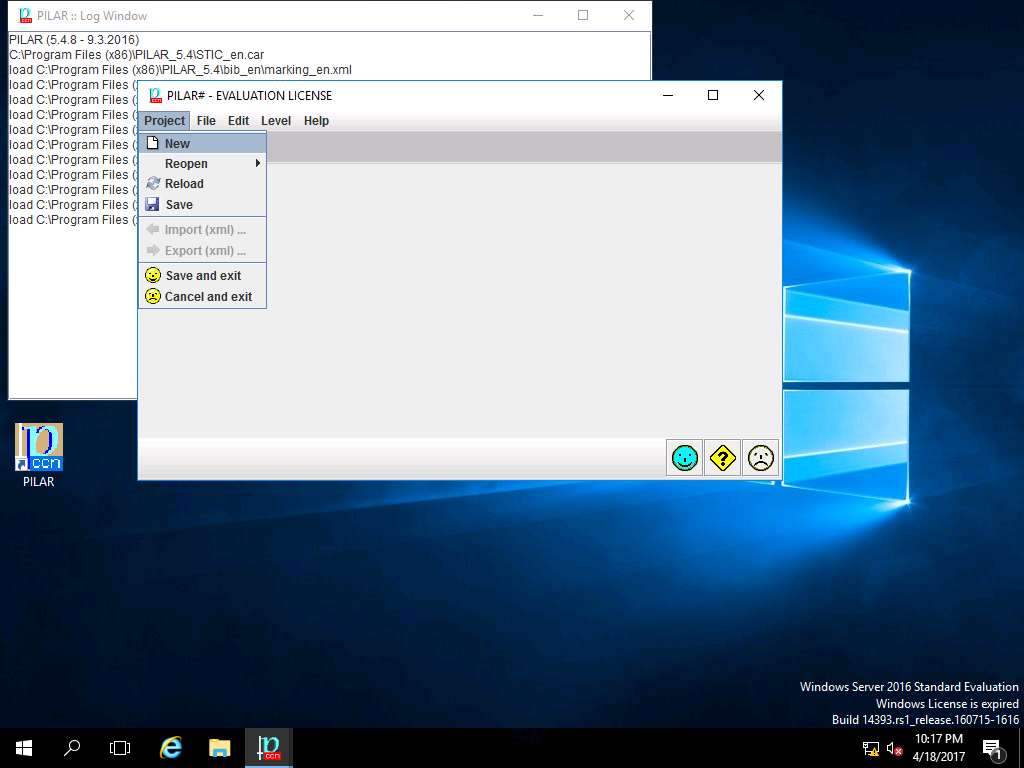
PILAR window appears, click Project and select New from the drop-down menu as shown in the screenshot.
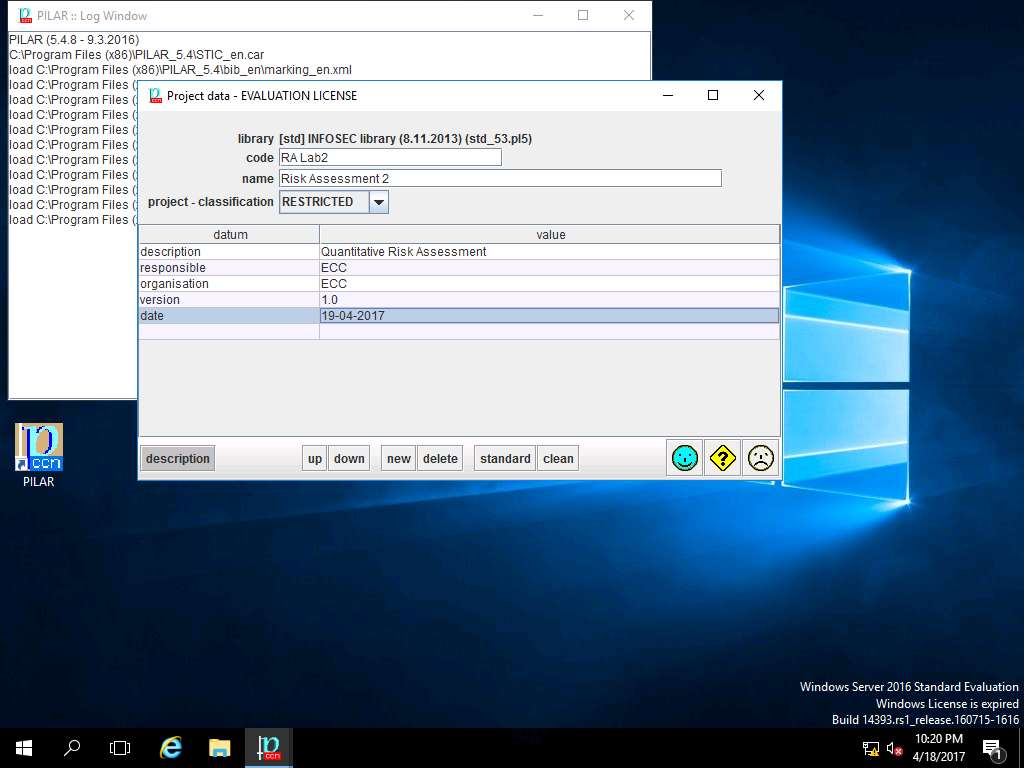
Project data window appears. In code field; enter RA Lab2, in name field; enter Risk Assessment 1, select RESTRICTED from the project – classification drop-down menu. In description field enter Quantitative Risk Assessment, in responsible field enter ECC, in organization field enter ECC, in version field enter 1.0 and in date field enter the current date of the lab (in this scenario, the date mentioned is 19-04-2017) as shown in the screenshot. Click Save and Close (happy smiley icon).
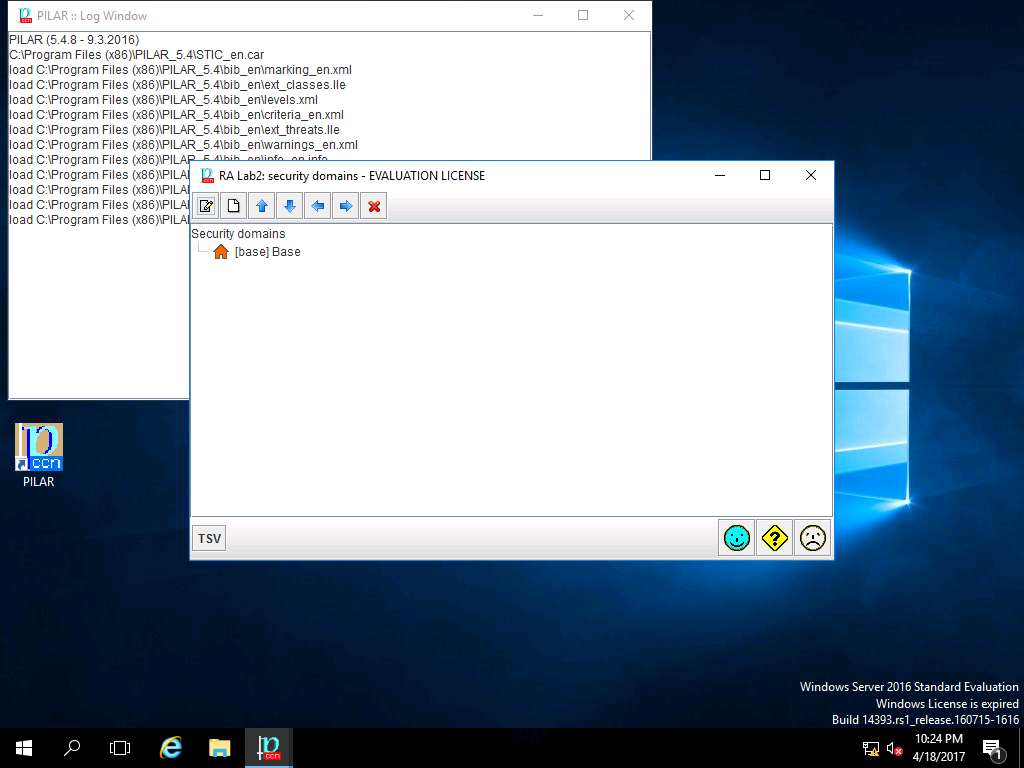
PILAR: [RA Lab2] Risk Assessment 2 window appears, in Quantitative analysis pane double-click D. Project and select Security domains from the sub-tree as shown in the screenshot.

RA Lab2: security domains window appears, click new domain icon present in the menu-bar as shown in screenshot.
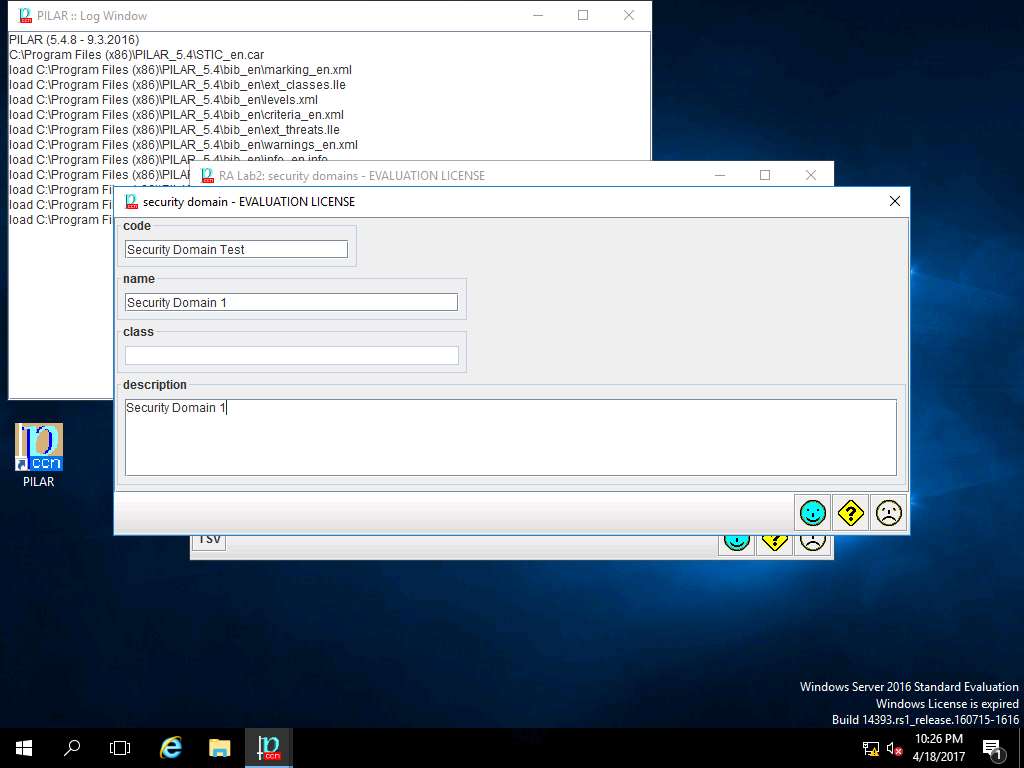
security domain window appears. In code field enter Security Domain Test, in name field enter Security Domain 1 and in description field enter Security Domain 1 as shown in the screenshot. Click save and close to continue.
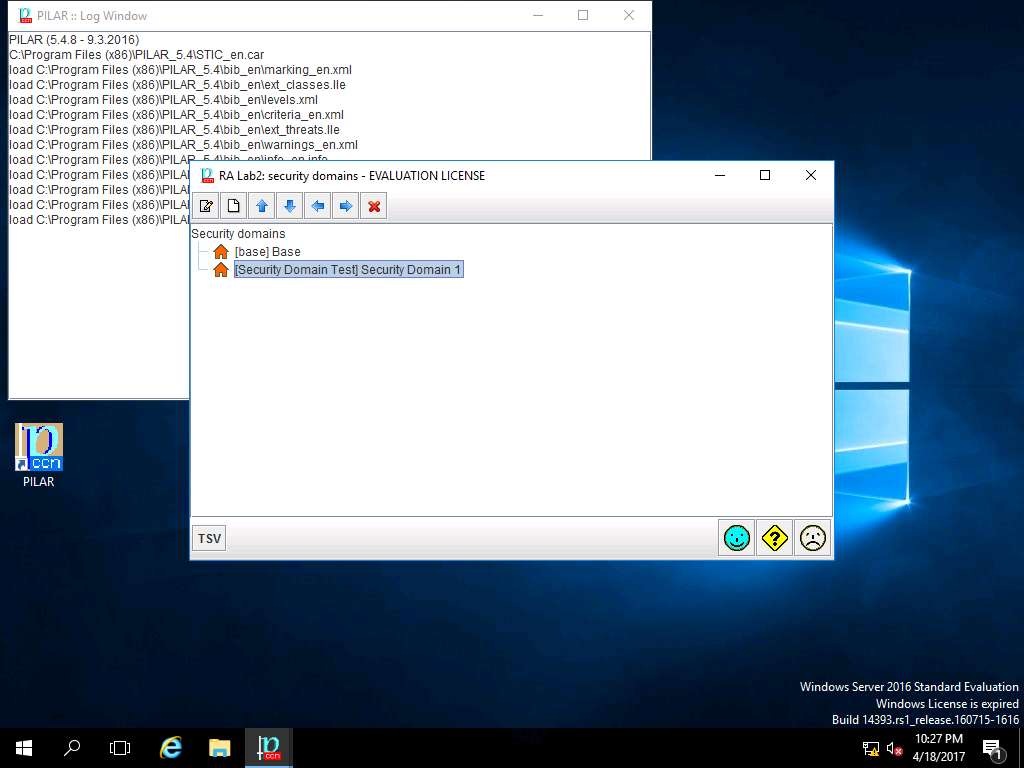
RA Lab2: security domains window appears. Double-click [base] Base, [Security Domain Test] Security Domain 1 is created. Click save and close.
PILAR: [RA Lab2] Risk Assessment 2 window appears, from the Project sub-tree select D.3. Project phases, as shown in the screenshot.

RA Labs2: project phases window appears, [current] current situation and [target] target situation project phases are created by default. Click save and close.

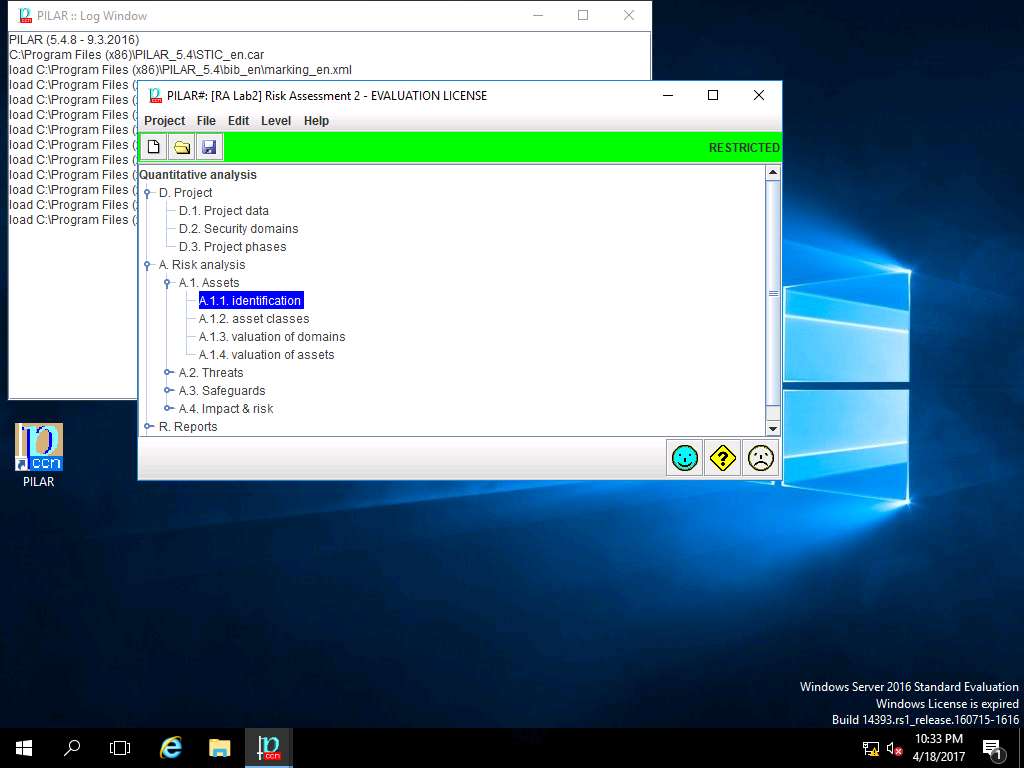
PILAR: [RA Lab2] Risk Assessment 2 window appears, in Quantitative analysis pane double-click A. Risk analysis. Double-click A.1 Assets and select A.1.1. identification from the sub-tree as shown in the screenshot.
RA Lab2: asset identification window appears, click Layers and select new layer from the drop-down menu as shown in screenshot.
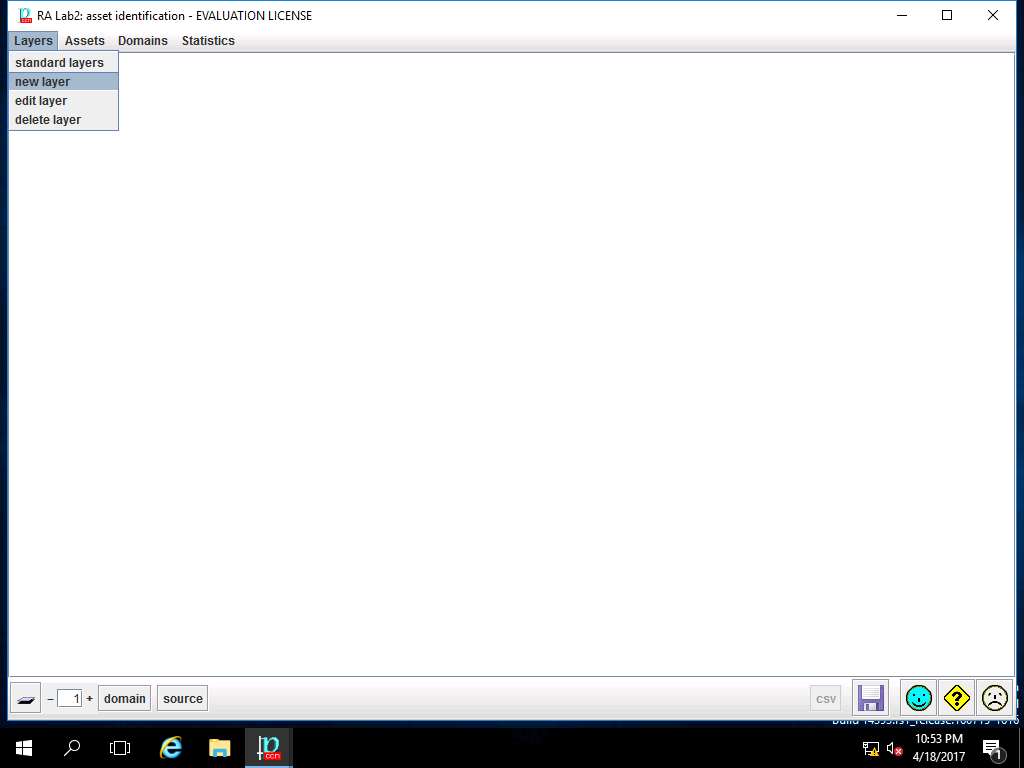
layer window appears, in code field enter Layer 1 and in name field enter Layer 1. Click save and close to continue
RA Lab2: asset identification window appears and Layer 1 is added. Right-click [Layer1] Layer 1 and select new asset from the context menu.
asset window appears. In code field enter Assets, in name field enter Asset Test. In datum row, enter Asset 1, Asset 2, Asset 3 and in value row enter A1, A2, A3. Select [Security Domain Test] Security Domain 1 from the domain drop-down menu. In ASSET CLASSES select check-box of: [essential] Essential assets, [availability] Availability, [D] Data/Information, [S] Services, [SW] Software and [HW] Hardware option as shown in the screenshot. Click save and close button to continue
Essential assets are those information and services managed by the information system. They represent the requirements of the risk owners, the security requirements. Essential assets exist before any implementation is detailed

RA Lab2: asset identification window appears, click save and close.
PILAR: [RA Lab2] Risk Assessment 2 window appears, in A.1 Assets sub-tree select A.1.2. asset classes as shown in the screenshot.

RA Labs2: asset classes window appears. In ASSETS pane, navigate to [Layer 1] Layer 1 --> [Assets] Asset Test and select {essential,availability,D,S,SW,HW}. In ASSET CLASSES pane navigate to [essential] Essential assets --> [info] information and select [biz] business data. Click Apply.
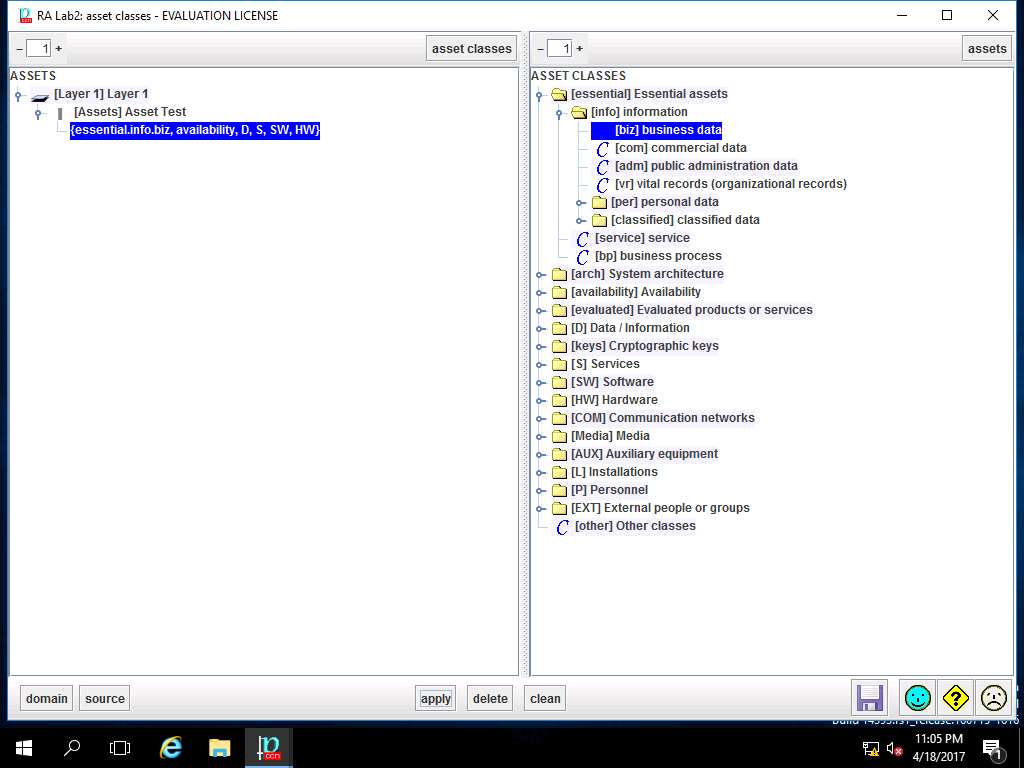
In ASSETS sub-tree, {essential.info.biz} is added, repeat step 18 to add ASSET CLASSES like arch.sap, availability.easy, evaluated.certified, D.files from [info], [arch], [availability], [evaluated] and [D] ASSET CLASSES respectively as shown in screenshot. Click save and close.

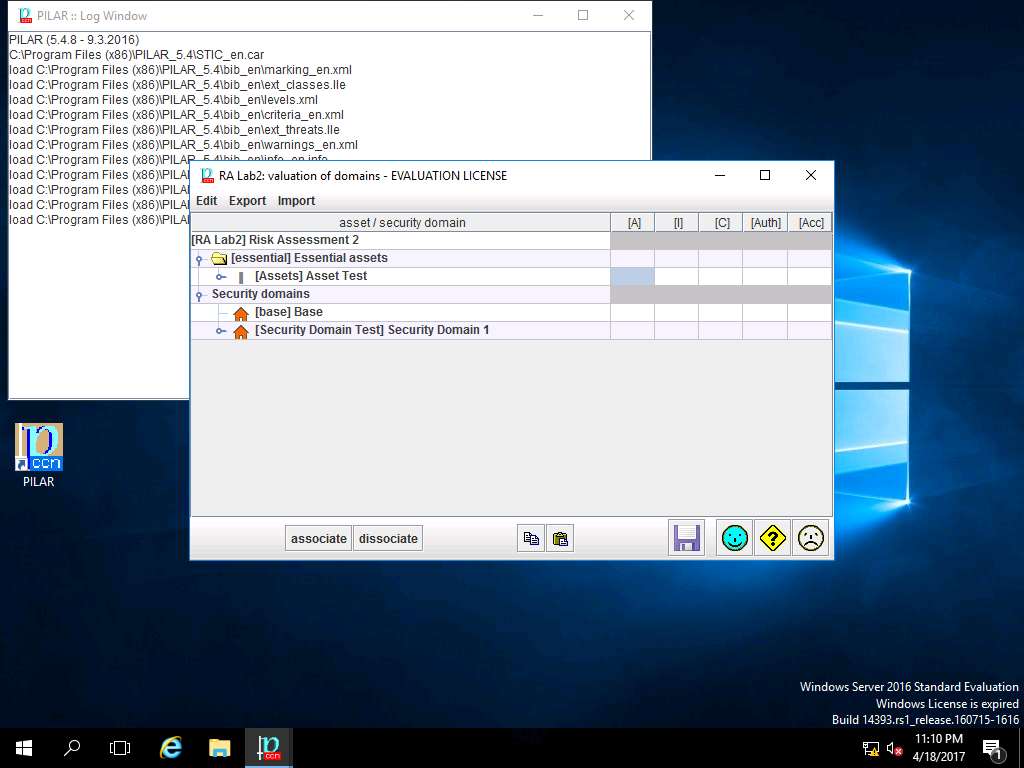
PILAR: [RA Lab2] Risk Assessment 2 window appears, in A.1 Assets sub-tree select A.1.3. valuation of domains as shown in the screenshot.

RA Labs2: valuation of domain window appears, select and double-click the box in [A] row and [Assets] Asset Test column (highlighted box) as shown in the screenshot in order to assign the values.
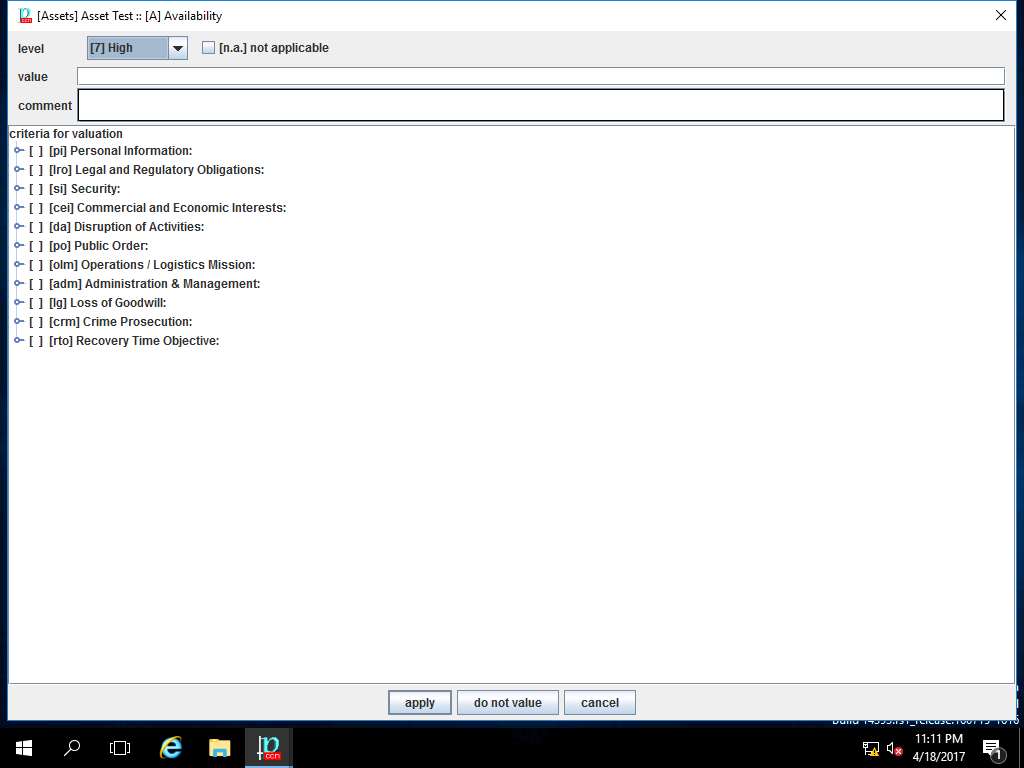
Valuation of domains implies to the rating of security level for the domain where 0 is negligible and 10 is top.
[Assets] Asset Test :: [A] Availability window appears, select [7] High from the level drop-down menu and click apply as shown in the screenshot.
In this scenario, we are assuming that priority of the Availability of the assets is high as continuous availability is required.
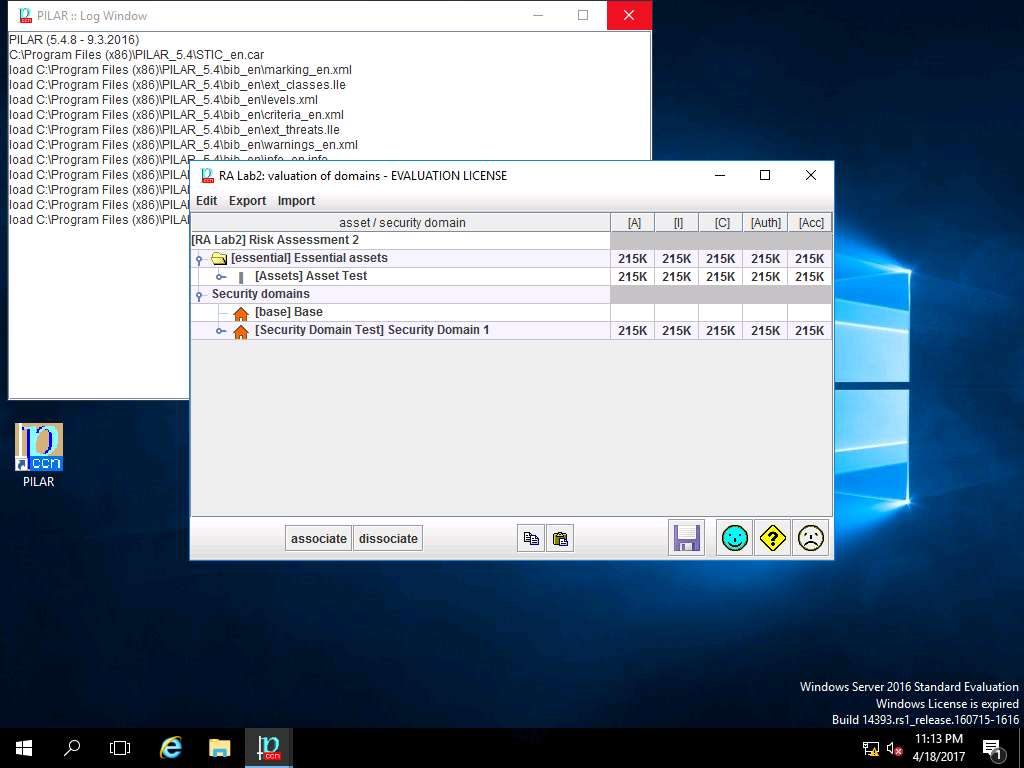
RA Lab2: valuation of domain window appears again, enter the value [7] High in other boxes by repeating the process mentioned in step 20 and 21 as shown in the screenshot. Click save and close.
PILAR: [RA Lab2] Risk Assessment 2 window appears, in A.1 Assets sub-tree select A.1.4. valuation of assets as shown in the screenshot.

RA Lab 2: valuation of assets window appears, accumulated values are specified to various fields i.e. [A], [I], [C], [Auth] and [Acc]. Click **save and close** to continue.
PILAR: [RA Lab 2] Risk Assessment 2 window appears, in Qualitative analysis pane double-click A.2 Threats and select A.2.1. aggravating & mitigating conditions from the sub-tree as shown in the screenshot.
Aggravating & mitigating conditions window appears, select [Security Domain Test] Security Domain 1 in Security domains pane. In CRITERIA pane double-click Attacker Identification option and select [101.b] (5%) commercial competitor subtree for demonstration purpose. Click apply as shown in the screenshot.
Aggravating & mitigating conditions in this assessment refers to the different criteria of potential risk factors and its impact on the Security Domain.
For demonstration of various criteria of aggravating & mitigating conditions, select various criteria subtree like Attacker Motivation, Attacker Benefit, Confidentiality as shown in screenshot. Click save and close to continue.
PILAR: [RA Lab 2] Risk Assessment 2 window appears, in A.2 Threats sub-tree, select A.2.2. identification from as shown in the screenshot.
[RA Lab2] Risk Assessment 2 warning window appears, click Do not show this dialog in the future check-box and click OK.
RA Lab 2: Identification of threats window appears. In left pane navigate to ASSETS --> [Layer 1] Layer 1 --> [ASSETS] Asset Test, all the possible threats in risk assessment are listed. In left pane THREATS scenarios like Natural, Industrial, Errors and unintentional failures and Wilful attacks are selected as shown in the screenshot. Click save and close to continue.
PILAR: [RA Lab 2] Risk Assessment 2 window appears, in A.2 Threats sub-tree select A.2.3. valuation as shown in the screenshot.
RA Lab 2: Valuation of Threats window appears, double click [Layer 1] Layer 1 in the ASSETS pane. [Assets] Asset Test row appears showing the percentage of threat evaluation for various crirteria like [A], [I], [C], [Auth] and [Acc]. Click save and close to continue.
PILAR: [RA Lab 2] Risk Assessment 2 window appears, in Risk analysis sub-tree double-click A.3 Safeguard and select A.3.1. identification as shown in the screenshot.

RA Lab 2: safeguards window appears, click save and close to continue.
PILAR: [RA Lab 2] Risk Assessment 2 window appears, in A.3 Safeguard sub-tree, select A.3.2. valuation (phases) as shown in the screenshot.
RA Labs 2: Safeguard effectiveness window appears. Right-click the empty box in current row and [H] General Protections column, select L4 – managed and measurable option from the context menu as shown in the screenshot.
Note: In this scenario we are assuming that safeguard effectiveness in all the fields are managed and measureable i.e. L4.
Again Right-click the empty box in 'target' row and '[H] General Protections' column, select L5 – optimised option from the context menu as shown in the screenshot.

Repeat steps 36 and 37 to assign the values of safeguard effectiveness for current and target to other SAFEGUARDS options as shown in screenshot. Click save and close.
In this scenario, we are assuming that all the criteria of the Safeguard effectiveness are currently L4 - managed and measurable and the target is L5 - optimised.
PILAR: [RA Lab 2] Risk Assessment 2 window appears, in A.3 Safeguard sub-tree, select A.3.3. valuation (domains) as shown in the screenshot.

RA Lab 2: Safeguard effectiveness window appears with the assigned value of various SAFEGUARDS. Click save and close to continue.
PILAR: [RA Lab 2] Risk Assessment 2 window appears. Double-click A.4 Impact & risk, double-click A.4.1. Accumulated value**s and select **A.4.1.1. impact from the sub-tree as shown in the screenshot.

RA Lab 2: accumulated impact window appears, accumulated impact ratings are assigned for various criteria for [Layer 1] Layer 1 as shown in screenshot. Click save and close to continue.
PILAR: [RA Lab 2] Risk Assessment 2 window appears. In A.4.1. Accumulated values sub-tree select A.4.1.2. risk as shown in the screenshot.

RA Lab 2: accumulated risk window appears, accumulated risk ratings are assigned for various criteria for [Layer 1] Layer 1 as shown in screenshot. Click save and close to continue.
PILAR: [RA Lab 2] Risk Assessment 2 window appears, double-click A.4.2. Deflected values and select A.4.2.1. impact from the sub-tree as shown in the screenshot.

RA Lab 2: deflected impact window appears showing the deflected impact assigned values for different criteria of [Assets] Asset Test as shown in screenshot. Click save and close.
PILAR: [RA Lab 2] Risk Assessment 2 window appears. In A.4.2. Deflected values sub-tree, select A.4.2.1. risk as shown in the screenshot.

RA Lab2: deflected risk window appears showing the deflected risk assigned values for different criteria of [Assets] Asset Test as shown in screenshot. Click save and close.
PILAR: [RA Lab2] Risk Assessment 2 window appears, in Qualitative analysis pane double-click R. Report. Double-click R.t. text, and select Risk Analysis from the sub-tree as shown in the screenshot.

Report data window appears, click select button in Assets field.

assets window appears, under ASSETS sub-tree select [Layer 1] Layer 1 and click save and close.

Report data window appears, click select button in Information sources field.

Information sources window appears, INFORMATION SOURCES is selected by default. Click save and close.

Report data window appears, click select button in Security domains field.

security domains window appears, under Security domains sub-tree tick [base] Base and [Security Domain Test] Security Domain 1 check-box as shown in screenshot. Click OK.

Report data window appears, click select button in Dimensions field.

dimensions window appears, in DIMENSIONS sub-tree tick [A] Availability, [I] Integrity, [C] Confidentiality, [Auth] Authenticity of users and information and [Acc] Accountability of service and data check-box. Click save and close.
Report data window appears, click select button in Project phases field.

project phases window appears, in Project phases sub-tree tick [Potential], [current] current situation and [target] target situation check-box. Click OK to continue.
Since we are using 30 days Evaluation version of PILAR tool, we will not be able to save and publish the Risk Assessment Report in .RTF or .HTML format.

Report data window appears, click Cancel.

PILAR: [RA Lab2] Risk Assessment 2 window appears, in Quantitative analysis pane double-click E. Security profiles. Double-click [27002-2005] Code of practice for information security management (8.10.2012), and select Valuation from the sub-tree as shown in the screenshot.

RA Lab2 :: [27002-2005] Code of practice for information security management (8.10.2012) window appears showing the current and target level of various controls under [27002-2005] Code of practice for information security management (8.10.2012) as shown in the screenshot. Click save and close.
ISO/IEC 27002:2005 establishes guidelines and general principles for initiating, implementing, maintaining, and improving information security management in an organization. The control objectives and controls in ISO/IEC 27002:2005 are intended to be implemented to meet the requirements identified by a risk assessment. ISO/IEC 27002:2005 is intended as a common basis and practical guideline for developing organizational security standards and effective security management practices, and to help build confidence in inter-organizational activities.

PILAR: [RA Lab] Risk Assessment 1 window appears. Double-click [27002-2013] Code of practice for information security controls, and select Valuation from the sub-tree as shown in the screenshot.

RA Lab2 :: [27002-2013] Code of practice for information security controls window appears showing the current and target level of various controls under [27002-2013] Code of practice for information security controls as shown in the screenshot. Click save and close.
Navigate to the menu-bar of PILAR. Click Project and select Save from the drop-down menu as shown in screenshot.
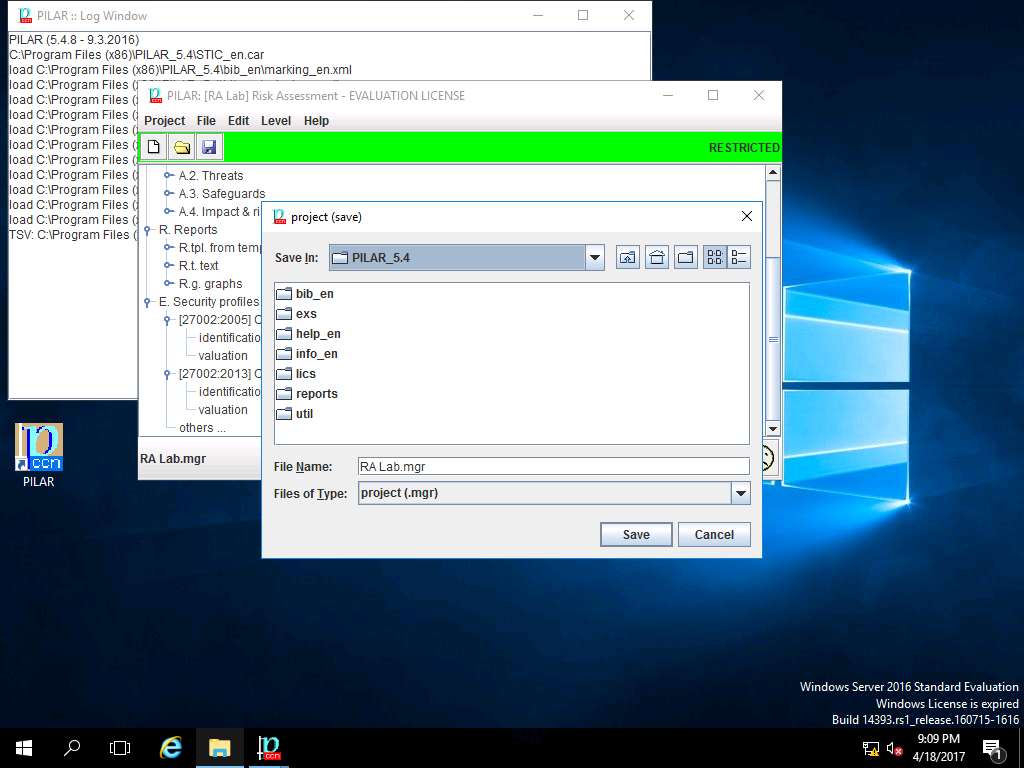
project (save) window appears, in File Name: field enter RA Lab2.mgr and click Save to save the PILAR project in default folder.
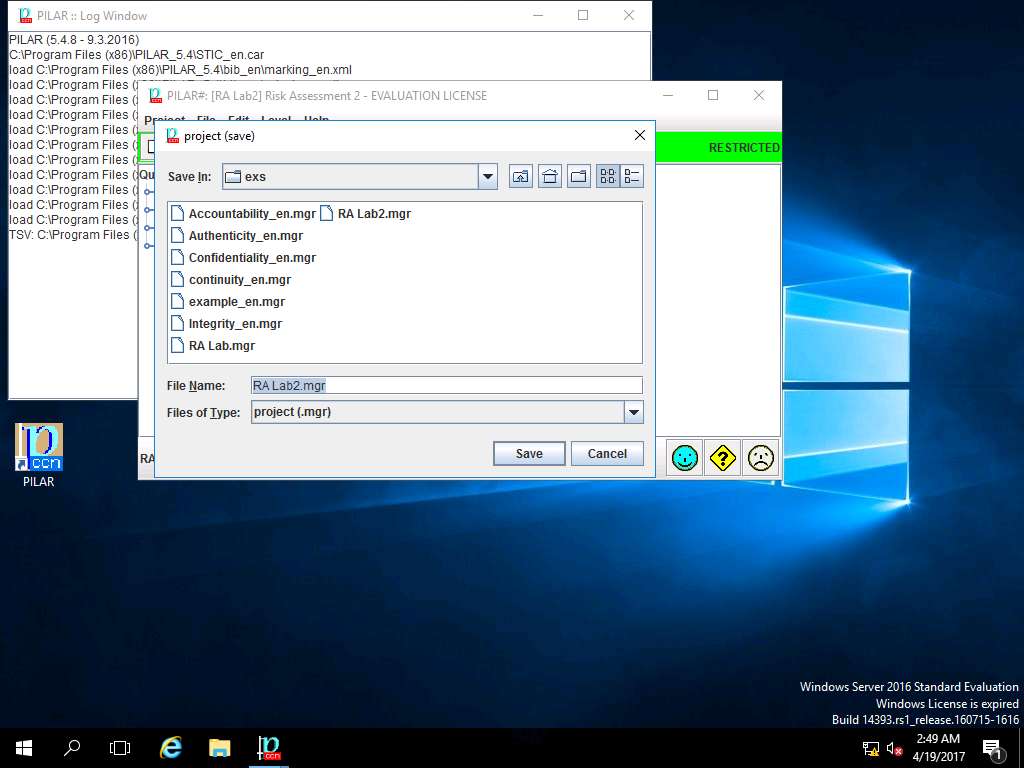
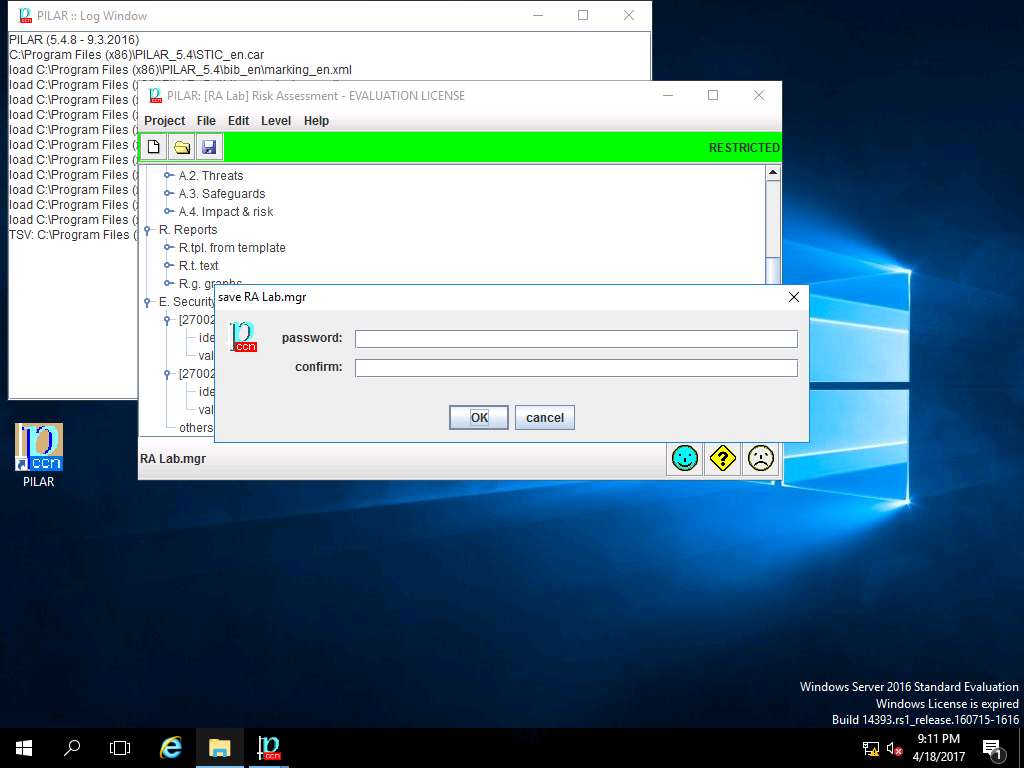
save RA Lab2.mgr window appears, click OK.
You can encrypt the saved project by applying password in the password field.

After saving the project, click save and close to close the PILAR tool window.

Assessment 1:
In the Report data window, identify the default classification option selected from the Classification dropdown
In Step 4, the default classification option selected from the project – classification drop-down menu is RESTRICTED.
This step shows that the classification option RESTRICTED is selected by default when setting up the project in PILAR.